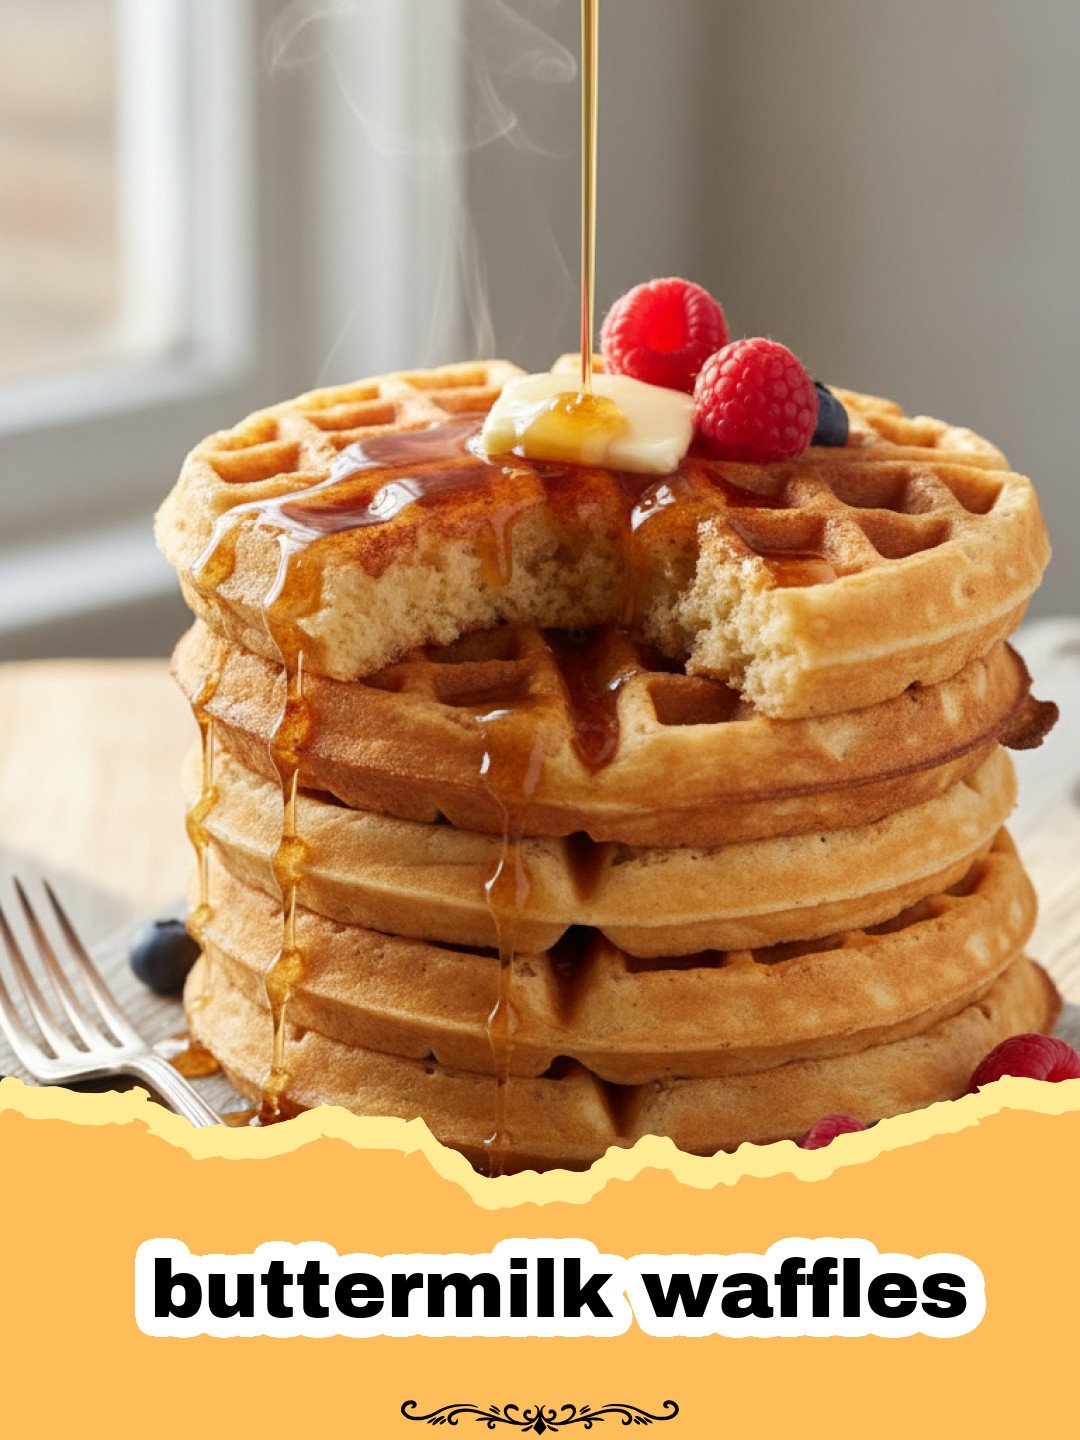
The smell of freshly cooked buttermilk waffles wafting through the house is my absolute favorite way to wake up on a Saturday morning. There is something truly nostalgic about the sound of the steam escaping the iron and the rhythmic clinking of a fork against a plate. For years, I searched for the perfect recipe—one that didn’t result in a soggy, limp mess but instead offered a shatteringly crisp exterior with a light, airy center. I remember my grandmother standing over her old cast-iron waffle maker, patient and precise, always insisting that the secret was in the tang of the milk and the temperature of the plates. It took a lot of trial and error in my own kitchen to replicate that magic, but I finally cracked the code. These buttermilk waffles represent more than just a breakfast; they are a labor of love and a bridge to those slow, cozy mornings of my childhood. Whether you are feeding a crowd or just treating yourself to a quiet brunch, this recipe will quickly become your new gold standard for the ultimate weekend feast.
Why This Recipe is a Must-Try
- Shatteringly Crispy Texture: By using a combination of cornstarch and a very hot iron, these buttermilk waffles achieve a professional-grade crunch that stays crispy even under a deluge of maple syrup.
- Perfectly Tangy Flavor: Real buttermilk provides a subtle acidity that balances the sweetness of your toppings, creating a complex flavor profile that boxed mixes simply cannot replicate.
- Incredibly Light and Airy: The chemical reaction between the buttermilk and baking soda creates thousands of tiny air bubbles, ensuring your buttermilk waffles never feel heavy or dense.
- Make-Ahead Friendly: These waffles freeze beautifully and can be popped into a toaster for a quick weekday breakfast that tastes just as good as the day they were made.
Key Ingredient Notes
To achieve the best results with your buttermilk waffles, the quality of your ingredients is paramount. First and foremost, you must use real buttermilk. While the “milk plus lemon juice” hack works in a pinch for some recipes, it lacks the thickness and specific enzymatic properties that make buttermilk waffles so tender. If you have leftovers, they are best stored in high-quality containers like Basics Glass Food Storage to maintain their freshness in the fridge.
The addition of cornstarch is another non-negotiable for me. Cornstarch prevents the development of too much gluten and helps the exterior dry out and crisp up more effectively. Lastly, make sure your butter is melted but cooled slightly before adding it to the wet ingredients. If it is too hot, it could start to cook the eggs prematurely, which will ruin the texture of your buttermilk waffles.

Step-by-Step Guide with Pro Tips
Making buttermilk waffles is a straightforward process, but the technique makes all the difference. Start by ensuring all your cold ingredients, like eggs and buttermilk, are at room temperature. This prevents the melted butter from re-solidifying when you mix them together, which can cause lumps in the batter.
When you combine the wet and dry ingredients, the most important rule is to avoid overmixing. You want to fold the mixture just until the large streaks of flour disappear. A few small lumps are perfectly fine—in fact, they are encouraged! Overmixing leads to gluten development, which results in tough, rubbery buttermilk waffles instead of light ones. If you want to take your brunch to the next level, consider serving these alongside something unique like our The Ultimate Zombie Cocktail for a fun, tropical twist on a classic morning meal.
Variations & Serving Suggestions
While a classic buttermilk waffle is hard to beat, there are endless ways to customize this recipe. For a sweet treat, add a handful of mini chocolate chips or fresh blueberries directly into the batter just before cooking. If you are feeling adventurous, try a savory version by adding chopped chives, sharp cheddar cheese, and a pinch of black pepper to the dry mix. These savory buttermilk waffles are incredible when topped with a fried egg and a drizzle of hot honey.
For a truly gourmet experience, think about your toppings. Instead of standard syrup, you can use the warm, cinnamon-spiced fruit from our Easy Campfire Apple Pie Packets to create a decadent apple pie waffle. Whipped cream, toasted pecans, and a dusting of powdered sugar also never go out of style. The versatility of buttermilk waffles makes them the perfect canvas for whatever flavors you are craving.
Nutrition Information
| Nutrient | Amount per Serving |
|---|---|
| Serving Size | 1 Waffle |
| Calories | 310 kcal |
| Carbohydrate Content | 38g |
| CholesterolContent | 75mg |
| Fat Content | 14g |
| Fiber Content | 1g |
| Protein Content | 7g |
| Saturated Fat Content | 8g |
| Sodium Content | 450mg |
| Sugar Content | 6g |
| Trans Fat Content | 0g |
| Unsaturated Fat Content | 5g |
The nutritional values provided above are estimates based on standard ingredients for buttermilk waffles. Your actual numbers may vary based on the specific brands of buttermilk and butter used, as well as the size of your waffle iron.
Conclusion
Mastering buttermilk waffles is a skill that will serve you well for a lifetime of Sunday mornings. By following these simple steps and focusing on the quality of your ingredients, you can transform a basic breakfast into a memorable culinary event. Don’t be afraid to experiment with different toppings and find your own favorite way to enjoy these golden-brown delights. I hope these buttermilk waffles bring as much joy and warmth to your kitchen as they have to mine over the years. Happy cooking!
FAQs
Can I substitute regular milk for buttermilk?
While you can use a substitute like milk with lemon juice, for the best buttermilk waffles, we highly recommend using real buttermilk. The thickness and acidity are essential for the specific texture and rise of this recipe.
Why are my buttermilk waffles coming out soggy?
Soggy waffles are usually caused by an iron that isn’t hot enough or by stacking them immediately after cooking. To keep buttermilk waffles crispy, serve them right away or place them on a wire rack so air can circulate around them.
Can I freeze these waffles for later?
Yes! Let the buttermilk waffles cool completely on a wire rack, then place them in a freezer-safe bag with parchment paper between them. Reheat in a toaster or oven for the best texture.
What does cornstarch do in waffle batter?
Cornstarch helps to create a crispier exterior on your buttermilk waffles by absorbing moisture and preventing the formation of too much gluten, which can make waffles chewy instead of crunchy.
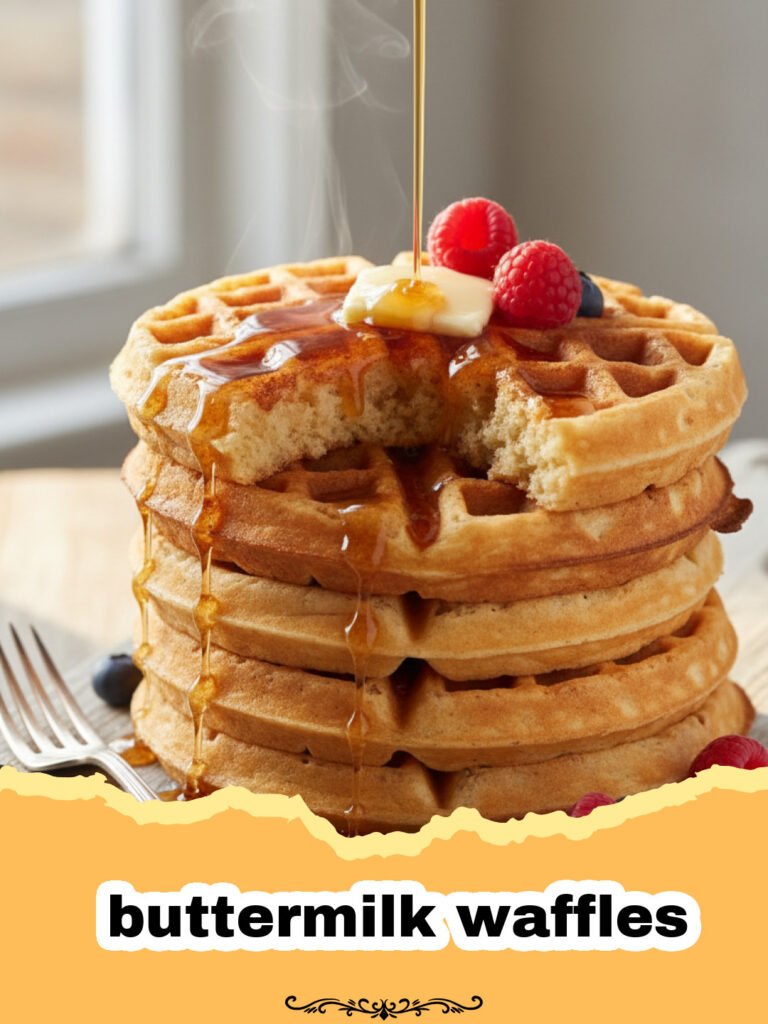
Crispy Classic Buttermilk Waffles
The ultimate recipe for buttermilk waffles that are light, airy, and incredibly crispy on the outside.
- Total Time: 35 minutes
- Yield: 8 waffles 1x
Ingredients
2 cups all-purpose flour
1/4 cup cornstarch
2 tablespoons granulated sugar
1 1/2 teaspoons baking powder
1/2 teaspoon baking soda
1/2 teaspoon salt
2 cups buttermilk, room temperature
2 large eggs, room temperature
1/2 cup unsalted butter, melted and cooled
1 teaspoon vanilla extract
Instructions
Step 1: Preheat your waffle iron to its highest setting or the ‘waffle’ setting. A properly heated iron is the first secret to crispy buttermilk waffles.
Step 2: In a large bowl, whisk together the flour, cornstarch, sugar, baking powder, baking soda, and salt until well combined.
Step 3: In a separate medium bowl, whisk the eggs until light. Add the buttermilk, melted butter, and vanilla extract, whisking until the mixture is uniform.
Step 4: Pour the wet ingredients into the dry ingredients. Using a spatula, gently fold the mixture together. Stop as soon as the flour is incorporated; do not overmix the buttermilk waffles batter.
Step 5: Let the batter rest for 5-10 minutes. This allows the flour to hydrate and the leavening agents to begin working, ensuring fluffier buttermilk waffles.
Step 6: Lightly grease the waffle iron if necessary. Pour the recommended amount of batter (usually about 1/2 to 3/4 cup depending on your iron size) onto the center and close the lid.
Step 7: Cook until the waffle iron stops steaming or the indicator light turns on. For extra crispy buttermilk waffles, leave them in for an additional 30-60 seconds.
Step 8: Remove carefully and serve immediately, or place on a wire rack in a low oven (200°F) to keep warm and crisp while you finish the rest.
Notes
For the crispiest results, ensure your waffle iron is fully preheated before adding the batter.
- Prep Time: 15 minutes
- Cook Time: 20 minutes
- Category: Sweet Breakfasts
- Cuisine: American
Nutrition
- Serving Size: 1 waffle
- Calories: 310 kcal
- Sugar: 6g
- Sodium: 450mg
- Fat: 14g
- Saturated Fat: 8g
- Unsaturated Fat: 5g
- Trans Fat: 0g
- Carbohydrates: 38g
- Fiber: 1g
- Protein: 7g
- Cholesterol: 75mg
Keywords: buttermilk waffles, crispy waffles, breakfast recipe, homemade waffles, brunch ideas