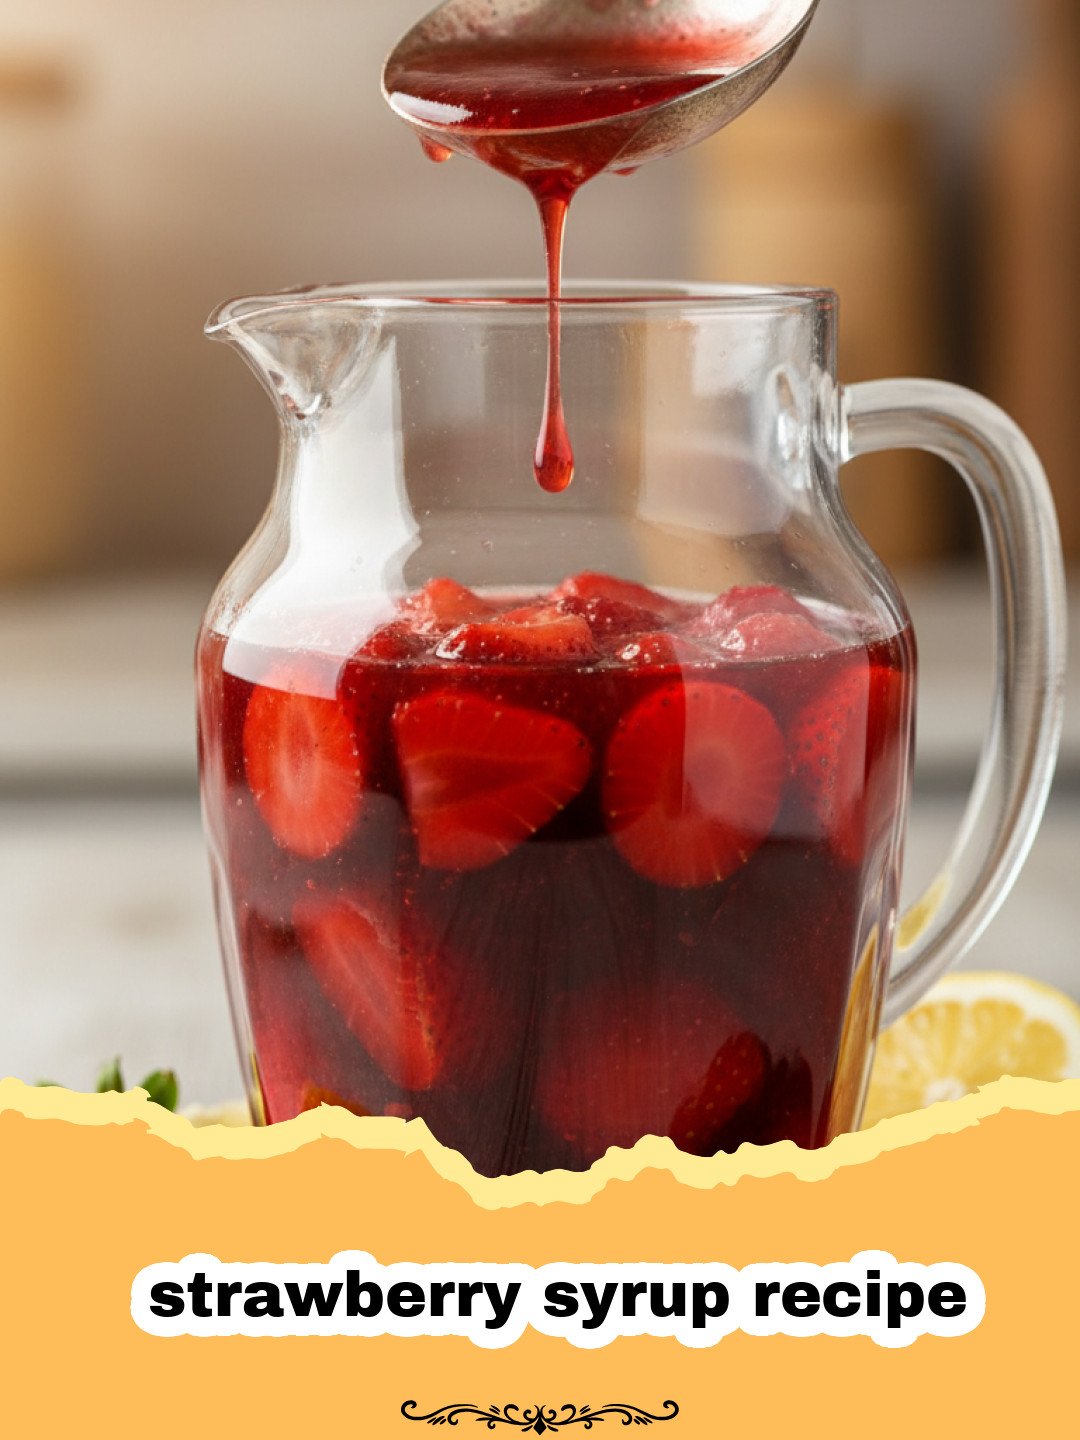
The scent of warm, sweet strawberries always takes me back to my grandmother’s kitchen on sweltering summer afternoons. As a child, I’d spend hours in her garden, my fingers stained crimson from picking the ripest berries, anticipating the moment she’d turn them into something magical. That magic, more often than not, was a homemade strawberry syrup recipe. It wasn’t just a condiment; it was the essence of summer, bottled up, ready to drizzle over everything from fluffy pancakes to vanilla ice cream. My grandma believed in making things from scratch, and her philosophy was simple: if you have fresh, ripe ingredients, you don’t need much else to create something extraordinary. She taught me that the best flavors come from the simplest preparations, allowing the natural goodness of the fruit to shine.
This particular strawberry syrup recipe is a tribute to her legacy, a way to recreate those cherished memories and share a taste of pure, unadulterated joy with my own family and friends. It’s a recipe that embodies comfort, nostalgia, and the vibrant taste of summer, no matter the season. Every time I whip up a batch, the sweet aroma fills my kitchen, and I can almost hear her gentle humming as she stirred the bubbling pot. It’s more than just a recipe; it’s a connection to the past, a celebration of simple pleasures, and a guarantee of deliciousness. Get ready to experience the true flavor of homemade goodness with this incredible strawberry syrup recipe. You’ll find it’s so much more flavorful and rewarding than anything you can buy at the store, and once you try this easy strawberry syrup recipe, you’ll never go back!
Why This Strawberry Syrup Recipe is a Must-Try
- Unmatched Fresh Flavor: Unlike store-bought versions that often rely on artificial flavors and colors, this homemade strawberry syrup recipe bursts with the natural, sun-ripened taste of real strawberries. It’s a game-changer!
- Simple Ingredients, Big Impact: You only need a few basic ingredients to create a truly spectacular strawberry syrup. No complex additives or preservatives, just pure, wholesome goodness.
- Incredibly Versatile: This isn’t just for breakfast! While it’s divine on pancakes and waffles, this strawberry syrup recipe is also fantastic in cocktails, over desserts, mixed into yogurt, or even as a glaze for savory dishes.
- Quick & Easy: From start to finish, you can have a batch of this luscious strawberry syrup ready in under 30 minutes. It’s perfect for those spontaneous cravings or when you need a last-minute touch of sweetness.
Key Ingredient Notes for Your Strawberry Syrup Recipe
While this strawberry syrup recipe uses minimal ingredients, understanding each one’s role is crucial for the best results.
Fresh Strawberries
The star of our show! For the most vibrant flavor in your strawberry syrup recipe, always opt for fresh, ripe strawberries. Look for berries that are bright red, plump, and fragrant. Avoid any with white patches, mold, or soft spots. While fresh is always best, you can use frozen strawberries if fresh aren’t in season. If using frozen, there’s no need to thaw them first; simply add them to the pot straight from the freezer, but be aware that they might release more water and take slightly longer to cook down.
Granulated Sugar
Sugar does more than just sweeten; it acts as a preservative and helps create the beautiful syrupy consistency. The amount of sugar in this strawberry syrup recipe can be adjusted to your preference. If your strawberries are exceptionally sweet, you might reduce it slightly. If they’re a bit tart, you can add a touch more. Don’t be afraid to taste and adjust! For a richer, deeper flavor, some prefer to use brown sugar, but granulated sugar allows the pure strawberry essence to shine through.
Fresh Lemon Juice
A secret weapon in many fruit recipes! A squeeze of fresh lemon juice brightens the flavor of the strawberries, balancing the sweetness and preventing the syrup from tasting too flat. It also helps to preserve the vibrant red color of the strawberry syrup recipe. Don’t skip this step – it makes a noticeable difference!
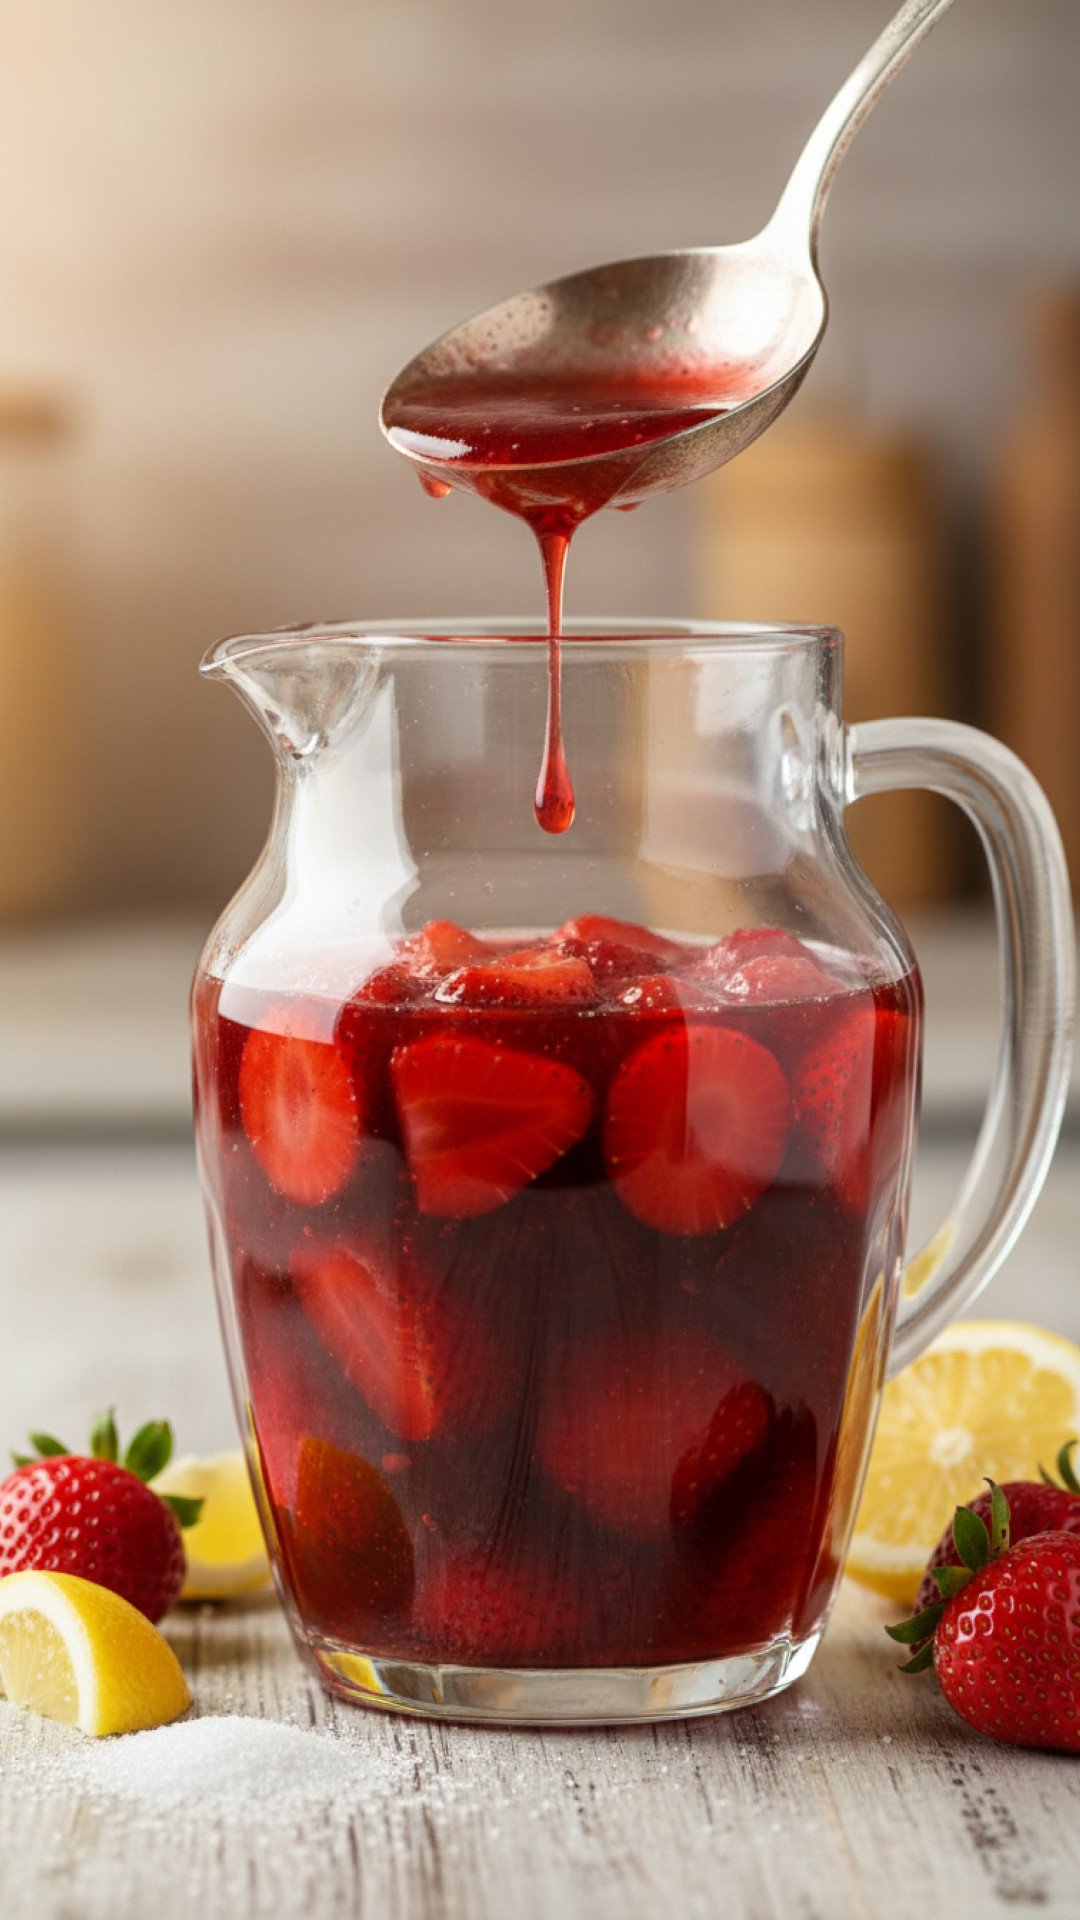
Step-by-Step Guide with Pro Tips for this Strawberry Syrup Recipe
Making your own strawberry syrup recipe is incredibly straightforward. Follow these steps for perfect results every time.
- Step 1: Begin by washing your fresh strawberries thoroughly under cool running water. Hull them by removing the green tops and any white core. You can do this with a paring knife or a strawberry huller. Once hulled, chop the strawberries into roughly 1-inch pieces. This helps them break down more easily and release their juices.
- Step 2: In a medium saucepan, combine the chopped strawberries, granulated sugar, and fresh lemon juice. Stir everything together gently to coat the strawberries with sugar. Let the mixture sit for about 10-15 minutes at room temperature. This brief maceration step helps the strawberries release their natural juices, creating a more flavorful syrup base and preventing scorching.
- Step 3: Place the saucepan over medium heat. Bring the mixture to a gentle simmer, stirring occasionally. Once it starts to bubble, reduce the heat to low and continue to simmer for 15-20 minutes. The goal is for the strawberries to soften considerably and for the liquid to thicken slightly. As it simmers, the strawberries will break down, turning the liquid a beautiful, deep red.
- Step 4: Once the strawberries are very soft, remove the saucepan from the heat. For a chunky strawberry syrup recipe, you can mash the strawberries directly in the pot using a potato masher or a fork to your desired consistency. For a smooth syrup, proceed to the next step.
- Step 5: For a smooth strawberry syrup, carefully pour the strawberry mixture through a fine-mesh sieve set over a heatproof bowl. Use the back of a spoon or a spatula to press down on the solids, extracting as much liquid as possible. You can discard the solids or save them for another use, like stirring into oatmeal or spreading on toast.
- Step 6: If you desire a thicker strawberry syrup, return the strained liquid to the saucepan and bring it to a gentle simmer over low heat. Cook for another 5-10 minutes, or until it reaches your preferred consistency. Remember that the syrup will thicken further as it cools.
- Step 7: Allow the homemade strawberry syrup recipe to cool completely at room temperature before transferring it to clean, airtight jars or bottles. I love using Basics Glass Food Storage containers for this, as they seal well and look great in the fridge. Store the syrup in the refrigerator for up to 2-3 weeks. For longer storage, you can freeze it in freezer-safe containers for several months.
Variations & Serving Suggestions for Your Strawberry Syrup Recipe
This basic strawberry syrup recipe is incredibly versatile and can be adapted to suit your taste or occasion. Here are some ideas to inspire you:
Exciting Variations:
- Vanilla Bean: Add half a vanilla bean (split and scraped) to the syrup as it simmers. Remove it before straining. The vanilla complements the strawberries beautifully.
- Balsamic Boost: A tablespoon of good quality balsamic vinegar added during the last few minutes of simmering can add a surprising depth and complexity to the strawberry syrup recipe.
- Herbal Infusion: Fresh mint or basil sprigs can be simmered with the strawberries for a subtle, aromatic twist. Remove them before straining.
- Spicy Kick: For a hint of warmth, add a pinch of black pepper or a tiny slice of fresh ginger to the pot.
- Mixed Berry: Don’t limit yourself to just strawberries! This method works wonderfully with raspberries, blueberries, or a mix of your favorite berries to create a delightful mixed berry syrup.
Delicious Serving Ideas:
- Breakfast Staple: The classic choice! Drizzle generously over fluffy pancakes, waffles, French toast, or crepes. It’s also fantastic swirled into a bowl of warm oatmeal or yogurt.
- Dessert Topping: Elevate simple desserts. Pour over vanilla ice cream, cheesecake, panna cotta, or a fruit tart. It makes an ordinary dessert extraordinary.
- Beverage Enhancer: Stir into sparkling water for a refreshing strawberry soda, use it to sweeten iced tea, or add a splash to your favorite cocktail or mocktail for a fruity twist.
- Baking & Glazing: Use this strawberry syrup recipe as a glaze for pound cake, cupcakes, or even roasted chicken or pork for a sweet and savory fusion.
- Yogurt & Smoothie Booster: Swirl into plain Greek yogurt for a naturally sweet treat, or add a spoonful to your morning smoothie for an extra burst of strawberry flavor.
Nutrition Information
Here’s a breakdown of the nutritional content for one serving of this delightful homemade strawberry syrup recipe, based on approximately 2 tablespoons per serving.
| Nutrient | Amount Per Serving |
|---|---|
| Calories | 70 kcal |
| Carbohydrate Content | 18 g |
| Cholesterol Content | 0 mg |
| Fat Content | 0.1 g |
| Fiber Content | 0.5 g |
| Protein Content | 0.2 g |
| Saturated Fat Content | 0 g |
| Serving Size | 2 tbsp (30g) |
| Sodium Content | 1 mg |
| Sugar Content | 17 g |
| Trans Fat Content | 0 g |
| Unsaturated Fat Content | 0 g |
Conclusion
Making your own strawberry syrup recipe is an incredibly rewarding experience. It’s a simple act that brings so much fresh flavor and joy to your kitchen and your table. From its vibrant color to its sweet, natural taste, this homemade syrup truly captures the essence of summer, no matter the season. Whether you’re drizzling it over your favorite breakfast, stirring it into a refreshing drink, or elevating a simple dessert, you’ll find countless ways to enjoy this delicious concoction. So, gather your berries, get simmering, and prepare to fall in love with the best strawberry syrup recipe you’ll ever make. Enjoy the pure, unadulterated taste of homemade goodness!
FAQs
How long does homemade strawberry syrup last?
When stored in an airtight container in the refrigerator, homemade strawberry syrup typically lasts for 2 to 3 weeks. For longer storage, you can freeze it in freezer-safe containers for up to 3-4 months.
Can I use frozen strawberries for this strawberry syrup recipe?
Yes, you can absolutely use frozen strawberries for this strawberry syrup recipe! There’s no need to thaw them beforehand; simply add them to the saucepan directly from the freezer. Be aware that they might release more liquid and require a slightly longer simmering time to achieve the desired consistency.
What can I use homemade strawberry syrup for?
Homemade strawberry syrup is incredibly versatile! It’s perfect for drizzling over pancakes, waffles, French toast, or crepes. You can also use it as a topping for ice cream, yogurt, cheesecake, or panna cotta. Stir it into sparkling water for a refreshing soda, add it to cocktails, or swirl it into oatmeal and smoothies for an extra burst of flavor.
How can I make my strawberry syrup thicker or thinner?
To make your strawberry syrup thicker, return the strained liquid to the saucepan and simmer it gently over low heat for an additional 5-10 minutes, or until it reduces to your preferred consistency. Remember, it will thicken further as it cools. If you prefer a thinner syrup, you can whisk in a tablespoon or two of water after it’s cooled to reach the desired consistency.
Homemade Strawberry Syrup
An easy and delicious homemade strawberry syrup recipe bursting with fresh fruit flavor, perfect for pancakes, waffles, drinks, and desserts. Made with just three simple ingredients!
- Total Time: 30 minutes
- Yield: 2 cups (approx. 16 servings) 1x
Ingredients
1 lb (approx. 3 cups) fresh ripe strawberries, hulled and chopped
1/2 cup granulated sugar (adjust to taste)
1 tbsp fresh lemon juice
Instructions
Step 1: Wash and hull the strawberries, then chop them into 1-inch pieces.
Step 2: In a medium saucepan, combine chopped strawberries, granulated sugar, and lemon juice. Stir and let sit for 10-15 minutes to macerate.
Step 3: Bring the mixture to a gentle simmer over medium heat, then reduce to low and cook for 15-20 minutes, stirring occasionally, until strawberries are very soft and liquid thickens slightly.
Step 4: For chunky syrup, mash strawberries directly in the pot. For smooth syrup, proceed to the next step.
Step 5: Strain the mixture through a fine-mesh sieve set over a heatproof bowl, pressing solids to extract all liquid. Discard or save solids.
Step 6: (Optional) For a thicker syrup, return strained liquid to saucepan and simmer on low for another 5-10 minutes until desired consistency is reached.
Step 7: Allow the strawberry syrup to cool completely before transferring to clean, airtight jars or bottles. Store in the refrigerator for up to 2-3 weeks or freeze for longer.
Notes
For best flavor, use ripe, in-season strawberries. Adjust sugar level to your personal preference and the sweetness of your berries. The syrup will thicken more as it cools. If you prefer a thinner syrup, you can add a tablespoon or two of water during the final simmering stage.
- Prep Time: 10 minutes
- Cook Time: 20 minutes
- Category: Sweet Breakfasts
- Cuisine: American
Nutrition
- Serving Size: 2 tbsp (30g)
- Calories: 70 kcal
- Sugar: 17 g
- Sodium: 1 mg
- Fat: 0.1 g
- Saturated Fat: 0 g
- Unsaturated Fat: 0 g
- Trans Fat: 0 g
- Carbohydrates: 18 g
- Fiber: 0.5 g
- Protein: 0.2 g
- Cholesterol: 0 mg
Keywords: strawberry syrup recipe, homemade syrup, fresh strawberry syrup, easy syrup recipe, pancake syrup, fruit syrup, strawberry sauce, breakfast topping, dessert syrup, summer recipe