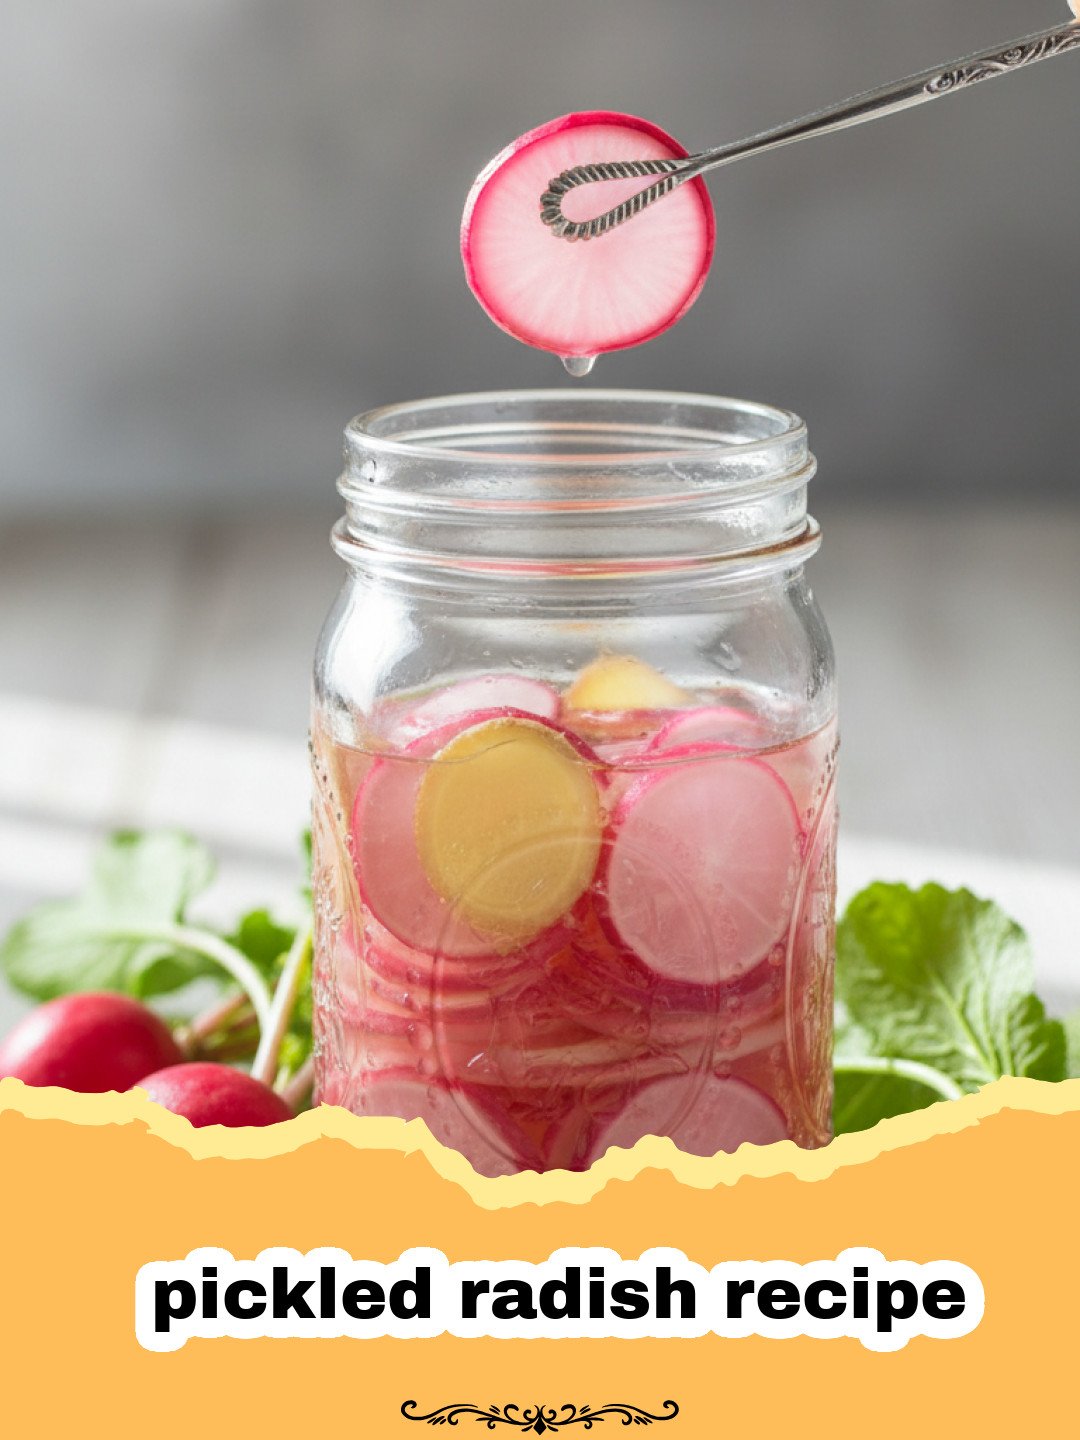
My culinary journey with the humble radish truly began when I discovered the magic of a good homemade pickled radish recipe. For years, radishes were just a garnish, a fleeting crunch on a salad, often overlooked. But then, one summer afternoon, during a visit to my grandmother’s quaint farmhouse, everything changed. She had a bowl of the most vibrant, jewel-toned radishes sitting on her counter, shimmering in a clear brine. “Try these,” she said, her eyes twinkling. I was hesitant, expecting the usual sharp bite. Instead, I was met with an explosion of tangy, subtly sweet, and still delightfully crisp flavor. It was a revelation! That moment sparked my obsession with quick pickles, and specifically, perfecting my own pickled radish recipe. It felt like uncovering a secret, a simple trick to elevate ordinary vegetables into extraordinary flavor bombs. This particular pickled radish recipe isn’t just about preserving radishes; it’s about transforming them into a versatile, zesty companion for almost any meal. It’s a taste of summer, a whisper of my grandmother’s kitchen, and an absolute game-changer for your palate. This is more than just food; it’s a memory in the making, and I can’t wait for you to experience it.
Why This Recipe is a Must-Try
- Vibrant Flavor Boost: Forget bland. This pickled radish recipe transforms simple radishes into tangy, slightly sweet, and perfectly crisp bites that awaken your taste buds. They add an incredible zest to anything from tacos to salads, offering a refreshing contrast.
- Incredibly Versatile: Once you make this pickled radish recipe, you’ll find endless ways to use them. They are fantastic as a side, a topping, or a snack. Their bright flavor cuts through rich dishes and complements fresh ones, making them a staple in your kitchen.
- Effortlessly Easy & Quick: Don’t be intimidated by pickling! This is a “quick pickle” method, meaning no canning equipment is needed and the radishes are ready to enjoy in just a few hours. With minimal prep and active cooking time, this pickled radish recipe is perfect for even the busiest home cooks.
- Healthy & Gut-Friendly: Radishes themselves are packed with nutrients, and the pickling process can enhance their digestibility. While not a true fermentation, the vinegar brine provides a unique acidity that can aid digestion and add a healthy zing to your meals.
Key Ingredient Notes
The success of any pickled radish recipe hinges on a few key components. Choosing the right radishes and understanding your brine ingredients will make all the difference.
- The Humble Radish: The star of our pickled radish recipe! Look for radishes that are firm, bright in color, and free from blemishes. Small to medium-sized radishes like Cherry Belle, French Breakfast, or Easter Egg varieties work beautifully. You can also use daikon radish for a milder flavor and different texture, though you may need to adjust slicing thickness. Always wash them thoroughly and trim off the greens and root ends. For optimal crunch, choose radishes that feel heavy for their size.
- Vinegar Choices: The backbone of any good pickled radish recipe brine! Distilled white vinegar is a classic for its sharp, clean acidity, allowing the radish flavor to shine. However, apple cider vinegar offers a slightly fruitier, mellower tang, adding another layer of complexity. Rice vinegar is even milder and sweeter, perfect if you prefer a less aggressive pickle. Feel free to experiment or even combine them to find your perfect balance. Ensure your vinegar has at least 5% acidity for safe pickling.
- Salt, Sugar, and Aromatics: These elements balance and enhance the vinegar. Non-iodized salt (like kosher salt or pickling salt) is crucial as iodine can turn vegetables dark and cloudy. Granulated sugar, even just a little, balances the tartness without making the pickles sweet. Beyond these basics, this pickled radish recipe truly shines with added aromatics. Consider whole black peppercorns, a few cloves of garlic (smashed lightly), a sprig of fresh dill, or a pinch of red pepper flakes for heat. These simple additions can transform your pickled radish recipe from good to absolutely unforgettable.
Step-by-Step Guide with Pro Tips
Making this pickled radish recipe is a straightforward process, but a few pro tips can elevate your results from good to exceptional.
- Step 1: Prepare Your Radishes. Begin by thoroughly washing your radishes under cold running water. Trim off both the green tops and the small root ends. For uniform pickling and presentation, slice the radishes thinly, about 1/8 to 1/4 inch thick. A mandoline slicer is fantastic for achieving consistent thickness, ensuring every slice of your pickled radish recipe has that perfect crunch. If using a knife, take your time for even slices.
- Step 2: Sterilize Your Jars. While not strictly necessary for quick pickles (as they are refrigerated), sterilizing your jars helps prevent spoilage and ensures the best flavor. Wash your glass jars and lids in hot, soapy water, then rinse well. You can either boil the jars for 10 minutes or run them through a dishwasher’s hot cycle. Allow them to air dry or use clean tongs to remove them from boiling water and place them on a clean towel. This step is crucial for any pickled radish recipe.
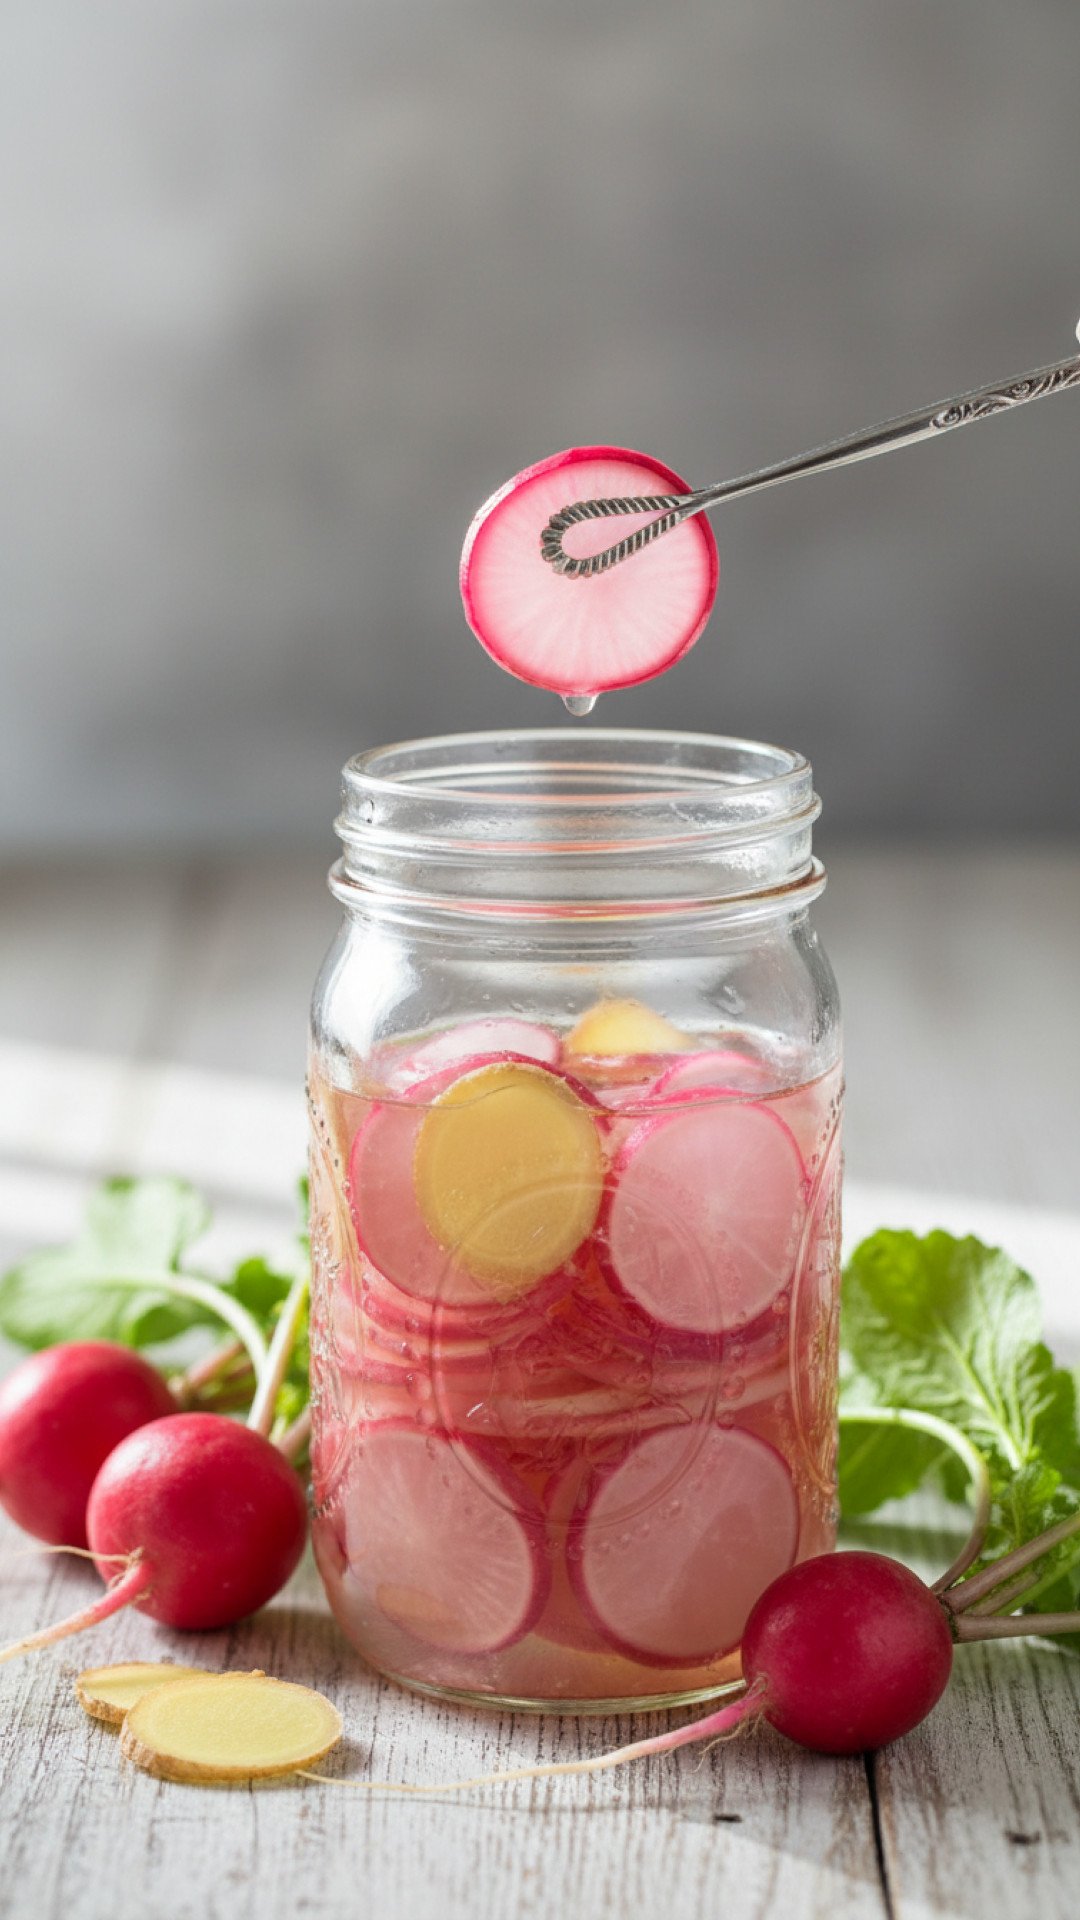
- Step 3: Pack the Jars. Tightly pack the sliced radishes into your prepared jars. You want them snug but not so compressed that the brine can’t circulate. If using aromatics like garlic cloves, dill sprigs, or peppercorns, distribute them evenly among the jars as you pack the radishes. This ensures every jar of your pickled radish recipe gets that burst of extra flavor.
- Step 4: Prepare the Brine. In a small saucepan, combine the water, vinegar, salt, and sugar. If you’re adding any other spices that need to infuse (like bay leaves or whole spices), add them now. Bring the mixture to a rolling boil over medium-high heat, stirring occasionally until the salt and sugar have completely dissolved. Once dissolved, remove the brine from the heat. Avoid over-boiling, as it can reduce the vinegar’s acidity.
- Step 5: Pour the Brine. Carefully pour the hot brine over the radishes in the jars, ensuring they are completely submerged. You might need to gently press down on the radishes with a spoon to release any trapped air bubbles and make sure all slices are covered. Fill the jars close to the rim, leaving about 1/2 inch of headspace.
- Step 6: Seal and Cool. Securely place the lids on the jars. Allow the jars to cool completely to room temperature on your countertop. This cooling process helps the radishes absorb the brine and start the pickling magic.
- Step 7: Refrigerate and Enjoy! Once cooled, transfer the sealed jars of your pickled radish recipe to the refrigerator. While they are technically ready to eat in about an hour, the flavors will deepen and meld beautifully after at least 24 hours. For the best taste and crunch, allow them to pickle for a full day before serving. These quick pickled radishes will keep well in the refrigerator for up to 2-3 weeks, though they rarely last that long in my house!
Pro Tip for Storage: For optimal freshness and to keep your kitchen organized, store your delicious pickled radishes in high-quality, airtight Basics Glass Food Storage containers. Not only do they look great, but they also help maintain the crunch and flavor of your pickles for longer!
Variations & Serving Suggestions
The beauty of this pickled radish recipe lies in its adaptability. Once you master the basic technique, the possibilities for customization are endless.
Spice It Up!
If you love a little heat, add 1/2 to 1 teaspoon of red pepper flakes to your brine when you’re boiling it. For a more intense kick, thinly slice a fresh jalapeño or serrano pepper and add it directly to the jars with the radishes. The heat will infuse into the brine, giving your pickled radish recipe a spicy edge perfect for balancing rich foods.
Herbaceous Delights
Fresh herbs can completely change the character of your pickled radishes. A few sprigs of fresh dill in each jar create a classic, bright flavor. Try adding fresh cilantro for an Asian or Mexican-inspired twist, or even a sprig of thyme or rosemary for an earthy undertone. Remember, less is often more when it comes to potent herbs.
Beyond Radishes: Mixed Pickles
This versatile brine isn’t just for radishes! You can use this exact pickled radish recipe brine to pickle other firm vegetables. Thinly sliced cucumbers, carrots, red onions, or even small florets of cauliflower can be added alongside or in place of radishes. Imagine a jar of vibrant mixed pickles, ready to brighten any plate!
Serving Suggestions: Elevate Your Meals
- Taco Topping: This is perhaps my favorite way to enjoy them. The crisp, tangy bite of pickled radishes cuts beautifully through the richness of carnitas, al pastor, or even simple black bean tacos.
- Burger & Sandwich Enhancer: Move over, plain pickles! A layer of pickled radishes adds a gourmet touch and delightful crunch to any burger or sandwich. They’re particularly fantastic with pulled pork or grilled chicken sandwiches.
- Salad Superstar: Toss a handful into your favorite green salad for an instant flavor and texture upgrade. They pair wonderfully with a creamy pasta salad or a simple vinaigrette-dressed mix.
- Charcuterie Boards & Appetizers: Their vibrant color and zingy flavor make them a perfect addition to cheese boards, antipasto platters, or alongside pâtés.
- Side Dish Extraordinaire: Serve them alongside grilled meats, roasted vegetables, or even a hearty breakfast scramble for a bright counterpoint. They’re particularly good with rich, fatty dishes, providing a refreshing palate cleanser. Consider them a vibrant accompaniment to a dish like Crispy Golden Perfection: Your New Favorite Fried Squash Recipe.
- Snack Attack: Honestly, sometimes I just eat them straight out of the jar. They’re that good!
Nutrition Information
Here’s an estimated nutritional breakdown for one serving of this pickled radish recipe. Please note that these are estimates and can vary based on specific ingredient brands and preparation methods.
| Nutrient | Amount per Serving |
|---|---|
| Serving Size | 1/4 cup |
| Calories | 25 kcal |
| Carbohydrates | 5g |
| Sugar Content | 3g |
| Fiber Content | 1g |
| Protein Content | 0.5g |
| Fat Content | 0.1g |
| Saturated Fat Content | 0g |
| Unsaturated Fat Content | 0.1g |
| Trans Fat Content | 0g |
| Cholesterol Content | 0mg |
| Sodium Content | 180mg |
Conclusion
And there you have it – your new favorite pickled radish recipe! From a simple garden vegetable to a dazzling culinary companion, quick pickled radishes are a testament to how easily a little tang can transform an entire meal. Whether you’re jazzing up tacos, adding crunch to a salad, or just enjoying them as a bright snack, this pickled radish recipe is sure to become a cherished addition to your recipe repertoire. It’s quick, it’s vibrant, and it’s undeniably delicious. So, grab some fresh radishes, whip up a batch, and let these little pink wonders bring a burst of joy to your table. Happy pickling!
FAQs
How long do pickled radishes last in the fridge?
Quick pickled radishes, stored in an airtight container in the refrigerator, will typically last for 2-3 weeks. For optimal flavor and crunch, it’s best to consume them within the first two weeks.
Can I use other vegetables with this pickled radish recipe?
Absolutely! This versatile brine works wonderfully for a variety of other firm vegetables. Feel free to pickle thinly sliced cucumbers, carrots, red onions, or even cauliflower florets using the same method.
Why are my pickled radishes not crunchy?
The most common reasons for non-crunchy pickled radishes are using old or soft radishes to begin with, or the brine being too hot for too long which can cook them slightly. Always start with fresh, firm radishes and cool the brine slightly before pouring if you’re very concerned, though hot brine helps infusion. Ensure they are fully chilled before serving.
What kind of radishes are best for pickling?
Small to medium-sized radishes like Cherry Belle, French Breakfast, or Easter Egg varieties are excellent for this pickled radish recipe due to their crisp texture and vibrant color. Daikon radishes can also be used for a milder flavor, but they should be sliced thinly.
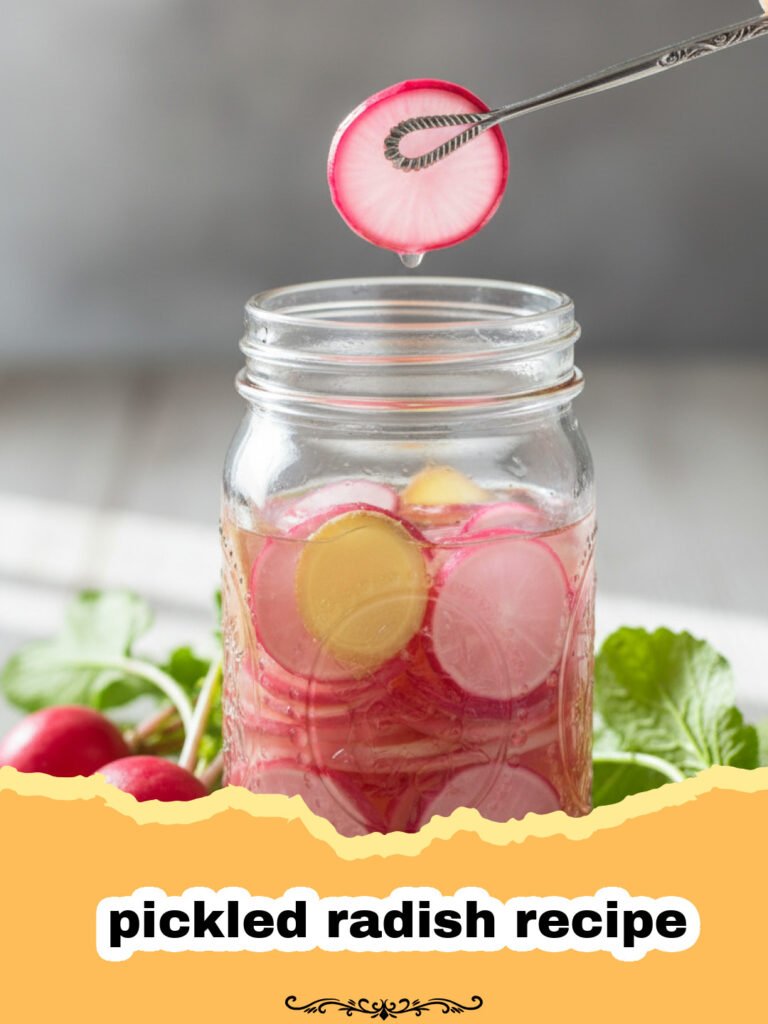
Quick & Easy Pickled Radishes
This quick pickled radish recipe transforms ordinary radishes into vibrant, tangy, and crunchy bites perfect for enhancing tacos, salads, sandwiches, and more.
- Total Time: 20 minutes + chilling
- Yield: 2 pint jars 1x
Ingredients
1 lb fresh radishes, trimmed and thinly sliced
1 cup water
1 cup white vinegar (or apple cider vinegar)
1 tablespoon granulated sugar
1 teaspoon kosher salt (non-iodized)
Optional aromatics: 2 cloves garlic, smashed; 1/2 tsp black peppercorns; 2 sprigs fresh dill; 1/2 tsp red pepper flakes
Instructions
Step 1: Prepare Your Radishes. Begin by thoroughly washing your radishes under cold running water. Trim off both the green tops and the small root ends. For uniform pickling and presentation, slice the radishes thinly, about 1/8 to 1/4 inch thick. A mandoline slicer is fantastic for achieving consistent thickness, ensuring every slice of your pickled radish recipe has that perfect crunch. If using a knife, take your time for even slices.
Step 2: Sterilize Your Jars. While not strictly necessary for quick pickles (as they are refrigerated), sterilizing your jars helps prevent spoilage and ensures the best flavor. Wash your glass jars and lids in hot, soapy water, then rinse well. You can either boil the jars for 10 minutes or run them through a dishwasher’s hot cycle. Allow them to air dry or use clean tongs to remove them from boiling water and place them on a clean towel. This step is crucial for any pickled radish recipe.
Step 3: Pack the Jars. Tightly pack the sliced radishes into your prepared jars. You want them snug but not so compressed that the brine can’t circulate. If using aromatics like garlic cloves, dill sprigs, or peppercorns, distribute them evenly among the jars as you pack the radishes. This ensures every jar of your pickled radish recipe gets that burst of extra flavor.
Step 4: Prepare the Brine. In a small saucepan, combine the water, vinegar, salt, and sugar. If you’re adding any other spices that need to infuse (like bay leaves or whole spices), add them now. Bring the mixture to a rolling boil over medium-high heat, stirring occasionally until the salt and sugar have completely dissolved. Once dissolved, remove the brine from the heat. Avoid over-boiling, as it can reduce the vinegar’s acidity.
Step 5: Pour the Brine. Carefully pour the hot brine over the radishes in the jars, ensuring they are completely submerged. You might need to gently press down on the radishes with a spoon to release any trapped air bubbles and make sure all slices are covered. Fill the jars close to the rim, leaving about 1/2 inch of headspace.
Step 6: Seal and Cool. Securely place the lids on the jars. Allow the jars to cool completely to room temperature on your countertop. This cooling process helps the radishes absorb the brine and start the pickling magic.
Step 7: Refrigerate and Enjoy! Once cooled, transfer the sealed jars of your pickled radish recipe to the refrigerator. While they are technically ready to eat in about an hour, the flavors will deepen and meld beautifully after at least 24 hours. For the best taste and crunch, allow them to pickle for a full day before serving. These quick pickled radishes will keep well in the refrigerator for up to 2-3 weeks, though they rarely last that long in my house!
Notes
For best results, use fresh, firm radishes. Adjust sugar and salt to your preference. The pickled radishes will be ready to enjoy in a few hours, but their flavor deepens after 24 hours in the refrigerator. Store in airtight containers for up to 2-3 weeks.
- Prep Time: 15 minutes
- Cook Time: 5 minutes
- Category: Side Dishes
- Cuisine: Global
Nutrition
- Serving Size: 1/4 cup
- Calories: 25 kcal
- Sugar: 3g
- Sodium: 180mg
- Fat: 0.1g
- Saturated Fat: 0g
- Unsaturated Fat: 0.1g
- Trans Fat: 0g
- Carbohydrates: 5g
- Fiber: 1g
- Protein: 0.5g
- Cholesterol: 0mg
Keywords: pickled radish recipe, quick pickles, tangy radishes, easy pickling, radish recipes, homemade pickles, vegan side dish, condiment recipe