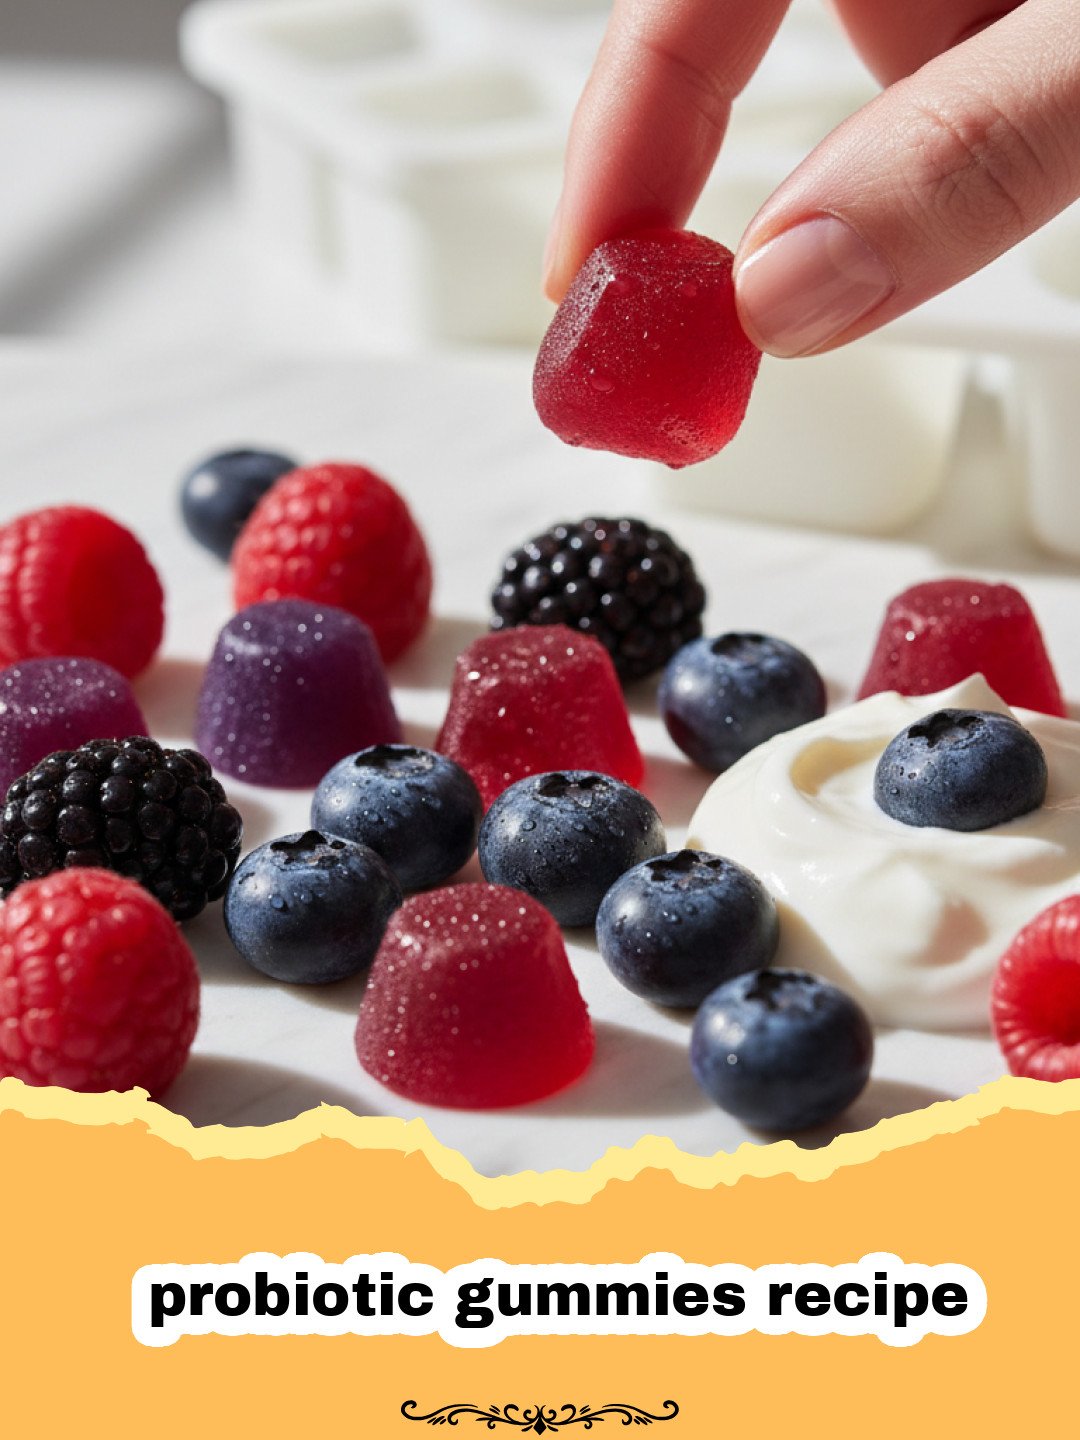
Remember those days when gut health was just… a thing grown-ups talked about, usually with a frown after a heavy meal? For me, it was a silent struggle for years. I’d always felt a bit off, a low hum of discomfort, and a nagging feeling that my body wasn’t quite happy. I tried everything – restrictive diets, expensive supplements, even some truly bizarre concoctions from health food stores. Nothing seemed to stick, and the idea of consistent probiotic intake felt like another chore on my already overflowing to-do list. Pills were easy to forget, and yogurts, while delicious, felt limiting.
Then, a few years ago, my niece, who’s notoriously picky, started having her own digestive issues. Her pediatrician suggested probiotics, but getting her to take anything that wasn’t candy-shaped was a battle. That’s when a lightbulb went off! What if I could combine the fun of a treat with the power of probiotics? The idea of a homemade probiotic gummies recipe started to take root. I spent weeks experimenting in my kitchen, turning it into a mad scientist’s lab, with bowls of gelatin, fruit juices, and probiotic powders everywhere. There were some epic failures, trust me – gummies that were too hard, too sticky, or simply refused to set. My poor family became involuntary taste-testers, bravely sampling my chewy experiments.
But then, one glorious afternoon, it happened. A batch of perfectly wobbly, delightfully chewy, and utterly delicious gummies emerged from the molds. My niece, skeptical at first, popped one into her mouth and her eyes lit up. “More, please!” she exclaimed. It was a win! Not only did she love them, but after a few weeks of consistent ‘gummy time’, we both noticed a difference. My own persistent bloating began to subside, and her tummy troubles became less frequent. This wasn’t just a snack; it was a little dose of wellness, disguised as a yummy treat. This Mediterranean Quinoa Salad is another great way to add healthy elements to your diet, but nothing quite beats the fun of these gummies!
This probiotic gummies recipe has become a staple in our home. It’s incredibly satisfying to know exactly what goes into each bite, avoiding all the artificial colors, flavors, and excessive sugars found in store-bought versions. Plus, making them is a surprisingly meditative and enjoyable process. It’s a simple, joyful way to take charge of your gut health, and it’s a recipe I’m so excited to share with you. Prepare to transform your approach to wellness, one delicious gummy at a time!
Why This Probiotic Gummies Recipe is a Must-Try
- Boosts Gut Health Naturally: Say goodbye to artificial additives! This probiotic gummies recipe uses natural ingredients to support a happy gut microbiome, contributing to better digestion, immunity, and overall well-being.
- Customizable & Delicious: You’re in control of the flavor! Choose your favorite fruit juices or purees, making these gummies a delightful and personalized snack. It’s an easy and fun way to incorporate the benefits of probiotics into your daily routine.
- Kid-Friendly & Fun: Getting kids to take supplements can be a nightmare. But these chewable, fruit-flavored probiotic gummies are a treat they’ll actually look forward to! They’re a fantastic alternative to sugary store-bought candies.
- No Artificial Anything: Unlike many commercial probiotic supplements or gummies, this homemade probiotic gummies recipe is free from artificial colors, flavors, high-fructose corn syrup, and unnecessary preservatives, giving you peace of mind with every bite.
Key Ingredient Notes
Crafting the perfect probiotic gummies recipe relies on a few star ingredients. Understanding their role is key to success!
High-Quality Gelatin
Gelatin is the foundation of our gummies. It’s not just for jiggling; it’s a powerhouse of amino acids, particularly glycine, which is known to support gut lining integrity, skin health, and joint health. For the best results, I highly recommend using a grass-fed, unflavored gelatin. This ensures you’re getting a product from healthy sources and one that dissolves smoothly without imparting any unwanted flavors. Collagen peptides are different from gelatin and will not set properly, so make sure you’re using true gelatin. The quality of your gelatin directly impacts the texture and health benefits of your probiotic gummies recipe.
Potent Probiotic Powder
This is where the ‘probiotic’ in our probiotic gummies recipe comes from! Not all probiotic powders are created equal. Look for a high-quality, multi-strain probiotic powder with a high CFU count (Colony Forming Units) that is shelf-stable or specifically designed to withstand being mixed into liquids. It’s crucial to add the probiotic powder when the liquid mixture has cooled down to a warm (not hot!) temperature. Extreme heat can kill the beneficial bacteria, rendering your gummies less effective. Choose a brand you trust and consider one formulated for children if making these for little ones.
Natural Fruit Juice or Puree
The flavor and natural sweetness of your probiotic gummies recipe come from your choice of fruit juice or puree. Opt for 100% pure fruit juice with no added sugars or artificial ingredients. Favorites include organic apple, grape, cranberry, orange, or a berry blend. Freshly squeezed juice or homemade fruit purees (like blended berries or mango) can also be used for an even more vibrant and natural flavor. Avoid juices with a high acid content like pure lemon or lime juice as they can sometimes interfere with gelatin setting, or use them sparingly in combination with other juices. The natural sugars in the fruit juice will also act as a substrate for the probiotics, keeping them happy!
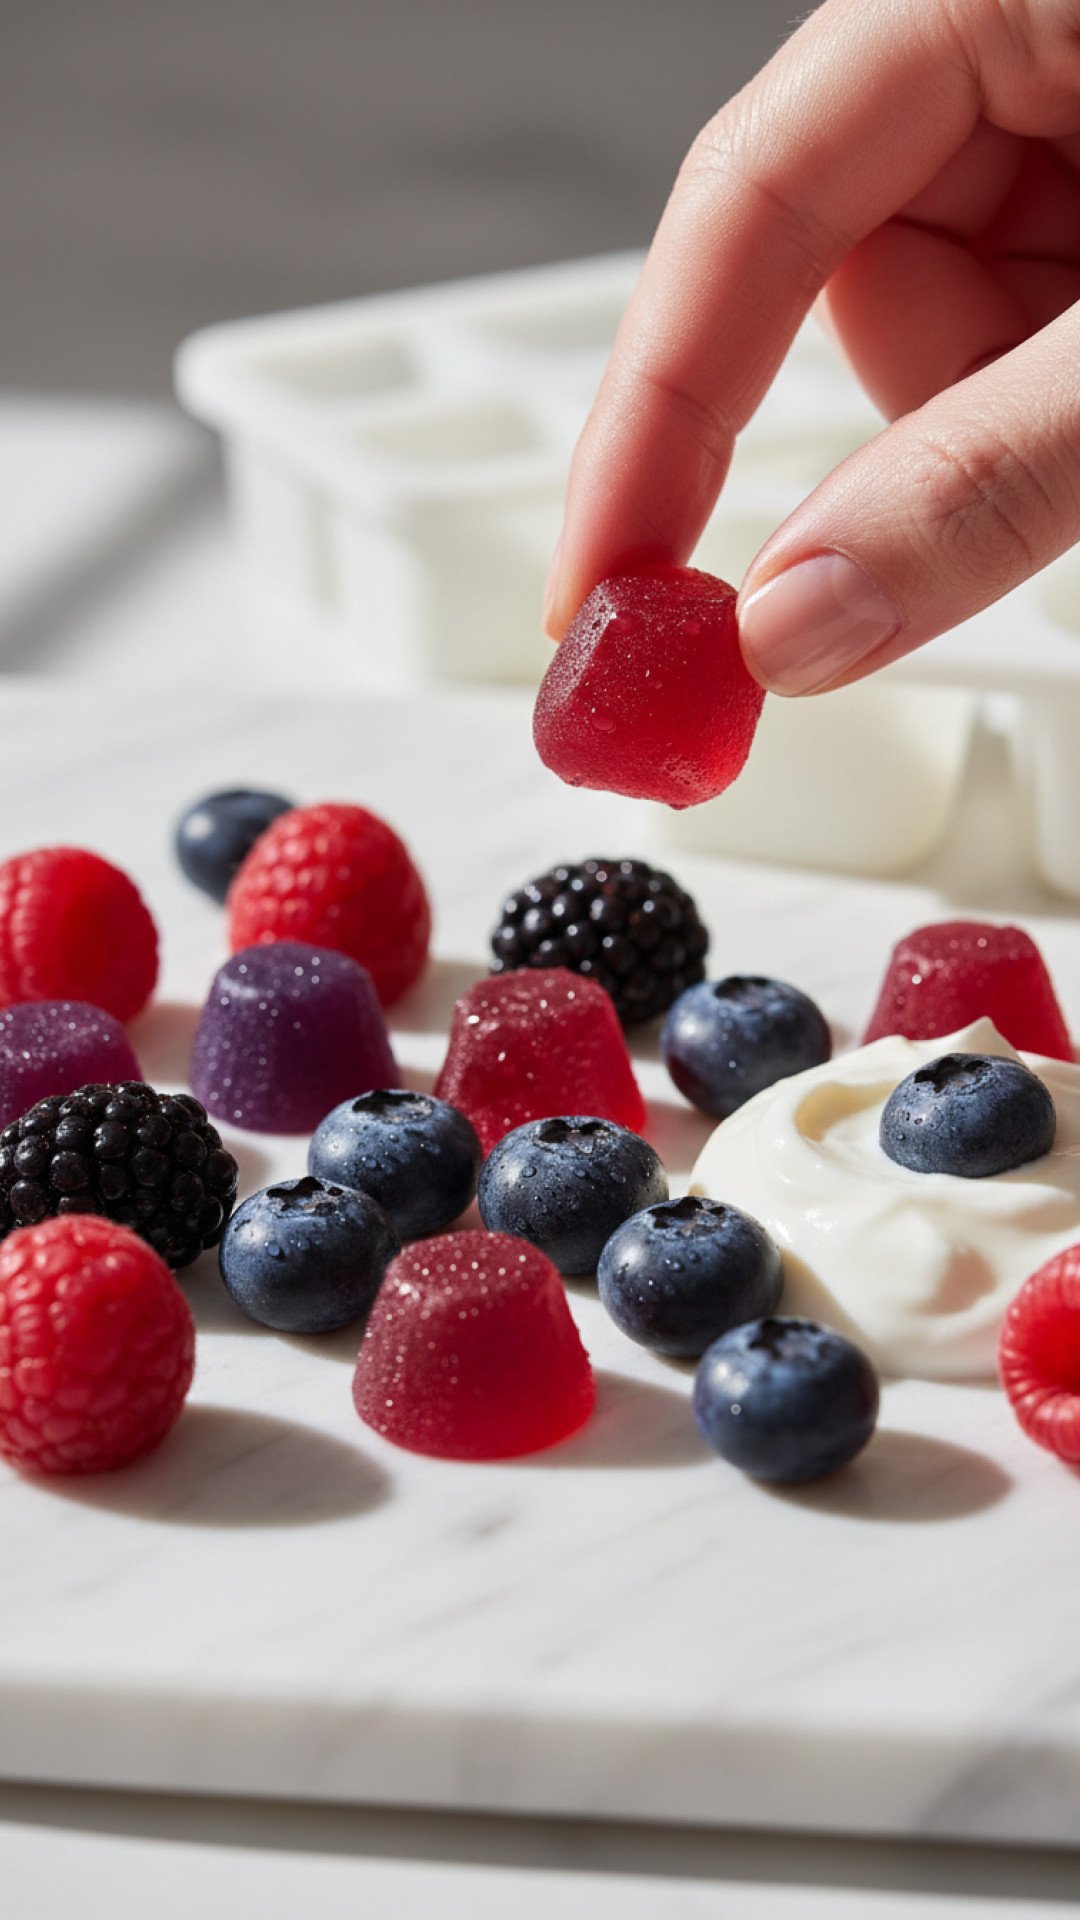
Step-by-Step Guide with Pro Tips
Making your own probiotic gummies recipe is simpler than you might think! Follow these steps for perfect, gut-friendly treats every time.
- Step 1: Gather your ingredients and equipment. You’ll need your chosen fruit juice (or puree), high-quality gelatin powder, and your favorite probiotic powder. Also have a saucepan, whisk, measuring cups, and silicone molds ready. Small silicone molds (like candy molds or ice cube trays with fun shapes) work best for easy removal and portion control.
- Step 2: In a small saucepan, pour 1 cup of your chosen fruit juice. Sprinkle 2 tablespoons of gelatin powder evenly over the cold juice. This is called ‘blooming’ the gelatin. Let it sit for 5-10 minutes without stirring. This allows the gelatin granules to absorb the liquid and swell, preventing lumps later.
- Step 3: After blooming, place the saucepan over low heat. Gently whisk the mixture constantly until the gelatin is completely dissolved. This should take about 3-5 minutes. Do NOT let the mixture boil, as excessive heat can reduce the gelatin’s setting power and destroy probiotic viability if added too early. The mixture should be smooth and clear.
- Step 4: Remove the saucepan from the heat and let the mixture cool for about 10-15 minutes. It should be warm to the touch, but not hot. This step is CRUCIAL for preserving the live cultures in your probiotic powder.
- Step 5: Once the gelatin mixture has cooled sufficiently, whisk in 1-2 teaspoons of your probiotic powder. Ensure it’s thoroughly combined without any clumps. Add more or less probiotic powder depending on the potency of your chosen brand and desired dosage.
- Step 6: Carefully pour the warm liquid into your silicone molds. A liquid measuring cup with a spout can make this process much easier and less messy. Fill the molds about three-quarters full.
- Step 7: Transfer the filled silicone molds to the refrigerator. Allow them to chill and set for at least 2-3 hours, or until firm. The longer they chill, the firmer they will be.
- Step 8: Once completely set, gently pop the probiotic gummies out of their molds. Store them in an airtight container in the refrigerator. They typically last for 1-2 weeks. For longer storage, you can freeze them, but their texture might change slightly upon thawing. Remember to store them in quality Basics Glass Food Storage containers.
Variations & Serving Suggestions
One of the best things about this probiotic gummies recipe is its versatility! Once you’ve mastered the basic technique, feel free to get creative with flavors and additions.
Flavor Variations:
- Berry Blast: Use a blend of cranberry, raspberry, and strawberry juice for a vibrant, antioxidant-rich probiotic gummies recipe.
- Tropical Sunshine: Opt for pineapple, mango, or passion fruit juice. A touch of coconut milk can also be swirled in for a creamy tropical twist.
- Citrus Zing: Combine orange and a splash of grapefruit juice. Be mindful of acidic juices, as mentioned, and balance them with less acidic options.
- Green Goodness: For the adventurous, blend in a small amount of spirulina or spinach powder (undetectable flavor-wise, but adds nutrients!) with apple juice.
Nutritional Boosts:
- Vitamin C Boost: Add a tiny pinch of vitamin C powder (ascorbic acid) for an extra immune kick.
- Superfood Swirls: Before pouring into molds, swirl in a tiny amount of powdered superfoods like açai, camu camu, or even a very small amount of finely ground flaxseed (though this might affect texture slightly).
Serving Suggestions:
- Daily Dose: Enjoy 1-3 gummies daily as a simple and delicious way to get your probiotics.
- Lunchbox Treat: Pack a few in your child’s lunchbox for a healthy, fun snack.
- Post-Workout Refresh: The gelatin’s amino acids and the fruit’s natural sugars make these a great recovery snack.
- Healthy Dessert: A guilt-free way to satisfy your sweet tooth! Paired with a more indulgent treat like the Homemade Dubai Chocolate Bar, these probiotic gummies ensure you’re still getting some goodness.
Nutrition Information
Here’s a breakdown of the estimated nutrition for one serving (2-3 gummies) of this probiotic gummies recipe, based on typical fruit juice and gelatin amounts. Please note that exact values may vary depending on your specific ingredients.
| Nutrient | Amount Per Serving |
|---|---|
| Calories | 25-35 kcal |
| Carbohydrates | 5-8 g |
| Protein | 2-3 g |
| Total Fat | 0 g |
| Saturated Fat | 0 g |
| Trans Fat | 0 g |
| Unsaturated Fat | 0 g |
| Cholesterol | 0 mg |
| Sodium | 5-10 mg |
| Fiber | 0-1 g |
| Sugars | 4-7 g |
Conclusion
And there you have it! Your very own, incredibly simple, and wonderfully effective probiotic gummies recipe. I hope this journey has inspired you to take charge of your gut health in a way that’s both enjoyable and delicious. From my kitchen to yours, these homemade probiotic gummies are more than just a snack – they’re a tiny, vibrant commitment to feeling your best, one chewy, fruity bite at a time. So, go ahead, get creative with your flavors, embrace the joy of making something truly good for you, and share the gut-healthy love with your friends and family. Your tummy will thank you!
FAQs
How long do homemade probiotic gummies last?
Homemade probiotic gummies should be stored in an airtight container in the refrigerator and typically last for 1 to 2 weeks. For longer storage, you can freeze them, though their texture might change slightly upon thawing.
Can I use any probiotic powder for this probiotic gummies recipe?
It’s best to use a high-quality, multi-strain probiotic powder that is shelf-stable or specifically formulated to handle being mixed into liquids. Crucially, ensure the gelatin mixture has cooled to a warm (not hot!) temperature before adding the probiotic powder, as excessive heat can destroy the beneficial bacteria.
What kind of molds should I use for probiotic gummies?
Small silicone molds are ideal for making probiotic gummies. Candy molds with fun shapes, small ice cube trays, or even silicone baking mats with raised sections work wonderfully for easy removal and portion control.
Can I make this probiotic gummies recipe vegan?
Unfortunately, traditional gelatin, which is crucial for the texture and setting of these gummies, is an animal product. While agar-agar can be used as a vegan alternative to gelatin, it has a different setting consistency and requires different ratios, so this specific probiotic gummies recipe is not directly adaptable for a vegan version without significant modification.
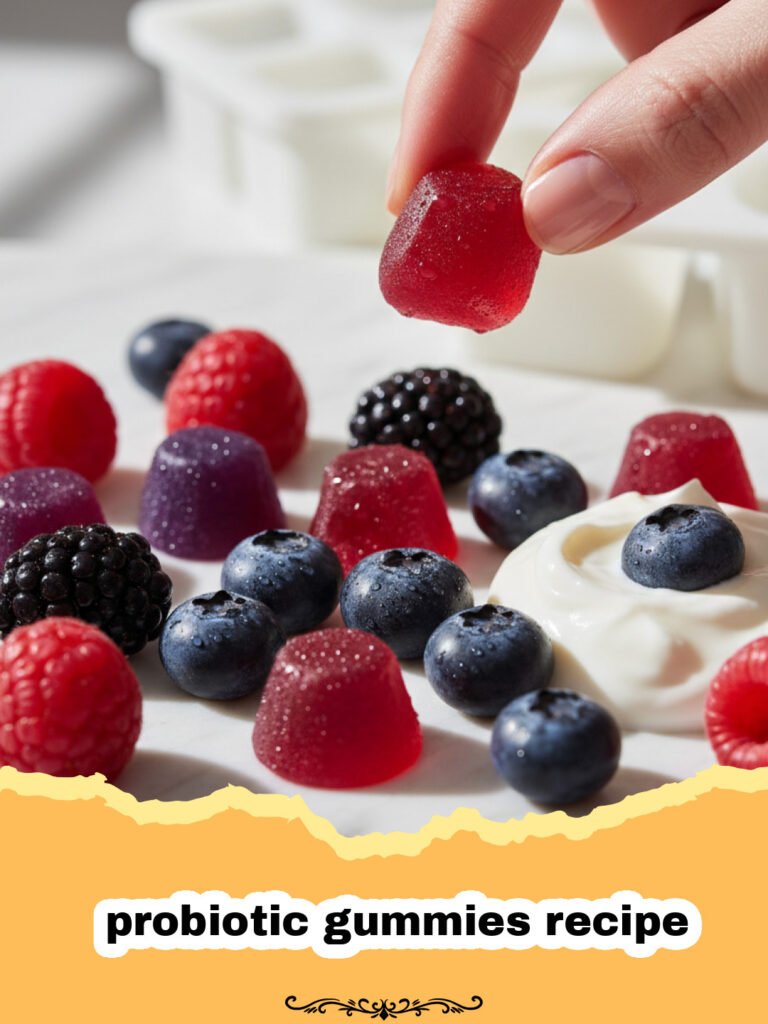
Homemade Probiotic Gummies Recipe
Boost your gut health with this easy-to-make, customizable, and delicious homemade probiotic gummies recipe. Perfect for adults and kids!
- Total Time: 20 minutes (plus 2-3 hours chilling)
- Yield: Approx. 60 small gummies (about 20 servings)
Ingredients
1 cup 100% fruit juice (e.g., apple, grape, cranberry, berry blend, or orange)
2 tablespoons unflavored grass-fed gelatin powder
1–2 teaspoons high-quality probiotic powder (shelf-stable)
Optional: a pinch of vitamin C powder for extra boost
Instructions
Step 1: In a small saucepan, pour 1 cup of your chosen fruit juice. Sprinkle 2 tablespoons of gelatin powder evenly over the cold juice. Let it sit for 5-10 minutes to ‘bloom’ the gelatin.
Step 2: Place the saucepan over low heat. Gently whisk the mixture constantly until the gelatin is completely dissolved and the liquid is smooth and clear. Do NOT let it boil.
Step 3: Remove the saucepan from the heat and let the mixture cool for about 10-15 minutes, until it is warm to the touch but not hot.
Step 4: Once cooled, whisk in 1-2 teaspoons of your probiotic powder until thoroughly combined and clump-free. If using, add a pinch of vitamin C powder here.
Step 5: Carefully pour the warm liquid into silicone molds. A liquid measuring cup with a spout can help with precision.
Step 6: Transfer the filled molds to the refrigerator and chill for at least 2-3 hours, or until the gummies are completely firm.
Step 7: Gently pop the set probiotic gummies out of their molds. Store them in an airtight container in the refrigerator for up to 1-2 weeks.
Notes
Ensure the gelatin mixture cools significantly before adding probiotic powder to protect the live cultures. For best results, use high-quality, unflavored gelatin and a reputable probiotic powder.
- Prep Time: 15 minutes
- Cook Time: 5 minutes
- Category: Appetizers & Snacks
- Cuisine: Healthy
Nutrition
- Serving Size: 3 gummies
- Calories: 28 kcal
- Sugar: 5 g
- Sodium: 7 mg
- Fat: 0 g
- Saturated Fat: 0 g
- Unsaturated Fat: 0 g
- Trans Fat: 0 g
- Carbohydrates: 6 g
- Fiber: 0.5 g
- Protein: 2.5 g
- Cholesterol: 0 mg
Keywords: probiotic gummies recipe, homemade gummies, gut health snacks, healthy treats, kid-friendly probiotics, gelatin recipes, DIY probiotics, immune support gummies