There’s nothing quite like the crisp, tangy bite of a homemade pickle, and mastering a classic dill pickle recipe has been a culinary quest of mine for years. I remember my grandma, bustling in her sun-drenched kitchen every summer, a symphony of snapping cucumbers and bubbling brine. Her pickles were legendary – crunchy, garlicky, and perfectly seasoned. As a child, I’d sneak one from the jar, the cool, briny juice dripping down my chin, a taste of pure summer joy. While I’ve experimented with many pickling projects over the years, from spicy sriracha versions to sweet bread and butter delights, it’s this traditional dill pickle recipe that truly captures my heart and palate. It’s a taste of nostalgia, a labor of love, and a fantastic way to preserve the bounty of the harvest. Join me as we recreate that magical crunch and unforgettable flavor.
Why This Dill Pickle Recipe is a Must-Try
- Unbeatable Freshness and Flavor: Unlike store-bought options, making your own dill pickle recipe allows you to control the quality of ingredients, resulting in pickles bursting with vibrant, fresh flavor. You’ll taste the difference that fresh dill and garlic make!
- Perfectly Customizable: This versatile dill pickle recipe is a fantastic base. Want more spice? Add chili flakes. Prefer a sweeter note? Adjust the sugar. You can truly make them your own.
- Satisfying Crunch, Every Time: We’ll cover all the tips and tricks to ensure your homemade pickles maintain that satisfying snap, which is often lost in commercially processed varieties. Say goodbye to soggy pickles!
- Economical and Rewarding: Preserving your own food is incredibly satisfying and can save you money in the long run. Plus, there’s immense pride in sharing your homemade efforts with friends and family. This particular dill pickle recipe offers a great entry point into the world of home canning.
Key Ingredient Notes for Your Dill Pickle Recipe
The success of any great dill pickle recipe hinges on the quality and freshness of its core ingredients. Let’s dive into what makes them sing:
Cucumbers: The Star of the Show
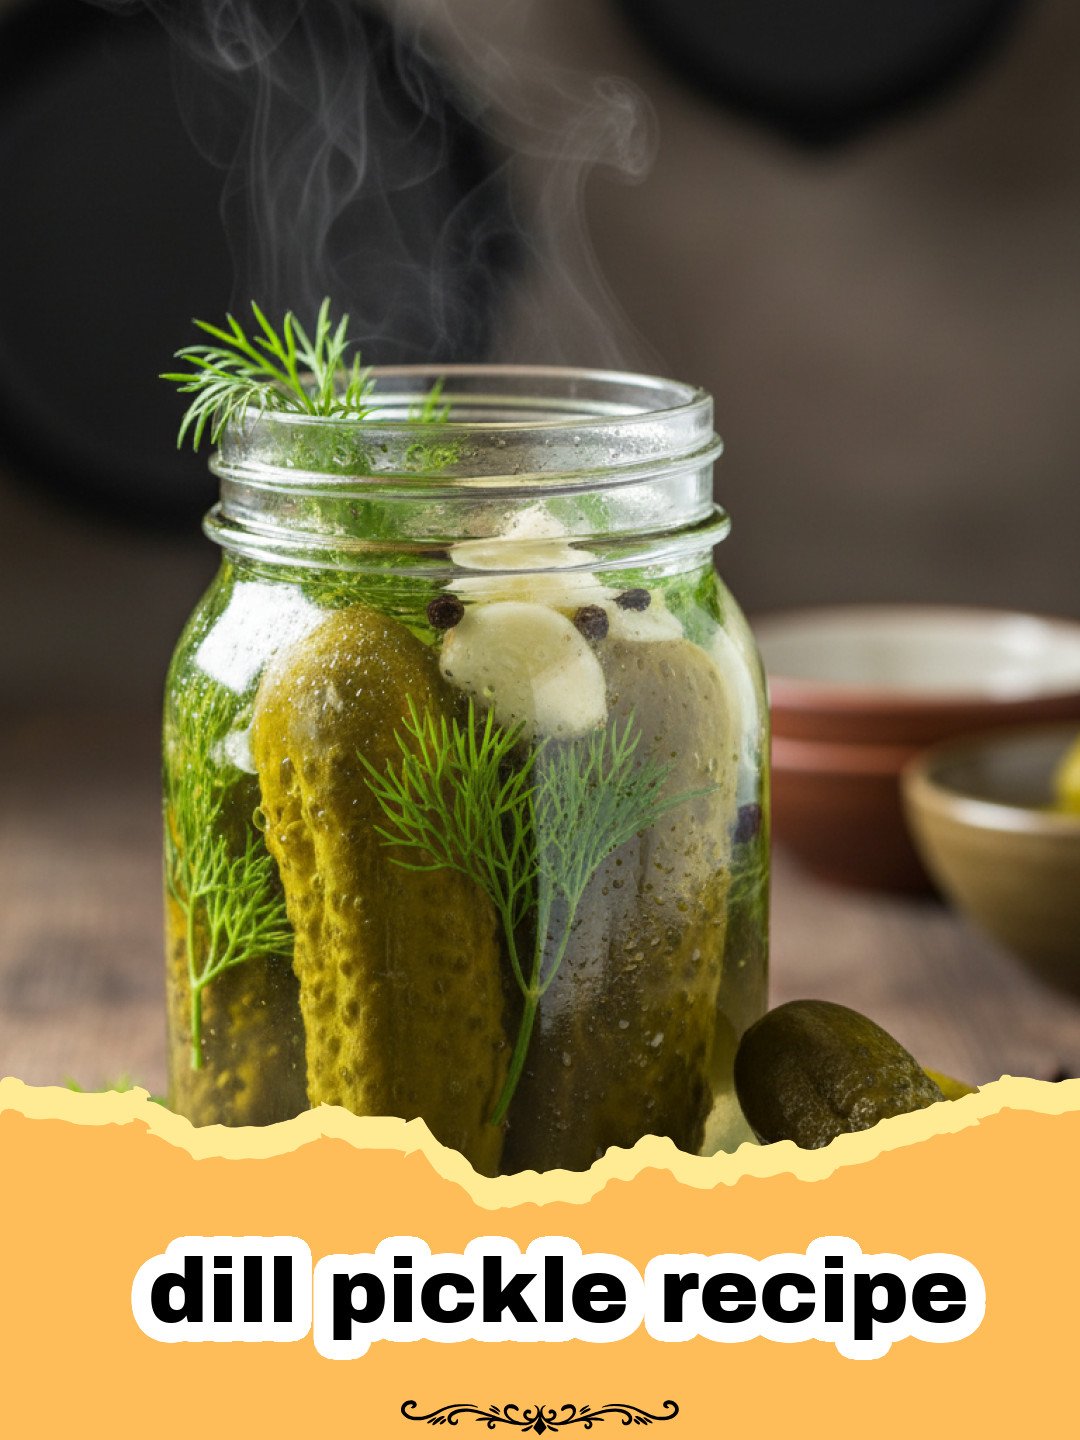
For the absolute best pickles, you need pickling cucumbers. These are typically shorter, fatter, and have bumpy skins, making them ideal for absorbing brine and staying crisp. Varieties like Kirby or National Pickling are perfect. Avoid slicing cucumbers often found in supermarkets, as they tend to be too watery and have thicker skins, which can lead to soggy results. If you can, source them fresh from a farmer’s market – the fresher, the better! For this dill pickle recipe, aim to use them within 24 hours of picking for maximum crunch.
Fresh Dill: The Signature Flavor
Dill is non-negotiable for a classic dill pickle recipe. We’re talking about fresh dill heads (the flowering part of the plant) and/or fresh dill sprigs. The dill heads contain concentrated flavor and also some natural compounds that aid in preservation. If you can’t find dill heads, use plenty of fresh dill sprigs. Dried dill simply won’t impart the same bright, aromatic essence that defines a true dill pickle. Don’t skimp here!
Pickling Salt vs. Table Salt
This is crucial! Always use pickling salt (also known as canning salt) for your dill pickle recipe. It’s pure granulated sodium chloride, free from anti-caking agents and iodine found in common table salt. These additives can turn your brine cloudy and potentially alter the color and texture of your pickles. Kosher salt is also a good alternative, provided it’s pure and doesn’t contain additives. Precision with salt in any dill pickle recipe is key for both flavor and safety.
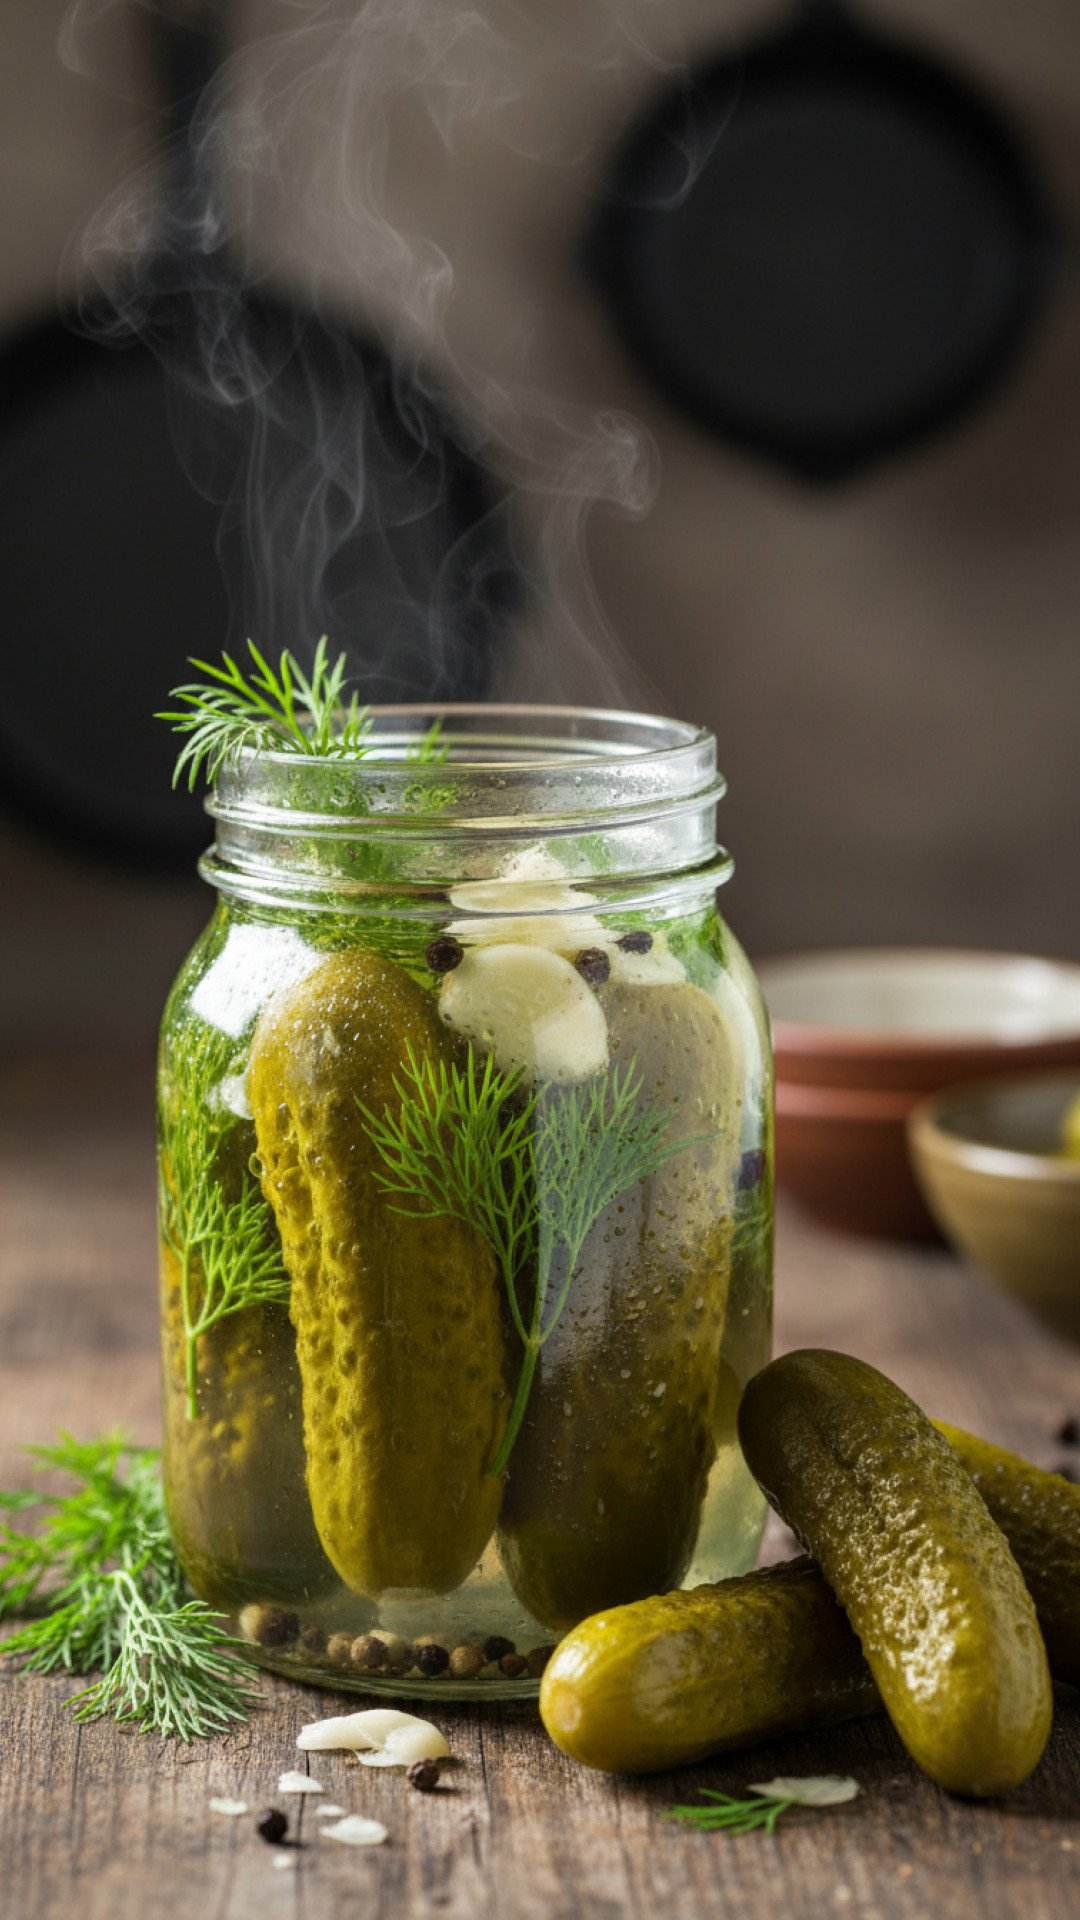
Step-by-Step Guide with Pro Tips for Your Dill Pickle Recipe
Getting a perfect batch of homemade dill pickles is easier than you think, especially with this foolproof dill pickle recipe. Follow these steps carefully for crunchy, flavorful results.
Preparing Your Jars and Cucumbers
Step 1: Sterilize your canning jars and lids. Wash them thoroughly with hot, soapy water, rinse well, then place the jars in a large pot, cover with water, and bring to a boil. Boil for 10 minutes. Keep them in the hot water until ready to fill. New lids typically don’t require boiling, but check manufacturer instructions.
Step 2: Prepare your cucumbers. Wash them thoroughly, scrubbing gently to remove any dirt. Trim off both ends of the cucumbers. For spears, cut them lengthwise into quarters or halves, depending on their size. For slices, cut into 1/4 to 1/2-inch rounds. This dill pickle recipe works well with both.
Step 3: Pack the jars. In each sterilized quart jar, place 1-2 dill heads or several sprigs of fresh dill, 2-3 cloves of peeled garlic, and 1/2 teaspoon of pickling spices (optional, but highly recommended for depth of flavor). Then, tightly pack the prepared cucumber spears or slices into each jar. The tighter you pack them, the less likely they are to float, which helps with even pickling.
Making the Brine
Step 4: In a large non-reactive pot, combine the white vinegar, water, pickling salt, and granulated sugar. Bring the mixture to a rolling boil over high heat, stirring occasionally to ensure the salt and sugar dissolve completely. This creates the flavorful brine for your dill pickle recipe.
Step 5: Carefully pour the hot brine over the packed cucumbers in the jars, leaving about 1/2 inch of headspace (the space between the top of the liquid and the rim of the jar). Tap the jars gently on the counter to release any trapped air bubbles. Use a clean knife or plastic utensil to gently push down on the cucumbers and release any stubborn air bubbles. Add more brine if necessary to maintain headspace.
Sealing and Processing (Optional, for shelf-stability)
Step 6: Wipe the rims of the jars clean with a damp cloth. Place the lids on the jars and screw on the bands until fingertip-tight. This is crucial for proper sealing and for this dill pickle recipe to last.
Step 7: For shelf-stable pickles (which can be stored at room temperature), process the jars in a boiling water canner. Place the filled jars on a rack in the canner, ensuring they are covered by at least 1-2 inches of water. Bring the water to a full boil and process quart jars for 15 minutes (adjusting for altitude if necessary). After processing, turn off the heat, remove the canner lid, and let the jars sit in the hot water for 5 minutes before carefully removing them to a wire rack to cool completely for 12-24 hours. You should hear the satisfying ‘pop’ as the lids seal. If any lids don’t seal, refrigerate those jars and consume within a few weeks. For a quick dill pickle recipe, you can skip processing and just refrigerate, but they won’t last as long.
Curing and Enjoying
Step 8: Store sealed jars in a cool, dark place for at least 1-2 weeks for the flavors to meld and develop. For optimal flavor and crunch from this dill pickle recipe, wait 3-4 weeks. Once opened, refrigerate the pickles and enjoy within a few weeks. If you opted for a quick pickle, they’ll be ready to eat in 24-48 hours, though the flavor will deepen over a week in the fridge. Consider using Basics Glass Food Storage containers for easy storage of your quick pickles or any unsealed jars.
Variations & Serving Suggestions for Your Dill Pickle Recipe
This classic dill pickle recipe is fantastic on its own, but it’s also incredibly versatile. Here are some ideas to spice things up and ways to enjoy your homemade creations:
Flavor Variations:
- Spicy Dill Pickles: Add 1-2 dried red chili peppers or a teaspoon of red pepper flakes to each jar along with the garlic and dill. For a bolder kick, try a few slices of fresh jalapeño.
- Garlic Lover’s Dill: Double the garlic! Seriously, if you love garlic, you won’t regret it. You can even roast the garlic cloves slightly before adding them for a mellower, deeper flavor.
- Sweet & Sour Dill: While a classic dill pickle recipe is tangy, you can add a touch more sugar to the brine (up to 1/4 cup per quart of brine) for a slightly sweeter profile without venturing into bread and butter pickle territory.
- Herbal Infusions: Experiment with other herbs like a bay leaf, a few black peppercorns, or even a sprig of fresh tarragon in your jars for unique aromatic notes.
Serving Suggestions:
- Classic Sandwich Companion: A no-brainer! Slices or spears from your dill pickle recipe are the perfect tangy complement to any sandwich, especially something hearty like a Philly Cheesesteak Sandwich or a simple turkey club.
- Burger Topper: Elevate your burgers with crunchy homemade dill pickle slices.
- Snack Attack: Just grab a spear straight from the jar! They’re a refreshing, low-calorie snack.
- Chop ’em Up: Dice your pickles and add them to tuna salad, chicken salad, or potato salad for an extra burst of flavor and crunch. They’re also a key ingredient in homemade tartar sauce.
- Charcuterie Board Star: Homemade pickles are a sophisticated addition to any cheese or charcuterie board, offering a bright contrast to rich meats and cheeses.
- Bloody Mary Garnish: Use a long, crunchy spear from this dill pickle recipe as an impressive garnish for your next Bloody Mary cocktail. They also make fantastic picklebacks!
- Gazpacho Side: Serve a refreshing bowl of Gazpacho with a side of your crisp homemade dill pickles.
Nutrition Information
| Nutrient | Amount Per Serving |
|---|---|
| Calories | 15 kcal |
| Carbohydrate Content | 3 g |
| Cholesterol Content | 0 mg |
| Fat Content | 0 g |
| Fiber Content | 1 g |
| Protein Content | 1 g |
| Saturated Fat Content | 0 g |
| Serving Size | 1 spear (approx. 50g) |
| Sodium Content | 250 mg |
| Sugar Content | 1 g |
| Trans Fat Content | 0 g |
| Unsaturated Fat Content | 0 g |
Conclusion
There you have it – your comprehensive guide to creating the most incredible, crunchy, and flavorful homemade pickles using our classic dill pickle recipe. This journey from garden-fresh cucumber to tangy, briny delight is one of the most rewarding culinary experiences you can have. Whether you’re a seasoned canner or just dipping your toes into the world of food preservation, this dill pickle recipe is approachable and yields truly spectacular results. So gather your ingredients, fire up your kitchen, and get ready to enjoy the unparalleled taste of homemade goodness. Happy pickling!
FAQs
What type of cucumbers are best for this dill pickle recipe?
For the best results with this dill pickle recipe, always use pickling cucumbers such as Kirby or National Pickling varieties. These cucumbers are typically smaller, firmer, and have thinner skins, which helps them stay crisp and absorb the brine effectively. Avoid slicing cucumbers, which can become soggy.
How long do homemade dill pickles last?
If processed correctly in a boiling water canner and sealed, your homemade dill pickles can last for at least one year in a cool, dark place. Once opened, they should be stored in the refrigerator and consumed within a few weeks for the best quality and safety. Quick pickles (unprocessed) must be refrigerated and enjoyed within 2-3 weeks.
Why are my homemade dill pickles not crunchy?
Several factors can lead to soggy pickles. Ensure you’re using fresh pickling cucumbers (not slicing cucumbers) and pickling them within 24 hours of harvest. Trim both ends of the cucumbers. Use pickling salt, as additives in other salts can cause softness. Also, ensure your brine has the correct vinegar-to-water ratio. You can also add 1/2 teaspoon of pickle crisp (calcium chloride) per jar for guaranteed crunch in your dill pickle recipe.
Can I reuse the pickling brine for another batch of pickles?
It is not recommended to reuse pickling brine for subsequent batches of pickles, especially if you are canning for shelf-stability. The acidity and salt levels can be altered by the previous pickling process, which could compromise the safety and quality of a new batch. Always make fresh brine for each new batch of this dill pickle recipe.
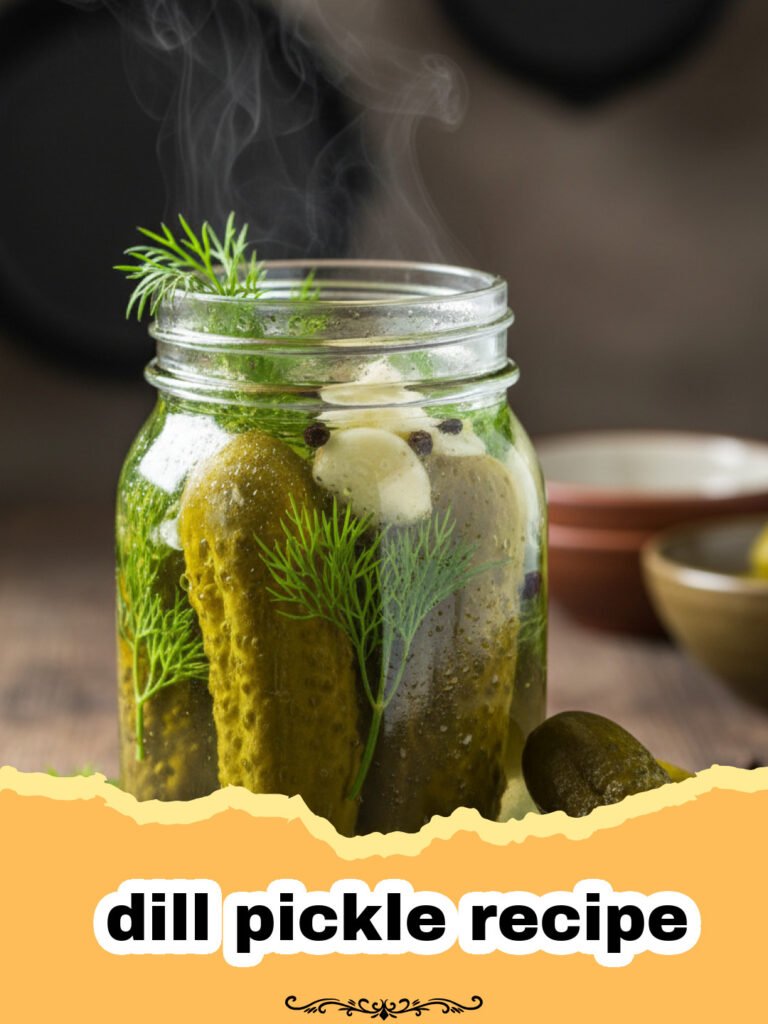
Classic Crispy Homemade Dill Pickles
This classic dill pickle recipe delivers perfectly crunchy, tangy, and aromatic pickles every single time. Ideal for sandwiches, snacks, or just straight from the jar, these homemade dill pickles are superior to anything store-bought.
- Total Time: 7 days 45 minutes
- Yield: 4 quart jars 1x
Ingredients
8–10 lbs pickling cucumbers (Kirby or National Pickling), washed and trimmed
8–12 sprigs fresh dill or 4–8 dill heads
8–12 cloves garlic, peeled
2–4 tsp pickling spices (optional)
8 cups white vinegar (5% acidity)
8 cups water
1/2 cup pickling salt
2 tbsp granulated sugar (optional, for flavor balance)
Instructions
Step 1: Sterilize your canning jars and lids by washing thoroughly with hot, soapy water, rinsing, then placing jars in a large pot, covering with water, and boiling for 10 minutes. Keep them hot until ready to fill.
Step 2: Wash cucumbers thoroughly. Trim off both ends. Cut into spears (quarters or halves lengthwise) or 1/4 to 1/2-inch slices, depending on preference for this dill pickle recipe.
Step 3: In each sterilized quart jar, place 1-2 dill heads or several sprigs of fresh dill, 2-3 cloves of peeled garlic, and 1/2 teaspoon of pickling spices (if using). Tightly pack the prepared cucumber spears or slices into each jar.
Step 4: In a large non-reactive pot, combine the white vinegar, water, pickling salt, and granulated sugar. Bring the mixture to a rolling boil over high heat, stirring until salt and sugar are completely dissolved.
Step 5: Carefully pour the hot brine over the packed cucumbers in the jars, leaving 1/2 inch of headspace. Tap jars gently and use a clean knife to release air bubbles. Add more brine if needed to maintain headspace.
Step 6: Wipe jar rims clean. Place lids on jars and screw on bands until fingertip-tight.
Step 7: For shelf-stable pickles, process jars in a boiling water canner for 15 minutes (adjust for altitude). Remove and let cool on a wire rack for 12-24 hours. For quick pickles, skip this step and refrigerate once cool.
Step 8: Store sealed jars in a cool, dark place for at least 1-2 weeks, ideally 3-4 weeks, for flavors to fully develop. Refrigerate after opening and enjoy within a few weeks.
Notes
For extra crispness, you can add 1/2 teaspoon of pickle crisp (calcium chloride) per quart jar before adding the brine. Ensure all cucumbers are fully submerged in the brine during the curing process to prevent spoilage. Always use fresh, firm pickling cucumbers for the best results.
- Prep Time: 45 minutes
- Cook Time: 7 days
- Category: How To
- Cuisine: American
Nutrition
- Serving Size: 1 spear (approx. 50g)
- Calories: 15 kcal
- Sugar: 1 g
- Sodium: 250 mg
- Fat: 0 g
- Saturated Fat: 0 g
- Unsaturated Fat: 0 g
- Trans Fat: 0 g
- Carbohydrates: 3 g
- Fiber: 1 g
- Protein: 1 g
- Cholesterol: 0 mg
Keywords: dill pickle recipe, homemade pickles, canning pickles, crispy pickles, garlic dill pickles, pickling cucumbers, preserving food, tangy pickles, best dill pickles