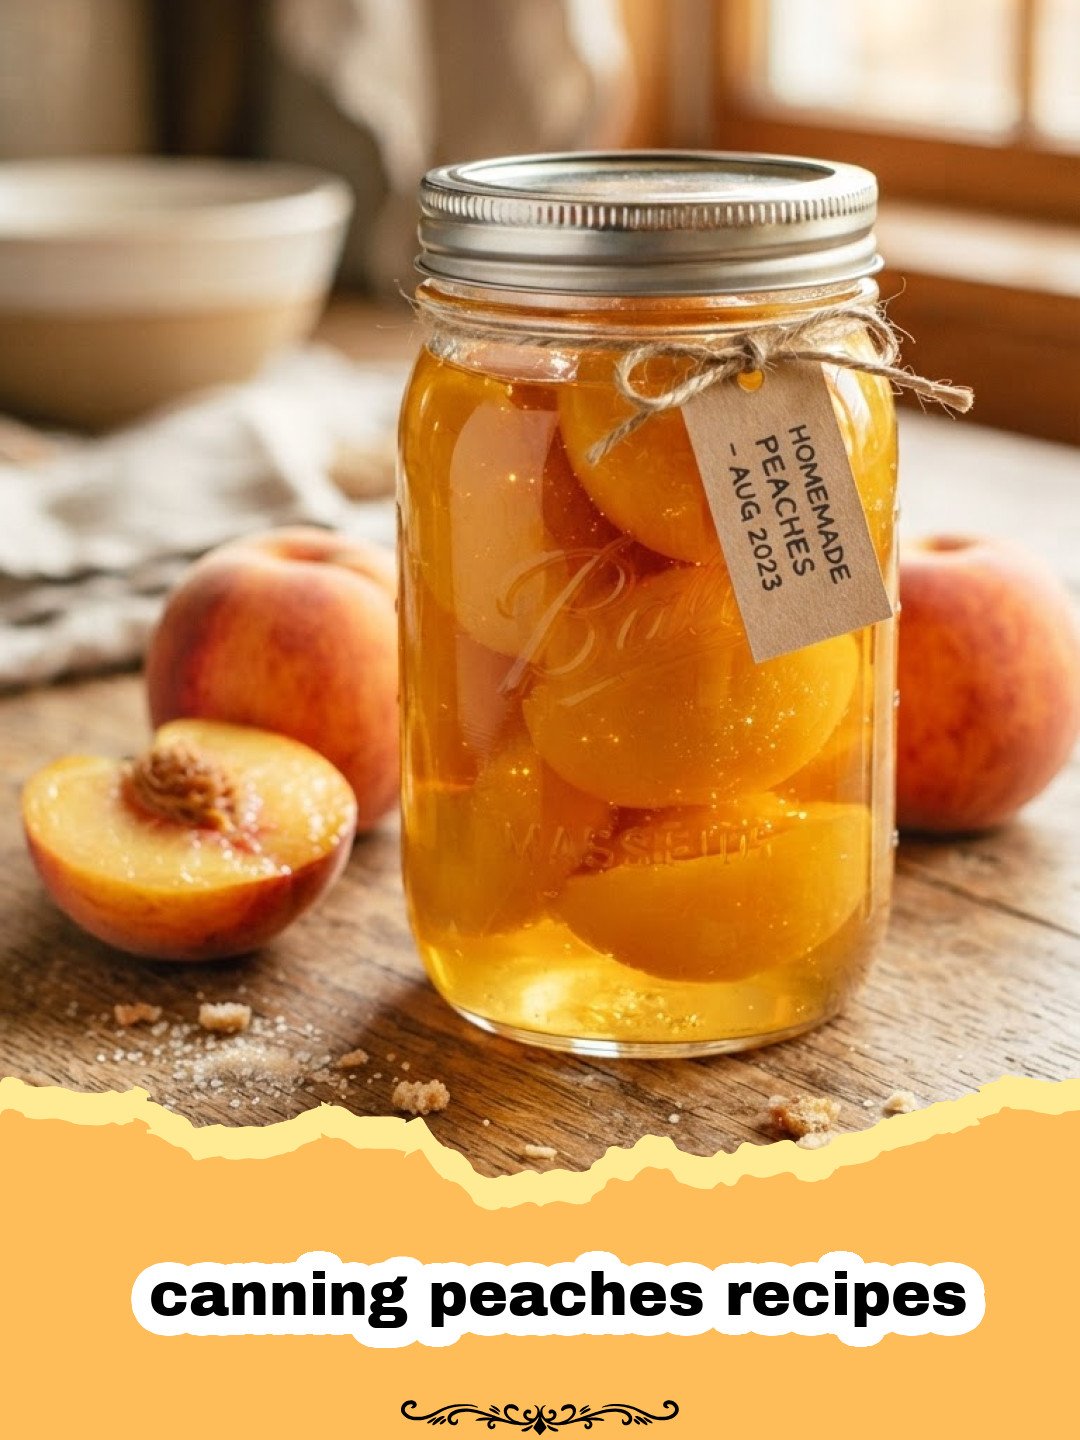
There’s a special kind of magic that happens when you capture the fleeting sweetness of summer in a jar. For me, that magic began years ago, on a sweltering August afternoon at my grandmother’s farm. The kitchen was already alive with the scent of ripe peaches, so fragrant they made your teeth ache just imagining a bite. Grandma, with her flour-dusted apron and a twinkle in her eye, was at the helm, meticulously preparing batches for what she affectionately called ‘liquid sunshine.’ She taught me the sacred ritual of preserving summer’s bounty, showing me the ropes of water bath canning. The rhythmic clinking of jars, the gentle simmer of the syrup, and the satisfying ‘pop’ as each lid sealed – it all felt like a beautiful, edible symphony. Every winter, a jar of her home-canned peaches was like a warm hug, a reminder of sun-drenched days and her enduring love. These cherished memories ignited my passion for preserving, and today, I’m thrilled to share my tried-and-true method for canning peaches recipes, ensuring you can enjoy that taste of summer, no matter the season. Let’s dive in and create some of our own delicious memories!
Why This Recipe is a Must-Try
- Taste of Summer, All Year Long: Imagine biting into a juicy, sweet peach in the dead of winter. Canning peaches recipes allows you to capture that peak summer flavor and enjoy it anytime, anywhere.
- Economical & Sustainable: Buying peaches in bulk during peak season is often cheaper. Canning them yourself reduces food waste and ensures you have a healthy, delicious fruit option readily available, cutting down on grocery runs for canned alternatives.
- Control Ingredients: When you can at home, you control exactly what goes into your food. No artificial preservatives, unwanted sweeteners, or unknown additives – just pure, natural peach goodness. You can customize the sweetness level to your preference.
- Homemade Gift Perfection: Jars of beautifully canned peaches make for thoughtful, personalized gifts during the holidays or for special occasions. Who wouldn’t love a taste of homemade sunshine?
Key Ingredient Notes
Peaches: The Star of the Show
Choosing the right peaches is paramount to successful canning. Opt for freestone peaches, as their pits separate easily from the flesh, making preparation much simpler. Look for ripe, firm peaches that yield slightly to gentle pressure and have a sweet, fragrant aroma. Avoid any with bruises, soft spots, or mold. Popular varieties for canning include ‘Elberta’, ‘Redhaven’, and ‘Glohaven’. Freshness is key here; aim to can them within 24-48 hours of picking or purchasing for the best flavor and texture.
Sugar (or Alternative) for Syrup
While peaches can be canned in water or fruit juice, a light sugar syrup helps preserve their color, flavor, and texture. The sugar isn’t just for sweetness; it contributes to the fruit’s firmness and helps prevent mushiness. You can adjust the syrup’s sweetness from very light to heavy, depending on your preference. For a light syrup, a ratio of 2 cups sugar to 6 cups water is a good starting point. You can also use honey, maple syrup, or sugar substitutes, but be aware that these may alter the flavor and shelf stability slightly. Always ensure your syrup is hot when pouring over the peaches in the jars.
Lemon Juice (Optional, but Recommended for Safety)
While peaches are generally considered high-acid fruits, adding a small amount of lemon juice (bottled is recommended for consistent acidity) to each jar is a wise precautionary measure. This extra boost of acidity helps ensure a safe pH level, which is critical for water bath canning. It helps prevent spoilage and contributes to the overall safety of your canned goods. While optional for flavor, for peace of mind and adhering to best canning practices, I always recommend it.
Step-by-Step Guide with Pro Tips
Learning how to can peaches recipes isn’t difficult, but it requires precision and adherence to safety guidelines. This guide will walk you through the water bath canning process for beautiful, delicious, and safe preserved peaches.
Preparation is Key
Before you even touch a peach, gather all your equipment. You’ll need a large water bath canner with a rack, canning jars (pint or quart size), new lids, screw bands, a jar lifter, a canning funnel, a bubble remover/headspace tool, and clean kitchen towels. Sterilize your jars by washing them in hot, soapy water and rinsing thoroughly. Keep them hot (in simmering water or a warm oven) until ready to fill. Set new lids in a small saucepan of simmering water (not boiling) to soften the sealing compound.
Now for the peaches! This is where the magic of canning peaches recipes truly begins.
Peeling and Halving the Peaches
Step 1: Wash the peaches thoroughly. To easily peel them, prepare a large pot of boiling water and a large bowl of ice water.
Making the Syrup
Step 6: In a large pot, combine sugar and water (or fruit juice) according to your desired sweetness level (e.g., 2 cups sugar to 6 cups water for light syrup). Heat over medium-high heat, stirring until the sugar dissolves completely. Bring to a gentle boil, then reduce heat and keep warm.
Packing the Jars
Step 7: Remove a hot jar from the canner or oven. Place a canning funnel on top.
Processing in a Water Bath Canner
Step 14: Carefully place the filled jars onto the rack in your water bath canner. Ensure jars are not touching each other or the sides of the canner.
Variations & Serving Suggestions
The beauty of canning peaches recipes lies in their versatility!
- Spiced Peaches: Add a cinnamon stick, a few cloves, or a star anise pod to each jar before pouring in the syrup for a warm, aromatic twist. These are fantastic served over ice cream or with pork.
- Vanilla Peaches: A small piece of vanilla bean in each jar imparts a lovely, subtle flavor.
- Ginger Peaches: A thin slice of fresh ginger can add a zesty, slightly spicy note.
- Peaches in Juice: For a less sweet option, can peaches in their own juice or white grape juice instead of sugar syrup. The processing time remains the same.
- Creative Uses:
- Enjoy them straight from the jar as a healthy snack.
- Serve over yogurt, oatmeal, or cottage cheese for breakfast.
- Use them in pies, cobblers, crisps, or tarts. Consider pairing them with spiced zucchini bread for a delightful dessert.
- Blend into smoothies or make a quick peach sauce for pancakes or waffles.
- Chop and add to salads for a sweet and savory element.
- Puree and use in cocktails or mocktails.
Nutrition Information
| Nutrient | Amount (per serving) |
|---|---|
| Calories | 105 kcal |
| Carbohydrates | 27 g |
| Cholesterol | 0 mg |
| Fat | 0 g |
| Fiber | 2 g |
| Protein | 1 g |
| Saturated Fat | 0 g |
| Sodium | 0 mg |
| Sugar | 25 g |
| Trans Fat | 0 g |
| Unsaturated Fat | 0 g |
Conclusion
There’s immense satisfaction in looking at a pantry shelf filled with jars of beautiful, golden peaches, knowing you’ve preserved a piece of summer with your own hands. Mastering the art of canning peaches recipes opens up a world of delicious possibilities, offering not just a treat for your taste buds but a connection to time-honored traditions. So, roll up your sleeves, embrace the sweet challenge, and prepare to savor the glorious taste of summer, one jar at a time. Happy canning!
FAQs
What type of peaches are best for canning?
Freestone peaches are highly recommended for canning because their pits easily separate from the flesh, making preparation much simpler. Look for varieties like ‘Elberta’, ‘Redhaven’, or ‘Glohaven’ which are known for their excellent flavor and texture when preserved.
Is it necessary to peel peaches before canning?
Yes, it is generally recommended to peel peaches before canning. While not strictly a safety requirement, peach skins can become tough and unappetizing after canning, affecting the overall texture and enjoyment of your preserved fruit. Blaching them in boiling water followed by an ice bath makes peeling very easy.
How long do home-canned peaches last?
When properly canned and stored in a cool, dark place, home-canned peaches can safely last for at least 1 year, and often maintain excellent quality for 18-24 months. Always ensure jars are properly sealed and check for any signs of spoilage before consumption.
Can I can peaches without sugar?
Yes, you can can peaches without sugar. Instead of a sugar syrup, you can use water, apple juice, or white grape juice as the canning liquid. While sugar helps preserve color and firmness, it is not essential for safety in water bath canning peaches due to their natural acidity. The processing times remain the same.
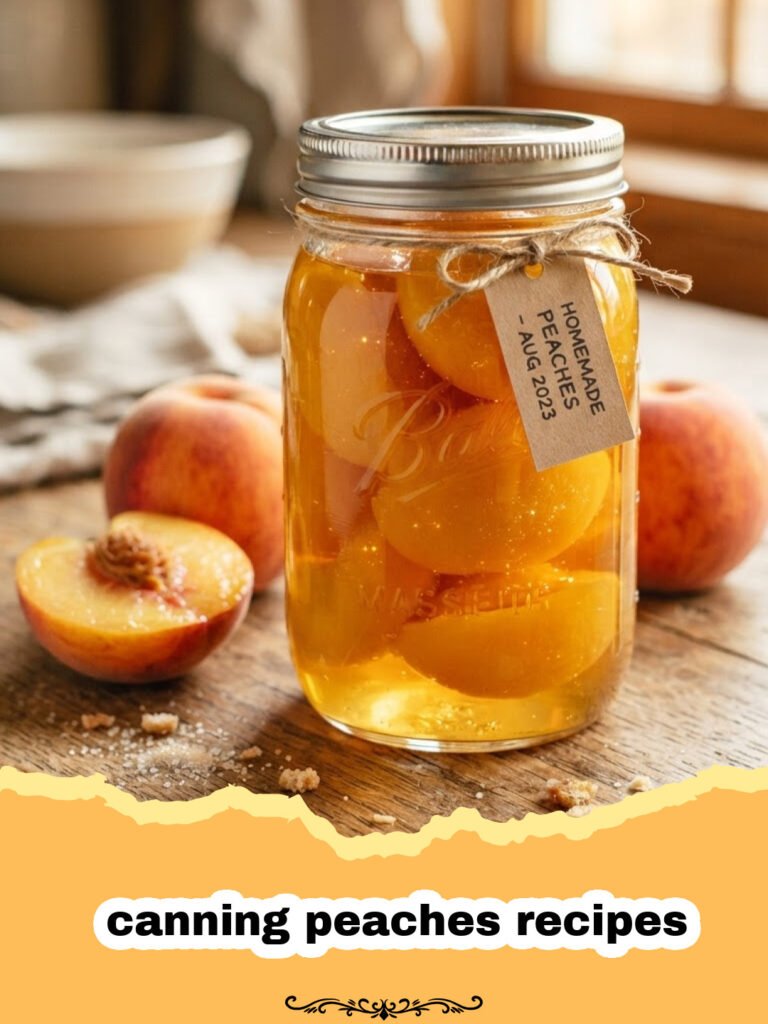
Classic Home-Canned Peaches in Light Syrup
A detailed guide to safely and deliciously preserving fresh peaches using the water bath canning method, perfect for enjoying summer’s bounty all year long. This recipe ensures firm, flavorful peaches every time.
- Total Time: 2 hours
- Yield: 7 quarts or 9 pints 1x
Ingredients
16–20 pounds ripe, firm freestone peaches (for 7 quart jars)
6–8 cups granulated sugar (for light syrup, adjust for desired sweetness)
18–24 cups water or white grape juice
7 tablespoons bottled lemon juice (1 tablespoon per quart jar; 1/2 tablespoon per pint jar)
Canning jars (quart or pint size, sterilized)
New canning lids and screw bands
Large water bath canner with rack
Jar lifter, canning funnel, bubble remover tool, clean kitchen towels
Instructions
Step 1: Thoroughly wash all canning jars, lids, and bands in hot, soapy water. Rinse well. Keep jars hot (in simmering water or a warm oven) until ready to fill. Place new lids in a small saucepan of simmering (not boiling) water to soften the sealing compound.
Step 2: Wash peaches. To easily peel, prepare a large pot of boiling water and a large bowl of ice water. Immerse 3-4 peaches into boiling water for 30-60 seconds, until skin starts to wrinkle.
Step 3: Immediately transfer blanched peaches to the ice water bath to stop cooking. Once cool enough to handle, use a paring knife to slip off the skins.
Step 4: Halve peaches and remove pits. If desired, slice halves into quarters. To prevent browning, place cut peaches in a bowl of water with a splash of lemon juice or ascorbic acid solution while you prepare the rest.
Step 5: Prepare the syrup: In a large pot, combine 6 cups water with 2 cups sugar for a light syrup (adjust sugar for desired sweetness). Heat over medium-high, stirring until sugar dissolves. Bring to a gentle boil, then reduce heat and keep warm.
Step 6: Remove a hot jar from the canner or oven. Place a canning funnel on top. Pack peaches tightly into the hot jars, leaving 3/4-inch headspace.
Step 7: Add 1 tablespoon of bottled lemon juice to each quart jar (or 1/2 tablespoon to pint jars).
Step 8: Carefully ladle the hot syrup over the peaches, ensuring they are completely covered. Maintain 1/2-inch headspace (the space between the syrup and the rim of the jar).
Step 9: Use a bubble remover tool or a clean non-metallic utensil to remove any trapped air bubbles. Gently press peaches to release bubbles. Add more hot syrup if needed to restore 1/2-inch headspace.
Step 10: Wipe the rim of the jar thoroughly with a clean, damp cloth to remove any sticky residue, ensuring a proper seal.
Step 11: Center a hot lid on the jar, then screw on a band until fingertip tight (just until resistance is met, do not overtighten).
Step 12: Carefully place filled jars onto the rack in your water bath canner. Ensure jars are not touching each other. Add more hot water if needed, ensuring water covers jar tops by 1-2 inches.
Step 13: Cover the canner and bring water to a rolling boil. Once boiling, begin timing: Process pint jars for 20 minutes, quart jars for 25 minutes. Adjust processing time for altitude if necessary (consult a reliable canning guide).
Step 14: After processing, turn off heat, remove canner lid, and let jars stand in hot water for 5 minutes.
Step 15: Using a jar lifter, carefully remove hot jars and place them on a clean towel on your countertop, spaced apart. Do not disturb for 12-24 hours.
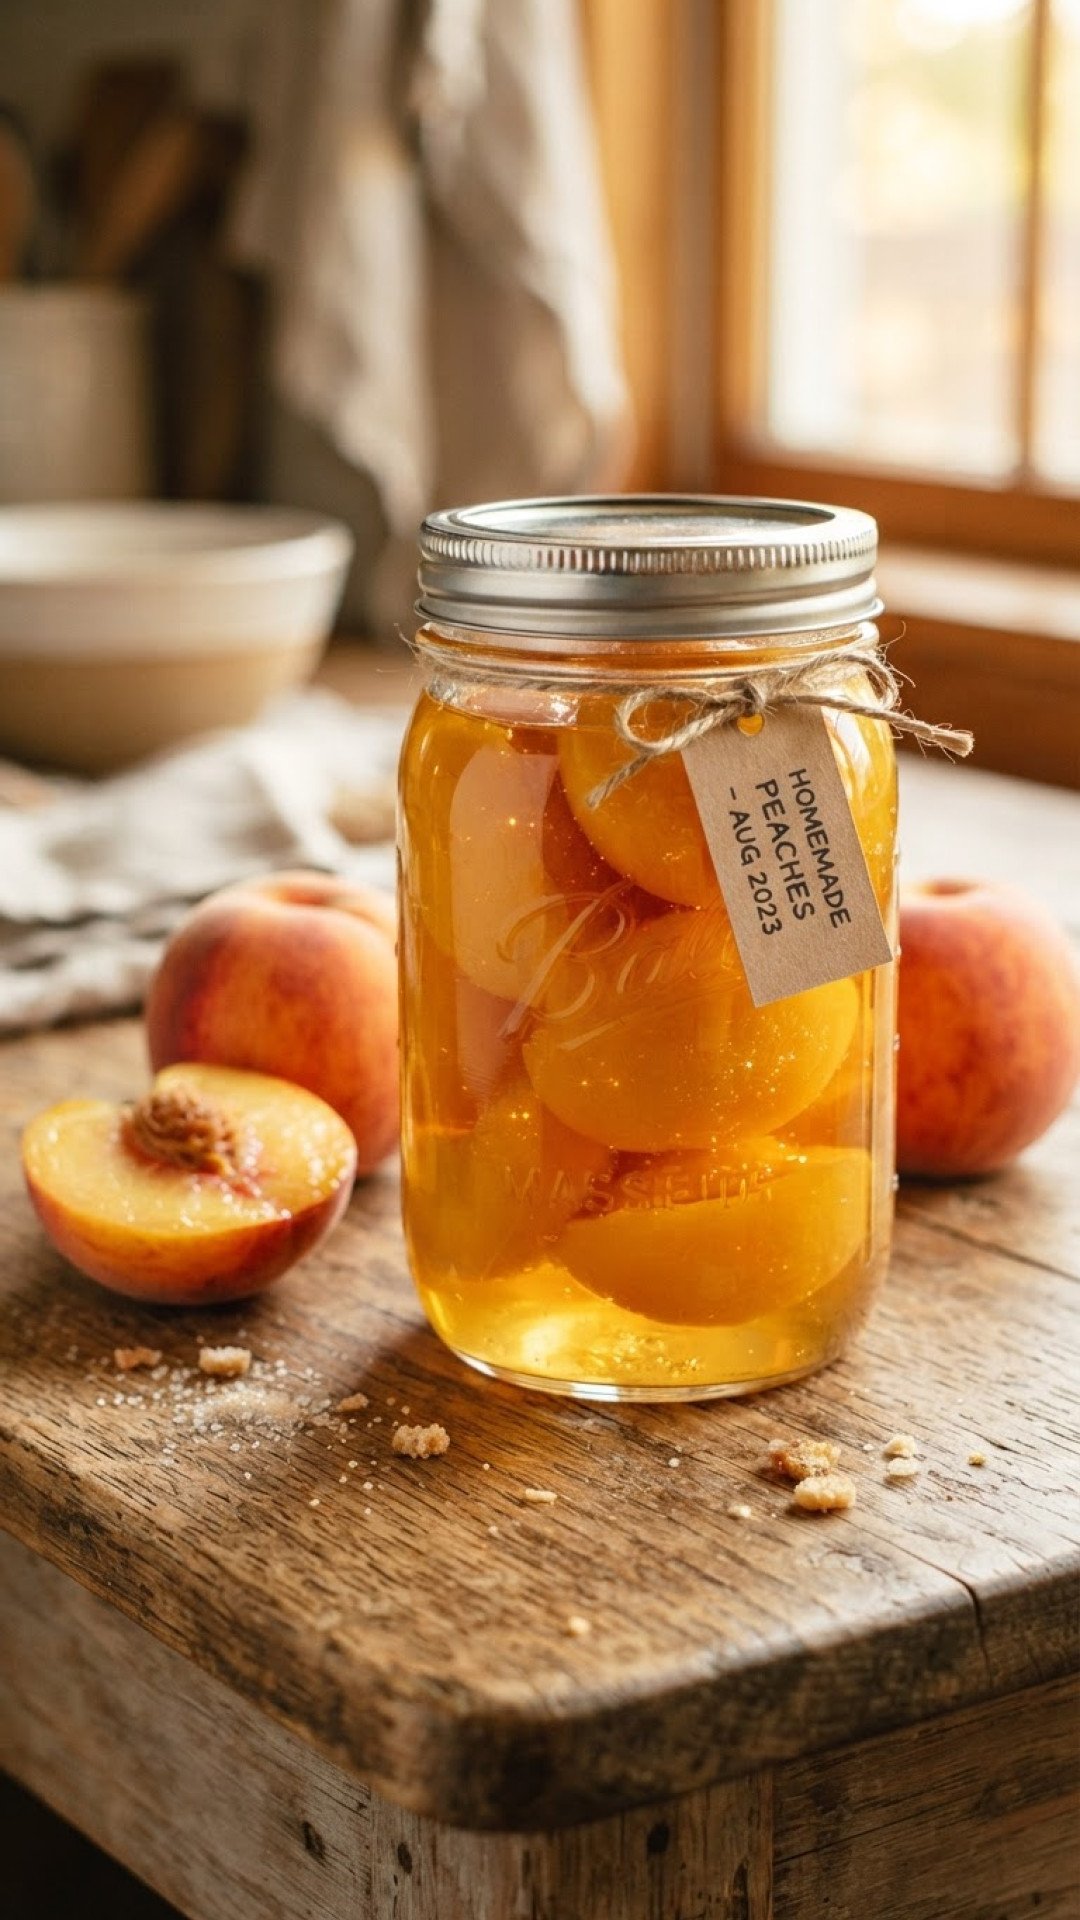
Step 16: After cooling, check for seals. The center of the lid should be concave and not flex when pressed. Remove screw bands, wash jars, label with contents and date, and store in a cool, dark place.
Notes
Always use a reliable, up-to-date canning guide from sources like the National Center for Home Food Preservation (NCHFP) for specific processing times and altitude adjustments. For best results, use freestone peaches that are ripe but still firm. The added lemon juice is a safety measure to ensure adequate acidity for water bath canning. Always double-check lid seals after 12-24 hours.
- Prep Time: 1 hour 30 minutes
- Cook Time: 30 minutes
- Category: How To
- Cuisine: American
Nutrition
- Serving Size: 1/2 cup (120g)
- Calories: 105 kcal
- Sugar: 25 g
- Sodium: 0 mg
- Fat: 0 g
- Saturated Fat: 0 g
- Unsaturated Fat: 0 g
- Trans Fat: 0 g
- Carbohydrates: 27 g
- Fiber: 2 g
- Protein: 1 g
- Cholesterol: 0 mg
Keywords: canning, peaches, home canning, peach recipes, preserving, summer fruit, water bath canning, fruit preservation, light syrup, jarred peaches