
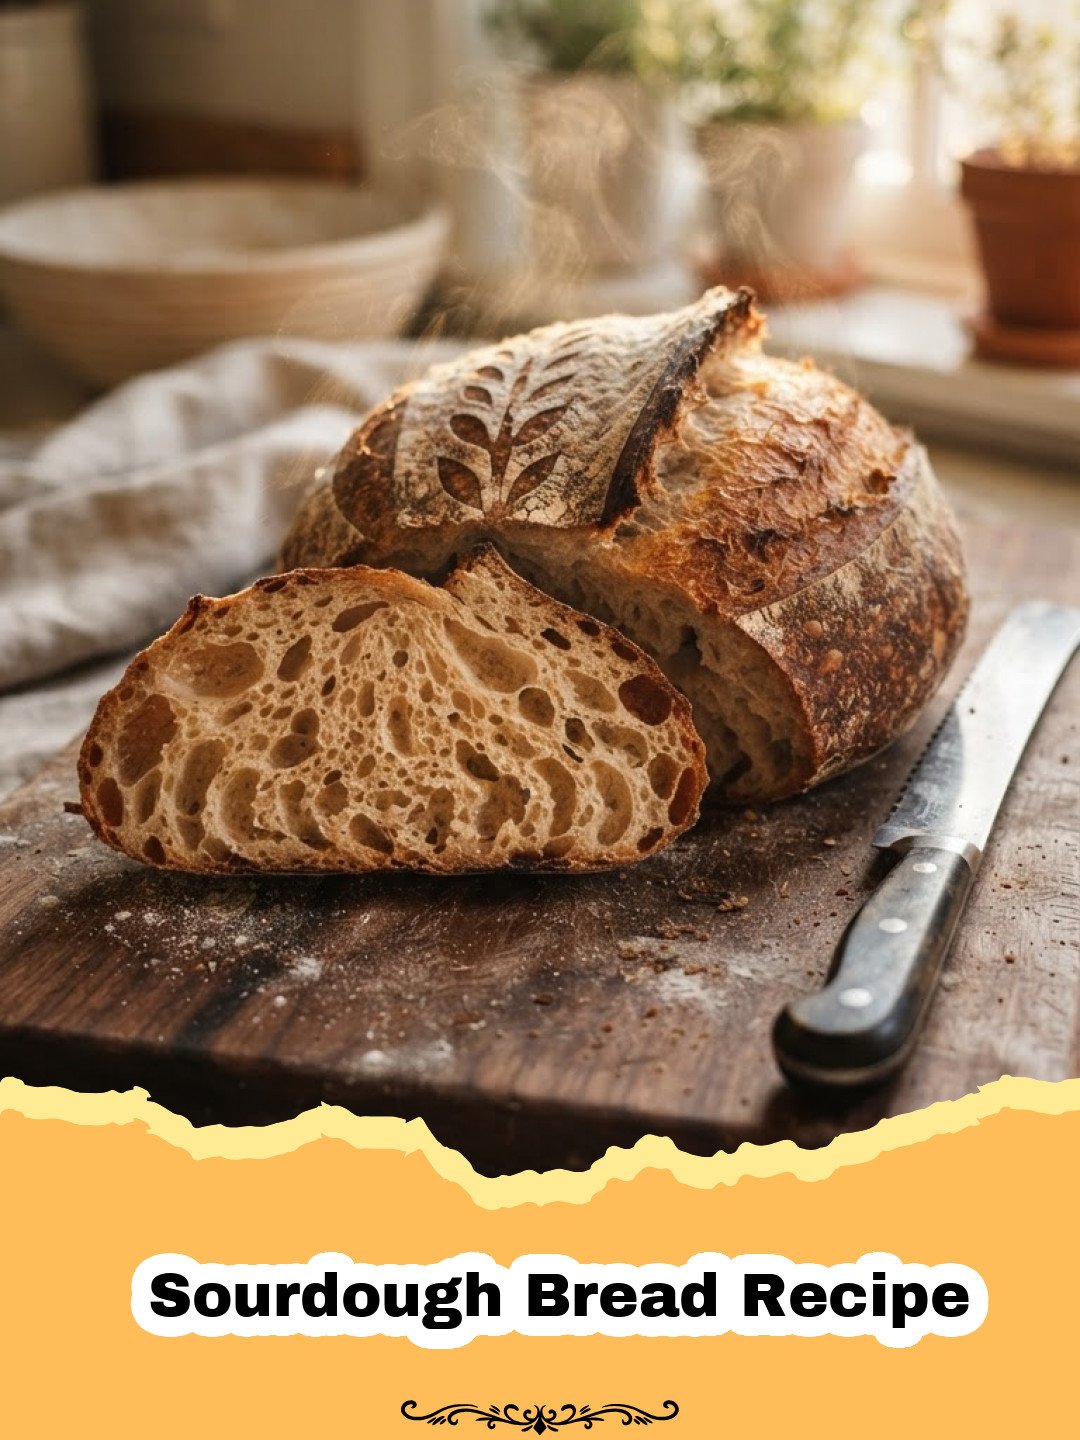
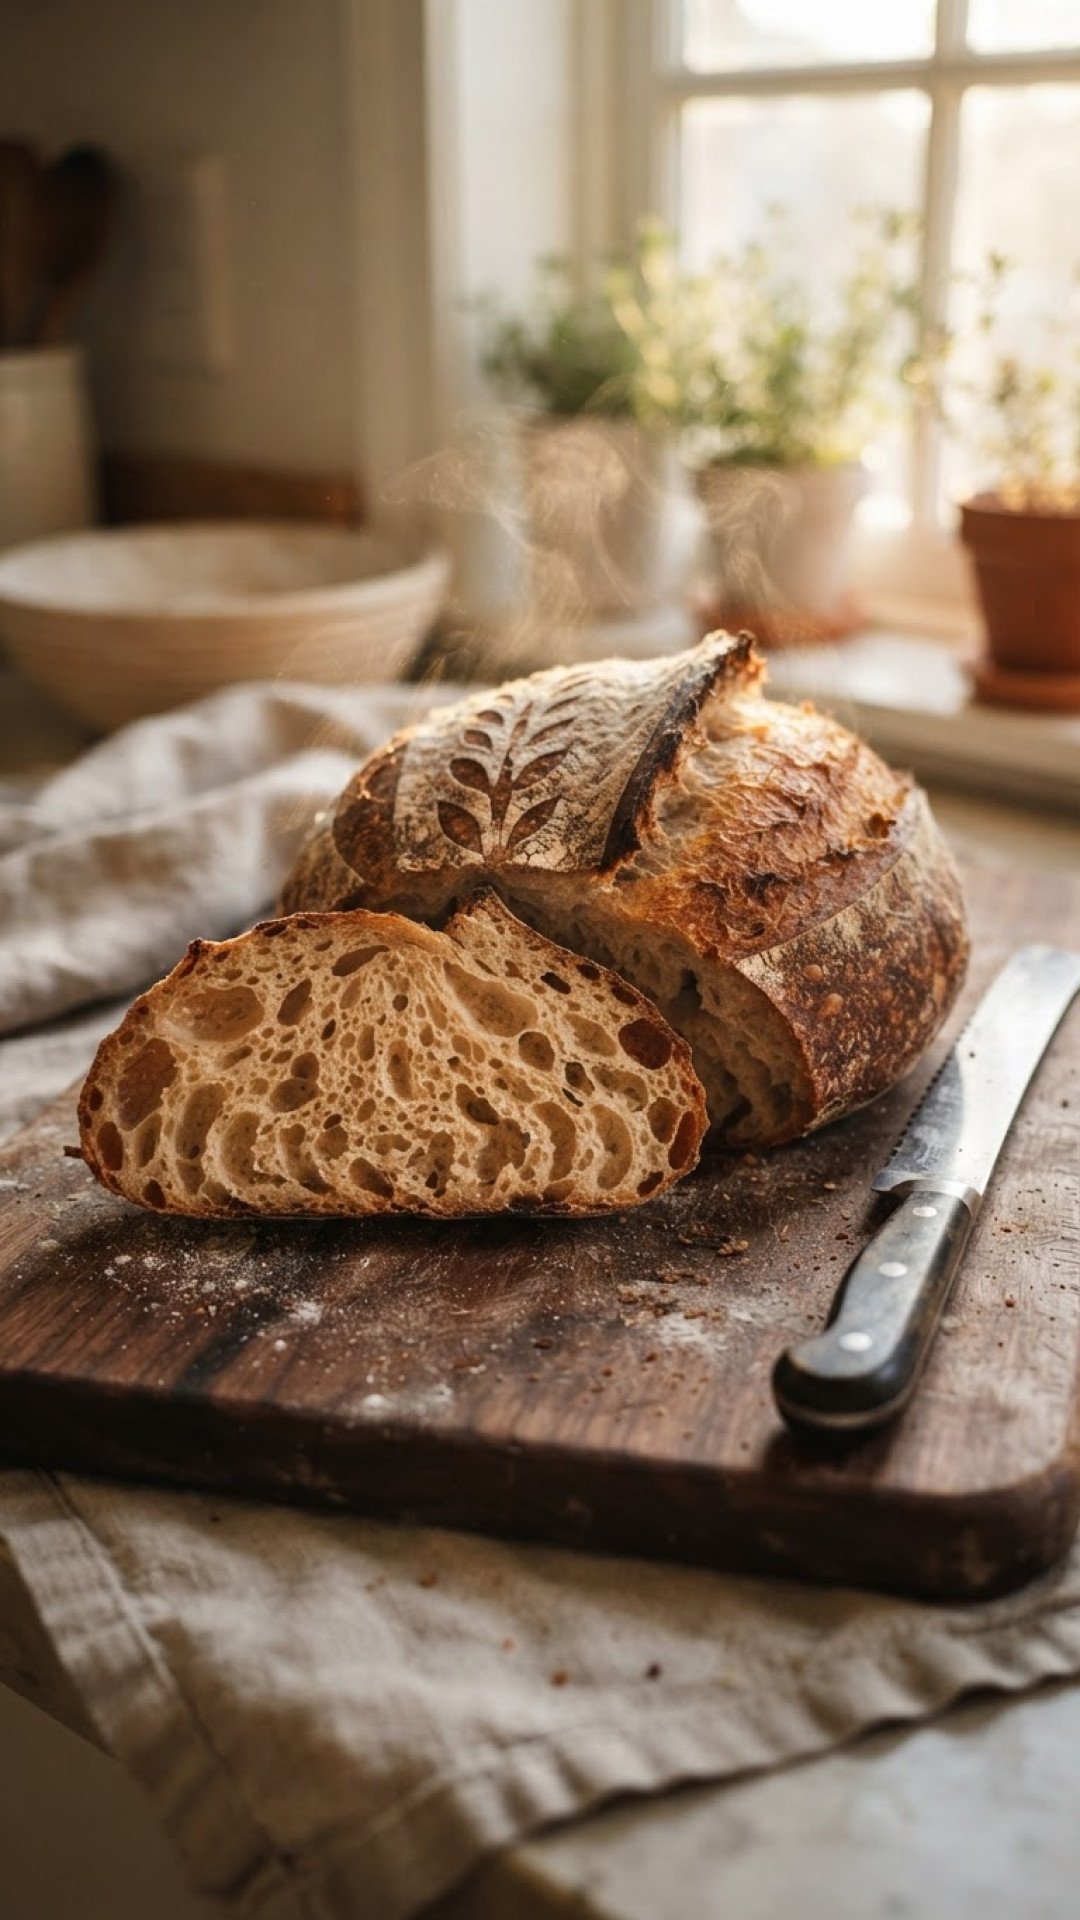
There’s something truly magical about the aroma of freshly baked bread filling your home, and tackling a Sourdough Bread Recipe has been one of the most rewarding culinary adventures of my life. I still remember my first sourdough starter, lovingly named ‘Bubbles,’ bubbling away on my kitchen counter. For weeks, I nurtured it, fed it, and watched it come alive. My initial attempts at baking were, shall we say, rustic. Dense, doorstop-like loaves that, while edible, were a far cry from the airy, tangy masterpieces I envisioned. I almost gave up, convinced sourdough was for professional bakers only. But then, a quiet Sunday morning, armed with renewed determination and a slightly more mature Bubbles, I decided to try one last time. Following a meticulous process, paying close attention to every fold and rest, I finally pulled a golden-brown, beautifully crusted loaf from the oven. The crackle as it cooled was music to my ears, and the first slice, with its open crumb and signature tang, brought tears to my eyes. It wasn’t just bread; it was a testament to patience, perseverance, and the incredible power of natural fermentation. This Sourdough Bread Recipe is a culmination of those lessons, designed to guide you through your own triumphant journey to artisan bread at home.
Why This Sourdough Bread Recipe is a Must-Try
- Unbeatable Flavor & Texture: Experience the signature tangy taste and an open, airy crumb encased in a delightfully crisp, chewy crust that store-bought bread simply can’t match. This Sourdough Bread Recipe delivers on all fronts.
- Deeply Rewarding Process: From feeding your starter to shaping your dough, each step in this Sourdough Bread Recipe is a meditative act of creation, culminating in a product you’ll be immensely proud of.
- Health Benefits: Sourdough’s long fermentation process breaks down gluten and phytic acid, making it easier to digest and allowing for better nutrient absorption compared to conventional bread.
- Simple Ingredients, Incredible Results: With just flour, water, salt, and a thriving sourdough starter, you can create a culinary masterpiece. This Sourdough Bread Recipe demystifies the process.
Key Ingredient Notes for Your Sourdough Bread Recipe
The beauty of a great Sourdough Bread Recipe lies in its simplicity, but the quality of a few key ingredients truly makes a difference. Let’s delve into what matters most:
All-Purpose Flour or Bread Flour
While some recipes call for a blend, a good quality all-purpose flour can work wonders for your Sourdough Bread Recipe, especially for beginners. Bread flour, with its higher protein content, will give you a chewier crumb and often a more structured loaf. Don’t be afraid to experiment! The protein in the flour develops the gluten network, which is crucial for trapping the gases created by your sourdough starter, giving your bread its characteristic open crumb.
Filtered Water
This might seem minor, but it’s incredibly important. Tap water can sometimes contain chlorine or chloramine, which can be detrimental to the delicate microorganisms in your sourdough starter. Using filtered or spring water ensures your starter remains happy and active, leading to a more vigorous rise in your Sourdough Bread Recipe. Think of it as providing a pristine environment for your microbial friends!
Active Sourdough Starter
This is the heart and soul of your Sourdough Bread Recipe. An active starter should be bubbly, smell pleasantly yeasty and slightly sour, and double in size a few hours after feeding. If your starter isn’t robust, your bread won’t rise well. Aim for a 100% hydration starter (equal parts flour and water by weight). If you don’t have one yet, there are many guides online for creating your own, or you can often get a small amount from a fellow baker!
Step-by-Step Guide with Pro Tips for Your Sourdough Bread Recipe
Baking sourdough is a journey of learning and intuition. This Sourdough Bread Recipe provides a solid foundation, but always remember to observe your dough – it will tell you what it needs.
Mixing the Dough: Autolyse and Bulk Fermentation
Starting your Sourdough Bread Recipe right is key. In a large bowl, combine your active sourdough starter with the filtered water, mixing until the starter is mostly dissolved. Then, add the flour and mix until no dry spots remain and a shaggy dough forms. Cover the bowl and let it rest for 30-60 minutes. This process, called autolyse, allows the flour to fully hydrate and gluten development to begin naturally. After the autolyse, add the salt. Incorporate it thoroughly by gently squeezing and folding the dough for a few minutes. Then begins the bulk fermentation. Over the next 3-4 hours, you’ll perform a series of ‘stretch and folds’ every 30-45 minutes. This builds strength in the dough without heavy kneading. Imagine stretching a corner of the dough up and over to the opposite side, rotating the bowl, and repeating. Do this 4-6 times per set. Your dough will become smoother and more elastic with each set.
Shaping and Proofing: Building Structure
Once bulk fermentation is complete, your dough should be visibly aerated and smooth. Gently turn the dough out onto a lightly floured surface. Divide it if making two smaller loaves. For one large loaf, pre-shape it into a round. Let it rest for 20-30 minutes, covered, to relax the gluten. This is a critical step in any Sourdough Bread Recipe. Then, perform the final shaping. This usually involves creating tension on the surface of the dough, tucking and folding it into a tight ball or oval. Place your shaped dough seam-side up into a floured banneton basket or a bowl lined with a floured towel. This basket helps the dough maintain its shape during the final rise, or proof. For those who love baking different varieties, you might also enjoy making The Moistest Zucchini Bread, which also benefits from careful shaping!
Cold Fermentation: Enhancing Flavor
Cover your banneton and place it in the refrigerator for 12-18 hours (or even up to 24 hours). This cold fermentation (or cold proofing) slows down the yeast activity, allowing the lactic acid bacteria to produce more acetic acid, resulting in a deeper, more complex flavor profile for your Sourdough Bread Recipe. It also makes the dough much easier to handle and score. This prolonged chill time is a secret weapon for amazing sourdough.
Baking: The Moment of Truth
Preheat your oven to 475°F (245°C) with a Dutch oven inside for at least 30 minutes. This extreme heat and enclosed environment mimic a professional bread oven, creating fantastic oven spring and a crispy crust. Carefully remove the hot Dutch oven. Gently invert your cold dough into it. Using a sharp razor blade or lame, score the top of your dough. This not only creates beautiful patterns but also allows the bread to expand predictably. Immediately cover the Dutch oven and bake for 25 minutes. Then, remove the lid and continue baking for another 15-20 minutes, or until the crust is a deep golden brown. The internal temperature should be around 200-210°F (93-99°C). Once out of the oven, transfer the loaf to a wire rack to cool completely. Resist the urge to slice it warm! Cooling allows the interior to set and the crust to crisp up perfectly. This crucial step ensures the best texture for your Sourdough Bread Recipe. If you’re looking for another comforting dish to serve alongside fresh bread, The Ultimate Crockpot Lasagna Recipe is a fantastic choice.
Variations & Serving Suggestions for Your Sourdough Bread Recipe
Flavor Variations
- Herbs & Garlic: Incorporate chopped fresh rosemary, thyme, or roasted garlic during the mixing stage for an aromatic twist.
- Cheese & Jalapeño: Fold in shredded cheddar or Monterey Jack cheese and diced pickled jalapeños for a savory kick.
- Whole Wheat Blend: Replace 10-20% of the all-purpose flour with whole wheat flour for a nuttier flavor and denser crumb. This Sourdough Bread Recipe is very adaptable.
- Seeds: Add a mix of sunflower, pumpkin, flax, or sesame seeds during the bulk fermentation for extra texture and nutrition.
Serving Suggestions
- Classic Toast: Simply toast a slice and slather with butter, jam, or avocado.
- Sandwiches: The sturdy crust and open crumb make it perfect for hearty sandwiches.
- Soup Dipper: An excellent companion to a warm bowl of soup or stew.
- Bruschetta: Toast slices, rub with garlic, drizzle with olive oil, and top with fresh tomatoes and basil.
- Croutons: If you have any leftover (highly unlikely!), cube and toast for homemade croutons.
For storage, once your beautiful Sourdough Bread Recipe creation has cooled, store it at room temperature in a bread bag or a sealed container. For longer freshness, you can also wrap slices individually and freeze them. I often use my favorite Basics Glass Food Storage containers for keeping baked goods fresh!
Nutrition Information
| Nutrient | Amount (per serving) |
|---|---|
| Calories | 250 kcal |
| Carbohydrates | 48g |
| Cholesterol | 0mg |
| Fat | 1g |
| Fiber | 2g |
| Protein | 9g |
| Saturated Fat | 0g |
| Sodium | 450mg |
| Sugar | 0g |
| Trans Fat | 0g |
| Unsaturated Fat | 1g |
Conclusion
Baking your own sourdough bread is more than just following a Sourdough Bread Recipe; it’s an art form, a science, and a deeply satisfying culinary journey. Each loaf tells a story, from the vigor of your starter to the final golden crust. Don’t be discouraged by initial imperfections; every bake is a learning experience. With this comprehensive Sourdough Bread Recipe, patience, and a little love for your starter, you’ll soon be pulling beautifully fermented, tangy loaves from your own oven. Share it with friends, enjoy it with family, and savor the incredible taste of truly homemade artisan bread. Happy baking!
FAQs
How do I know if my sourdough starter is active enough for this Sourdough Bread Recipe?
An active sourdough starter should be bubbly and have doubled in size 4-8 hours after its last feeding. A good test is the ‘float test’: drop a small dollop of your fed starter into a glass of water. If it floats, it’s ready to use in your Sourdough Bread Recipe. If it sinks, it likely needs another feeding to gain strength.
What is the purpose of cold fermentation in a Sourdough Bread Recipe?
Cold fermentation, or cold proofing, serves several important purposes in this Sourdough Bread Recipe. It slows down the yeast activity, allowing the dough to develop more complex flavors (the signature sourdough tang) over a longer period. It also makes the dough much easier to handle and score, and contributes to a better oven spring and a crispier crust. It’s a key step for achieving artisan quality.
Can I make this Sourdough Bread Recipe without a Dutch oven?
While a Dutch oven is highly recommended for achieving the best crust and oven spring in a Sourdough Bread Recipe, you can still bake excellent sourdough without one. You can place the dough on a preheated baking steel or stone and create steam in your oven by placing a tray of hot water on the bottom rack or spraying the oven walls. This helps simulate the steamy environment of a Dutch oven, crucial for that perfect crust.
How long does homemade sourdough bread stay fresh?
Homemade sourdough bread from this Sourdough Bread Recipe typically stays fresh for 2-3 days at room temperature when stored in a bread bag, a sealed container, or wrapped in a clean kitchen towel. For longer storage, you can slice the bread and freeze individual slices for up to a month. Thaw at room temperature or toast directly from frozen.
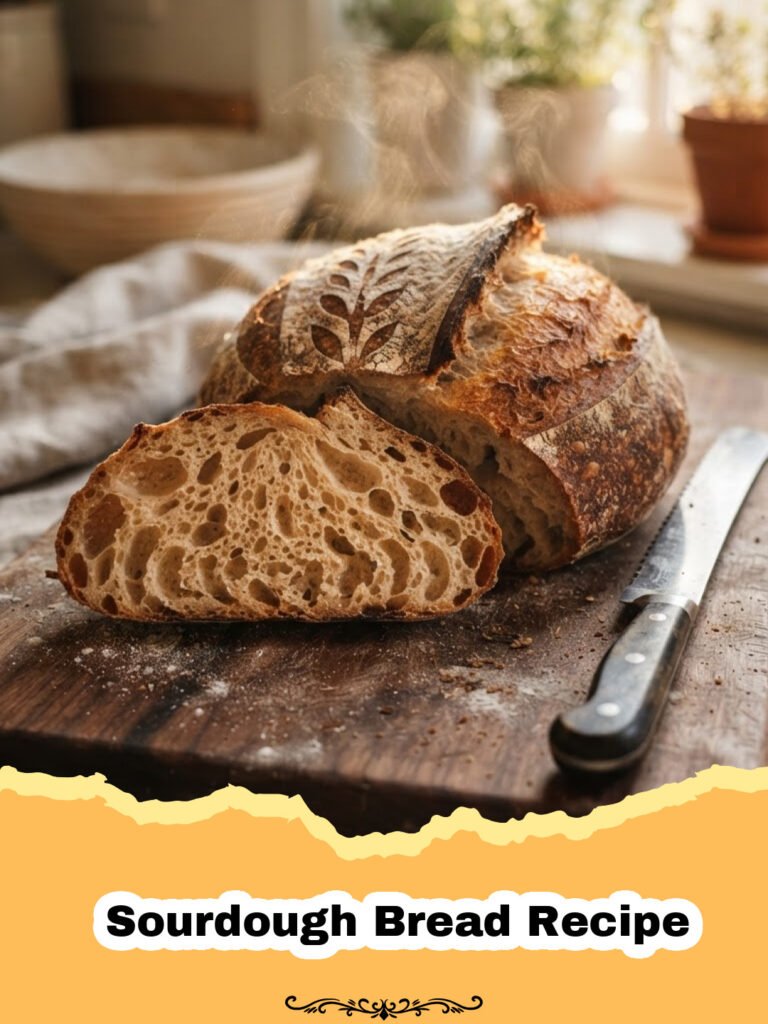
Artisan Sourdough Bread
Master the art of baking with this detailed Sourdough Bread Recipe, guiding you to a beautiful, tangy, and crusty artisan loaf from scratch. Perfect for sandwiches, toast, or alongside your favorite meal.
- Total Time: 1 hour 10 minutes (plus 12-24 hours proofing)
- Yield: 1 large loaf (approx. 10–12 servings) 1x
Ingredients
100g active sourdough starter (fed and bubbly)
350g filtered water (approx. 95°F/35°C)
500g bread flour (or good quality all-purpose flour)
10g fine sea salt
Instructions
Step 1: In a large mixing bowl, combine the active sourdough starter with the filtered water. Whisk gently until the starter is mostly dissolved.
Step 2: Add the flour to the bowl and mix with a Danish dough whisk or your hands until no dry spots remain and a shaggy dough forms. Cover the bowl with a clean kitchen towel or plastic wrap and let it rest for 30-60 minutes for the autolyse.
Step 3: After the autolyse, sprinkle the salt over the dough. Incorporate the salt thoroughly by gently squeezing and folding the dough with wet hands for 2-3 minutes until the salt is fully integrated.
Step 4: Begin bulk fermentation. Over the next 3-4 hours, perform a series of ‘stretch and folds’ every 30-45 minutes. To do this, grab a portion of the dough, stretch it upwards, and fold it over itself. Rotate the bowl and repeat this action 4-6 times per set. Your dough will become smoother and more elastic with each set.
Step 5: Once bulk fermentation is complete (the dough should be aerated and have increased in volume), gently turn the dough out onto a lightly floured surface. Pre-shape the dough into a round, cover it with the bowl, and let it rest for 20-30 minutes.
Step 6: Perform the final shaping. Gently flatten the dough into a rustic rectangle. Fold the bottom third up to the middle, then the top third down. Then, from one side, roll the dough tightly into a log, sealing the seams as you go. Gently cup and pull the dough towards you to create surface tension. Place the shaped dough seam-side up into a floured banneton basket or a bowl lined with a floured linen towel. Cover and refrigerate for 12-18 hours (cold proof).
Step 7: Preheat your oven to 475°F (245°C) with a Dutch oven inside for at least 30 minutes. Carefully remove the hot Dutch oven. Gently invert the cold dough into it. Score the top of the dough with a sharp razor blade or lame. Immediately cover the Dutch oven and bake for 25 minutes. After 25 minutes, remove the lid and continue baking for another 15-20 minutes, or until the crust is deeply golden brown. Transfer the loaf to a wire rack to cool completely before slicing (at least 1-2 hours).
Notes
An active starter is crucial for success. If your kitchen is cold, consider placing your dough in a slightly warmer spot during bulk fermentation to encourage activity. Resist cutting into the bread until it has fully cooled for the best texture and flavor. This Sourdough Bread Recipe is a journey of patience!
- Prep Time: 20 minutes
- Cook Time: 40 minutes
- Category: Baked Goods
- Cuisine: European
Nutrition
- Serving Size: 1 slice (approx. 60g)
- Calories: 250 kcal
- Sugar: 0g
- Sodium: 450mg
- Fat: 1g
- Saturated Fat: 0g
- Unsaturated Fat: 1g
- Trans Fat: 0g
- Carbohydrates: 48g
- Fiber: 2g
- Protein: 9g
- Cholesterol: 0mg
Keywords: sourdough bread, sourdough bread recipe, homemade sourdough, artisan bread, sourdough starter, baking bread, no-knead bread, crusty bread, tangy bread, fermented bread




