
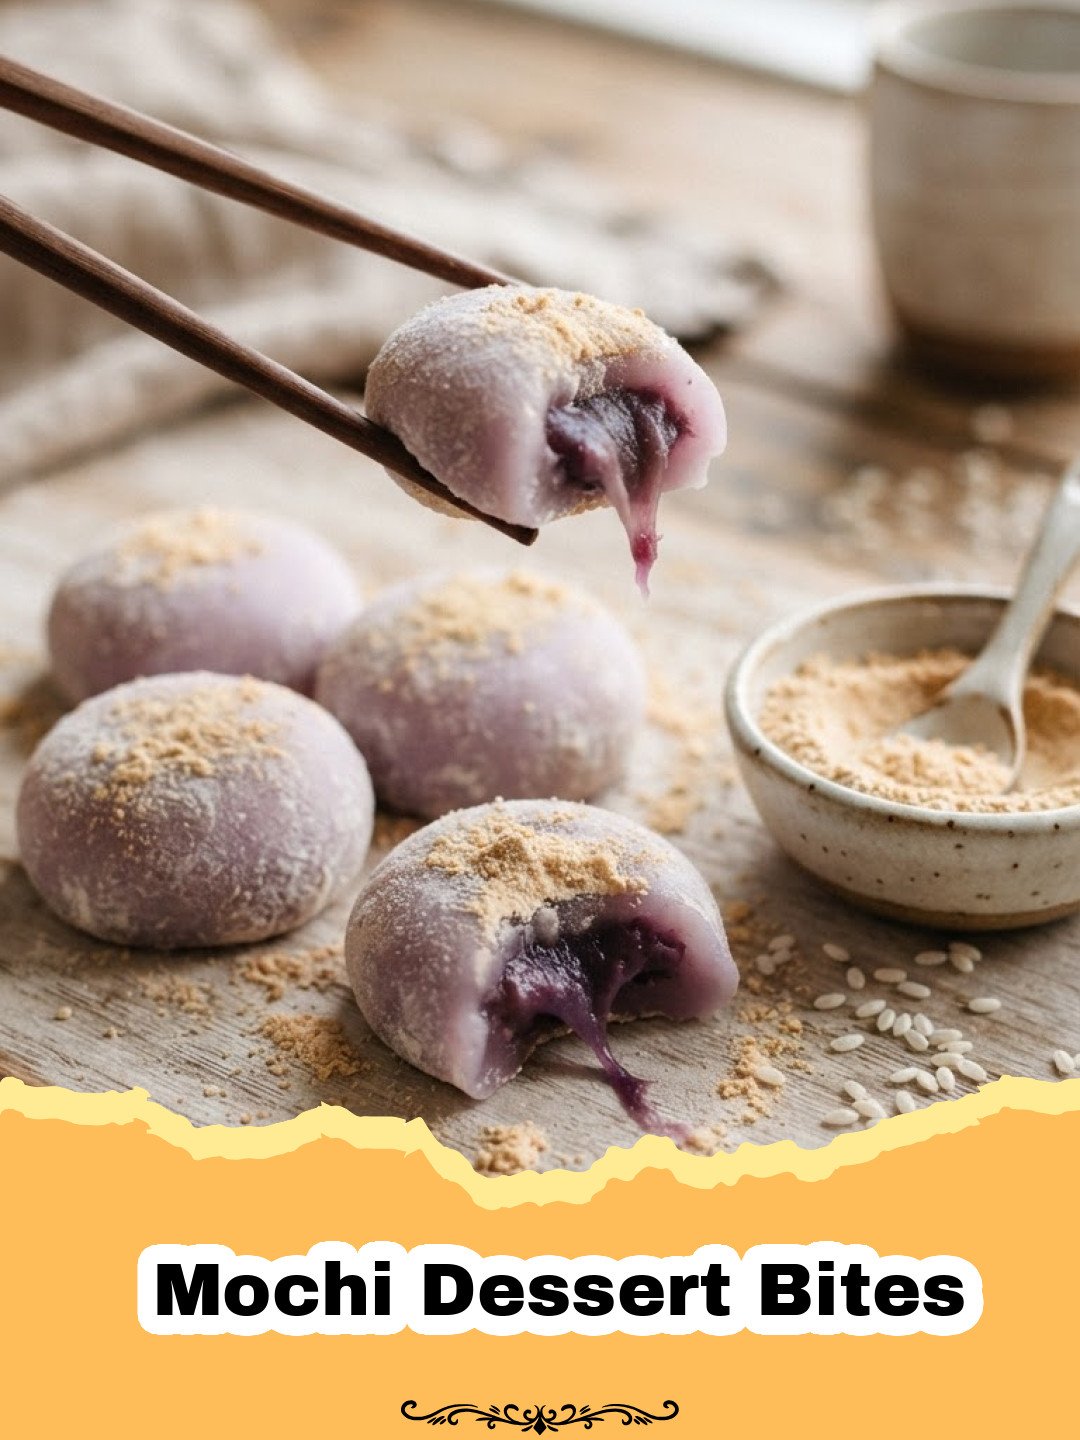
There are some flavors that just transport you, aren’t there? For me, the first time I ever tasted mochi was an unforgettable journey straight back to my childhood, even though I grew up miles away from its origins. I was a teenager, browsing a local Asian grocery store, mesmerized by the rows of colorful, perfectly round little packages. Curiosity, as it often does, got the better of me, and I picked up a pack of strawberry-filled mochi. The moment I took that first bite, I was hooked. The delicate chewiness, the subtle sweetness, the soft exterior giving way to a burst of fruity creaminess – it was unlike anything I had ever experienced. It wasn’t just a dessert; it was a revelation. From that day on, mochi became a cherished treat, a small indulgence that always brought a smile to my face. However, buying them often meant a trip to a specialty store, and frankly, I always felt there was something magical about the idea of making them myself. The thought of creating those delightful textures and flavors in my own kitchen was incredibly appealing. It took some experimentation, a few sticky situations (literally!), and a fair bit of research, but eventually, I cracked the code. And today, I’m so excited to share that secret with you: how to make your very own homemade Mochi Dessert Bites!
These adorable, perfectly portioned treats are not only incredibly fun to make but also endlessly customizable. Forget the store-bought versions; these homemade Mochi Dessert Bites allow you to control the sweetness, experiment with fillings, and enjoy the freshest, chewiest texture possible. Imagine the satisfaction of presenting a platter of these beautiful, handmade morsels to friends and family. They’re perfect for parties, a unique after-dinner treat, or simply a delightful snack to brighten your day. Get ready to embark on a sweet adventure that’s surprisingly simple and incredibly rewarding. Your taste buds are in for a treat with these amazing Mochi Dessert Bites!
Why This Recipe is a Must-Try
Unrivaled Chewy Texture
Unlike any other dessert, mochi offers a uniquely satisfying, bouncy, and soft chewiness that is simply addictive. These Mochi Dessert Bites deliver that authentic texture perfectly, making each bite an experience.
Endless Customization Possibilities
From traditional red bean paste to fresh fruit, chocolate ganache, or even a tiny scoop of ice cream, the filling options for these Mochi Dessert Bites are only limited by your imagination. You can tailor them to any palate or occasion.
Surprisingly Easy to Make at Home
Don’t let the exotic name intimidate you! This recipe uses common kitchen tools, especially the microwave, to simplify the process. You’ll be amazed at how quickly and easily you can whip up a batch of these impressive Mochi Dessert Bites.
Perfect for Sharing & Gifting
Their bite-sized nature makes them ideal for potlucks, party platters, or as a thoughtful homemade gift. Everyone will be asking for the recipe for these charming Mochi Dessert Bites!
Key Ingredient Notes
While the ingredient list for these Mochi Dessert Bites is quite short, a few key players are essential to achieving that perfect mochi texture and flavor. Understanding their roles will help you master this delightful dessert.
Glutinous Rice Flour (Mochiko)
This is the star of our show, and absolutely non-negotiable for authentic mochi. Glutinous rice flour, often sold under the brand name Mochiko, is *not* the same as regular rice flour or sweet rice flour. Despite its name, it contains no dietary gluten. The term “glutinous” refers to its sticky, glue-like consistency when cooked, which is precisely what gives mochi its signature chewy, elastic texture. Using regular rice flour will result in a crumbly, unpalatable product, so ensure you grab the right bag! You can usually find it in the international aisle of larger supermarkets or Asian grocery stores.
Granulated Sugar
Beyond sweetness, sugar plays a crucial role in the texture of your Mochi Dessert Bites. It helps keep the mochi soft and pliable, preventing it from becoming too stiff or hard once cooled. It also contributes to that subtle, pleasant taste that balances the flour’s natural flavor. Adjusting the sugar slightly is possible if you prefer a less sweet dessert, especially if your fillings are already quite sweet, but don’t omit it entirely.
Cornstarch or Potato Starch
While not directly in the mochi dough, cornstarch (or potato starch) is your best friend when working with mochi. Cooked mochi dough is notoriously sticky, making it challenging to handle and shape. A generous dusting of starch on your work surface, hands, and even your rolling pin acts as a barrier, preventing the mochi from adhering to everything. It ensures you can gracefully shape your Mochi Dessert Bites without a frustrating, gummy mess. Don’t be shy with it – a little extra dusting goes a long way in keeping your process smooth and clean.
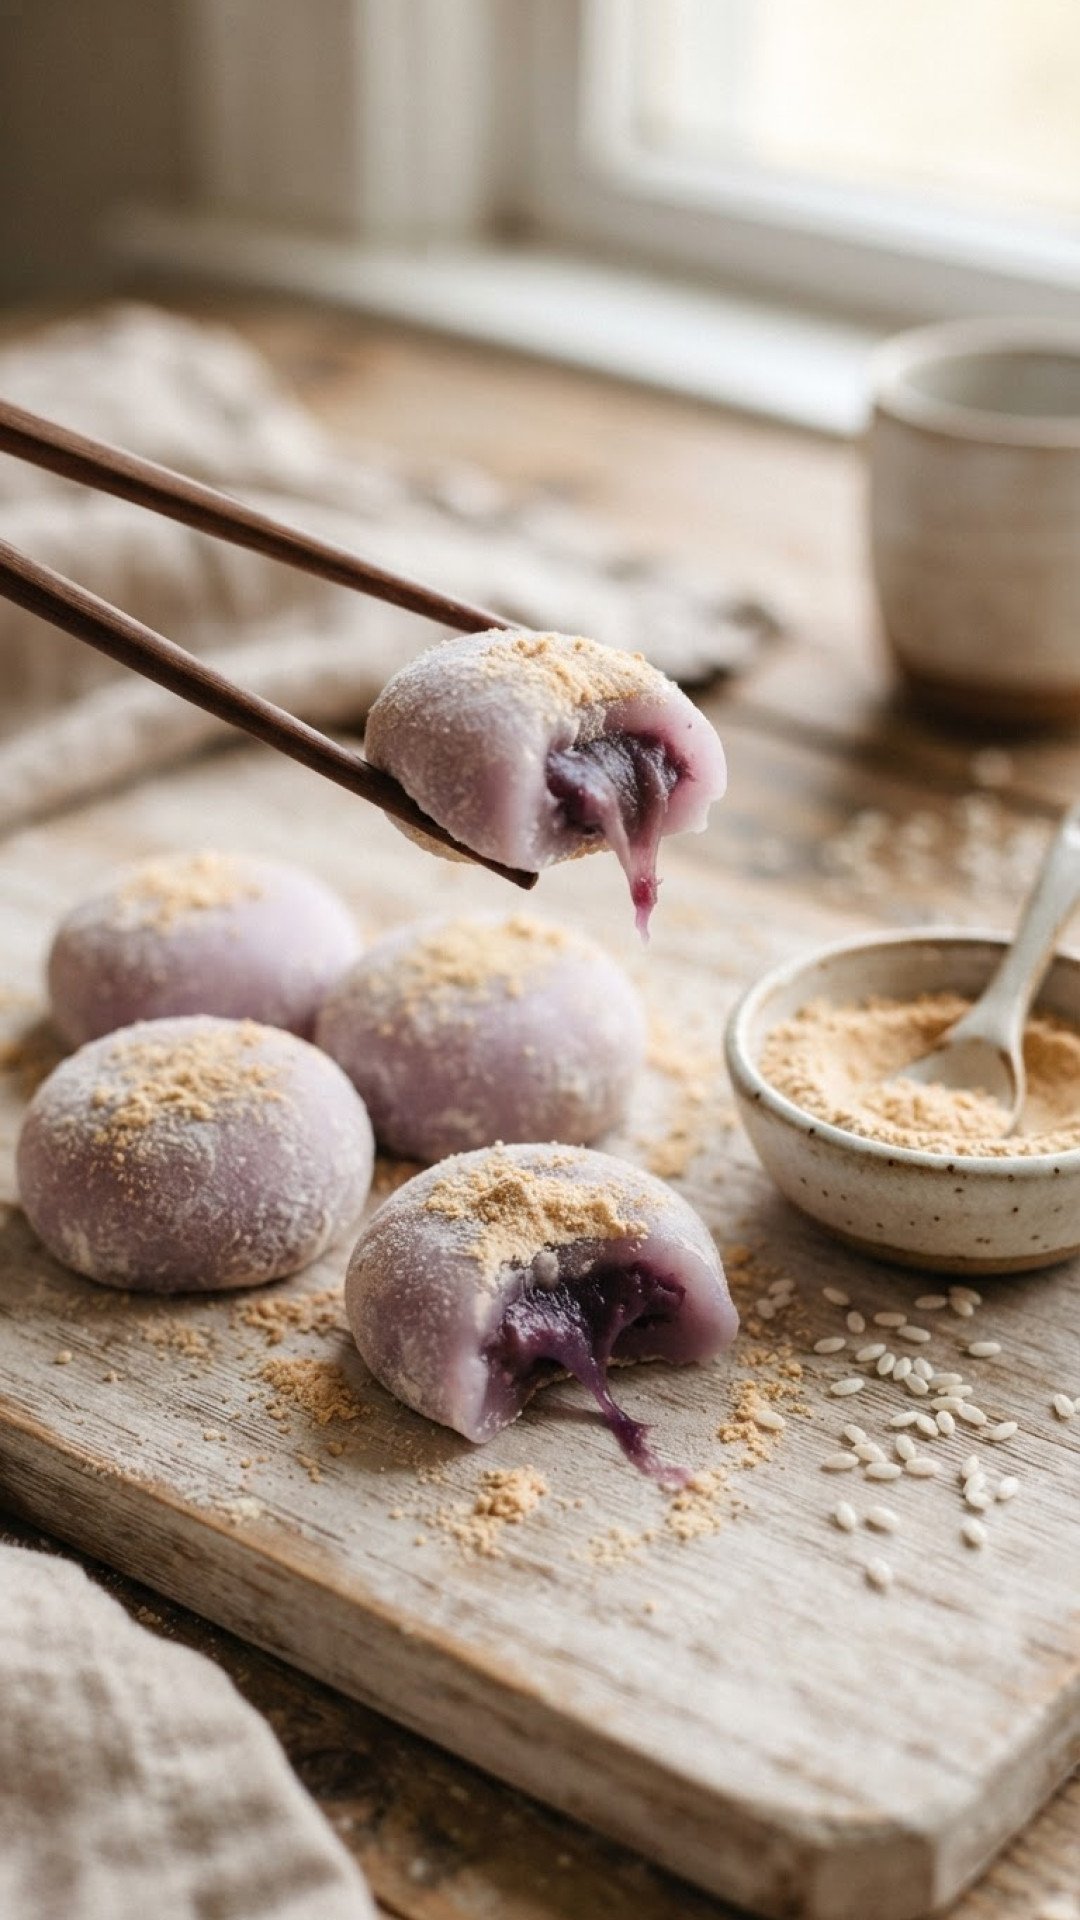
Step-by-Step Guide with Pro Tips
Making Mochi Dessert Bites might seem daunting, but with these detailed steps and pro tips, you’ll be a mochi master in no time! Remember, patience and proper preparation are key to success.
Step 1: In a microwave-safe bowl, whisk together the glutinous rice flour and granulated sugar until well combined. This ensures there are no lumps of dry flour and the sugar is evenly distributed, leading to a smooth mochi dough.
Step 2: Gradually add the water or milk to the dry ingredients, whisking continuously until a smooth, lump-free batter is formed. Stir in the vanilla extract, if using. Using milk instead of water will give your Mochi Dessert Bites a slightly richer, creamier flavor profile. A good whisking now prevents lumps later.
Step 3: Cover the bowl loosely with plastic wrap, leaving a small vent. Microwave on high for 2 minutes. The vent is important to allow steam to escape and prevent the plastic wrap from exploding. This initial cook begins the gelatinization process.
Step 4: Carefully remove the bowl (it will be hot!) and stir the partially cooked mochi mixture with a wet spatula or spoon. It will be thick and sticky in places. Wetting your spatula prevents the mochi from clinging to it. You’ll notice the dough starting to clump and become translucent in spots.
Step 5: Re-cover and microwave for another 1-2 minutes, or until the mochi is translucent and very sticky, resembling a thick paste. The cooking time can vary based on your microwave’s wattage. The goal is for the entire mixture to be uniformly translucent and springy. If it still looks opaque and chalky in the center, microwave for another 30 seconds at a time until fully cooked. This is crucial for the perfect chewy texture of your Mochi Dessert Bites.
Step 6: While still hot, transfer the cooked mochi onto a generously cornstarch-dusted surface (a large cutting board or baking sheet works well). Dust the top of the mochi dough and your hands/rolling pin with more cornstarch to prevent sticking. This step is critical! Don’t skimp on the cornstarch. You can even use a small sieve to dust it evenly. This makes handling the sticky dough a breeze.
Step 7: Gently pat or roll the mochi dough into a rectangle about 1/4 inch thick. Avoid overworking the dough, as it can become tough. The less you handle it directly, the better. Let the cornstarch do its job.
Step 8: Using a sharp, cornstarch-dusted knife or a pizza cutter, cut the mochi into small squares or circles, roughly 1.5 to 2 inches in size. Re-dust your cutting tool frequently to prevent dragging and tearing the mochi. These will be the perfect size for your individual Mochi Dessert Bites.
Step 9: Take each piece of mochi, gently flatten it further if needed, and place your desired filling in the center. Carefully gather the edges of the mochi around the filling and pinch them closed to form a sealed ball or bite-sized piece. Ensure the seam is tight. Practice makes perfect here! If you’re struggling, try using wet fingertips (with water, not starch) to help seal the edges. For inspiration on other sweet treats, you might enjoy making these Ultimate Extreme Sour Berry Cheesecake Bars.
Step 10: Place the finished Mochi Dessert Bites seam-side down on a plate. If using ice cream, fill just before serving and enjoy immediately. For other fillings, they can be stored. Arranging them neatly makes for a beautiful presentation.
Step 11: Dust with a little more cornstarch or powdered sugar for a polished look, or serve plain. Enjoy your homemade Mochi Dessert Bites! These are truly best enjoyed fresh.
Variations & Serving Suggestions
One of the most exciting aspects of making Mochi Dessert Bites is the sheer versatility they offer. Once you’ve mastered the basic mochi dough, a world of flavors and presentations opens up.
Creative Fillings
- Fresh Fruit: Small pieces of strawberries, kiwi, mango, or even blueberries are fantastic. The natural sweetness and slight tartness provide a lovely contrast to the chewy mochi.
- Chocolate: A single chocolate chip, a small square of your favorite chocolate bar, or even a dollop of chocolate ganache can turn these into rich, indulgent treats.
- Red Bean Paste (Anko): This is a traditional Japanese filling and a classic for a reason. Its earthy sweetness pairs beautifully with mochi.
- Ice Cream: For a true mochi ice cream experience, fill your mochi with small, pre-scooped balls of your favorite ice cream. Work quickly and serve immediately, or freeze for a few minutes to firm up.
- Nutella or Peanut Butter: For a decadent twist, a small dollop of a creamy spread makes for a delightful surprise inside your Mochi Dessert Bites.
Flavorful Dough Variations
Instead of just vanilla, infuse your mochi dough itself with other flavors:
- Matcha Mochi: Whisk 1-2 teaspoons of ceremonial grade matcha powder into your dry ingredients for a vibrant green color and earthy flavor.
- Cocoa Mochi: Add 1-2 tablespoons of unsweetened cocoa powder for a chocolatey base.
- Fruit Puree: Substitute some of the water with a thick fruit puree (like strawberry or mango) for naturally flavored and colored mochi. Adjust consistency if needed.
Serving Suggestions
- With Tea: Mochi Dessert Bites are the perfect accompaniment to a warm cup of green tea or herbal tea, balancing the sweetness and providing a comforting snack.
- Dessert Platter: Arrange a variety of flavored and filled mochi on a platter alongside other small treats. For a truly nostalgic spread, consider making an Ultimate Nostalgic Dirt Cake to accompany your mochi.
- As a Party Favor: Individually wrap different flavors of Mochi Dessert Bites in cellophane bags with a pretty ribbon for a charming and delicious party favor.
- Chilled Treat: While best fresh, some enjoy mochi slightly chilled from the refrigerator, especially those with fruit fillings. Store them in airtight containers for optimal freshness. For long-term storage of ingredients, Basics Glass Food Storage containers are excellent for keeping things fresh and organized in your pantry.
Nutrition Information
Here’s a general nutritional breakdown for one serving (one piece) of these Mochi Dessert Bites. Please note that these values are estimates and can vary based on specific ingredients and fillings used.
| Nutrient | Amount Per Serving |
|---|---|
| Calories | 80 kcal |
| Carbohydrate Content | 18g |
| Cholesterol Content | 0mg |
| Fat Content | 0.5g |
| Fiber Content | 0.5g |
| Protein Content | 1g |
| Saturated Fat Content | 0g |
| Serving Size | 1 piece |
| Sodium Content | 5mg |
| Sugar Content | 8g |
| Trans Fat Content | 0g |
| Unsaturated Fat Content | 0.5g |
Conclusion
There you have it – the delightful journey to creating your own incredible Mochi Dessert Bites right in your kitchen! From that first curious bite of a store-bought treat to the immense satisfaction of crafting these chewy morsels yourself, it’s a culinary adventure well worth taking. These Mochi Dessert Bites are more than just a recipe; they’re an invitation to explore, to customize, and to share a truly unique and delicious experience with those you love. So, gather your ingredients, dust your surfaces, and get ready to impress. Happy mochi making!
FAQs
What is mochi made of?
Mochi is traditionally made from mochigome (short-grain glutinous rice) pounded into a paste. In home cooking, like with these Mochi Dessert Bites, it’s most commonly made with glutinous rice flour (Mochiko) mixed with water and sugar for an easier process.
Can I make Mochi Dessert Bites without a microwave?
Yes, absolutely! If you don’t have a microwave, you can steam the mochi dough. Place the covered bowl over a pot of simmering water (bain-marie style) and steam for 15-20 minutes, stirring halfway through, until the dough becomes translucent and sticky. This method works just as well for delicious Mochi Dessert Bites.
How do I prevent Mochi Dessert Bites from sticking while shaping?
The key to preventing stickiness when making Mochi Dessert Bites is generous use of starch. Liberally dust your work surface, your hands, and any tools (like a knife or rolling pin) with cornstarch or potato starch. You can also lightly oil your hands or use wet hands, but starch is generally preferred for shaping and sealing.
How should I store leftover Mochi Dessert Bites?
Mochi Dessert Bites are definitely best enjoyed fresh for optimal texture. If you have leftovers, store them in an airtight container at room temperature for up to one day. For slightly longer storage (2-3 days), you can refrigerate them, but be aware that the texture may firm up. Freezing filled mochi is generally not recommended as it can significantly alter the texture upon thawing.
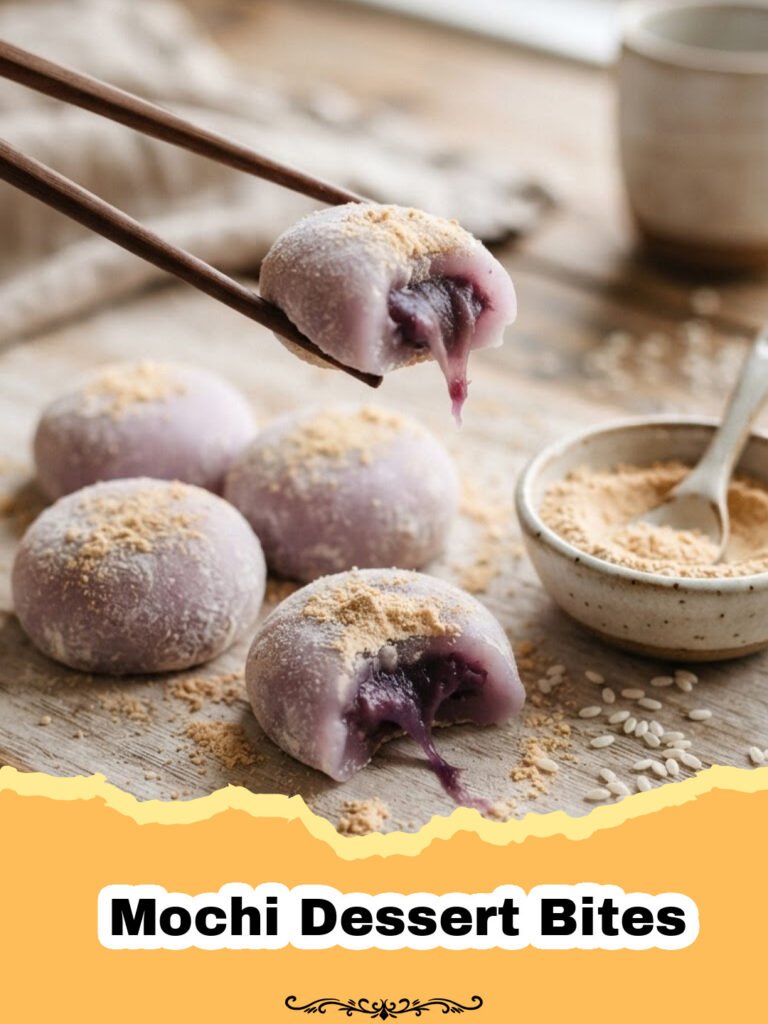
Mochi Dessert Bites
Soft, chewy, and utterly delightful, these Mochi Dessert Bites are a perfect homemade treat. Customize them with your favorite fillings for a personalized dessert experience, offering that unique texture everyone loves.
- Total Time: 1 hour
- Yield: 20–24 pieces 1x
Ingredients
1 cup (120g) glutinous rice flour (Mochiko)
1/4 cup (50g) granulated sugar
1 cup (240ml) water or milk (for a richer flavor)
1/2 teaspoon vanilla extract (optional)
Cornstarch or potato starch, for dusting
Desired fillings: small pieces of fruit (strawberries, kiwi), chocolate chips, a dollop of red bean paste, small scoops of ice cream (to be added just before serving)
Instructions
Step 1: In a microwave-safe bowl, whisk together the glutinous rice flour and granulated sugar until well combined.
Step 2: Gradually add the water or milk to the dry ingredients, whisking continuously until a smooth, lump-free batter is formed. Stir in the vanilla extract, if using.
Step 3: Cover the bowl loosely with plastic wrap, leaving a small vent. Microwave on high for 2 minutes.
Step 4: Carefully remove the bowl (it will be hot!) and stir the partially cooked mochi mixture with a wet spatula or spoon. It will be thick and sticky in places.
Step 5: Re-cover and microwave for another 1-2 minutes, or until the mochi is translucent and very sticky, resembling a thick paste. The cooking time can vary based on your microwave’s wattage.
Step 6: While still hot, transfer the cooked mochi onto a generously cornstarch-dusted surface (a large cutting board or baking sheet works well). Dust the top of the mochi dough and your hands/rolling pin with more cornstarch to prevent sticking.
Step 7: Gently pat or roll the mochi dough into a rectangle about 1/4 inch thick. Avoid overworking the dough, as it can become tough.
Step 8: Using a sharp, cornstarch-dusted knife or a pizza cutter, cut the mochi into small squares or circles, roughly 1.5 to 2 inches in size.
Step 9: Take each piece of mochi, gently flatten it further if needed, and place your desired filling in the center. Carefully gather the edges of the mochi around the filling and pinch them closed to form a sealed ball or bite-sized piece. Ensure the seam is tight.
Step 10: Place the finished Mochi Dessert Bites seam-side down on a plate. If using ice cream, fill just before serving and enjoy immediately. For other fillings, they can be stored.
Step 11: Dust with a little more cornstarch or powdered sugar for a polished look, or serve plain. Enjoy your homemade Mochi Dessert Bites!
Notes
For the best texture, Mochi Dessert Bites are best enjoyed fresh. If storing, keep them in an airtight container at room temperature for up to 1 day, or refrigerate for up to 2-3 days. Reheating is not recommended as it can alter the texture. You can dust them with cocoa powder or matcha powder for extra flavor and visual appeal.
- Prep Time: 45 minutes
- Cook Time: 15 minutes
- Category: Baked Goods
- Cuisine: Japanese-inspired
Nutrition
- Serving Size: 1 piece
- Calories: 80 kcal
- Sugar: 8g
- Sodium: 5mg
- Fat: 0.5g
- Saturated Fat: 0g
- Unsaturated Fat: 0.5g
- Trans Fat: 0g
- Carbohydrates: 18g
- Fiber: 0.5g
- Protein: 1g
- Cholesterol: 0mg
Keywords: mochi, dessert, bites, Japanese dessert, sticky rice cake, glutinous rice flour, homemade mochi, chewy dessert, sweet treat, mochi recipe, easy mochi




