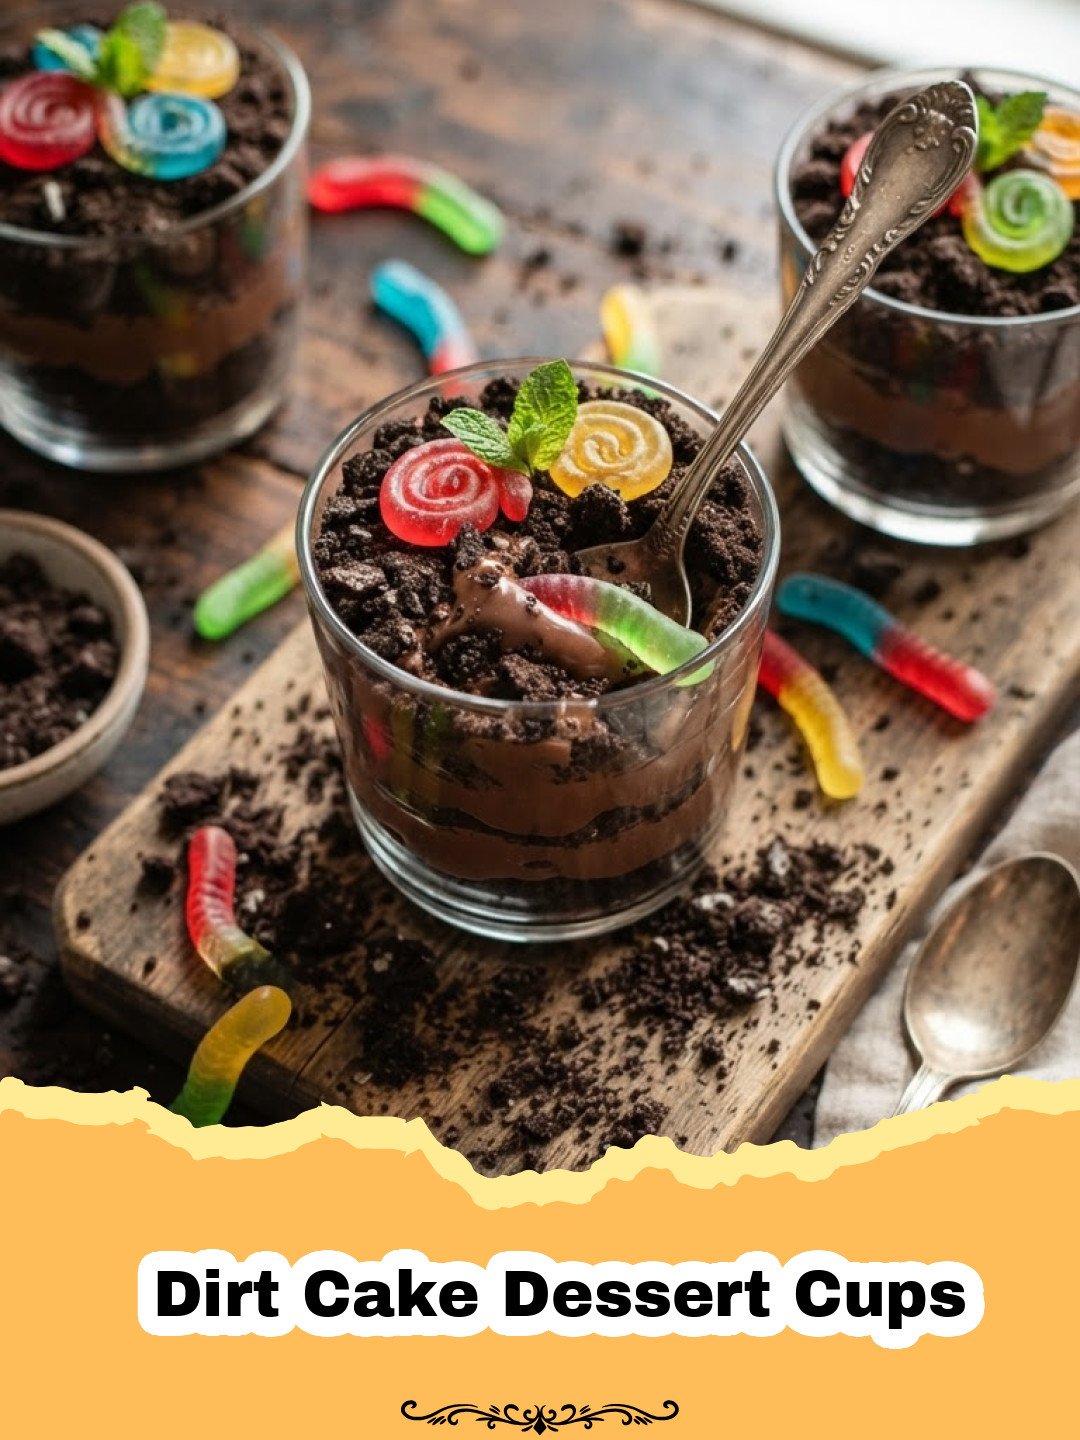
Ah, the magical taste of childhood! There are some recipes that instantly transport you back to simpler times, and for me, one of those cherished memories revolves around making Dirt Cake Dessert Cups. I remember summer afternoons at my grandma’s house, her kitchen filled with the comforting scent of vanilla and chocolate. She’d pull out the big mixing bowl, and I, a little culinary enthusiast with sticky fingers, would be in charge of crushing the Oreo cookies. It wasn’t just about mixing ingredients; it was about the joy of creation, the anticipation of that first spoonful, and the pure, unadulterated fun of digging into a dessert that looked exactly like a patch of delicious dirt. These weren’t just dessert cups; they were miniature edible gardens, often adorned with gummy worms peeking out, much to my delight. This recipe for Dirt Cake Dessert Cups isn’t just about dessert; it’s about recreating those moments, one delicious cup at a time.
Why These Dirt Cake Dessert Cups Are a Must-Try
- Irresistibly Fun & Kid-Friendly: With their ‘dirt’ and ‘worms’ aesthetic, these Dirt Cake Dessert Cups are a huge hit with children and a fun project for them to help assemble.
- No-Bake Simplicity: No oven required! This makes them perfect for hot summer days or when you need a quick, impressive dessert without the fuss.
- Crowd-Pleasing Flavor: The classic combination of chocolate, cream cheese, and whipped topping is universally loved, making these Dirt Cake Dessert Cups a guaranteed favorite at any gathering.
- Perfectly Portioned: Served in individual cups, they’re easy to manage, hygienic for parties, and look incredibly appealing.
Key Ingredient Notes for Perfect Dirt Cake Dessert Cups
While the beauty of Dirt Cake Dessert Cups lies in their simplicity, a few key ingredients elevate them from good to absolutely divine. Understanding their role can help you achieve the best results.
Oreo Cookies
The star of the show! Oreos are not just for the ‘dirt’ layer; they provide a crucial textural contrast to the creamy filling. For the best ‘dirt,’ you’ll want to crush them finely, but don’t turn them into a powder. A few small crumbs here and there add to the authentic soil-like texture. You can use a food processor for speed, or for a more hands-on (and nostalgic) approach, place them in a zip-top bag and crush them with a rolling pin. Don’t remove the cream filling – it adds to the richness and binds the ‘dirt’ slightly.
Instant Vanilla Pudding Mix
This is the backbone of your creamy filling. While vanilla is traditional and allows the chocolate from the Oreos to shine, don’t be afraid to experiment! Instant chocolate pudding can create an even richer, darker dessert, or you could try French vanilla for a more gourmet touch. Ensure you use instant pudding, not cook-and-serve, as it sets up much faster and requires no heat, keeping this a true no-bake wonder. The full-fat milk is also key here for optimal creaminess and setting.
Cream Cheese and Whipped Topping
These two create the luscious, airy, and slightly tangy base of your ‘mud’ layer. Use full-fat, block-style cream cheese, softened to room temperature. This ensures it creams smoothly without lumps. For the whipped topping, cool whip or a similar product works best for stability and convenience. If you prefer, you can make your own sweetened whipped cream, but be aware it might not hold its structure quite as long, especially in warmer conditions. The combination of these two elements makes the filling for your Dirt Cake Dessert Cups incredibly decadent yet surprisingly light.
Step-by-Step Guide with Pro Tips for Dirt Cake Dessert Cups
Making these Dirt Cake Dessert Cups is incredibly straightforward, but a few pro tips can ensure they turn out perfectly every time.
Gather Your Tools
Before you begin, make sure you have everything ready. You’ll need individual serving cups (clear ones work best to showcase the layers!), a large mixing bowl, an electric mixer, and a food processor or a sturdy zip-top bag and rolling pin for crushing cookies. If you’re planning to store any leftovers, consider using Basics Glass Food Storage containers to keep them fresh.
The Oreo Dirt Base
Step 1: Begin by crushing your Oreo cookies. Place 36 Oreo cookies (including the cream filling) into a food processor and pulse until they resemble fine, moist dirt. Alternatively, place them in a large zip-top bag and crush with a rolling pin until finely crumbled. Set aside about 1 cup of the crushed cookies for topping.
Prepare the Creamy Filling
Step 2: In a large mixing bowl, beat the softened cream cheese with the powdered sugar until smooth and creamy. Make sure there are no lumps remaining for a silky-smooth filling.
Step 3: In a separate medium bowl, whisk together the cold milk and instant vanilla pudding mix for about 2 minutes until it begins to thicken. Let it sit for 2-3 minutes to set completely.
Step 4: Gently fold the prepared pudding into the cream cheese mixture until well combined. Be careful not to overmix, as this can affect the texture.
Step 5: Fold in the whipped topping until no streaks remain and the mixture is light and fluffy. This creates the ‘mud’ layer for your Dirt Cake Dessert Cups.
Assemble Your Dirt Cake Dessert Cups
Step 6: Start layering! Place about 1-2 tablespoons of crushed Oreos at the bottom of each individual serving cup. This forms your initial ‘dirt’ layer.
Step 7: Spoon or pipe a generous amount of the creamy pudding mixture over the Oreo layer. You can use a piping bag for a neater look, or simply spoon it in for a rustic charm. Aim for an even layer.
Step 8: Repeat the layers: add another layer of crushed Oreos, followed by another layer of the creamy mixture. Continue until your cups are nearly full, ending with a layer of the creamy mixture.
The Finishing Touches
Step 9: Top each cup generously with the reserved crushed Oreo ‘dirt.’ This is where your Dirt Cake Dessert Cups really come to life!
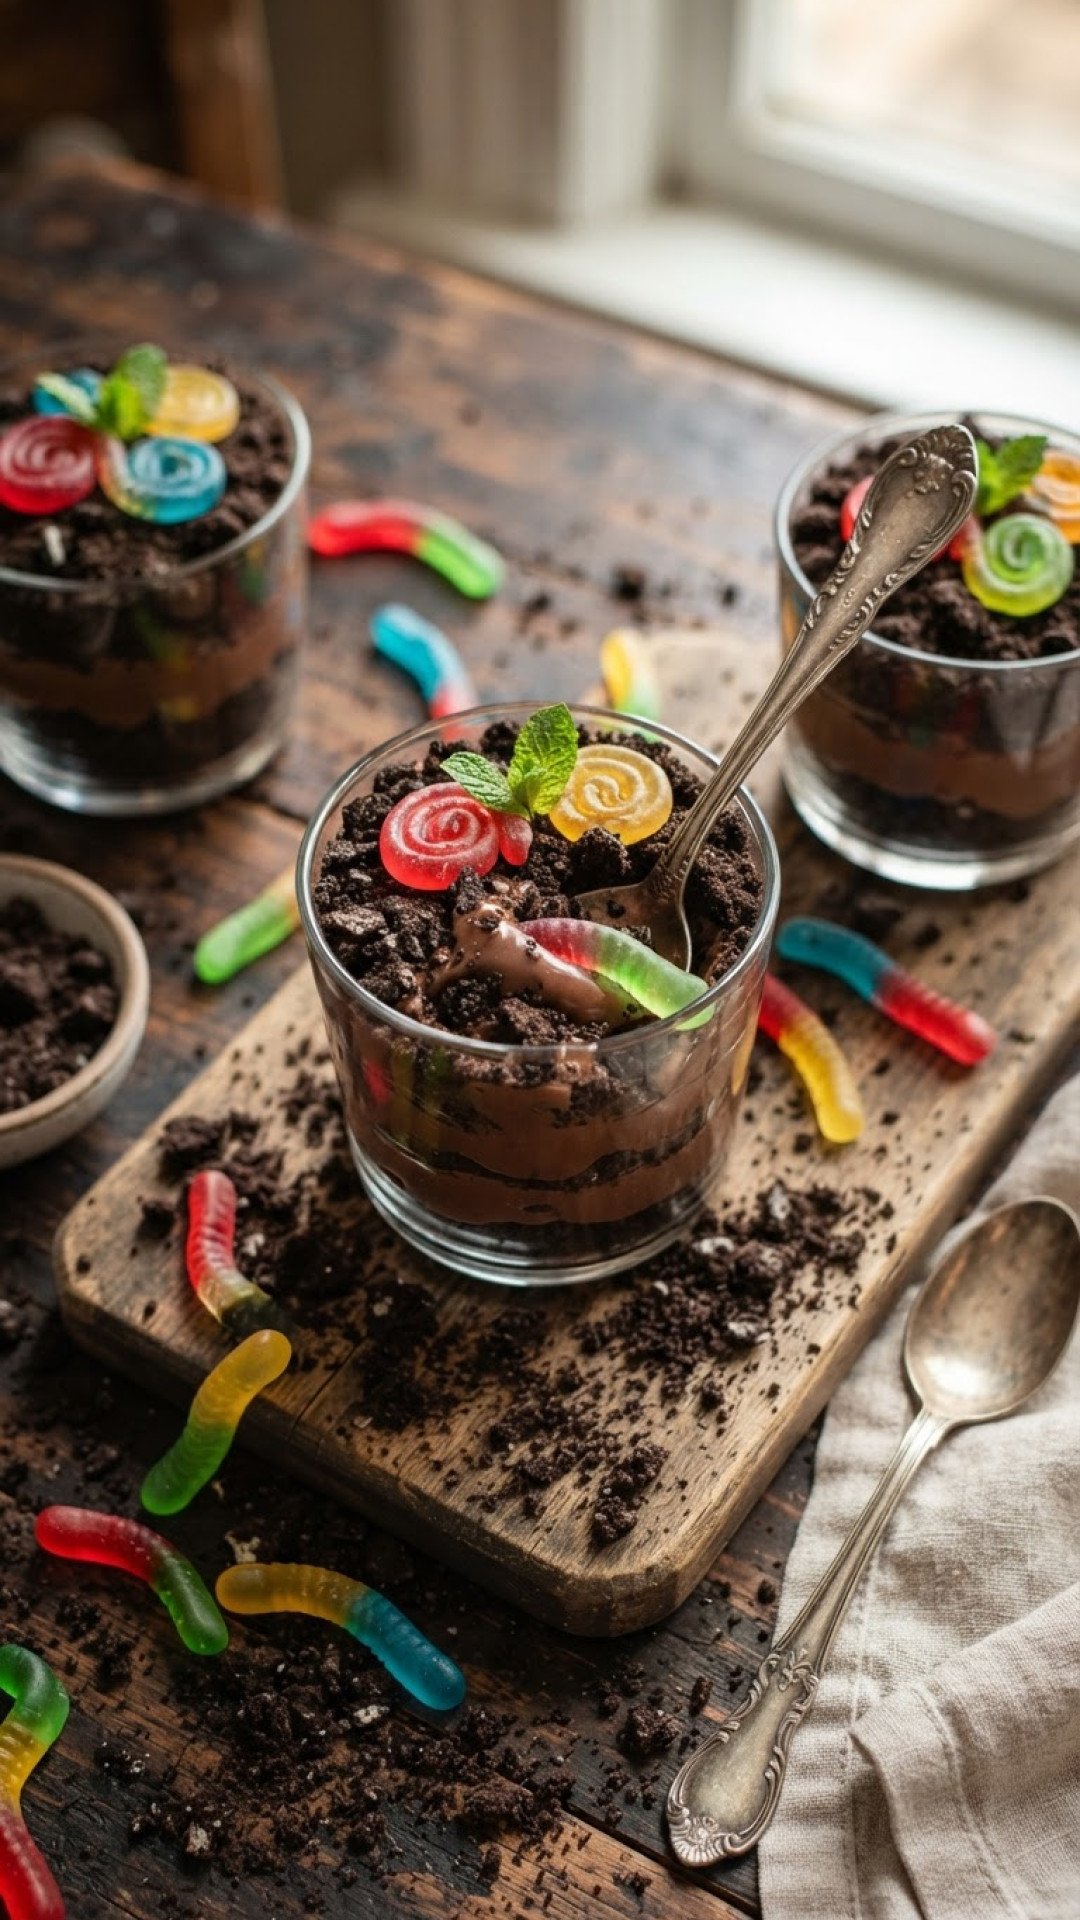
Step 10: For the classic look, add a few gummy worms or other fun candy decorations peeking out of the ‘dirt.’ Arrange them playfully to mimic worms burrowing in the soil.
Step 11: Chill the Dirt Cake Dessert Cups in the refrigerator for at least 1-2 hours before serving. This allows the layers to set and the flavors to meld beautifully. The longer they chill, the firmer they will become.
Variations & Serving Suggestions for Dirt Cake Dessert Cups
While the classic Dirt Cake Dessert Cups are perfect as is, there’s always room to get creative and personalize them!
- Fruity Dirt Cups: Add layers of fresh sliced strawberries, raspberries, or blueberries between the cream and cookie layers for a burst of freshness and color.
- Mint Chocolate Dirt Cups: Use mint-flavored Oreos and a few drops of peppermint extract in the cream cheese mixture for a refreshing twist.
- Peanut Butter Dirt Cups: Swirl a couple of tablespoons of creamy peanut butter into the cream cheese mixture for a nutty, decadent flavor.
- Coffee Lover’s Dirt Cups: Dissolve a teaspoon of instant espresso powder in the milk before adding the pudding mix for a subtle coffee kick.
- Boozy Adult Version: For an adult-only treat, add a tablespoon of coffee liqueur or Irish cream to the cream cheese mixture.
- Seasonal Decor: Change up the decorations for holidays! Use candy corn for Halloween, pastel candies for Easter, or red and green sprinkles for Christmas instead of gummy worms.
- Party Platter Perfection: These are fantastic for parties! Serve them alongside other individual treats. For more creative party food ideas, check out The Ultimate Snackle Box Guide.
- Larger Presentation: While individual cups are great, you can also make a large ‘dirt cake’ in a 9×13 inch pan, ideal for family gatherings or potlucks.
Nutrition Information
Here’s a general breakdown of the nutritional content for one serving of these delightful Dirt Cake Dessert Cups:
| Nutrient | Amount |
|---|---|
| Calories | 450 kcal |
| Carbohydrate Content | 55 g |
| Cholesterol Content | 40 mg |
| Fat Content | 25 g |
| Fiber Content | 2 g |
| Protein Content | 5 g |
| Saturated Fat Content | 12 g |
| Serving Size | 1 cup |
| Sodium Content | 350 mg |
| Sugar Content | 40 g |
| Trans Fat Content | 0 g |
| Unsaturated Fat Content | 10 g |
Conclusion
Whether you’re reliving childhood memories or creating new ones, these Dirt Cake Dessert Cups are an absolute winner. They’re simple to make, incredibly delicious, and endlessly customizable. The joy of digging into that creamy ‘mud’ and crunchy ‘dirt’ with a surprise gummy worm is a timeless pleasure. They’re a perfect dessert for any occasion, from casual weeknights to festive celebrations. So go ahead, get a little ‘dirty’ in the kitchen and whip up a batch of these delightful treats. You can also explore other no-bake dessert ideas like Divine Ube Cheesecake Bars for another sweet adventure! Enjoy every spoonful!
FAQs
Can I make Dirt Cake Dessert Cups ahead of time?
Absolutely! Dirt Cake Dessert Cups are perfect for making ahead. You can assemble them up to 24 hours in advance and store them covered in the refrigerator. In fact, chilling them longer allows the flavors to meld beautifully and the layers to set, making them even more delicious.
What kind of cookies are best for Dirt Cake Dessert Cups?
Oreo cookies are the classic choice and are highly recommended for their perfect texture and flavor that mimics ‘dirt.’ You can use any variety of Oreo, including original, chocolate, or even mint for a fun twist. The cream filling should be crushed along with the cookies.
How should I store leftover Dirt Cake Dessert Cups?
Store any leftover Dirt Cake Dessert Cups tightly covered in the refrigerator for up to 3-4 days. For optimal freshness, ensure they are in airtight containers. If you plan to store them, it’s best to add gummy worms or other decorations just before serving, as they can become stiff or sticky in the fridge.
Can I make Dirt Cake Dessert Cups dairy-free or gluten-free?
Yes, with a few substitutions! For dairy-free, use dairy-free cream cheese, dairy-free milk, and a dairy-free whipped topping (like coconut whipped cream). Ensure your instant pudding mix is dairy-free. For gluten-free, use gluten-free chocolate sandwich cookies (many brands offer an excellent alternative to Oreos).
Dirt Cake Dessert Cups
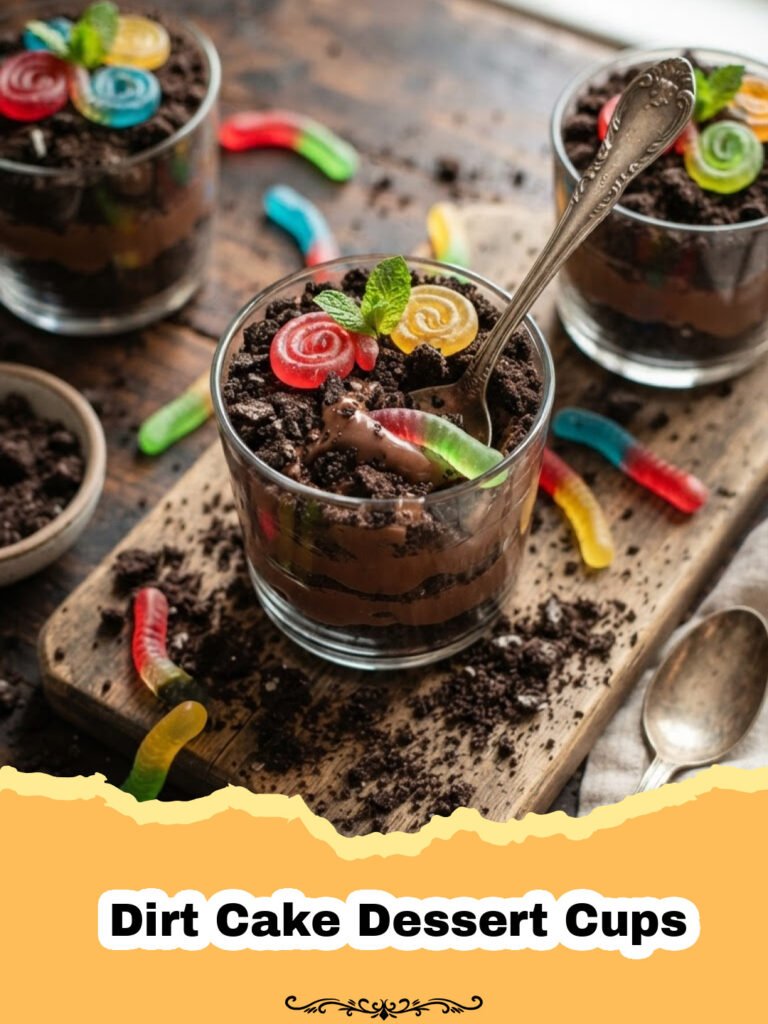
A fun, no-bake, and incredibly delicious dessert featuring layers of crushed Oreo cookies and a rich, creamy pudding and cream cheese mixture, often adorned with gummy worms.
- Total Time: 2 hours 20 minutes
- Yield: 8 servings 1x
Ingredients
36 Oreo cookies (1 package)
8 oz (226g) cream cheese, softened
1/2 cup (60g) powdered sugar
1 (3.4 oz / 96g) package instant vanilla pudding mix
2 cups (480ml) cold milk (whole milk recommended)
1 (8 oz / 226g) container whipped topping (like Cool Whip), thawed
Gummy worms or other candy for decoration (optional)
Instructions
Step 1: Crush the Oreo cookies. Place 36 Oreo cookies (including the cream filling) into a food processor and pulse until they resemble fine, moist dirt. Alternatively, place them in a large zip-top bag and crush with a rolling pin until finely crumbled. Set aside about 1 cup of the crushed cookies for topping.
Step 2: In a large mixing bowl, beat the softened cream cheese with the powdered sugar until smooth and creamy.
Step 3: In a separate medium bowl, whisk together the cold milk and instant vanilla pudding mix for about 2 minutes until it begins to thicken. Let it sit for 2-3 minutes to set completely.
Step 4: Gently fold the prepared pudding into the cream cheese mixture until well combined.
Step 5: Fold in the whipped topping until no streaks remain and the mixture is light and fluffy.
Step 6: Begin layering. Place about 1-2 tablespoons of crushed Oreos at the bottom of each individual serving cup.
Step 7: Spoon or pipe a generous amount of the creamy pudding mixture over the Oreo layer.
Step 8: Repeat the layers: add another layer of crushed Oreos, followed by another layer of the creamy mixture. Continue until your cups are nearly full, ending with a layer of the creamy mixture.
Step 9: Top each cup generously with the reserved crushed Oreo ‘dirt.’
Step 10: For the classic look, add a few gummy worms or other fun candy decorations peeking out of the ‘dirt.’
Step 11: Chill the Dirt Cake Dessert Cups in the refrigerator for at least 1-2 hours before serving. This allows the layers to set and the flavors to meld beautifully.
Notes
For best results, ensure cream cheese is fully softened to avoid lumps. Chill thoroughly before serving for optimal texture and flavor. You can make this recipe in a larger 9×13 inch pan if you prefer one large dessert instead of individual cups.
- Prep Time: 20 minutes
- Cook Time: 0 minutes
- Category: Appetizers & Snacks
- Cuisine: American
Nutrition
- Serving Size: 1 cup
- Calories: 450 kcal
- Sugar: 40 g
- Sodium: 350 mg
- Fat: 25 g
- Saturated Fat: 12 g
- Unsaturated Fat: 10 g
- Trans Fat: 0 g
- Carbohydrates: 55 g
- Fiber: 2 g
- Protein: 5 g
- Cholesterol: 40 mg
Keywords: dirt cake, dessert cups, no-bake dessert, oreo dessert, kid-friendly recipe, easy dessert, pudding dessert, gummy worms, party dessert