
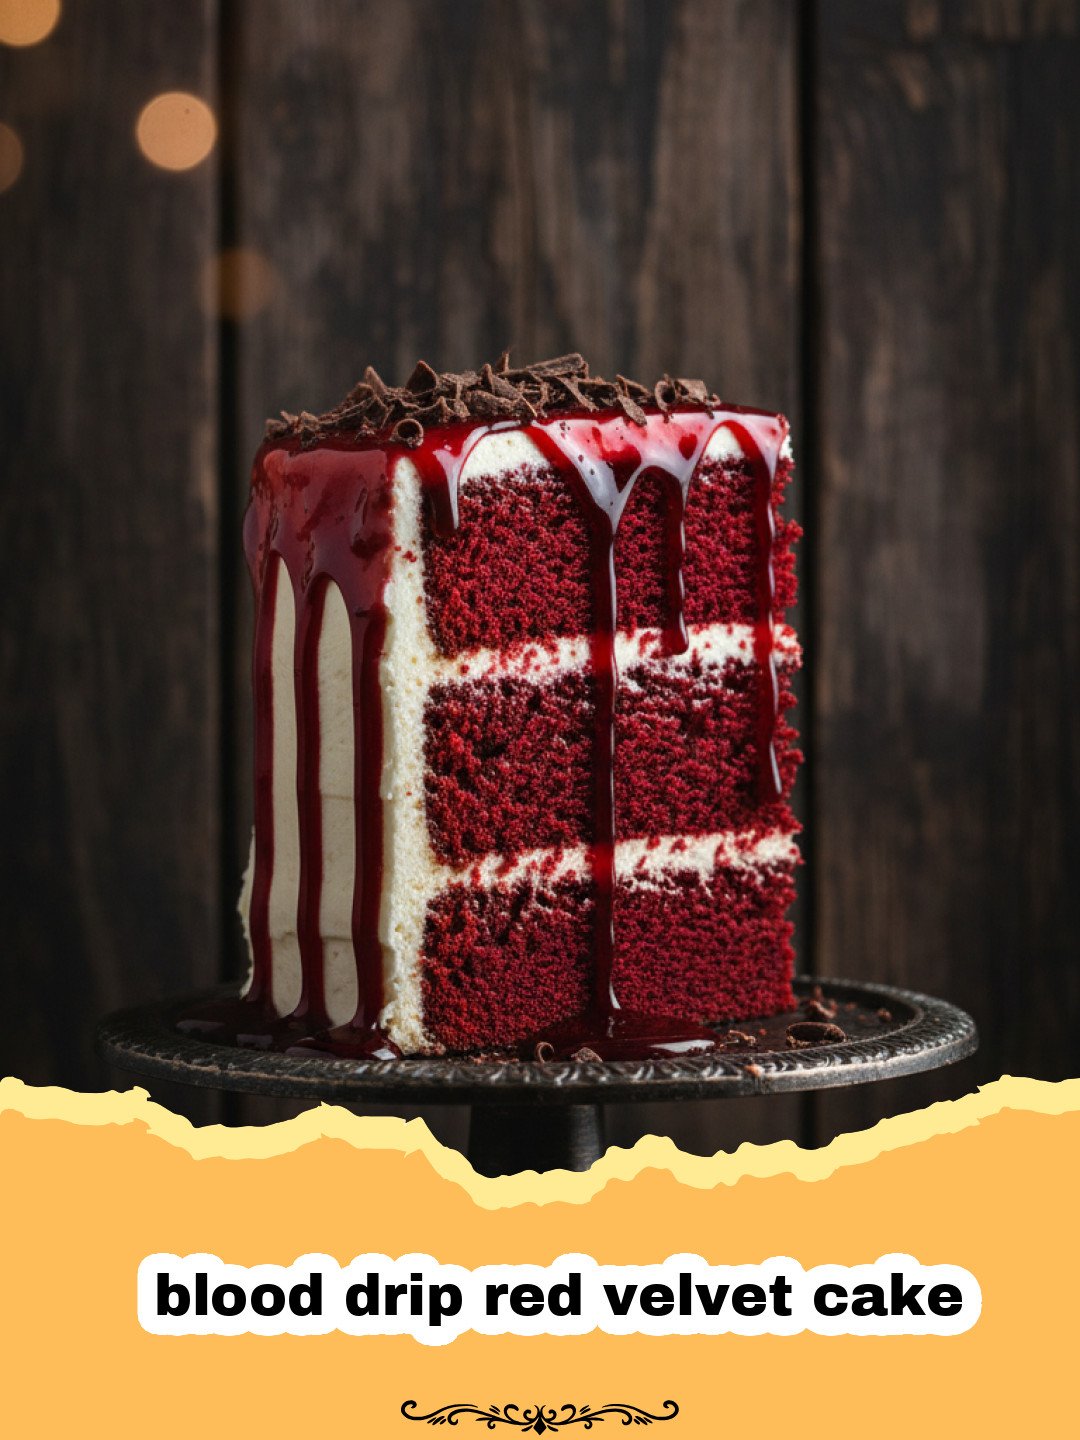
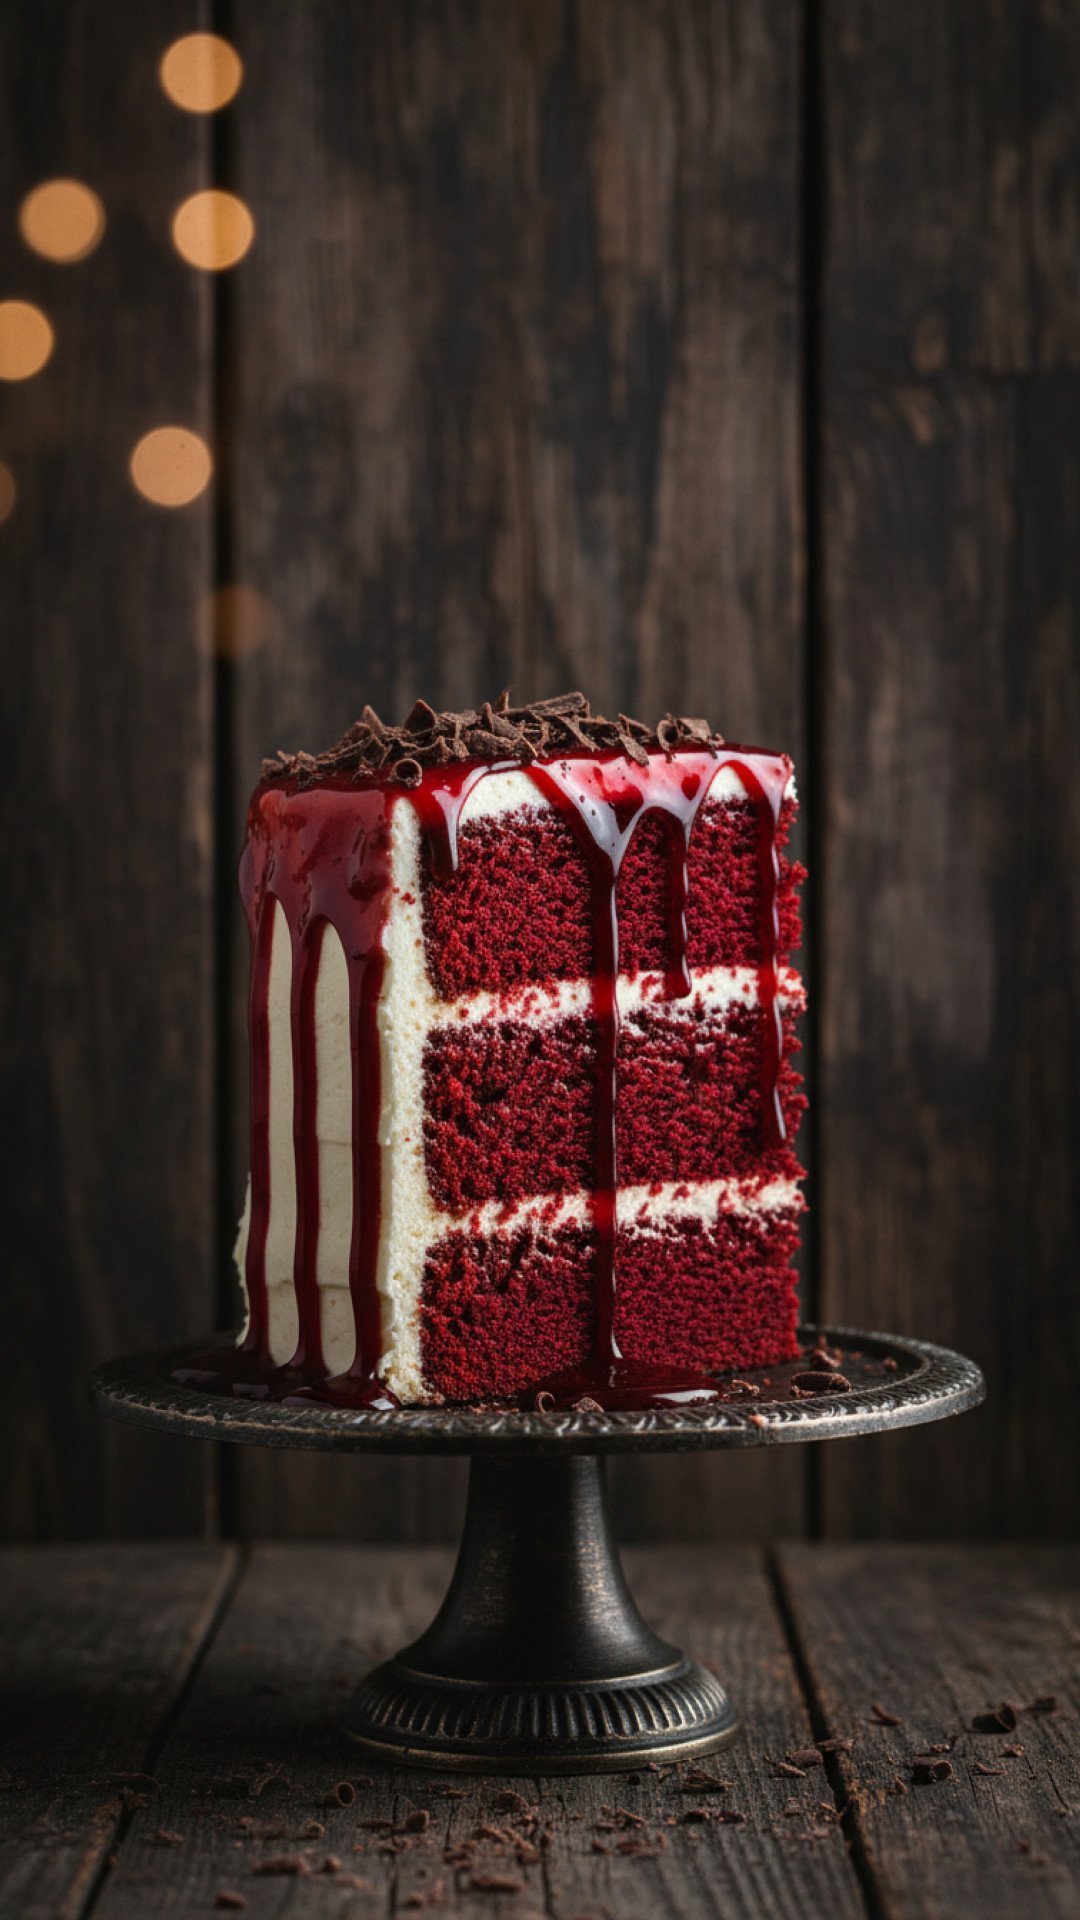
Blood drip red velvet cake is the absolute centerpiece of any spooky celebration, and I still remember the first time I pulled this masterpiece out of my oven. It was a chilly October evening, three years ago, when I decided to host my very first neighborhood Halloween bash. I wanted something that was equal parts elegant and terrifying, a dessert that would make my guests gasp before they took a bite. After hours of experimenting with cocoa ratios and syrup consistencies, I finally perfected this blood drip red velvet cake. The way the deep red cake peeked through the stark white frosting, topped with that glistening, macabre drip, was exactly the theatrical flair I was looking for. Ever since that night, this cake has become a requested legend in my social circle, and today, I am sharing every secret I have learned to help you recreate this show-stopping blood drip red velvet cake in your own kitchen.
Why This Recipe is a Must-Try
When it comes to holiday baking, you want a recipe that delivers on both flavor and presentation. This blood drip red velvet cake does exactly that. Here is why you need to add this to your baking repertoire:
- The Ultimate Texture: This isn’t just a dry sponge cake; it is a moist, velvety masterpiece that melts in your mouth thanks to the perfect balance of buttermilk and vinegar.
- Stunning Visual Contrast: The bright white cream cheese frosting provides the perfect canvas for the deep red cake and the striking “blood” drip, making the blood drip red velvet cake a visual icon.
- Beginner-Friendly Techniques: While it looks like it came from a professional bakery, the drip technique is surprisingly simple to master with the right ratios.
- Flavor Profile: It features that classic, subtle cocoa flavor paired with tangy frosting that keeps people coming back for second (and third) slices.
If you are looking for other mysterious treats, you might also enjoy The Most Enchanting Phantom Red Velvet Cake Recipe, which offers a different twist on this classic flavor profile.
Key Ingredient Notes
To ensure your blood drip red velvet cake turns out perfectly, pay close attention to these three crucial components:
The Cocoa Powder
For a true blood drip red velvet cake, you want a high-quality, non-alkalized (natural) cocoa powder. Natural cocoa powder is slightly acidic, which reacts with the buttermilk and baking soda to create that signature tender crumb and reddish hue. While we use food coloring for the vibrant pop, the chemical reaction between these ingredients is the soul of a traditional red velvet recipe.
The “Blood” Drip
The secret to a realistic drip on your blood drip red velvet cake is a mixture of corn syrup and cornstarch, tinted with professional-grade gel food coloring. Unlike a chocolate ganache, this corn syrup base remains glossy and semi-translucent, mimicking the look of real liquid while staying perfectly edible and sweet. It provides that dramatic, slow-moving aesthetic that defines a blood drip red velvet cake.
Buttermilk and Vinegar
Never skip the buttermilk! It provides the moisture and the tang that defines the cake’s flavor. When paired with a teaspoon of white distilled vinegar, it activates the leavening agents, ensuring your blood drip red velvet cake rises beautifully and remains light despite its rich appearance. If you find yourself with leftover cake after the party, I highly recommend using Basics Glass Food Storage to keep the slices fresh for days.
Step-by-Step Guide with Pro Tips
Creating a blood drip red velvet cake is a process of layering flavors and textures. Follow these steps carefully to ensure success.
Preparing the Cake Base
Start by creaming your room-temperature butter and sugar together until the mixture is light and fluffy. This usually takes about 3-5 minutes. Slowly incorporate your eggs one at a time. In a separate bowl, whisk your dry ingredients. The trick to a perfect blood drip red velvet cake is alternating the addition of dry ingredients and buttermilk. This prevents the batter from breaking and ensures a uniform texture. Once the batter is smooth, fold in your red gel coloring until you reach that deep, iconic crimson.
Mastering the Frosting
A blood drip red velvet cake requires a sturdy cream cheese frosting. Ensure your cream cheese and butter are softened but not melting. Whip them together before adding powdered sugar. If your frosting is too soft, the “blood” might slide off or cause the frosting to sag. Chill the frosted cake for at least an hour before applying the drip; a cold surface helps the syrup slow down and set in place.
The Drip Technique
When applying the drip to your blood drip red velvet cake, start with a test drip on the back of the cake. Use a squeeze bottle or a spoon to let a small amount fall over the edge. If it runs all the way to the bottom instantly, your mixture is too thin. Add a pinch more cornstarch. If it barely moves, thin it with a drop of water. This precision is what makes the blood drip red velvet cake so impressive. For a complete spooky dessert table, you can serve this alongside Spooky Fang Chocolate Dipped Strawberries: A Halloween Hit.
Variations & Serving Suggestions
While the classic blood drip red velvet cake is a showstopper, there are many ways to customize it:
- Cupcake Version: Turn this recipe into 24 individual blood drip red velvet cupcakes for easier serving at large parties. Simply reduce the bake time to 18-22 minutes.
- Flavor Twists: Add a teaspoon of almond extract to the frosting for a cherry-bakewell inspired flavor that pairs beautifully with the red velvet.
- Decoration Ideas: Stick a clean, decorative prop knife into the top of the blood drip red velvet cake for an extra-theatrical presentation.
- Tiered Elegance: For a wedding or formal event, make a three-tier blood drip red velvet cake but keep the drip subtle for a “gothic romance” vibe.
Nutrition Information
The following table provides the estimated nutritional values for one serving of this blood drip red velvet cake.
| Nutrient | Amount per Serving |
|---|---|
| Calories | 485 kcal |
| Carbohydrate Content | 62g |
| Cholesterol Content | 85mg |
| Fat Content | 24g |
| Fiber Content | 1g |
| Protein Content | 5g |
| Saturated Fat Content | 12g |
| Serving Size | 1 Slice |
| Sodium Content | 310mg |
| Sugar Content | 45g |
| Trans Fat Content | 0g |
| Unsaturated Fat Content | 10g |
Conclusion
Mastering the blood drip red velvet cake is a rewarding journey for any home baker. It combines the technical skills of cake construction with the creative joy of food styling. Whether you are making this for a Halloween party or just because you love the dramatic flair, this blood drip red velvet cake is sure to leave a lasting impression on everyone who sees and tastes it. Don’t be afraid to get messy with the drips—after all, a little imperfection only adds to the spooky charm! Happy baking, and may your kitchen be filled with the sweet aroma of cocoa and success.
FAQs
How do I make the drip on the blood drip red velvet cake look realistic?
The key to a realistic drip is using a base of light corn syrup thickened slightly with cornstarch. Use a deep red gel food coloring and apply it to a chilled cake so the ‘blood’ moves slowly and thickens as it cools.
Can I make this blood drip red velvet cake in advance?
Yes! You can bake the cake layers a day in advance and wrap them tightly in plastic wrap. You can also frost the cake a few hours early, but it is best to apply the ‘blood’ drip closer to serving so it stays glossy and fresh.
Why is my red velvet cake not bright red?
The color of a blood drip red velvet cake depends on the type of cocoa and food coloring used. Use ‘natural’ cocoa powder rather than Dutch-processed, and ensure you are using a high-quality gel food coloring, which is more concentrated than liquid coloring.
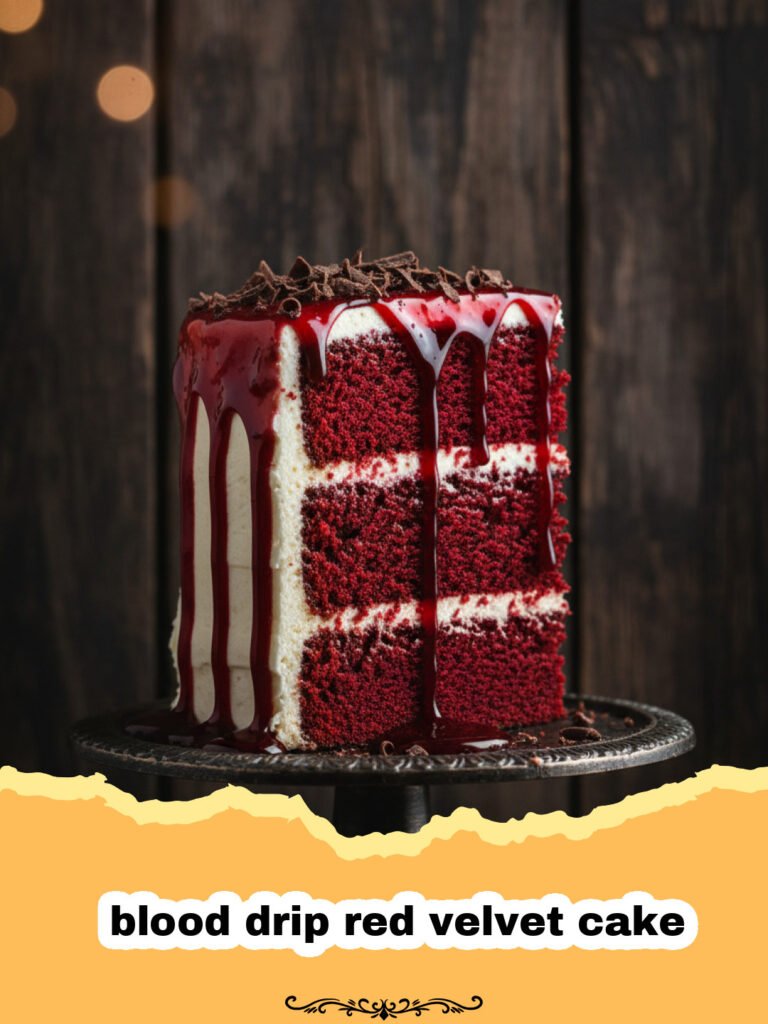
Blood Drip Red Velvet Cake
A stunning and spooky red velvet cake with cream cheese frosting and a realistic edible blood drip made from corn syrup.
- Total Time: PT1H20M
- Yield: 12 servings 1x
Ingredients
2 1/2 cups all-purpose flour
1 1/2 cups granulated sugar
1 teaspoon baking soda
1 teaspoon salt
1 teaspoon cocoa powder (natural)
1 1/2 cups vegetable oil
1 cup buttermilk, room temperature
2 large eggs, room temperature
2 tablespoons red food coloring (gel preferred)
1 teaspoon white distilled vinegar
1 teaspoon vanilla extract
16 oz cream cheese, softened
1/2 cup unsalted butter, softened
4 cups powdered sugar
1/2 cup light corn syrup
1 tablespoon cornstarch
Red gel food coloring (for drip)
Instructions
Step 1: Preheat your oven to 350°F (175°C) and grease two 8-inch round cake pans. Line the bottoms with parchment paper for easy removal.
Step 2: In a medium bowl, whisk together the flour, sugar, baking soda, salt, and cocoa powder.
Step 3: In a large bowl, beat together the oil, buttermilk, eggs, food coloring, vinegar, and vanilla until well combined. Gradually add the dry ingredients to the wet ingredients and mix until smooth.
Step 4: Divide the batter evenly between the prepared pans and bake for 30-35 minutes, or until a toothpick inserted into the center comes out clean. Let the cakes cool completely in the pans before removing.
Step 5: For the frosting, beat the cream cheese and butter until smooth. Gradually add powdered sugar and vanilla, whipping until light and fluffy. Frost the cooled cake layers, including the top and sides.
Step 6: In a small bowl, mix the corn syrup, cornstarch, and red food coloring until it reaches the desired ‘blood’ shade. Using a spoon or squeeze bottle, carefully drip the mixture over the edges of the chilled cake.
Notes
Ensure the cake is fully chilled before adding the drip to prevent it from running too fast.
- Prep Time: PT45M
- Cook Time: PT35M
- Category: Baked Goods
- Cuisine: American
Nutrition
- Serving Size: 1 Slice
- Calories: 485 kcal
- Sugar: 45g
- Sodium: 310mg
- Fat: 24g
- Saturated Fat: 12g
- Unsaturated Fat: 10g
- Trans Fat: 0g
- Carbohydrates: 62g
- Fiber: 1g
- Protein: 5g
- Cholesterol: 85mg
Keywords: blood drip red velvet cake, Halloween cake, red velvet recipe, spooky dessert, edible blood drip




