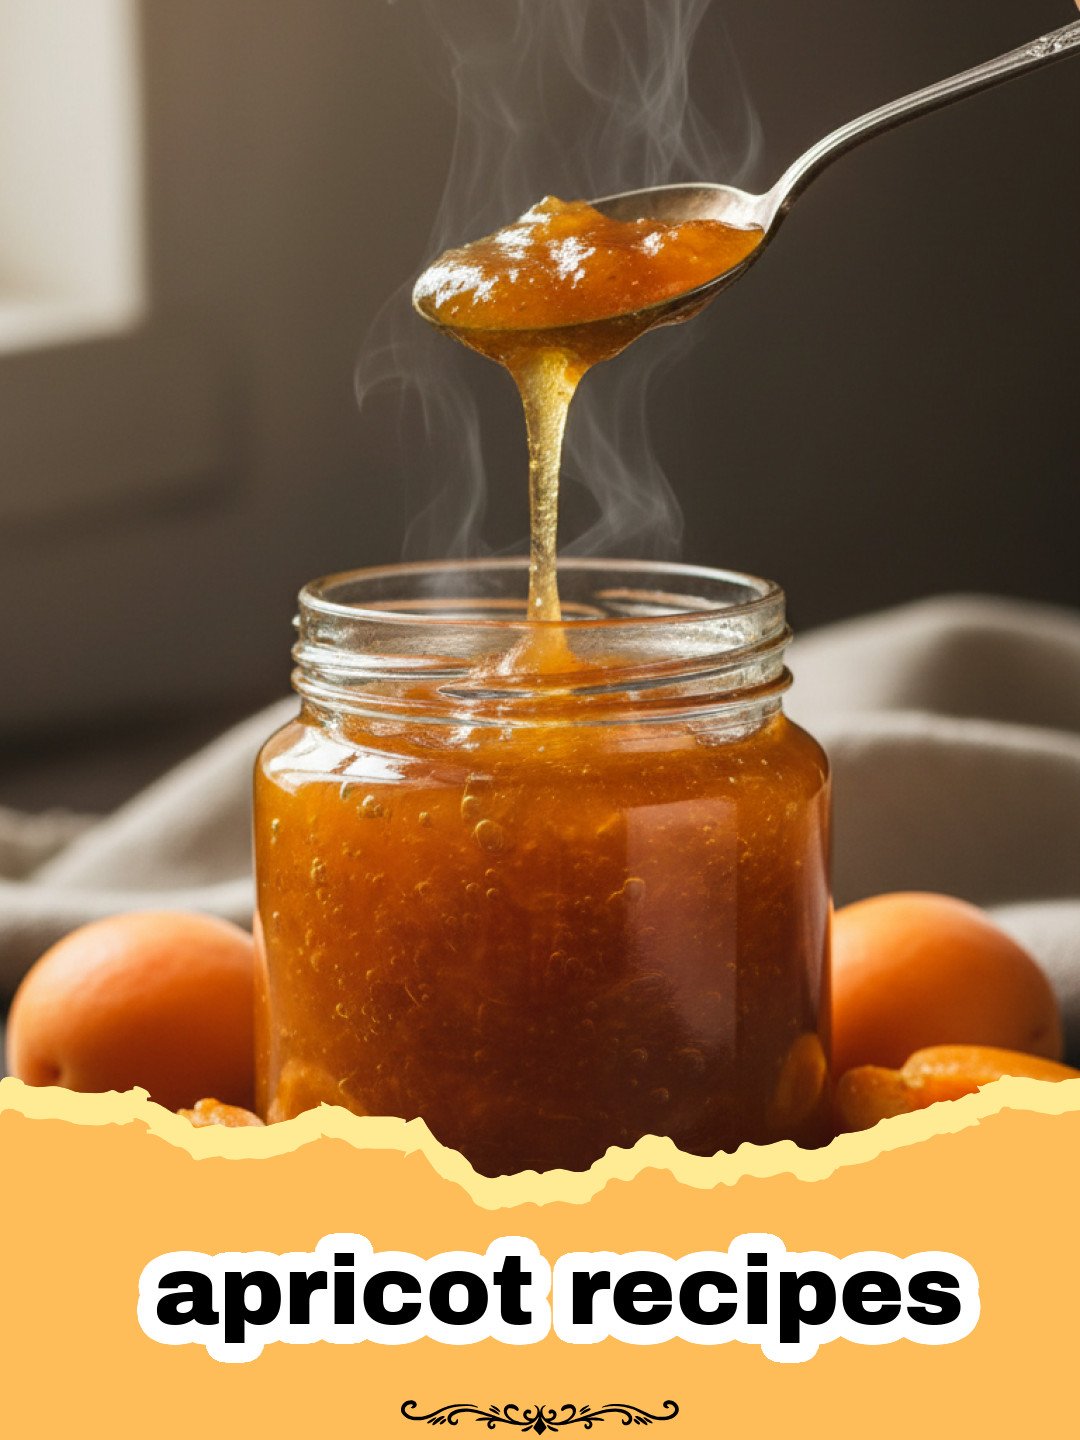
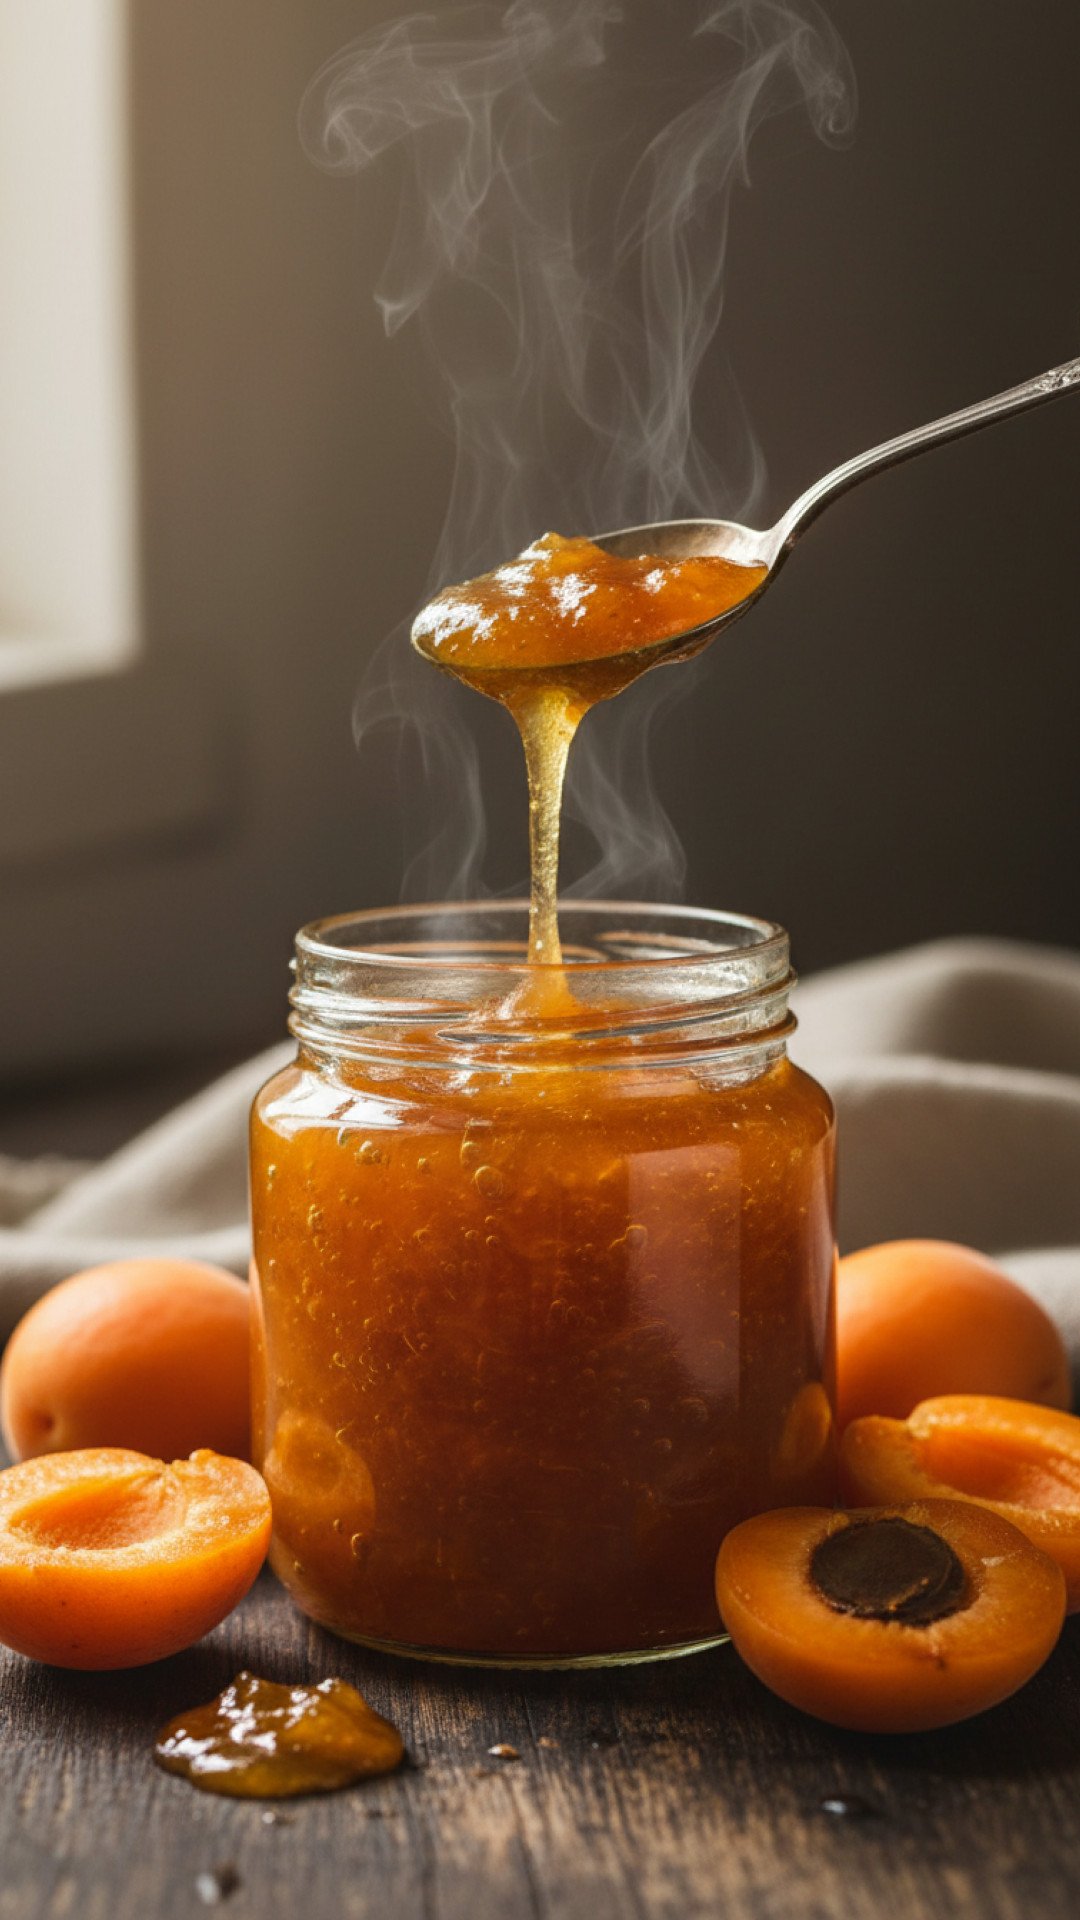
There’s something truly magical about the arrival of summer, isn’t there? For me, it’s inextricably linked to the scent of ripe apricots. I remember summers spent at my grandmother’s house, a sprawling garden that felt like a secret wonderland, complete with an old, gnarled apricot tree. Every July, its branches would sag under the weight of hundreds of sun-kissed, blushing fruits. My grandmother, with her flour-dusted hands and a twinkle in her eye, would gather baskets full, and our kitchen would transform into a fragrant haven. The air would be thick with the sweet, tangy aroma of simmering fruit as she turned those golden gems into jars of shimmering apricot jam. Those precious jars weren’t just food; they were memories, preserved. They were spread on warm toast on chilly mornings, tucked into tarts, and gifted with love. This recipe isn’t just about making jam; it’s about recapturing a piece of that golden summer, a taste of nostalgia, and sharing it. It’s one of my favorite apricot recipes, and I’m so excited to share it with you.
Why This Apricot Jam Recipe is a Must-Try
- Pure, Unadulterated Flavor: This recipe highlights the natural sweetness and tang of fresh apricots, making for a jam that truly tastes of summer. Forget artificial flavors; this is the real deal.
- Simple & Straightforward: Don’t be intimidated by jam making! Our step-by-step guide breaks it down into easy, manageable parts, perfect for beginners and seasoned canners alike. Mastering apricot recipes has never been easier.
- Versatile Delight: Beyond toast, this jam is a fantastic addition to yogurt, oatmeal, cheese boards, or as a filling for pastries. The possibilities for delicious apricot recipes are endless.
- Perfect for Gifting: Homemade apricot jam in a pretty jar makes for a thoughtful and much-appreciated gift, spreading a little bit of that summer sunshine to friends and family.
Key Ingredient Notes
Fresh, Ripe Apricots
The star of our apricot recipes! When choosing apricots, look for fruit that is plump, firm, and has a vibrant orange or golden color. Avoid any with green patches, as they are unripe and won’t develop the full sweetness needed for delicious jam. A ripe apricot will have a slightly soft give when gently squeezed and a fragrant aroma. If your apricots are a bit firm, let them ripen on your counter for a day or two. Remember, the quality of your apricots directly impacts the flavor of your jam, so choose wisely for the best apricot recipes.
Granulated Sugar
Sugar plays several crucial roles in jam making: it sweetens the fruit, helps to set the jam, and acts as a preservative. While it might seem like a lot, the sugar content is essential for both flavor balance and shelf stability. You can adjust the amount slightly based on the sweetness of your apricots and your personal preference, but drastically reducing it may affect the jam’s set and preservation. Experimenting with different sugar levels is part of the fun of developing your own unique apricot recipes!
Fresh Lemon Juice
Lemon juice is a secret weapon in many apricot recipes, especially jam. It serves two vital purposes: enhancing flavor and aiding in the setting process. Apricots are naturally low in pectin, the natural gelling agent found in fruits. Lemon juice, which is high in pectin and acidity, helps activate any pectin present in the apricots and provides the necessary acidity for the jam to set properly. It also brightens the flavor of the apricots, preventing the jam from tasting too flat or overly sweet. Don’t skip it!
Step-by-Step Guide with Pro Tips
Preparation is Key for Apricot Recipes
Before you even think about cooking, proper preparation will make your jam-making experience smooth and enjoyable. Start by washing your fresh apricots thoroughly under cold running water. Pat them dry, then carefully slice them in half and remove the pits. You can leave the skins on; they add a lovely texture and don’t affect the taste significantly. If you prefer a smoother jam, you can peel them, but it’s not strictly necessary. Having all your ingredients measured and your equipment ready is crucial for any successful baking or preserving project, especially with apricot recipes. Sterilize your jars and lids by washing them in hot soapy water, rinsing well, and then boiling them for 10 minutes or running them through a dishwasher’s hot cycle. Keep them hot until ready to fill.
The Maceration Process
Once your apricots are prepped, combine them in a large, non-reactive pot (stainless steel is ideal) with the granulated sugar and fresh lemon juice. Stir everything gently to coat the apricots evenly. Now, cover the pot and let it sit for at least 30 minutes, or even better, a few hours at room temperature, or overnight in the refrigerator. This process, called maceration, draws out the natural juices from the apricots, creating a beautiful syrup and helping the fruit soften before cooking. This step is a game-changer for many apricot recipes, ensuring deep flavor.
Slow Simmer to Perfection
Place the pot over medium heat. Bring the mixture to a gentle boil, stirring frequently to prevent sticking. Reduce the heat to low and let it simmer. The key here is patience. You want the apricots to break down and the mixture to thicken. This can take anywhere from 45 minutes to 1.5 hours, depending on the ripeness and juiciness of your fruit. Stir occasionally, especially as the jam thickens. Watch for the ‘sheet test’ or a thermometer reading of 220°F (104°C) to know when it’s set. This is where most apricot recipes get their perfect consistency.
Testing for Set
To test if your jam has set, place a small plate in the freezer before you start cooking. Once you think the jam is ready, spoon a small amount onto the cold plate. Return the plate to the freezer for 1-2 minutes. Push the edge of the jam with your finger; if it wrinkles, it’s ready. If not, continue to cook and test every 5-10 minutes. Don’t rush this step; a good set means a perfect jam!
Jarring and Sealing
Carefully ladle the hot jam into your hot, sterilized jars, leaving about 1/4 inch of headspace. Wipe the rims clean with a damp cloth – this is essential for a good seal. Place the lids and screw bands on, tightening only until fingertip-tight. For long-term storage, process the jars in a boiling water bath canner for 10 minutes. If you’re new to canning, always follow reliable canning guidelines. Alternatively, if you plan to consume the jam within a few weeks, you can skip the water bath and simply store the cooled jars in the refrigerator. For easy and safe storage, consider using Basics Glass Food Storage containers for your pantry or fridge. Many excellent apricot recipes are designed for both immediate enjoyment and long-term preservation.
Variations & Serving Suggestions
- Spiced Apricot Jam: Add 1/2 teaspoon of ground ginger, a pinch of cardamom, or a cinnamon stick during the simmering process for a warm, spiced flavor. Remove the cinnamon stick before jarring.
- Apricot Lavender Jam: Infuse the jam with a delicate floral note by adding 1 teaspoon of dried culinary lavender during the maceration phase. Strain it out before jarring or leave it in for a visual appeal.
- Apricot Almond Jam: Stir in a handful of toasted slivered almonds during the last 5 minutes of cooking for added crunch and nutty flavor.
- Serving Suggestions:
- Spread generously on warm toast, scones, or croissants.
- Swirl into Greek yogurt or oatmeal for a luxurious breakfast.
- Use as a filling for tarts, thumbprint cookies, or crepes.
- Pair with soft cheeses like brie or goat cheese on a charcuterie board.
- Glaze roasted chicken or pork for a sweet and tangy main course. The versatility of apricot recipes knows no bounds.
Nutrition Information
| Nutrient | Amount Per Serving |
|---|---|
| Calories | 115 kcal |
| Carbohydrates | 29g |
| Cholesterol | 0mg |
| Fat | 0g |
| Fiber | 1g |
| Protein | 0g |
| Saturated Fat | 0g |
| Serving Size | 2 tbsp (30g) |
| Sodium | 0mg |
| Sugar | 28g |
| Trans Fat | 0g |
| Unsaturated Fat | 0g |
Conclusion
Making your own apricot jam is a truly rewarding experience. It fills your home with an incredible aroma and leaves you with jars of golden sunshine to enjoy long after summer fades. This recipe is more than just a sweet spread; it’s a connection to simpler times, a celebration of nature’s bounty, and a delicious way to enjoy fresh apricot recipes. So gather your apricots, clear your schedule, and get ready to create something truly special. Happy jamming!
FAQs
What kind of apricots are best for making jam?
For the best apricot recipes, especially jam, choose ripe, fragrant apricots that are firm but yield slightly to gentle pressure. Avoid under-ripe (greenish) or over-ripe (mushy) fruit. Varieties like Blenheim (Royal) or Tilton are excellent choices for their flavor and pectin content.
Do I need to peel the apricots for jam?
No, it’s not strictly necessary to peel apricots for jam. The skins soften during cooking and add a bit of texture and natural pectin. If you prefer a completely smooth jam, you can blanch and peel them, but for most apricot recipes, leaving the skins on is perfectly fine.
How do I know if my apricot jam is set?
The most common way to test for set is the ‘plate test.’ Place a small amount of hot jam on a plate that has been chilled in the freezer. Return the plate to the freezer for 1-2 minutes. If you push the edge of the jam with your finger and it wrinkles, it’s set. Alternatively, a candy thermometer can be used; jam typically sets at 220u00b0F (104u00b0C) at sea level.
How long does homemade apricot jam last?
Properly canned and sealed apricot jam, stored in a cool, dark place, can last for up to 1 year. Once opened, or if not processed in a water bath, store the jam in the refrigerator and consume within 2-3 weeks. These guidelines apply to most homemade apricot recipes.
Homemade Apricot Jam
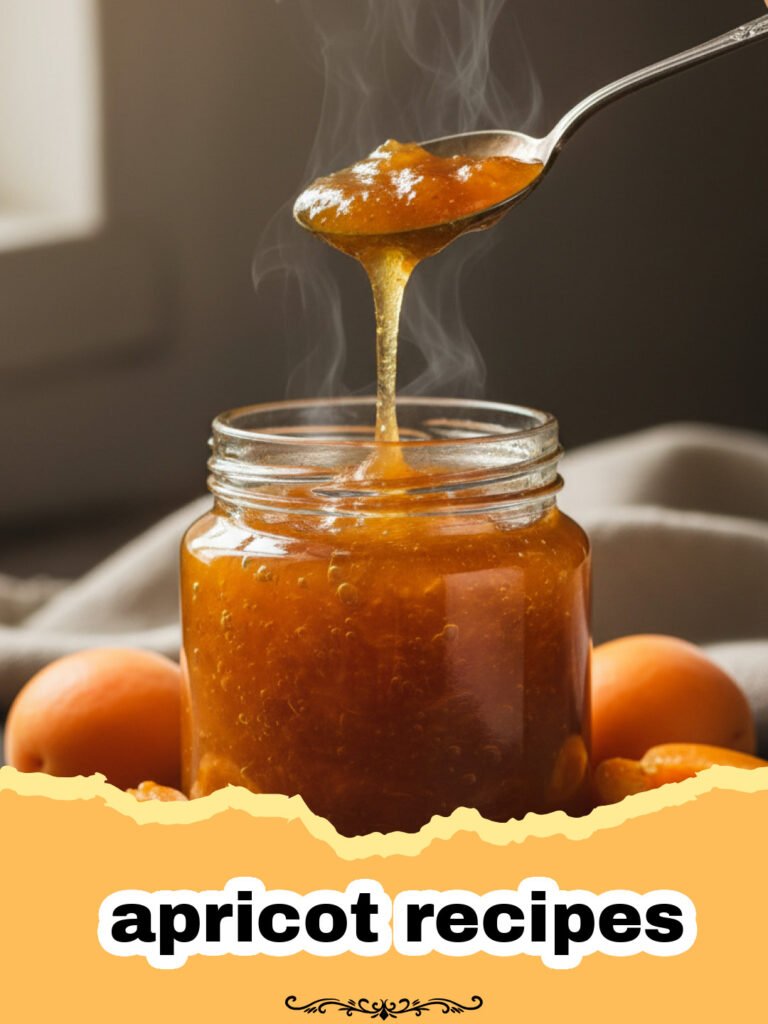
A delightful and easy-to-make homemade apricot jam, bursting with the sweet and tangy flavor of fresh summer apricots. Perfect for toast, pastries, or gifting.
- Total Time: 1 hour 35 minutes
- Yield: 4–5 (8oz) jars 1x
Ingredients
3 lbs (approx. 1.4 kg) ripe fresh apricots, washed, pitted, and halved
4 cups (approx. 800g) granulated sugar
1/4 cup (60ml) fresh lemon juice
Instructions
Step 1: Wash and prepare the apricots by halving and pitting them. You can leave the skins on for added texture and nutrients, or peel them if you prefer a smoother jam.
Step 2: In a large, non-reactive pot or Dutch oven, combine the halved apricots, granulated sugar, and fresh lemon juice. Stir gently to ensure all apricots are coated.
Step 3: Cover the pot and let the mixture macerate at room temperature for at least 30 minutes, or ideally 2-4 hours, or even overnight in the refrigerator. This step draws out the fruit juices.
Step 4: Prepare your canning jars and lids by sterilizing them. Wash them in hot, soapy water, rinse thoroughly, and then either boil them for 10 minutes or run them through a dishwasher’s hot cycle. Keep them hot until ready to fill.
Step 5: Place the pot with the apricot mixture over medium heat. Bring it to a gentle boil, stirring frequently to dissolve the sugar completely and prevent sticking. Once boiling, reduce the heat to low and let it simmer.
Step 6: Continue to simmer, stirring occasionally, until the jam thickens and the apricots break down. This can take anywhere from 45 minutes to 1.5 hours, depending on your fruit and heat. The jam should reach a temperature of 220°F (104°C) for a good set.
Step 7: To test for set, place a small amount of jam on a chilled plate (kept in the freezer). Return the plate to the freezer for 1-2 minutes. Push the edge of the jam with your finger; if it wrinkles, it’s ready. If not, continue cooking and re-test every 5-10 minutes.
Step 8: Once the jam has reached its setting point, carefully ladle the hot jam into the hot, sterilized jars, leaving about 1/4 inch of headspace from the rim.
Step 9: Wipe the rims of the jars clean with a damp cloth. Center the lids on the jars and apply the screw bands, tightening only until fingertip-tight (do not overtighten).
Step 10: For long-term storage, process the jars in a boiling water bath canner for 10 minutes. After processing, turn off the heat, remove the canner lid, and let the jars sit in the hot water for 5 minutes. Carefully remove the jars and place them on a wire rack to cool completely. You should hear the lids ‘pop’ as they seal. Check seals after 12-24 hours. Store properly sealed jars in a cool, dark place. Unsealed jars or those for immediate consumption can be stored in the refrigerator for up to 3 weeks.
Notes
Ensure your apricots are ripe for the best flavor. For a chunkier jam, mash some of the apricots roughly before cooking. For a smoother jam, use an immersion blender at the end of cooking (before jarring). Always follow proper canning safety guidelines for shelf-stable results.
- Prep Time: 20 minutes
- Cook Time: 1 hour 15 minutes
- Category: How To
- Cuisine: American
Nutrition
- Serving Size: 2 tbsp (30g)
- Calories: 115 kcal
- Sugar: 28g
- Sodium: 0mg
- Fat: 0g
- Saturated Fat: 0g
- Unsaturated Fat: 0g
- Trans Fat: 0g
- Carbohydrates: 29g
- Fiber: 1g
- Protein: 0g
- Cholesterol: 0mg
Keywords: apricot jam, apricot recipes, homemade jam, summer recipes, fruit preserve, canning, easy jam recipe