
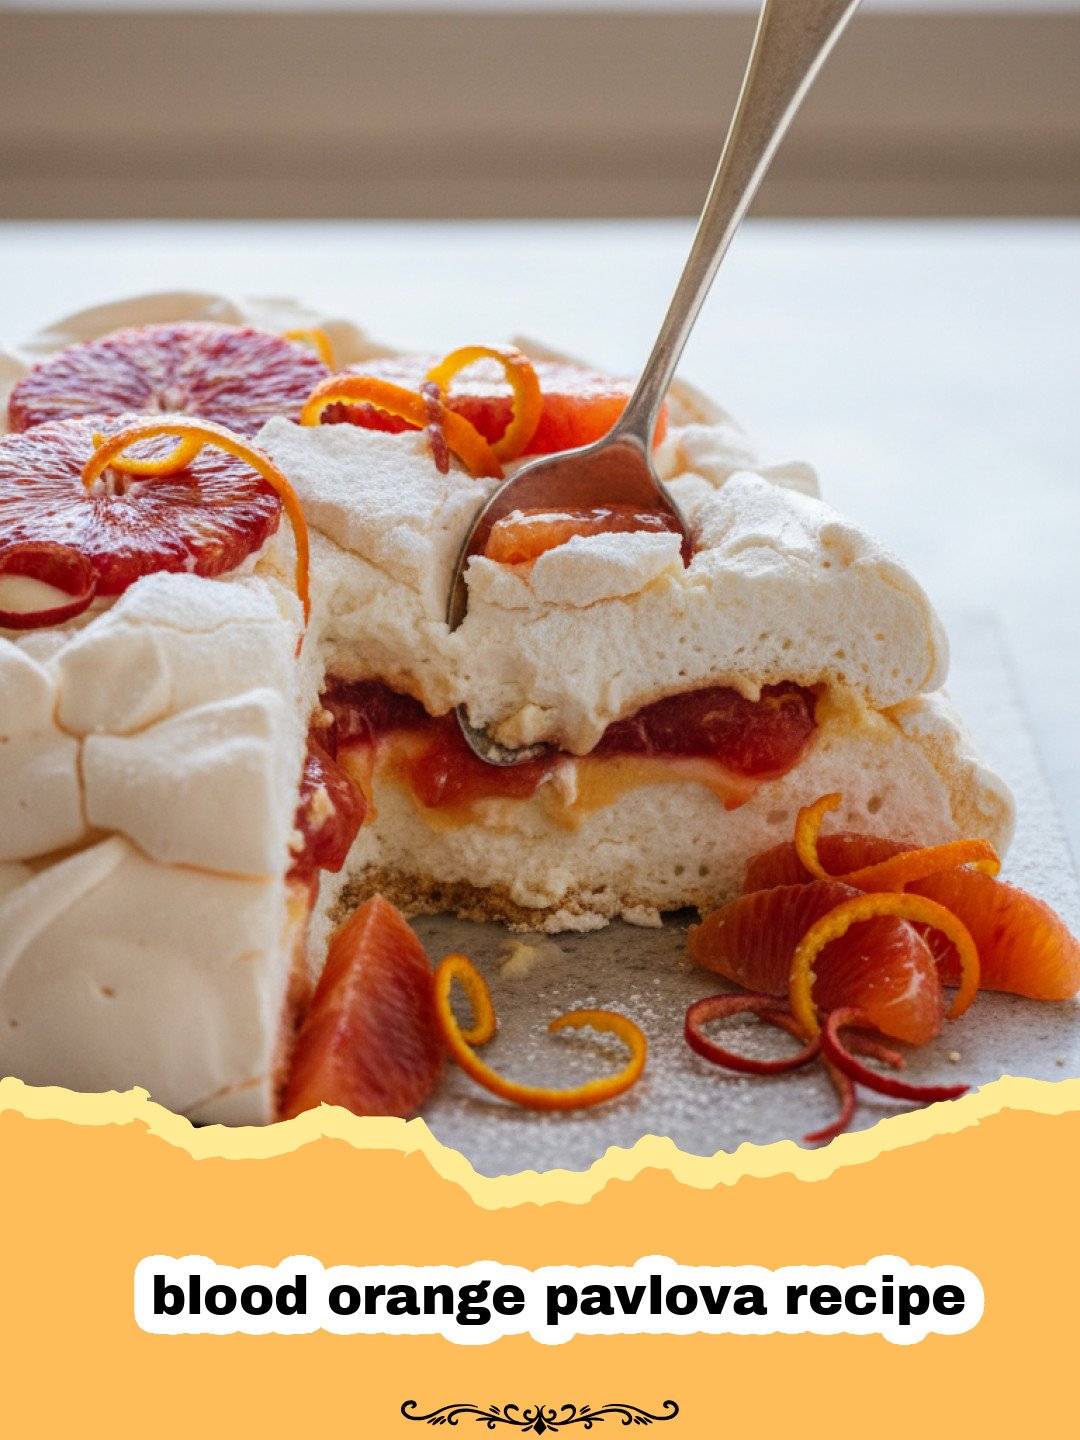
This blood orange pavlova recipe is the ultimate winter showstopper, combining the ethereal lightness of a classic meringue with the dramatic, jewel-toned beauty of seasonal citrus. Every year, as the days grow shorter and the air turns crisp, I find myself eagerly scanning the produce aisle for those ruby-jeweled gems: blood oranges. There is something truly magical about cutting into a seemingly ordinary orange and discovering that deep, crimson interior. My first attempt at a blood orange pavlova recipe was, admittedly, a bit of a disaster—a flat, sticky puddle of sugar—but through years of practice and a few kitchen mishaps, I have perfected the art of the crisp exterior and the marshmallow-soft center. This dessert isn’t just a treat; it’s a celebration of seasonal beauty and the joy of slow baking. In this guide, I will show you how to master the blood orange pavlova recipe so you can impress your guests with a dessert that looks like it belongs in a high-end patisserie.
Why This Recipe is a Must-Try
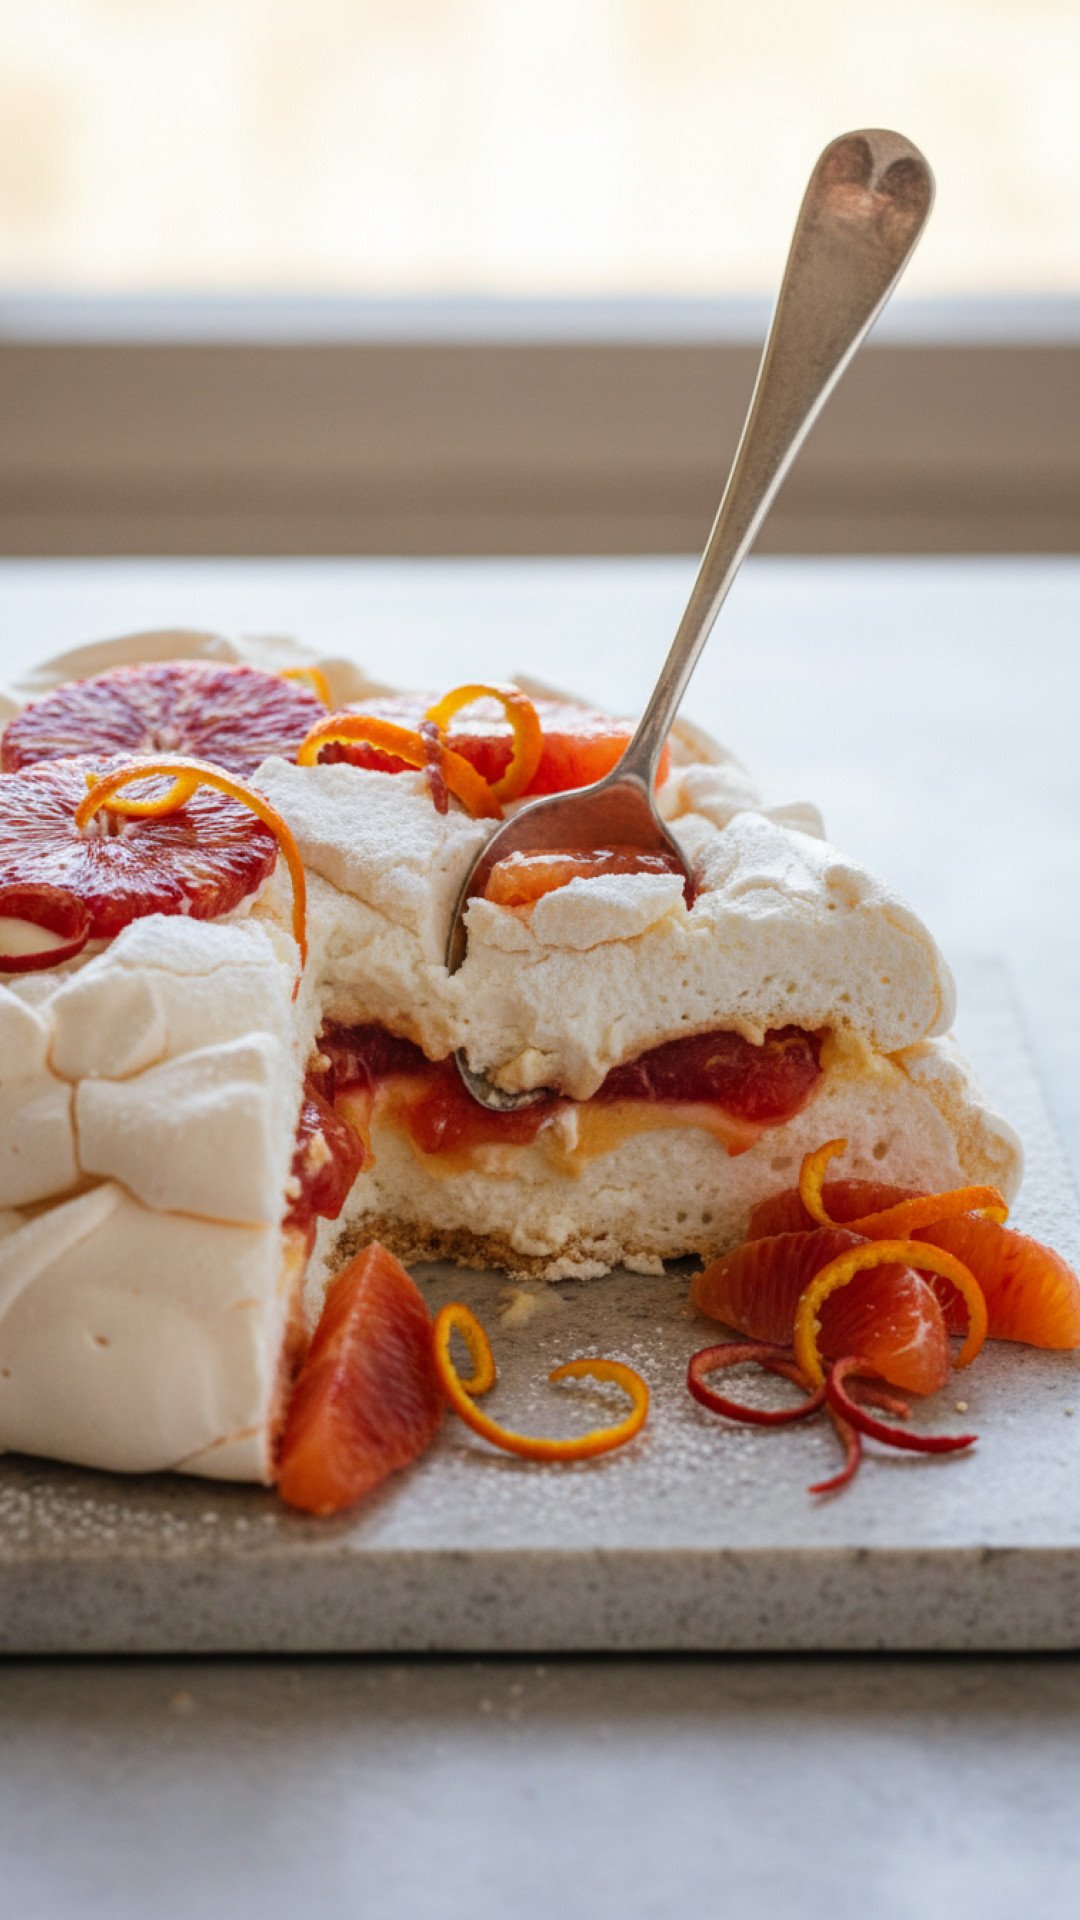
- Visual Grandeur: The striking contrast between the snow-white meringue, the pillowy cream, and the deep red blood orange segments makes this blood orange pavlova recipe a literal work of art on your dining table.
- Texture Symphony: You get the crunch of the outer shell, the melt-in-your-mouth interior, and the juicy burst of citrus in every single bite.
- Seasonal Sophistication: Blood oranges have a unique, raspberry-like undertone that elevates a standard pavlova into something much more complex and sophisticated.
- Gluten-Free by Nature: Since the base of this blood orange pavlova recipe is made of egg whites and sugar, it is a naturally gluten-free dessert that everyone can enjoy.
Key Ingredient Notes
To ensure your blood orange pavlova recipe turns out perfectly, you need to pay close attention to your ingredients. First and foremost, the eggs must be at room temperature. Room temperature egg whites expand much more easily when whipped, creating that voluminous foam that is essential for a tall pavlova. When separating your eggs, be incredibly careful not to let even a tiny speck of yolk into the whites, as the fat will prevent the meringue from reaching its full potential.
The blood oranges are, of course, the star of this blood orange pavlova recipe. Look for fruit that feels heavy for its size, which indicates juiciness. I like to use a combination of blood orange segments and a reduced blood orange syrup to double down on that vibrant flavor. If you find yourself with extra citrus after making this blood orange pavlova recipe, you might also want to try The Most Vibrant Citrus Pavlova Recipe for a Bright Refreshment for a different take on seasonal fruit.
For the sugar, superfine (or caster) sugar is best. It dissolves much faster into the egg whites than regular granulated sugar, leading to a smoother, more stable meringue without the grittiness. If you have leftovers of these fine ingredients, storing them properly is key; I highly recommend using Basics Glass Food Storage to keep your pantry staples fresh and organized for your next baking project.
Step-by-Step Guide with Pro Tips
Making a blood orange pavlova recipe requires patience, especially during the baking and cooling phases. The goal is to dry the meringue out rather than ‘cook’ it in the traditional sense. A low and slow approach prevents the meringue from browning too much or cracking severely.
Preparing the Meringue Base
Start by preheating your oven to a low temperature. On a piece of parchment paper, draw a circle to act as a guide for your pavlova. When you begin whipping your egg whites for this blood orange pavlova recipe, start on a low speed to build a stable network of small bubbles before increasing to medium-high. Once you reach soft peaks, add the sugar one tablespoon at a time. This patience is the secret to a successful blood orange pavlova recipe.
Adding Stability
To give the blood orange pavlova recipe its signature marshmallow center, we add a touch of cornstarch and white vinegar at the very end. This helps stabilize the egg whites and creates that wonderful contrast in textures. When you pile the meringue onto your baking sheet, use a spatula to create a slight indentation in the center—this ‘nest’ will perfectly hold the cream and fruit later on.
The Cooling Process
Perhaps the most critical step in the blood orange pavlova recipe is the cooling. Once the baking time is up, do not open the oven door! Turn off the heat and let the pavlova cool completely inside the oven. This gradual temperature change minimizes cracking. If you love the technical side of baking, you might find similarities in the precision needed for The Most Decadent Homemade Pistachio Cream Cookies.
Variations & Serving Suggestions
While this blood orange pavlova recipe is stunning on its own, you can easily customize it. For an extra layer of flavor, consider folding some finely chopped pistachios into the meringue before baking for a nutty crunch. You could also infuse the whipped cream with a splash of orange blossom water to enhance the floral notes of the blood oranges used in the blood orange pavlova recipe.
When serving your blood orange pavlova recipe, it is best to assemble it right before eating. Meringue is highly susceptible to moisture, and the whipped cream will eventually soften the crisp shell. If you are hosting a party, have your pavlova base ready on a stand and your blood oranges prepped in a bowl, then assemble in front of your guests for a bit of culinary theater. This blood orange pavlova recipe also pairs beautifully with a glass of sparkling rosé or a light citrus tea.
Nutrition Information
Understanding the nutritional breakdown of your blood orange pavlova recipe helps you balance it within your daily diet. Below is a realistic estimate for a single serving of this delicious dessert.
| Nutrient | Amount per Serving |
|---|---|
| Calories | 315 kcal |
| Carbohydrate Content | 48 g |
| Cholesterol Content | 45 mg |
| Fat Content | 12 g |
| Fiber Content | 2 g |
| Protein Content | 4 g |
| Saturated Fat Content | 7 g |
| Serving Size | 1 slice |
| Sodium Content | 65 mg |
| Sugar Content | 42 g |
| Trans Fat Content | 0 g |
| Unsaturated Fat Content | 4 g |
Conclusion
Mastering this blood orange pavlova recipe is a rewarding journey that brings a touch of elegance to any winter gathering. By following these steps and paying attention to the details of the meringue, you can create a dessert that is as delicious as it is beautiful. Don’t be afraid of a few cracks—they add character to this rustic yet refined blood orange pavlova recipe. I hope this recipe brings as much joy and color to your kitchen as it has to mine. Happy baking!
FAQs
Why did my blood orange pavlova recipe crack?
Cracking is often caused by sudden temperature changes. To prevent this in your blood orange pavlova recipe, let the meringue cool completely inside the oven with the door closed.
Can I make the meringue for the blood orange pavlova recipe in advance?
Yes, you can bake the meringue base a day in advance. Store it in a cool, dry place in an airtight container or simply leave it in the turned-off oven overnight.
What if I can’t find blood oranges for this recipe?
While blood oranges provide a unique color and flavor, you can substitute them with cara cara oranges, raspberries, or even pomegranate seeds for a similar visual effect.
Blood Orange Pavlova
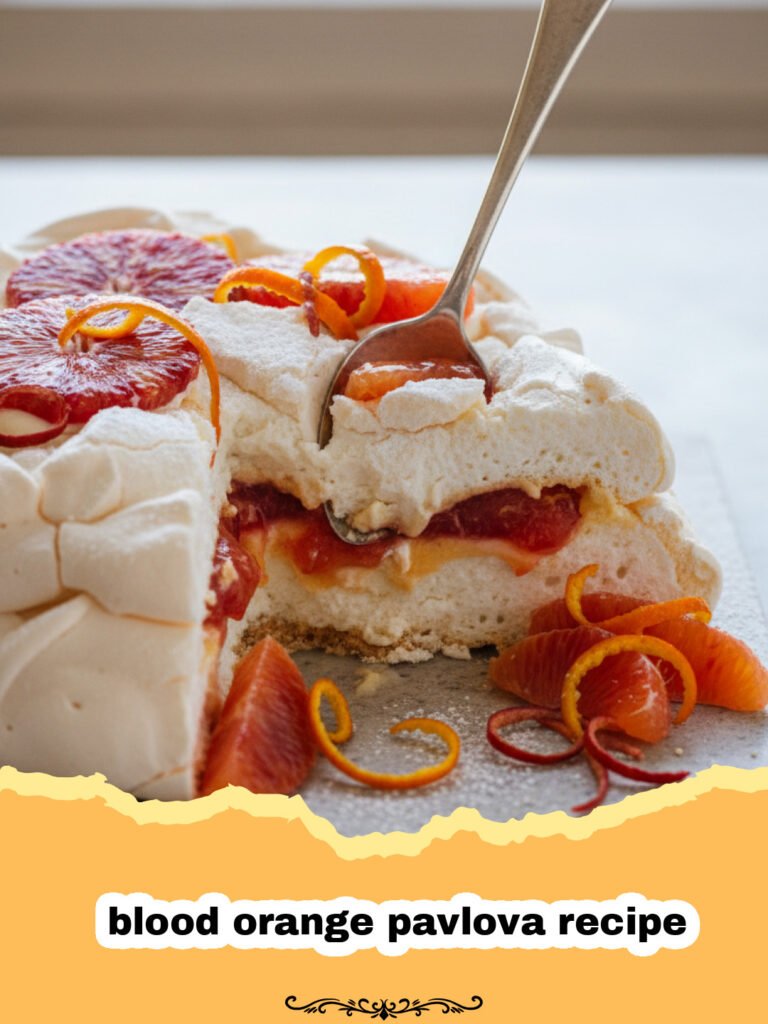
A stunning winter dessert featuring a crisp, marshmallowy meringue base topped with whipped cream and vibrant blood orange segments.
- Total Time: 5 hours
- Yield: 8 servings 1x
Ingredients
6 large egg whites, room temperature
1.5 cups superfine sugar
1 tsp white vinegar
1 tbsp cornstarch
1 tsp vanilla extract
4–5 blood oranges, segmented
2 cups heavy whipping cream
2 tbsp powdered sugar
Fresh mint for garnish (optional)
Instructions
Step 1: Preheat your oven to 250°F (120°C) and line a baking sheet with parchment paper, drawing a 9-inch circle on the reverse side as a guide for your blood orange pavlova recipe.
Step 2: In a clean glass or metal bowl, beat the egg whites on medium speed until soft peaks form.
Step 3: Gradually add the superfine sugar one tablespoon at a time, beating on high speed until the mixture is stiff, glossy, and the sugar has completely dissolved.
Step 4: Gently fold in the vinegar, cornstarch, and vanilla extract with a spatula, being careful not to deflate the mixture.
Step 5: Spread the meringue onto the parchment paper within the circle, building up the sides to create a well in the center for the blood orange pavlova recipe toppings.
Step 6: Bake for 90 minutes, then turn off the oven and let the pavlova cool completely inside with the door closed for at least 3 hours or overnight.
Step 7: Whip the heavy cream with powdered sugar until soft peaks form. Pile the cream into the center of the cooled meringue.
Step 8: Top with fresh blood orange segments and a drizzle of any remaining juice before serving your beautiful blood orange pavlova recipe.
Notes
Ensure the bowl used for whipping egg whites is completely grease-free for the best results.
- Prep Time: 30 minutes
- Cook Time: 1 hour 30 minutes
- Category: Baked Goods
- Cuisine: Australian/New Zealand
Nutrition
- Serving Size: 1 slice
- Calories: 315 kcal
- Sugar: 42 g
- Sodium: 65 mg
- Fat: 12 g
- Saturated Fat: 7 g
- Unsaturated Fat: 4 g
- Trans Fat: 0 g
- Carbohydrates: 48 g
- Fiber: 2 g
- Protein: 4 g
- Cholesterol: 45 mg
Keywords: blood orange pavlova recipe, winter dessert, meringue, gluten-free dessert, citrus pavlova




