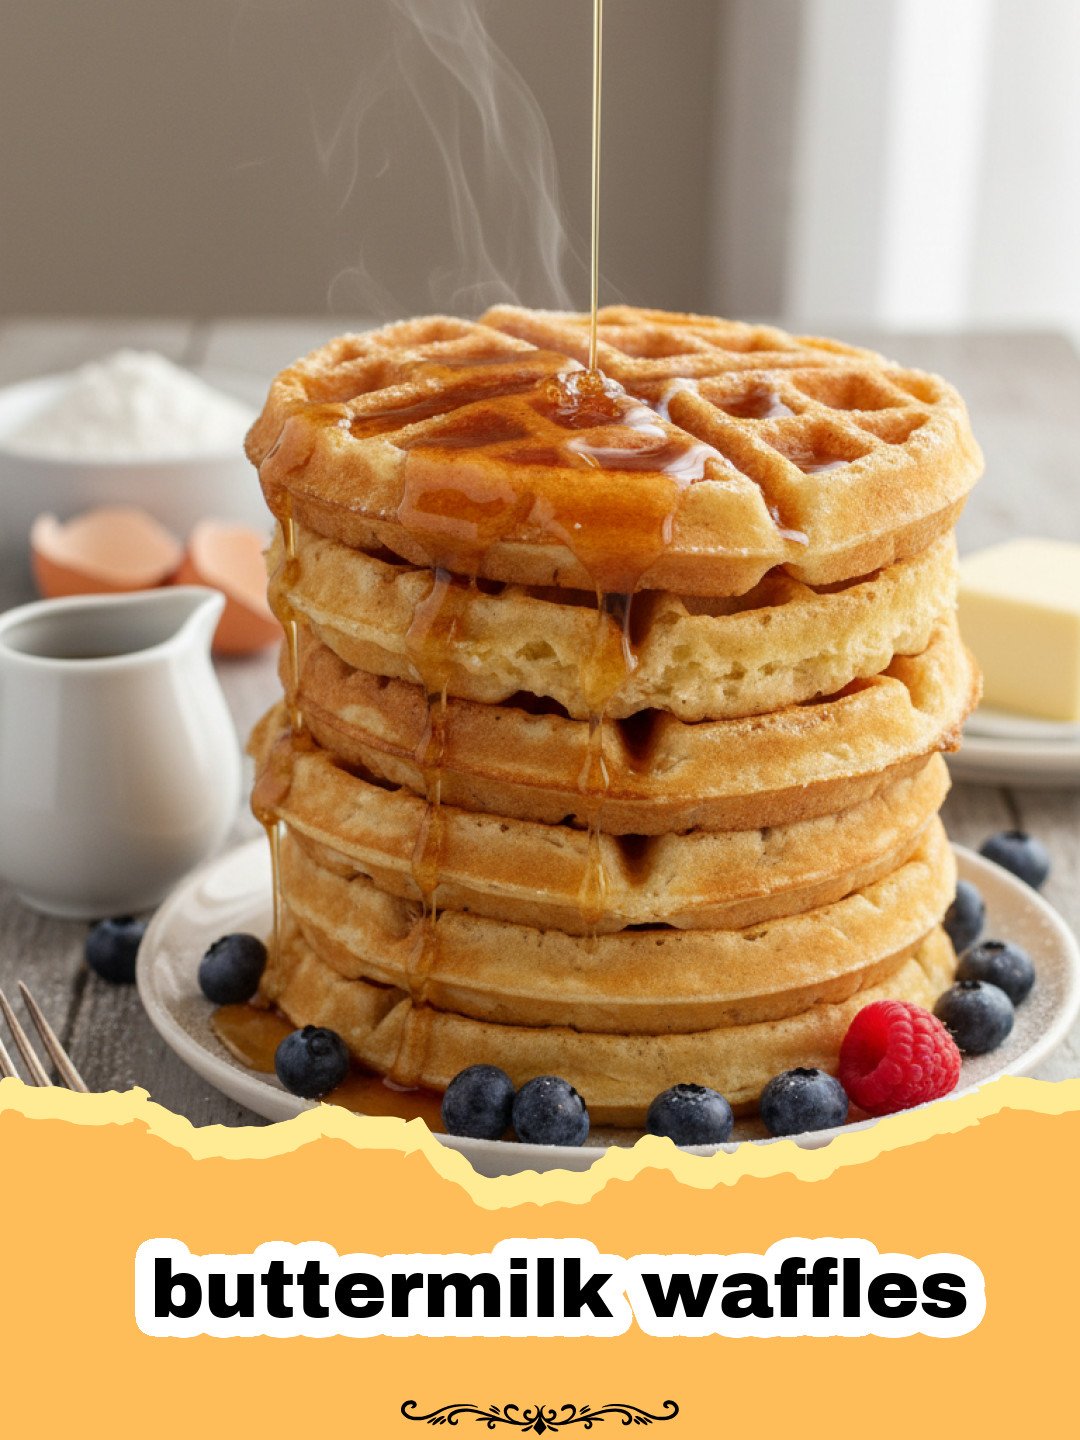
There are some smells that instantly transport you back to childhood, and for me, the aroma of warm, buttery waffles wafting through the house on a Saturday morning is at the top of that list. Growing up, our weekends revolved around my grandmother’s kitchen, a magical place where every meal felt like a celebration. But her buttermilk waffles? Oh, those were legendary. I remember peering over the counter, a tiny apron tied around my waist, watching her pour that creamy batter onto the hot waffle iron. The sizzle, the steam, the anticipation – it was all part of the ritual. She’d always say, “The secret, darling, is the buttermilk. It’s what makes them dance!”
As I got older, I tried to recreate that magic in my own kitchen. Many attempts resulted in dense, sad discs or burnt edges. It took years, countless batches, and a fair share of culinary mishaps before I finally cracked the code to her perfectly light and crispy buttermilk waffles. It wasn’t just about the ingredients; it was about the technique, the love, and understanding the science behind the fluffy texture. Now, when I make these buttermilk waffles for my own family, I see the same joy in their eyes, the same eagerness for that first bite. This recipe isn’t just about food; it’s about continuing a tradition, creating new memories, and sharing a piece of that cherished childhood wonder. Today, I’m thrilled to share my perfected recipe for buttermilk waffles with you, so you can create your own delicious memories.
Why This Recipe for Buttermilk Waffles is a Must-Try
- Unbeatable Fluffiness & Crispy Edges: The combination of buttermilk and carefully balanced leavening agents results in a waffle that’s incredibly light and airy on the inside, with that desirable golden-brown crispness on the outside – the hallmark of truly great buttermilk waffles.
- Simple, Accessible Ingredients: No obscure ingredients here! You likely have most, if not all, of these staples in your pantry right now, making these buttermilk waffles an easy choice for a spur-of-the-moment breakfast or brunch.
- Versatile for Any Topping: These buttermilk waffles are a blank canvas for your favorite toppings. From classic maple syrup and fresh berries to decadent chocolate sauce and whipped cream, they hold up beautifully to any accompaniment.
- Perfect for Meal Prep: Make a big batch and freeze the extras! Reheating these buttermilk waffles in a toaster or oven brings them back to life, making busy weekday mornings feel a little more special.
Key Ingredient Notes for Perfect Buttermilk Waffles
Getting the best results for your buttermilk waffles starts with understanding a few key ingredients:
Buttermilk
This is the star of the show, obviously! Buttermilk is slightly acidic, which reacts with baking soda to create carbon dioxide bubbles, making your waffles incredibly light and fluffy. It also tenderizes the gluten in the flour, preventing tough waffles. If you don’t have buttermilk on hand, don’t fret! You can easily make a substitute: for every cup of buttermilk needed, pour 1 tablespoon of lemon juice or white vinegar into a liquid measuring cup, then fill the rest of the way with regular milk. Let it sit for 5-10 minutes until it slightly curdles. While this works in a pinch, I highly recommend using actual buttermilk for the absolute best flavor and texture in your buttermilk waffles.
All-Purpose Flour
While some waffle recipes call for cake flour for extra tenderness, I find that good old all-purpose flour works perfectly for these buttermilk waffles. The key is not to overmix! Overmixing develops the gluten too much, leading to tough, chewy waffles instead of light and fluffy ones. A few lumps in the batter are perfectly fine and even desirable.
Baking Soda & Baking Powder
Our dynamic duo for lift! Baking soda reacts with the acid in the buttermilk, while baking powder (which is double-acting) provides an initial lift when mixed with liquids and a second lift when exposed to heat. This combination ensures maximum rise and a wonderfully airy texture for your buttermilk waffles. Ensure both are fresh; expired leavening agents can result in flat, disappointing waffles.
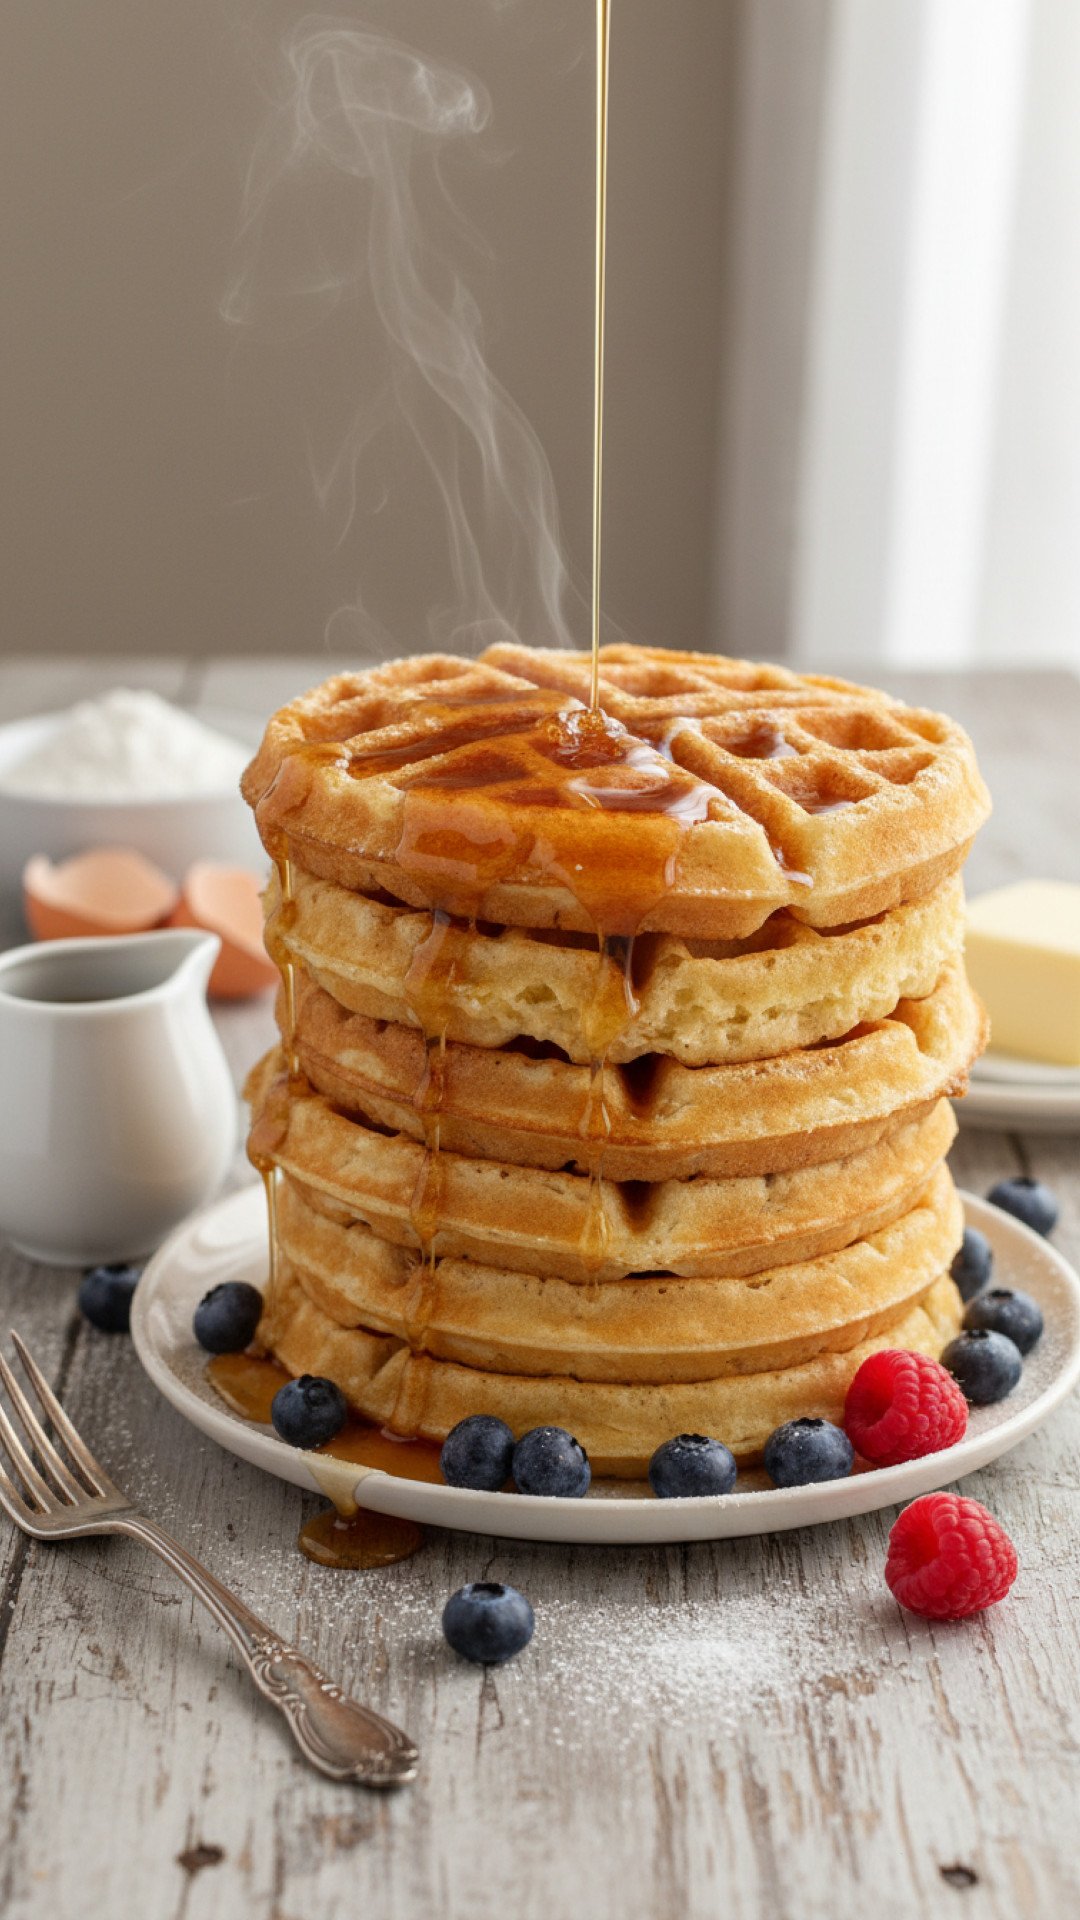
Step-by-Step Guide with Pro Tips for Buttermilk Waffles
Creating the perfect batch of buttermilk waffles is an art, but with these detailed steps and pro tips, you’ll be a waffle wizard in no time!
Step 1: In a large bowl, whisk together all the dry ingredients: all-purpose flour, granulated sugar, baking powder, baking soda, and salt. Whisking ensures that the leavening agents are evenly distributed, which is crucial for uniform rise in your buttermilk waffles. A good whisk also helps to aerate the flour, contributing to a lighter batter.
Step 2: In a separate medium bowl, whisk together the wet ingredients: buttermilk, melted unsalted butter, and large eggs. Ensure your melted butter has cooled slightly before adding it to the eggs to prevent scrambling them. The buttermilk should be at room temperature if possible; this helps it combine more smoothly with the other wet ingredients and results in a more cohesive batter for your buttermilk waffles.
Step 3: Pour the wet ingredient mixture into the dry ingredient mixture. Using a rubber spatula or a wooden spoon, gently fold the ingredients together until just combined. It’s okay if there are a few lumps – do not overmix! Overmixing develops the gluten in the flour, which will lead to tough, dense buttermilk waffles instead of light and fluffy ones. Stop mixing as soon as no dry streaks of flour remain.
Step 4: Let the batter rest for 5-10 minutes. This resting period allows the gluten to relax and the leavening agents to begin their work, producing a more tender waffle. It also gives the flour time to fully hydrate, resulting in a smoother, more consistent batter for your buttermilk waffles.
Step 5: Preheat your waffle iron according to the manufacturer’s instructions. Lightly grease the iron with cooking spray or a brush of melted butter, even if it’s non-stick. This extra step ensures a beautifully golden-brown and crispy exterior, and prevents your buttermilk waffles from sticking.
Step 6: Pour or ladle the batter onto the hot waffle iron, filling it about two-thirds full. The exact amount will depend on your waffle iron, so you might need to experiment a little with your first waffle. Close the lid and cook until the waffles are golden brown and steam is no longer vigorously escaping from the sides, typically 3-5 minutes, depending on your iron. Resist the urge to open the waffle iron too early, as this can interrupt the cooking process and lead to unevenly cooked or deflated buttermilk waffles.
Step 7: Carefully remove the cooked waffle from the iron using a fork or tongs. Serve immediately with your favorite toppings. If you’re making a larger batch, you can keep the cooked buttermilk waffles warm on a wire rack in an oven preheated to 200°F (93°C) while you cook the remaining batter. This keeps them crispy and warm without getting soggy.
Variations & Serving Suggestions for Buttermilk Waffles
These classic buttermilk waffles are delicious on their own, but don’t be afraid to get creative! Here are some ideas to elevate your waffle game:
- Fruity & Fresh: Top with fresh berries (strawberries, blueberries, raspberries), sliced bananas, or a dollop of homemade strawberry syrup. A sprinkle of powdered sugar adds a nice touch.
- Decadent Desserts: Turn them into a dessert! Add chocolate chips to the batter, then top with whipped cream, hot fudge, and a cherry. Or, serve with a scoop of vanilla ice cream for an extra special treat.
- Savory Twist: For a unique brunch, serve your buttermilk waffles with crispy fried chicken and a drizzle of hot honey. The sweet and savory combination is absolutely irresistible.
- Spice It Up: Add a pinch of cinnamon or nutmeg to the dry ingredients for a warmer flavor profile.
- Nutty Crunch: Fold in chopped pecans or walnuts into the batter for added texture and a nutty flavor.
- Make Ahead & Freeze: Cook a large batch of buttermilk waffles, let them cool completely, then stack them with parchment paper in between and freeze in an airtight container or a glass food storage container. Reheat in a toaster or oven for a quick and easy breakfast on busy mornings, just like making homemade easy pancake mix in advance.
Nutrition Information
| Nutrient | Amount Per Serving |
|---|---|
| Calories | 350 kcal |
| Carbohydrate Content | 45 g |
| Cholesterol Content | 95 mg |
| Fat Content | 16 g |
| Fiber Content | 2 g |
| Protein Content | 8 g |
| Saturated Fat Content | 9 g |
| Serving Size | 1 waffle (approx. 4 oz) |
| Sodium Content | 480 mg |
| Sugar Content | 8 g |
| Trans Fat Content | 0.5 g |
| Unsaturated Fat Content | 6 g |
Conclusion
There you have it – the ultimate recipe for fluffy, golden buttermilk waffles that will make every morning feel like a special occasion. Forget those dense, lackluster store-bought versions; once you taste these homemade buttermilk waffles, you’ll never go back. They’re more than just a breakfast item; they’re an experience, a memory in the making, and a delicious way to bring warmth and joy to your table. So go ahead, dust off that waffle iron, gather your ingredients, and get ready to create some truly unforgettable buttermilk waffles. Happy waffling!
FAQs
What makes buttermilk waffles so fluffy?
The acidity in buttermilk reacts with baking soda to create carbon dioxide gas, which forms tiny bubbles in the batter, resulting in incredibly light and fluffy waffles. Buttermilk also helps tenderize the gluten in the flour, contributing to a softer texture.
Can I substitute for buttermilk if I don’t have any?
Yes, you can make a quick substitute! For every cup of buttermilk needed, measure out 1 tablespoon of lemon juice or white vinegar into a liquid measuring cup, then fill the rest with regular milk (dairy or non-dairy). Let it sit for 5-10 minutes until it slightly curdles. While this works, using actual buttermilk will yield the best flavor and texture for your buttermilk waffles.
How do I prevent my buttermilk waffles from sticking to the iron?
Even if your waffle iron is non-stick, always preheat it thoroughly and lightly grease it with cooking spray or a brush of melted butter before each waffle. Make sure not to open the iron too early while the waffle is still cooking, as this can cause it to tear and stick.
How can I store and reheat leftover buttermilk waffles?
Allow cooked buttermilk waffles to cool completely. Stack them with parchment paper in between to prevent sticking, then store them in an airtight container or freezer-safe bag in the refrigerator for up to 3 days, or in the freezer for up to 2-3 months. To reheat, simply pop them into a toaster, toaster oven, or conventional oven (at 300u00b0F/150u00b0C) until warmed through and crispy.
Classic Fluffy Buttermilk Waffles
Unlock the secret to incredibly light, fluffy, and perfectly crispy buttermilk waffles with this tried-and-true recipe. Ideal for weekend breakfasts or special brunches, these waffles are easy to make and guaranteed to impress.
- Total Time: 35 minutes
- Yield: 8 waffles 1x
Ingredients
2 cups (240g) all-purpose flour
2 tablespoons granulated sugar
2 teaspoons baking powder
1 teaspoon baking soda
1/2 teaspoon salt
2 cups (480ml) buttermilk, at room temperature
1/2 cup (113g) unsalted butter, melted and slightly cooled
2 large eggs, at room temperature
Cooking spray or additional melted butter for waffle iron
Instructions
Step 1: In a large bowl, whisk together the all-purpose flour, granulated sugar, baking powder, baking soda, and salt until well combined.
Step 2: In a separate medium bowl, whisk together the buttermilk, melted butter, and eggs until smooth.
Step 3: Pour the wet ingredients into the dry ingredients. Stir gently with a rubber spatula or wooden spoon until just combined. A few lumps are okay; do not overmix the batter.
Step 4: Let the batter rest for 5-10 minutes. This allows the gluten to relax and the leavening agents to activate, resulting in a more tender waffle.
Step 5: Preheat your waffle iron according to the manufacturer’s instructions. Lightly grease the iron with cooking spray or melted butter, even if it’s non-stick.
Step 6: Pour or ladle about 1/2 to 3/4 cup of batter onto the hot waffle iron, depending on its size. Close the lid and cook for 3-5 minutes, or until golden brown and steam is no longer vigorously escaping.
Step 7: Carefully remove the cooked waffle and serve immediately with your favorite toppings. Repeat with the remaining batter, re-greasing the waffle iron as needed.
Notes
For best results, ensure your buttermilk and eggs are at room temperature. Do not overmix the batter; a few lumps are fine. If you don’t have buttermilk, you can make a substitute by adding 1 tablespoon of lemon juice or white vinegar to a liquid measuring cup and filling the rest with regular milk, letting it sit for 5-10 minutes.
- Prep Time: 15 minutes
- Cook Time: 20 minutes
- Category: Sweet Breakfasts
- Cuisine: American
Nutrition
- Serving Size: 1 waffle (approx. 4 oz)
- Calories: 350 kcal
- Sugar: 8 g
- Sodium: 480 mg
- Fat: 16 g
- Saturated Fat: 9 g
- Unsaturated Fat: 6 g
- Trans Fat: 0.5 g
- Carbohydrates: 45 g
- Fiber: 2 g
- Protein: 8 g
- Cholesterol: 95 mg
Keywords: buttermilk waffles, waffle recipe, fluffy waffles, crispy waffles, homemade waffles, breakfast recipe, brunch ideas, sweet breakfast, easy waffles