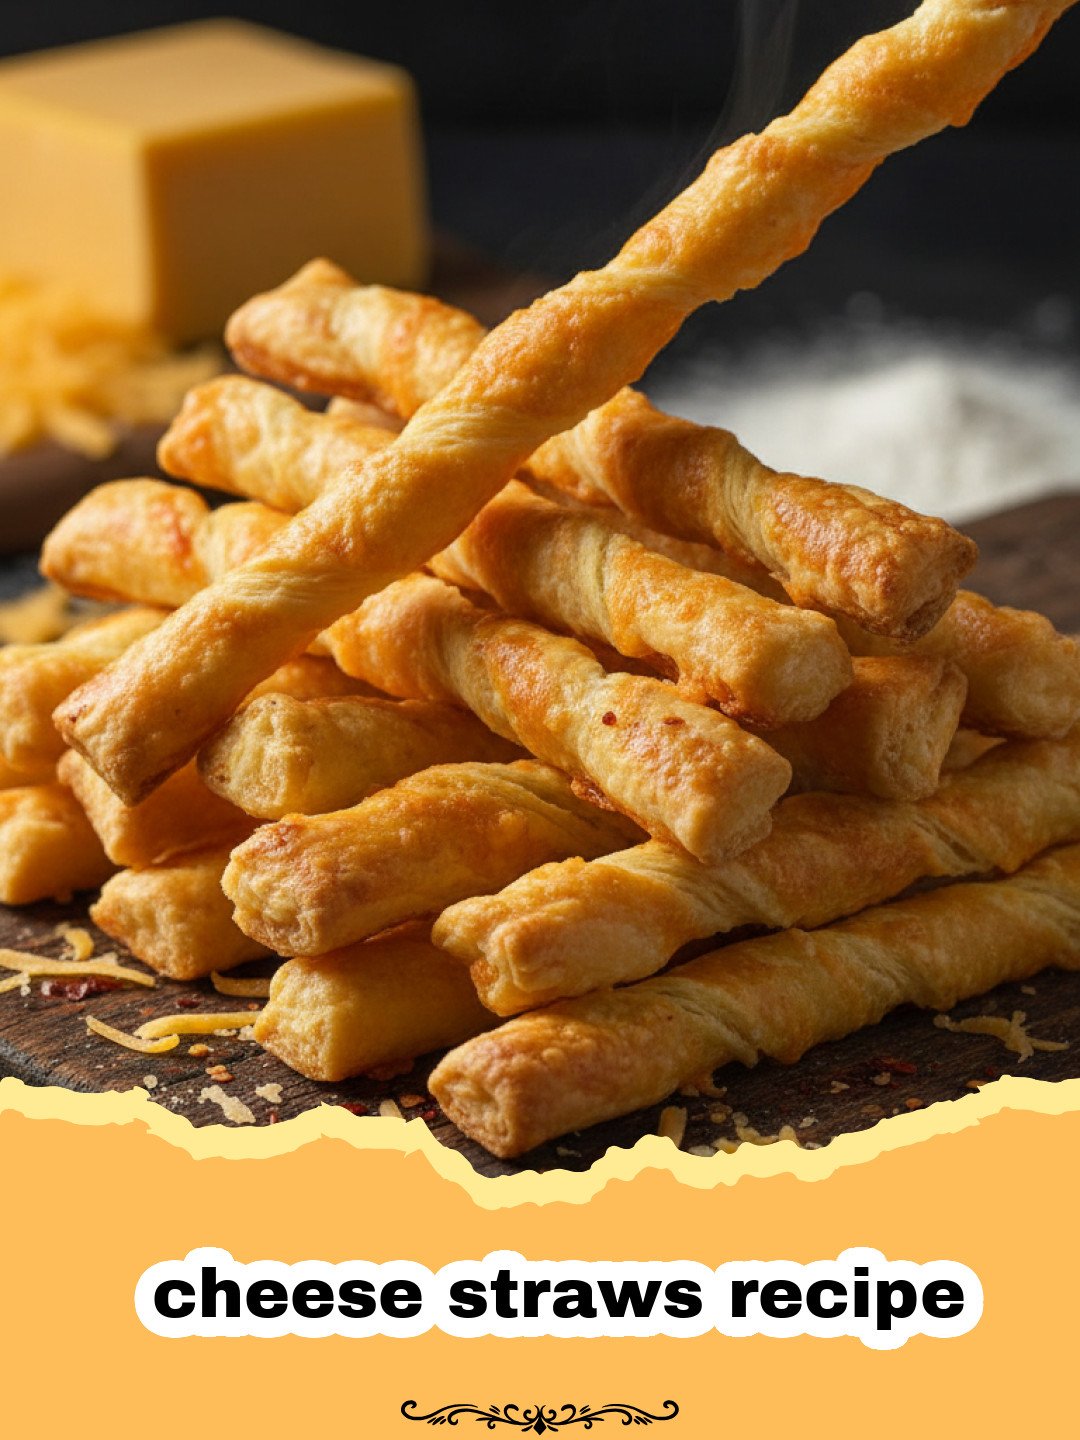
There are some recipes that just transport you back in time, and for me, a classic cheese straws recipe is one of them. My grandmother, bless her heart, was a true Southern belle, and her kitchen was always filled with the aroma of something delicious. Every holiday, every family gathering, without fail, a silver tray laden with golden, flaky cheese straws would appear. The moment those savory, cheesy twists emerged from the oven, a collective gasp of delight would ripple through the room. I remember sneaking into the kitchen, my small fingers reaching for just one more, the sharp cheddar and hint of cayenne dancing on my tongue, leaving a delightful dusting on my fingertips. She’d always have a twinkle in her eye, pretending not to notice, silently encouraging my culinary ‘thievery.’ These weren’t just snacks; they were a symbol of warmth, hospitality, and pure comfort, embodying everything wonderful about Southern cooking.
As I grew older, these special moments around her cheese straws became cherished memories, and the desire to recreate that magic in my own kitchen grew stronger. I badgered her for the original cheese straws recipe, meticulously writing down every detail, every little trick she shared, from the type of cheese to the secret to their perfect crispness. She emphasized the importance of cold butter and freshly grated cheese, insights I’ve carried with me ever since. Now, I carry on her tradition, and every time I bake a batch of these glorious cheese straws, I feel her presence in the kitchen, guiding my hands. It’s more than just a cheese straws recipe; it’s a legacy, a taste of home, and a testament to the simple joy of sharing good food with loved ones. It’s about creating those same indelible memories for my own family and friends. If you’ve never experienced the magic of homemade cheese straws, prepare to fall in love with this time-honored classic. This isn’t just any cheese straws recipe; it’s the one that will become your family’s favorite, too. Get ready to bake a batch of the best cheese straws you’ve ever tasted!
Why This Cheese Straws Recipe is a Must-Try
- Unforgettable Flavor: This particular cheese straws recipe delivers a perfect balance of rich, sharp cheese, a subtle peppery kick, and an irresistible buttery richness that will have everyone reaching for more. It’s a flavor profile that’s both comforting and sophisticated.
- Versatile Snack for Any Occasion: Whether you’re hosting a grand holiday feast, a casual get-together, or simply looking for a delightful afternoon snack, these cheese straws fit the bill perfectly. They’re an ideal appetizer, a welcome addition to any party platter, or a sophisticated accompaniment to your favorite soups and salads.
- Guaranteed Crowd-Pleaser: There’s something universally appealing about crispy, savory cheese. Every time I make this cheese straws recipe, they disappear faster than I can bake them! Prepare for compliments and requests for the recipe.
- Simple Ingredients, Gourmet Impact: Despite their impressive appearance and gourmet taste, this cheese straws recipe uses a handful of readily available pantry staples. It’s proof that you don’t need exotic ingredients to create something truly extraordinary and deeply satisfying.
Key Ingredient Notes for the Perfect Cheese Straws Recipe
The success of this classic cheese straws recipe hinges on a few star ingredients. Choosing quality and understanding their role is key to achieving that perfect crisp, cheesy bite.
Sharp Cheddar Cheese
This is undeniably the star of our show! When it comes to this cheese straws recipe, don’t skimp on quality. Freshly grated extra-sharp cheddar makes all the difference in both flavor and texture. Why freshly grated? Pre-shredded cheeses often contain anti-caking agents like cellulose, which can hinder proper melting and affect the final crispness of your cheese straws. Take the extra five minutes to grate a block of good quality cheddar; you’ll taste the difference. The sharp flavor provides a wonderful tang that stands up beautifully during baking, creating a truly robust and delicious cheese straw.
Unsalted Butter, Cold and Cubed
Cold, unsalted butter is crucial for creating that flaky, tender texture that defines exceptional cheese straws. Just like in pie crusts or biscuits, cold butter bits create pockets of steam during baking, which separate the dough layers, resulting in a light and crispy crumb. Using unsalted butter allows you to control the overall saltiness of the cheese straws recipe. Ensure your butter is straight from the fridge and cut into small cubes, which makes it easier to incorporate into the flour mixture without overworking it. This careful attention to temperature will reward you with the best cheese straws.
A Touch of Cayenne Pepper
While optional for some, a pinch (or a little more, if you dare!) of cayenne pepper is what gives authentic Southern cheese straws their signature, subtle kick. It doesn’t make them overtly spicy; rather, it adds a layer of warmth and complexity that elevates this cheese straws recipe from simply good to absolutely extraordinary. It brightens the cheese flavor and provides a lovely contrast to the richness of the butter and cheddar. If you’re sensitive to heat, start with a smaller amount and adjust to your preference. Don’t underestimate the power of this little spice in your perfect cheese straws recipe!
Step-by-Step Guide with Pro Tips for Your Cheese Straws Recipe
Ready to bake a batch of delicious, crispy cheese straws? Follow these detailed steps to ensure perfect results every time. This cheese straws recipe is straightforward, but a few pro tips will make all the difference.
Preparation is Key
Before you even think about mixing, gather all your ingredients and make sure your butter and cheese are cold. This step is critical for a flaky, tender texture. Preheat your oven and prepare your baking sheets to streamline the process. A successful cheese straws recipe starts with meticulous prep.
Mixing the Dough
- Step 1: Preheat your oven to 350°F (175°C). Line two large baking sheets with parchment paper. This prevents sticking and makes for easy cleanup.
- Step 2: In a large mixing bowl, combine the freshly grated extra-sharp cheddar cheese, cold butter cubes, all-purpose flour, salt, cayenne pepper, and black pepper. The cold butter is essential for achieving flakiness in this cheese straws recipe.
- Step 3: Using a pastry blender, two knives, or your fingertips, cut the cold butter into the flour mixture until it resembles coarse crumbs. This process should be quick to prevent the butter from warming up too much. Keep working the mixture until it starts to come together and forms a soft, cohesive dough. If the dough seems too dry and isn’t holding together, add a tablespoon of ice water, a teaspoon at a time, until it just barely comes together. Be careful not to overmix, as this can develop the gluten in the flour and lead to tough cheese straws, which is the opposite of what we want for this delightful cheese straws recipe.
Shaping the Straws
This is where your cheese straws take their iconic form. You have a few options for shaping, each yielding slightly different results but equally delicious.
- Step 4: Divide the dough in half. On a lightly floured surface (or between two sheets of parchment paper for less mess), roll out one half of the dough to an even thickness of about 1/8-inch. Consistency in thickness is key for even baking in this cheese straws recipe.
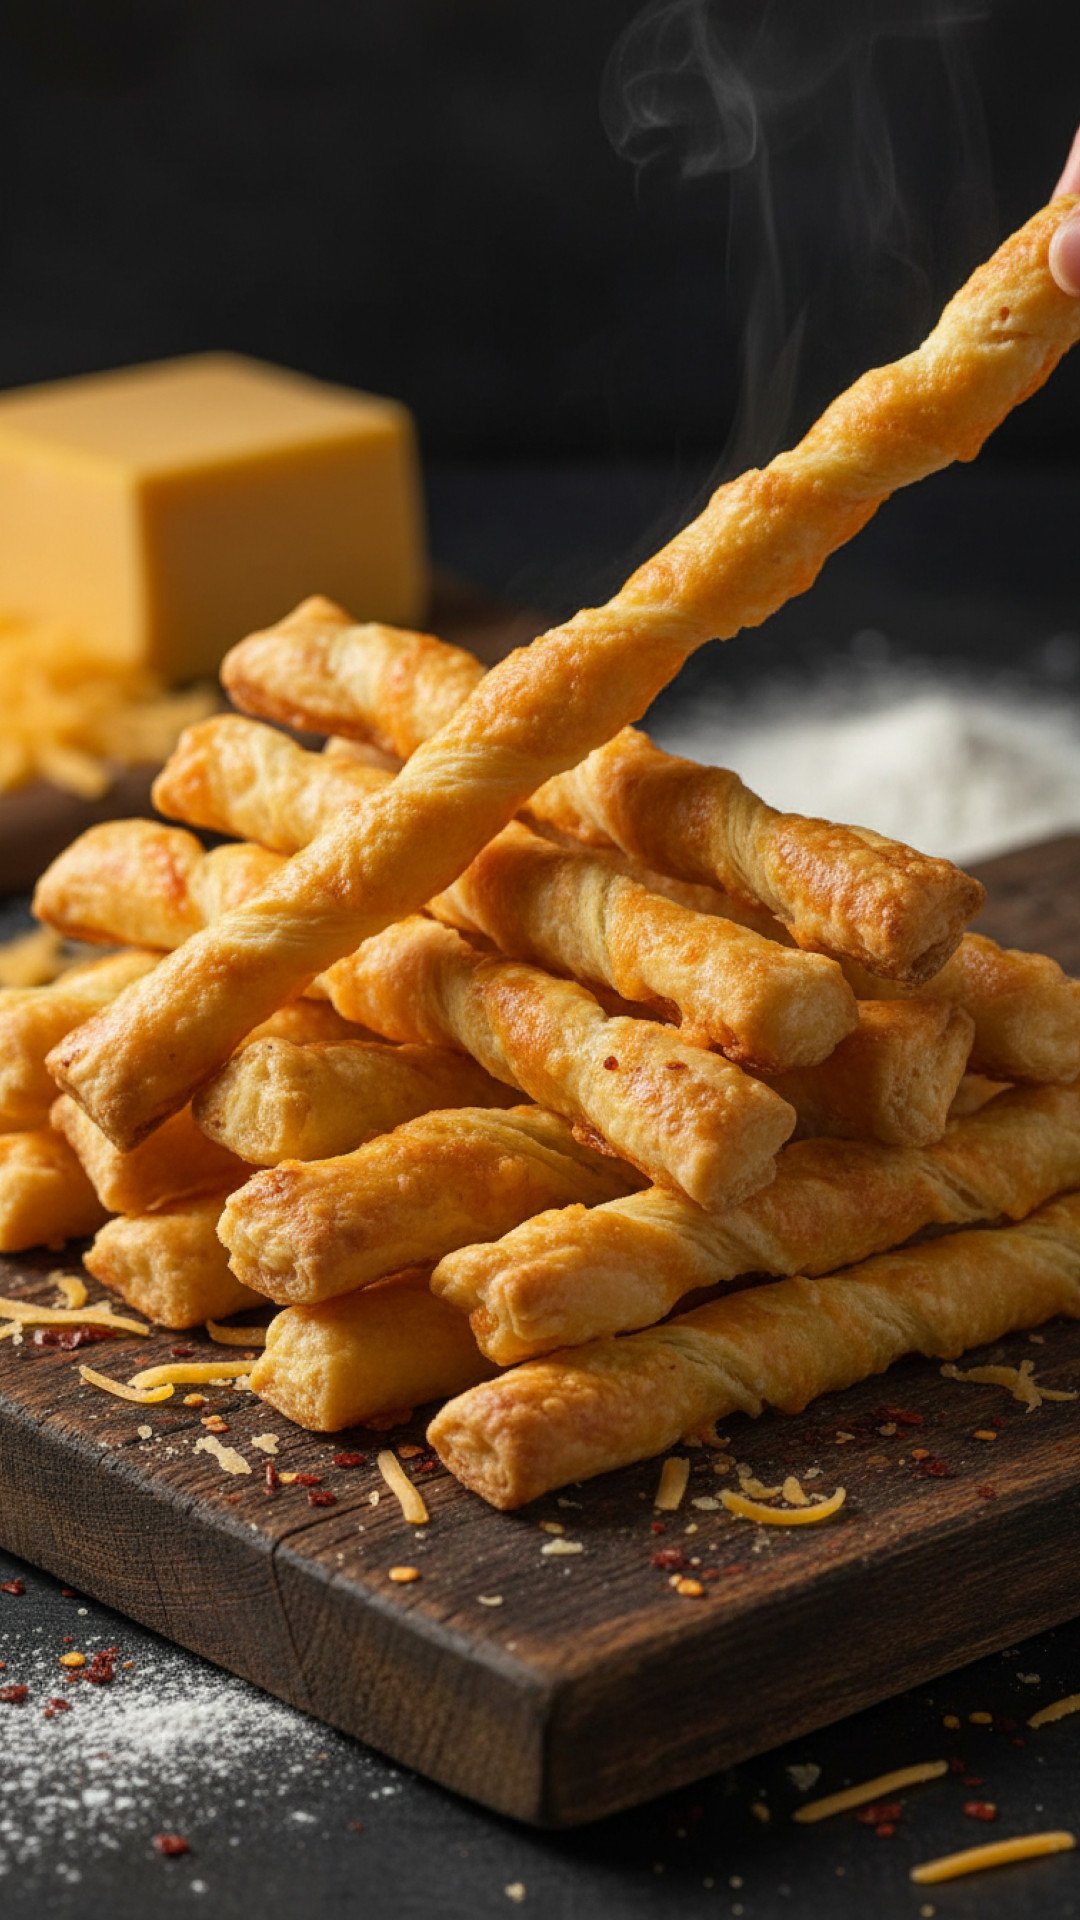
- Step 5: Using a pizza cutter or a sharp knife, cut the rolled-out dough into strips approximately 1/2-inch wide and 3-4 inches long. For a more uniform and classic look, you can gently twist each strip a few times before placing it on the baking sheet. Alternatively, if you own a cookie press with a star tip, it’s an excellent tool for creating perfectly uniform and visually appealing cheese straws with minimal effort. This method truly elevates the presentation of your homemade cheese straws.
- Step 6: Carefully transfer the shaped cheese straws to the prepared baking sheets, leaving a little space between each one to allow for even air circulation and browning. Repeat the rolling and cutting process with the remaining dough. If you’re making a large batch, you might need to work in shifts or use multiple baking sheets.
Baking to Perfection
The final stage is crucial for achieving that desired golden crispness.
- Step 7: Bake for 15-20 minutes, or until the cheese straws are a beautiful golden brown and feel crisp to the touch. Baking times can vary depending on your oven and the thickness of your straws, so keep a close eye on them, especially during the last few minutes, as they can go from perfectly golden to burnt quickly. The aroma alone will tell you you’re on the right track with this savory cheese straws recipe.
- Step 8: Once baked, remove the cheese straws from the oven and let them cool on the baking sheets for a few minutes. They will firm up and become even crisper as they cool. After a few minutes, carefully transfer them to a wire rack to cool completely. Serve these delightful cheese straws immediately to enjoy their warmth and crispness, or store them for later enjoyment. Congratulations, you’ve mastered this classic cheese straws recipe!
Variations & Serving Suggestions for Your Cheese Straws Recipe
This classic cheese straws recipe is fantastic on its own, but it’s also incredibly versatile! Don’t be afraid to get creative and customize them to your taste or the occasion.
Exciting Variations to Try
- Spicy Kick: If you love a bit more heat, feel free to increase the amount of cayenne pepper in the dough. You could also add a pinch of smoked paprika for a smoky depth, or even a dash of your favorite hot sauce directly into the dough mixture for an extra zing.
- Herbal Twist: Incorporate finely chopped fresh herbs like rosemary, thyme, or chives into the dough along with the dry ingredients. About 1-2 tablespoons of fresh herbs will add a wonderful aromatic dimension to your cheese straws, making them even more gourmet.
- Different Cheeses: While sharp cheddar is traditional, experiment with other hard, flavorful cheeses. Gruyere offers a nutty, complex flavor; Parmesan adds a salty, umami punch; or a blend of cheddar and Monterey Jack can yield a milder, meltier result. Just ensure the cheese is firm enough to grate well.
- Garlic & Onion Powder: For an extra savory boost, add 1/2 teaspoon each of garlic powder and onion powder to the dry ingredients. This enhances the overall savory profile of the cheese straws recipe beautifully.
Serving Suggestions for Every Occasion
Cheese straws are the ultimate chameleon snack, fitting into almost any culinary setting.
- Elegant Appetizer: Serve them simply on their own, perhaps with a glass of crisp white wine or a sparkling cider. They’re perfect for cocktail parties, bridal showers, or any gathering where you want to impress with minimal effort.
- Soup & Salad Companion: These crispy bites are a fantastic alternative to croutons. They add a delicious cheesy crunch to a warm bowl of Hearty & Wholesome Classic Bean Soup or complement the creamy texture of The Ultimate Cozy Chicken and Noodles Recipe.
- Charcuterie Board Addition: Elevate your charcuterie or cheese board by adding a generous pile of homemade cheese straws. Their unique texture and flavor provide a welcome contrast to cured meats, fruits, and nuts.
- Dip Dippers: While robust enough to stand alone, cheese straws are also excellent for dipping! Consider serving them with a warm spinach artichoke dip, a fresh salsa, or even a simple honey mustard for a sweet and savory experience.
- Snack Time Savior: Keep a batch on hand for those moments when you need a satisfying savory snack. They’re far more exciting than crackers and incredibly addictive.
Storage Tips
For best results, store leftover cheese straws in an airtight container at room temperature for up to 3-4 days. To revive their crispness, you can briefly reheat them in a preheated 300°F (150°C) oven for about 5 minutes. If you’ve made extra dough, form it into logs, wrap tightly in plastic, and store in an airtight container in the refrigerator for up to 3 days, or freeze for up to 3 months. When ready to bake, simply slice and bake from chilled or frozen, adding a few extra minutes to the baking time. For long-term freshness and convenient storage, consider using high-quality Basics Glass Food Storage containers, perfect for keeping your cheese straws recipe fresh and protected.
Nutrition Information
Here’s a general nutritional breakdown for one serving of this classic cheese straws recipe (approximately 2 straws). Please note that these are estimates and can vary based on specific ingredient brands and preparation methods.
| Nutrient | Amount (per serving) |
|---|---|
| Calories | 120 kcal |
| Carbohydrate Content | 7 g |
| Cholesterol Content | 25 mg |
| Fat Content | 9 g |
| Fiber Content | 0 g |
| Protein Content | 3 g |
| Saturated Fat Content | 6 g |
| Serving Size | 2 straws |
| Sodium Content | 100 mg |
| Sugar Content | 0 g |
| Trans Fat Content | 0 g |
| Unsaturated Fat Content | 3 g |
Conclusion
There you have it – a taste of Southern tradition, right in your own kitchen. This classic cheese straws recipe is more than just a snack; it’s a journey back to simpler times, a celebration of rich, savory flavor, and an invitation to create new memories with those you love. From the simple joy of mixing the dough to the irresistible aroma filling your home, every step of preparing this cheese straws recipe is a delight. Whether you’re making them for a special occasion, to complement a comforting meal, or just to treat yourself to a delicious bite, these crispy, cheesy delights are guaranteed to bring a smile to your face. So, go ahead, roll up your sleeves, and bake a batch of these irresistible cheese straws. You’ll quickly discover why this particular cheese straws recipe has stood the test of time and continues to be a beloved staple. Happy baking!
FAQs
What kind of cheese is best for cheese straws?
Extra-sharp cheddar cheese is highly recommended for the best flavor and texture in a cheese straws recipe. Its robust flavor stands up well to baking, and it melts beautifully. Freshly grating it yourself makes a significant difference, as pre-shredded varieties can contain anti-caking agents that affect crispness.
Can I make cheese straw dough ahead of time?
Yes, absolutely! You can prepare the dough, shape it into logs, wrap it tightly in plastic wrap, and refrigerate it for up to 3 days. You can also freeze the dough logs for up to 3 months. Just slice and bake from chilled or frozen, adding a few extra minutes to the baking time if baking from frozen. This makes the cheese straws recipe super convenient for parties and future cravings.
Why are my cheese straws not crispy?
Lack of crispiness can be due to several factors. Ensure your butter is cold when incorporating it into the flour to create steam pockets. Avoid overworking the dough, which can develop gluten and make them tough. Also, make sure to bake them until they are a deep golden brown. If your oven isn’t hot enough, or if they’re not baked long enough, they won’t reach optimal crispiness. Getting the perfect texture for your cheese straws recipe takes a little practice.
How should I store homemade cheese straws?
Once completely cooled, store your cheese straws in an airtight container at room temperature for up to 3-4 days. To revive their crispness, you can briefly reheat them in a preheated 300u00b0F (150u00b0C) oven for about 5 minutes. For long-term storage, you can freeze unbaked dough logs and bake them as needed.
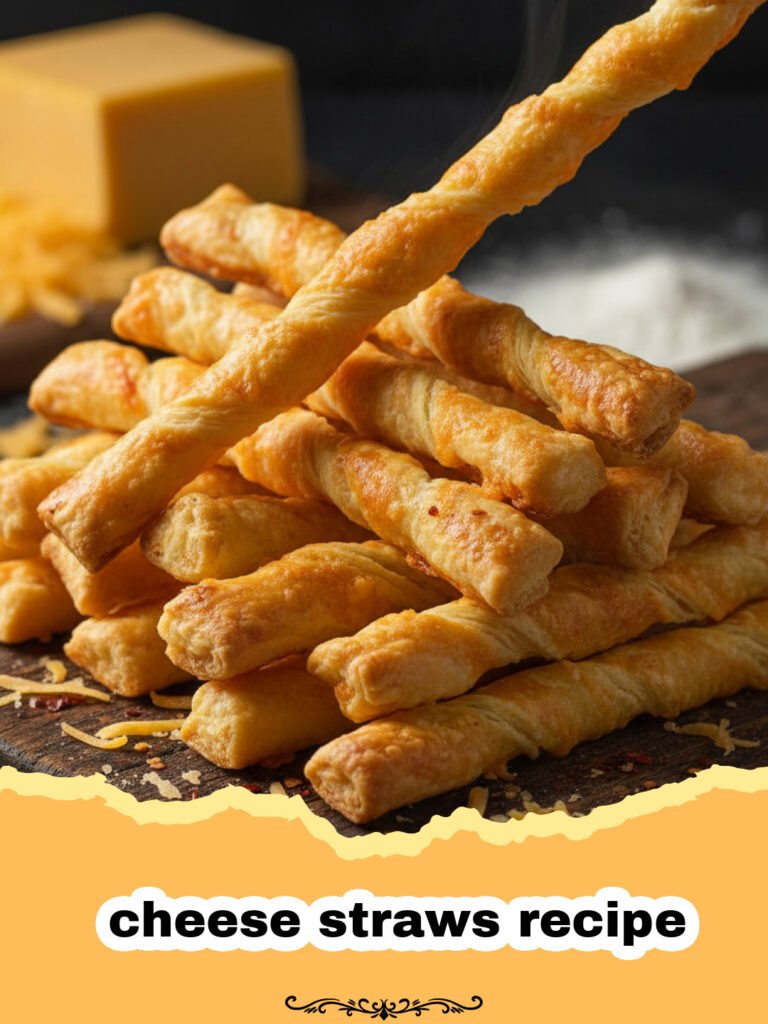
Classic Southern Cheese Straws
This timeless cheese straws recipe delivers perfectly crispy, savory, and slightly spicy bites that are a hallmark of Southern hospitality. Made with sharp cheddar and a hint of cayenne, they’re an irresistible appetizer or snack perfect for any occasion.
- Total Time: 45-50 minutes
- Yield: Approximately 6 dozen 1x
Ingredients
2 cups (8 oz) extra-sharp cheddar cheese, freshly grated
1 cup (2 sticks) unsalted butter, cold and cut into cubes
2 cups all-purpose flour
1 teaspoon salt
1/2 teaspoon cayenne pepper (or to taste)
1/4 teaspoon black pepper
1 tablespoon ice water (if needed)
Instructions
Step 1: Preheat your oven to 350°F (175°C). Line two baking sheets with parchment paper.
Step 2: In a large bowl, combine the grated cheddar cheese, cold butter cubes, flour, salt, cayenne pepper, and black pepper. Using a pastry blender or your fingertips, cut the butter into the flour mixture until it resembles coarse crumbs. This is a crucial step for flaky cheese straws.
Step 3: Continue to work the mixture until it comes together to form a soft, cohesive dough. If the dough seems too dry, add a tablespoon of ice water, a teaspoon at a time, until it just holds together. Be careful not to overmix, as this can lead to tough cheese straws.
Step 4: Divide the dough in half. On a lightly floured surface, roll out one half of the dough to about 1/8-inch thickness. For the perfect cheese straws recipe, aim for even thickness.
Step 5: Using a pizza cutter or a sharp knife, cut the dough into strips about 1/2-inch wide and 3-4 inches long. You can also use a cookie press with a star tip for a more uniform shape, if you prefer.
Step 6: Carefully transfer the cheese straws to the prepared baking sheets, leaving a little space between them. Repeat with the remaining dough.
Step 7: Bake for 15-20 minutes, or until the cheese straws are golden brown and crisp. Keep a close eye on them, as they can burn quickly. The exact baking time for your cheese straws recipe may vary slightly depending on your oven.
Step 8: Remove from the oven and let them cool on the baking sheets for a few minutes before transferring them to a wire rack to cool completely. They will crisp up further as they cool. Serve these delightful cheese straws immediately or store for later enjoyment.
Notes
For best results, ensure all your ingredients, especially the butter and cheese, are cold. This helps achieve the flakiest texture. You can also make the dough ahead of time, form it into logs, and chill it for up to 3 days or freeze for up to 3 months. Slice and bake when ready!
- Prep Time: 30 minutes
- Cook Time: 15-20 minutes
- Category: Appetizers & Snacks
- Cuisine: Southern American
Nutrition
- Serving Size: 2 straws
- Calories: 120 kcal
- Sugar: 0 g
- Sodium: 100 mg
- Fat: 9 g
- Saturated Fat: 6 g
- Unsaturated Fat: 3 g
- Trans Fat: 0 g
- Carbohydrates: 7 g
- Fiber: 0 g
- Protein: 3 g
- Cholesterol: 25 mg
Keywords: cheese straws recipe, southern cheese straws, cheddar cheese straws, savory snacks, appetizer recipe, party food, homemade cheese straws, easy cheese straws, crispy cheese straws, traditional southern recipe