
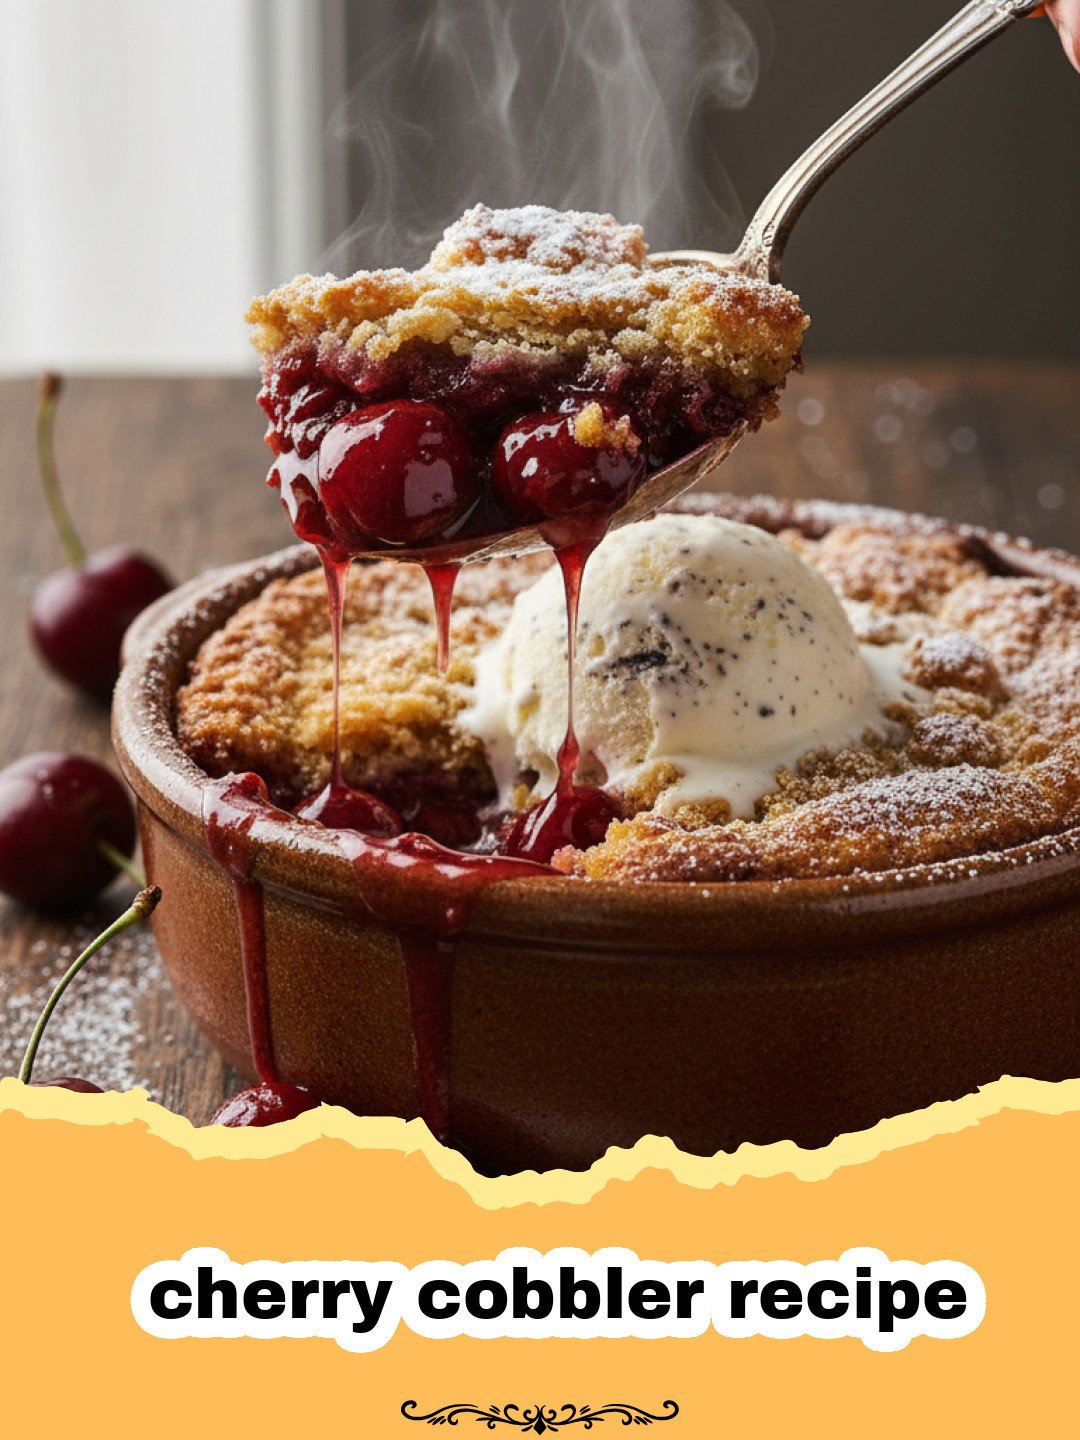
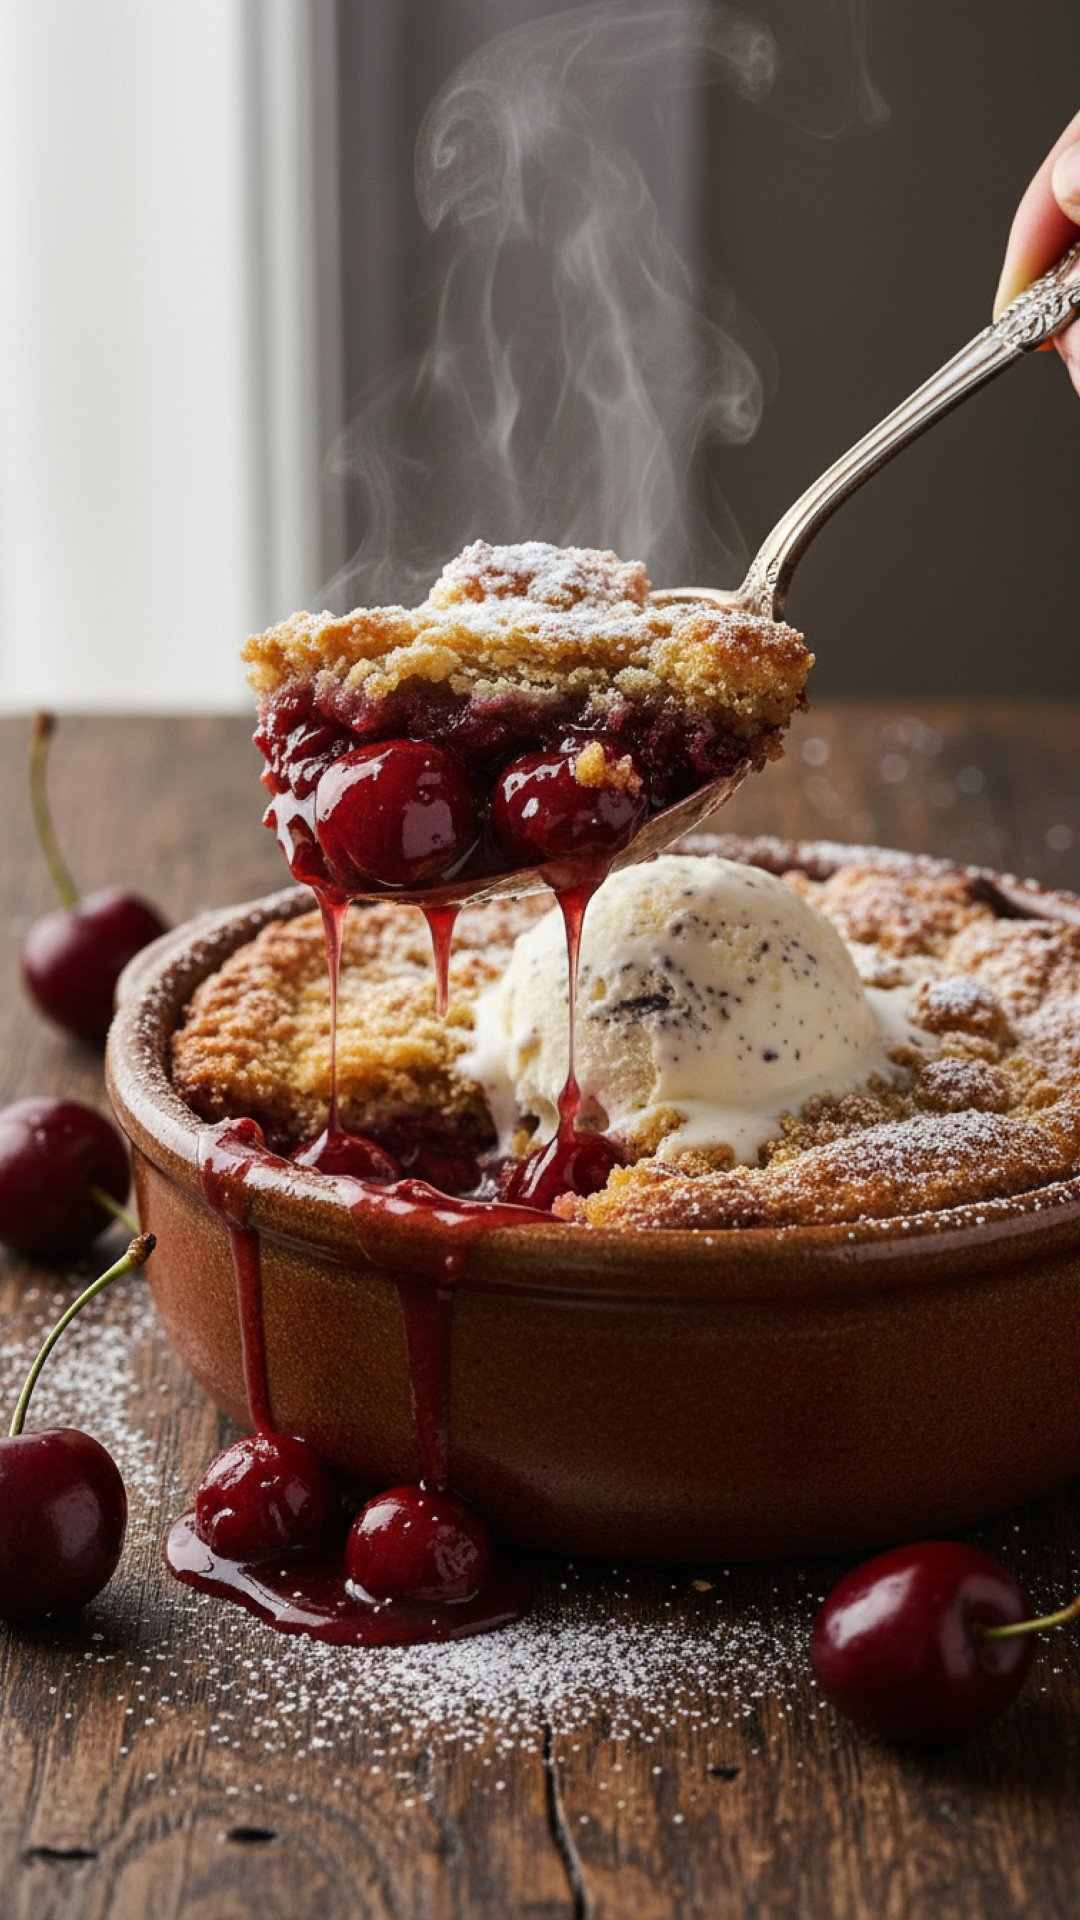
There’s something magical about summer fruit desserts, isn’t there? For me, the perfect cherry cobbler recipe isn’t just about the taste; it’s a journey back in time. I remember my grandmother, with flour dusted on her apron and a twinkle in her eye, pulling a bubbling cobbler from her ancient oven. The scent of warm cherries and golden crust would fill her tiny kitchen, a promise of pure comfort. As a child, I’d hover impatiently, waiting for it to cool just enough before digging in, the sweet-tart cherries bursting with flavor, perfectly complemented by that tender, biscuit-like topping. It wasn’t just dessert; it was an experience, a memory woven with love, laughter, and the simple joy of sharing something homemade. This particular cherry cobbler recipe is an homage to those cherished memories, refined over the years to bring you that same warmth and deliciousness, but made simple enough for anyone to recreate. It’s a recipe that tastes like sunshine and nostalgia, a true celebration of summer’s bounty. Each spoonful is a reminder of those lazy, hazy days, and I can’t wait for you to experience it too.
Why This Cherry Cobbler Recipe is a Must-Try
Effortless Elegance:
This cherry cobbler recipe delivers a dessert that looks impressive but is incredibly simple to prepare, perfect for last-minute guests or a cozy family evening.Seasonal Delight:
Harness the fresh, vibrant flavors of peak-season cherries, or enjoy it year-round with frozen fruit, making this a versatile treat.Perfect Texture Balance:
Experience the delightful contrast of a sweet, gooey cherry filling with a light, golden, and slightly crisp biscuit topping that melts in your mouth.Crowd-Pleaser Guaranteed:
From potlucks to dinner parties, this cherry cobbler recipe is always a hit, bringing smiles to every face with its comforting, homemade appeal.
Key Ingredient Notes for Your Cherry Cobbler Recipe
Fresh or Frozen Cherries: The Heart of the Cobbler
The star of this cherry cobbler recipe is, naturally, the cherries! While fresh sweet cherries (like Bing or Rainier) are absolutely divine when in season, don’t hesitate to use frozen cherries. If using frozen, there’s no need to thaw them completely before mixing with sugar and cornstarch; they will release their juices as they bake, contributing to a wonderfully thick filling. However, if they are extremely icy, a quick rinse under cold water can help prevent them from freezing together. If using tart cherries, you might want to increase the sugar slightly to balance the flavor. Always ensure you pit fresh cherries thoroughly to avoid any surprises!
Cornstarch: The Thickening Powerhouse
Cornstarch is crucial for achieving that perfect, luscious cherry filling in your cherry cobbler recipe. It thickens the cherry juices, preventing a watery, runny dessert. Without it, your cobbler filling would be more like soup! I prefer cornstarch over flour for fruit fillings as it creates a clearer, glossier sauce. Make sure to whisk it thoroughly with the sugar and other dry ingredients before adding it to the cherries to prevent lumps. If you find your filling still a little thin after baking, don’t worry, it will thicken considerably as it cools.
Cold Butter: The Secret to a Flaky Topping
Just like in pie crusts or biscuits, cold butter is essential for a tender, flaky, and golden topping on your cherry cobbler recipe. When cold butter is cut into the dry ingredients, it creates small pockets that release steam during baking, resulting in that irresistible light and airy texture. If your butter is too warm, it will melt into the flour, leading to a tougher, denser topping. I recommend cubing your butter and placing it back in the fridge or even freezer for a few minutes before you start mixing the topping ingredients. You can use a pastry blender, two forks, or even your fingertips (working quickly) to cut the butter in until it resembles coarse crumbs.
Step-by-Step Guide with Pro Tips
Mastering this cherry cobbler recipe is a breeze with these detailed steps and insider tips.
Prepare the Cherry Filling
- Step 1: Preheat your oven to 375°F (190°C). Lightly butter or grease a 9×13 inch baking dish (or an equivalent 2-quart baking dish). This ensures easy cleanup and prevents sticking.
- Step 2: In a large bowl, combine the fresh or frozen pitted cherries, granulated sugar, cornstarch, lemon juice, and almond extract (if using). Gently toss until the cherries are evenly coated. Pro Tip: Lemon juice brightens the flavor of the cherries and helps prevent the filling from becoming overly sweet. The almond extract, though optional, really enhances the cherry flavor beautifully.
- Step 3: Pour the cherry mixture into the prepared baking dish, spreading it into an even layer. Set aside while you prepare the topping.
Make the Cobbler Topping
- Step 4: In a separate medium bowl, whisk together the all-purpose flour, granulated sugar, baking powder, and salt. Make sure there are no lumps for an even topping.
- Step 5: Add the cold, unsalted butter (cut into small cubes) to the dry ingredients. Using a pastry blender, two forks, or your fingertips, cut the butter into the flour mixture until it resembles coarse crumbs, with some pea-sized pieces remaining. Pro Tip: Working quickly and keeping the butter cold is key to a tender, flaky topping. If your hands are warm, use a pastry blender or forks.
- Step 6: Gradually add the milk, mixing just until the dry ingredients are moistened and a soft dough forms. Be careful not to overmix, as this can lead to a tough topping.
Assemble and Bake the Cherry Cobbler
- Step 7: Drop spoonfuls of the cobbler topping over the cherry filling, leaving some gaps so the cherries can bubble up. You don’t need to cover the entire surface perfectly; the rustic look is part of its charm!
- Step 8: Sprinkle the reserved 1 tablespoon of granulated sugar (if using) evenly over the topping. This creates a lovely caramelized, crunchy crust.
- Step 9: Bake for 40-45 minutes, or until the topping is golden brown and the cherry filling is bubbly and thick. Pro Tip: If the topping is browning too quickly, you can loosely tent the dish with foil. The bubbling filling is your sign that the cornstarch has activated and thickened the sauce.
- Step 10: Remove from the oven and let the cherry cobbler cool for at least 15-20 minutes before serving. This allows the filling to set properly, preventing it from being too runny.
Variations & Serving Suggestions for Your Cherry Cobbler Recipe
Creative Cobbler Twists
This cherry cobbler recipe is wonderfully adaptable. For a different flavor profile, consider adding a hint of orange zest to the cherry filling alongside the lemon juice. A pinch of cinnamon or nutmeg can also warm up the flavor. If you’re feeling adventurous, mix in a handful of other berries, such as raspberries or blueberries, for a mixed-fruit cobbler that offers a delightful blend of sweet and tart notes. For an extra rich topping, substitute half of the milk with heavy cream, or fold in a quarter cup of shredded coconut for a tropical twist.
Perfect Pairings
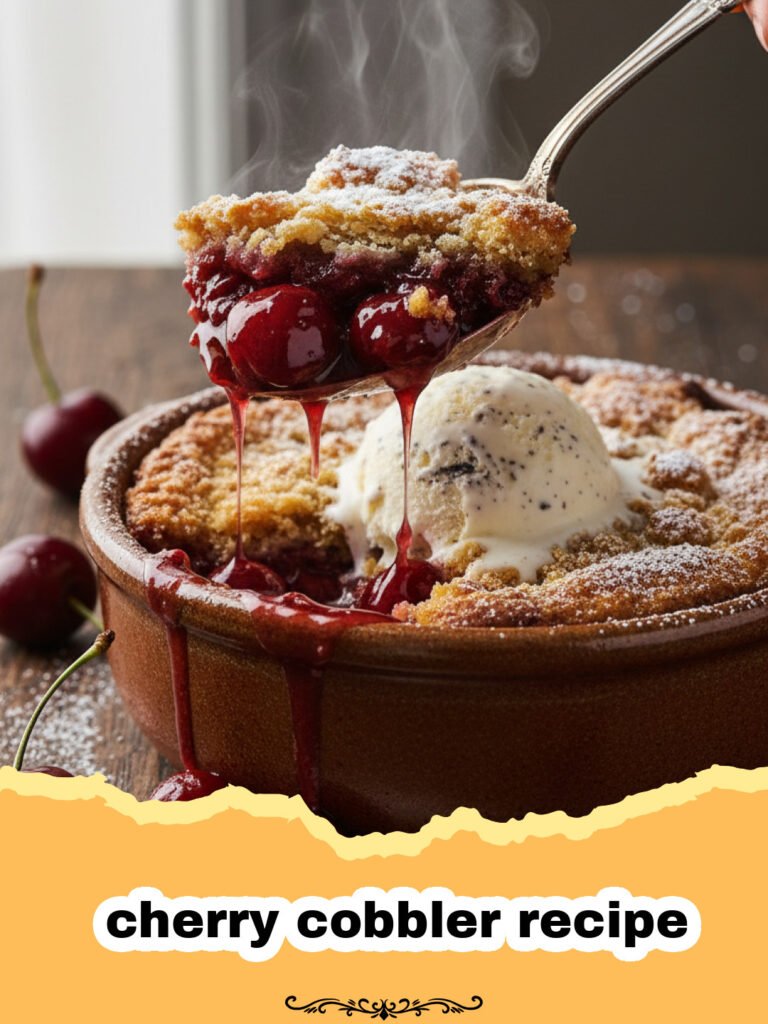
A warm slice of this cherry cobbler recipe is a dessert in itself, but it truly shines when paired with certain accompaniments. A generous scoop of premium vanilla bean ice cream is a classic for a reason – the cold, creamy ice cream slowly melts into the warm, bubbly cherry filling, creating an irresistible contrast. Alternatively, a dollop of freshly whipped cream adds a delicate richness without being too heavy. For those who enjoy a hint of elegance, a drizzle of créme anglaise or a sprinkle of toasted slivered almonds can elevate the presentation and add another layer of flavor and texture. Don’t forget a hot cup of coffee or a glass of chilled dessert wine for the perfect after-dinner treat.
Storage Tips
Leftover cherry cobbler stores well! Once cooled completely, cover the baking dish tightly with plastic wrap or aluminum foil and refrigerate for up to 3-4 days. For longer storage, you can transfer individual portions into Basics Glass Food Storage containers. Reheat in the microwave for a quick single serving, or gently warm in a 300°F (150°C) oven until heated through for a larger portion, which helps crisp up the topping again.
Nutrition Information
| Nutrient | Amount Per Serving |
|---|---|
| Calories | 320 kcal |
| Carbohydrates | 55 g |
| Cholesterol | 25 mg |
| Fat | 10 g |
| Fiber | 3 g |
| Protein | 4 g |
| Saturated Fat | 6 g |
| Sodium | 180 mg |
| Sugar | 35 g |
| Trans Fat | 0.5 g |
| Unsaturated Fat | 3 g |
Conclusion
And there you have it – your new go-to cherry cobbler recipe! This dessert is more than just a sweet treat; it’s a celebration of simple ingredients, heartwarming flavors, and the joy of homemade goodness. Whether you’re making it for a special occasion or just because you crave a taste of summer, this cherry cobbler recipe promises to deliver pure bliss with every spoonful. So go ahead, gather your ingredients, and fill your home with the irresistible aroma of this classic comfort dessert. Happy baking, and enjoy every delicious bite!
FAQs
Can I use frozen cherries for this cherry cobbler recipe?
Yes, frozen cherries work wonderfully for this cherry cobbler recipe! There’s no need to thaw them completely before mixing, but you might want to drain any excess liquid to prevent the filling from becoming too watery. Simply proceed with the recipe as directed.
What’s the best way to store leftover cherry cobbler?
Store cooled cherry cobbler tightly covered in the refrigerator for up to 3-4 days. For optimal freshness, consider using airtight glass food storage containers. You can reheat individual portions gently in the microwave or warm a larger portion in a 300u00b0F (150u00b0C) oven until heated through.
Can I make this cherry cobbler recipe gluten-free?
Absolutely! To make this cherry cobbler recipe gluten-free, simply substitute an equal amount of your favorite gluten-free all-purpose flour blend (one that includes xanthan gum) for the standard all-purpose flour in the topping. Ensure your baking powder is also gluten-free.
What are some good serving suggestions for cherry cobbler?
Cherry cobbler is best served warm! The classic accompaniment is a generous scoop of vanilla bean ice cream, which creates a delightful hot-and-cold contrast. A dollop of fresh whipped cream or a drizzle of cru00e9me anglaise also makes for a delicious pairing.
The Best Classic Cherry Cobbler Recipe
A timeless dessert featuring sweet-tart cherries baked under a golden, tender biscuit-like topping, perfect for any occasion.
- Total Time: 1 hour 10 minutes
- Yield: 8 servings 1x
Ingredients
6 cups fresh or frozen pitted cherries (about 2.5 lbs)
3/4 cup granulated sugar (plus 1 tbsp for sprinkling, optional)
1/4 cup cornstarch
1 tablespoon lemon juice
1/2 teaspoon almond extract (optional)
1 1/2 cups all-purpose flour
1/4 cup granulated sugar
2 teaspoons baking powder
1/2 teaspoon salt
1/2 cup (1 stick) cold unsalted butter, cubed
1/2 cup milk (whole or 2%)
Instructions
Step 1: Preheat your oven to 375°F (190°C). Lightly butter or grease a 9×13 inch baking dish (or an equivalent 2-quart baking dish).
Step 2: In a large bowl, combine the pitted cherries, 3/4 cup granulated sugar, cornstarch, lemon juice, and almond extract (if using). Gently toss until the cherries are evenly coated.
Step 3: Pour the cherry mixture into the prepared baking dish, spreading it into an even layer. Set aside.
Step 4: In a separate medium bowl, whisk together the all-purpose flour, 1/4 cup granulated sugar, baking powder, and salt.
Step 5: Add the cold, unsalted butter (cut into small cubes) to the dry ingredients. Using a pastry blender, two forks, or your fingertips, cut the butter into the flour mixture until it resembles coarse crumbs, with some pea-sized pieces remaining.
Step 6: Gradually add the milk, mixing just until the dry ingredients are moistened and a soft dough forms. Be careful not to overmix.
Step 7: Drop spoonfuls of the cobbler topping over the cherry filling, leaving some gaps so the cherries can bubble up. You don’t need to cover the entire surface perfectly.
Step 8: Sprinkle the reserved 1 tablespoon of granulated sugar (if using) evenly over the topping.
Step 9: Bake for 40-45 minutes, or until the topping is golden brown and the cherry filling is bubbly and thick. If the topping is browning too quickly, you can loosely tent the dish with foil.
Step 10: Remove from the oven and let the cherry cobbler cool for at least 15-20 minutes before serving. This allows the filling to set properly.
Notes
For best results, use fresh, ripe cherries when in season. If using frozen, there’s no need to thaw completely, but draining excess liquid can prevent a watery filling. Always serve warm with a scoop of vanilla ice cream!
- Prep Time: 25 minutes
- Cook Time: 40-45 minutes
- Category: Baked Goods
- Cuisine: American
Nutrition
- Serving Size: 1 serving
- Calories: 320 kcal
- Sugar: 35 g
- Sodium: 180 mg
- Fat: 10 g
- Saturated Fat: 6 g
- Unsaturated Fat: 3 g
- Trans Fat: 0.5 g
- Carbohydrates: 55 g
- Fiber: 3 g
- Protein: 4 g
- Cholesterol: 25 mg
Keywords: cherry cobbler, cherry dessert, summer dessert, baking, fruit cobbler, homemade cobbler, easy dessert, classic cobbler recipe




