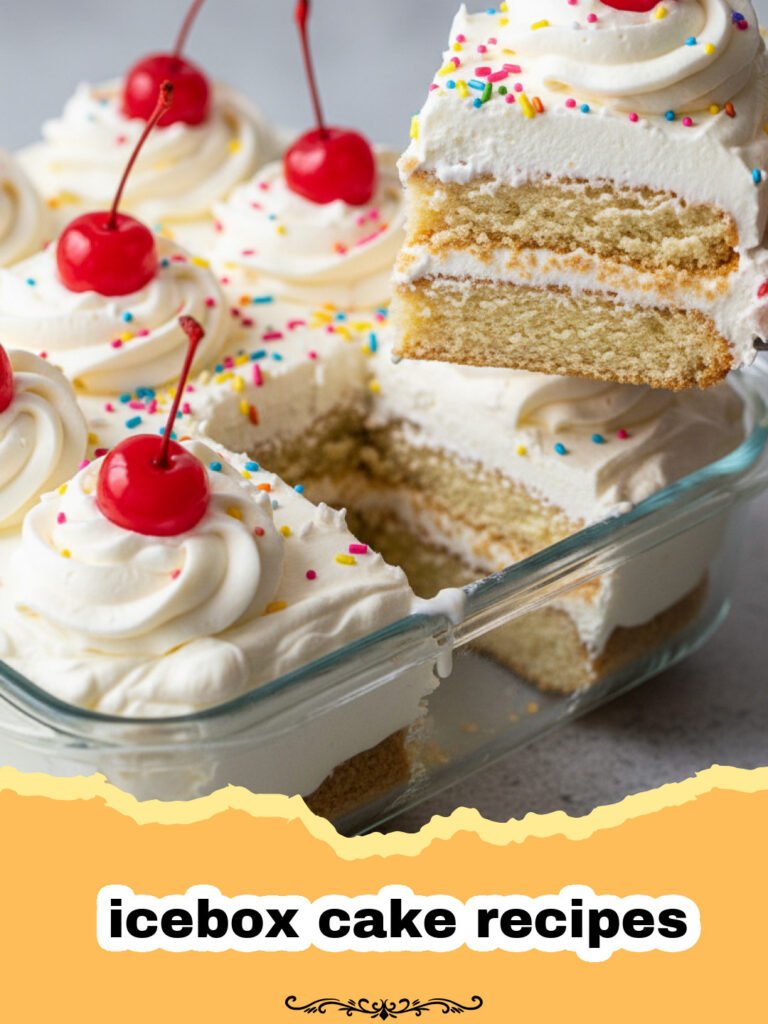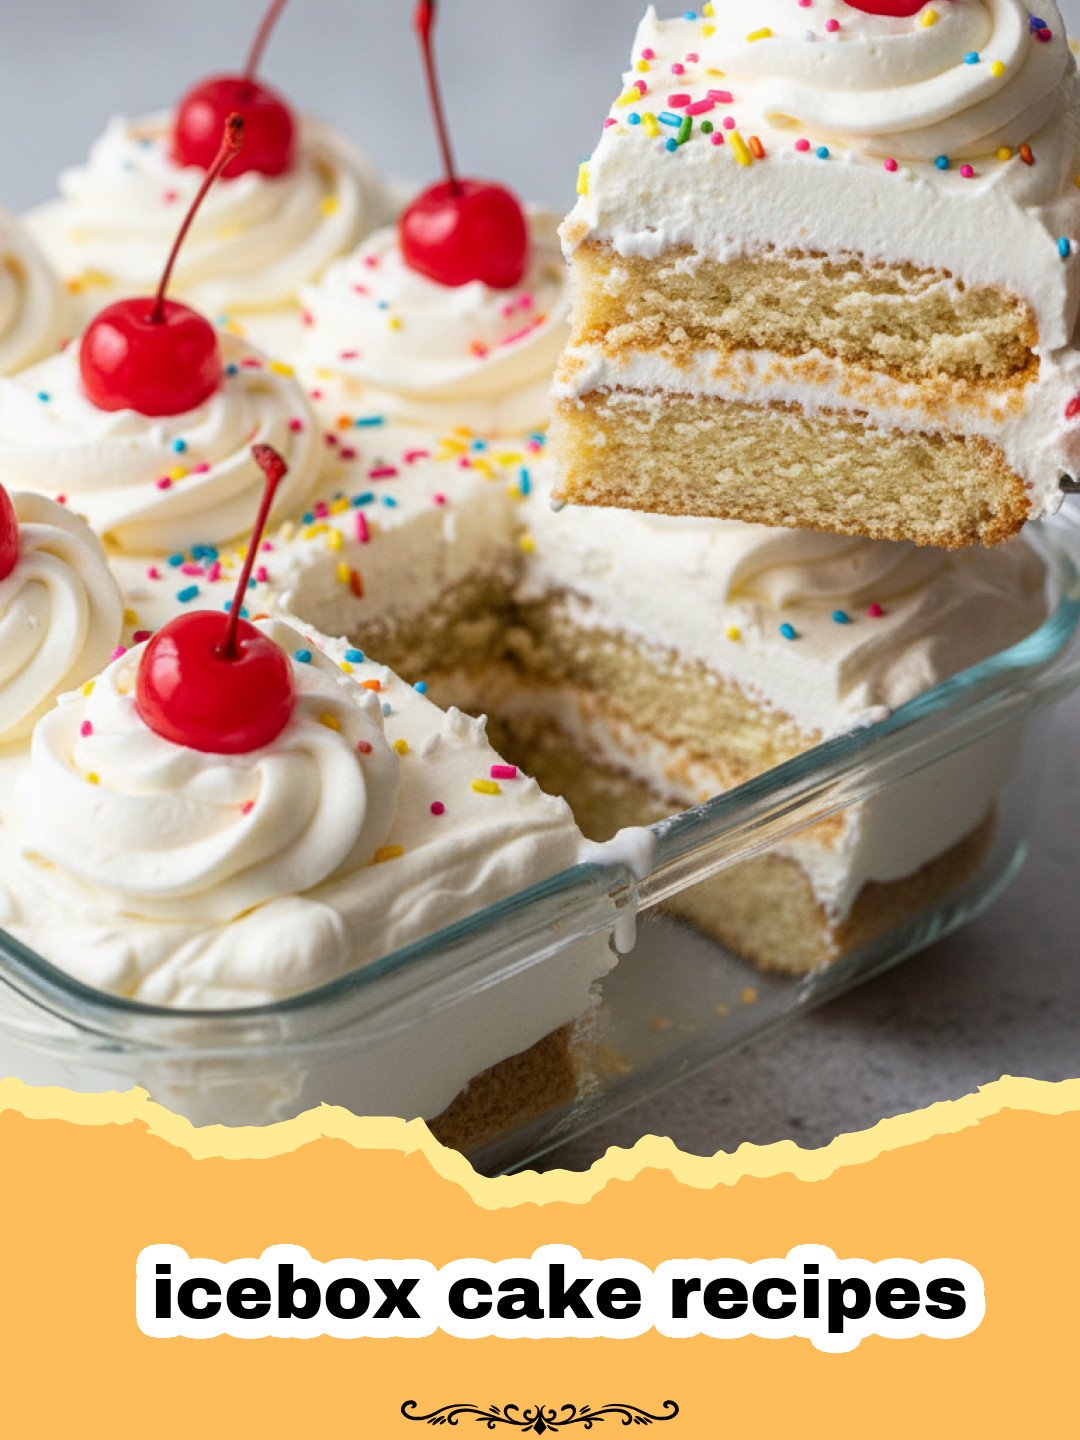
There’s something incredibly nostalgic about the sheer simplicity and creamy delight of icebox cake recipes. My earliest memories of summer evenings are often intertwined with my grandmother’s kitchen, a haven of comforting aromas and easy, delicious treats. She wasn’t one for complicated baking when the heat soared, and her go-to solution was always an icebox cake. I remember the anticipation as we waited for it to chill, peeking into the fridge every hour, hoping it was ready. The first bite was always pure bliss – layers of crisp cookies softened by rich, airy cream, melting in your mouth like a dream. It wasn’t just a dessert; it was a ritual, a symbol of lazy summer days and family gatherings where the only ‘cooking’ required was assembling and waiting. These no-bake wonders embodied effortlessness and pure joy, making them the perfect antidote to a hot day and a testament to the fact that the best desserts don’t always demand an oven or hours of toil. This recipe, a classic chocolate icebox cake, is a tribute to those cherished memories, bringing that same simple magic to your table without breaking a sweat. It’s truly one of the most beloved icebox cake recipes for a reason.
Why This Recipe is a Must-Try
- Effortlessly Delicious: No oven required! This makes it ideal for hot summer days or when you simply don’t have time for complex baking. It’s one of those icebox cake recipes that truly lives up to its easy reputation.
- Simple, Accessible Ingredients: You likely have most of these ingredients in your pantry already. No obscure specialty items needed, making these icebox cake recipes approachable for all.
- Perfect for Make-Ahead: Assemble it hours or even a day in advance, allowing the flavors to meld beautifully and the cookies to soften to perfection. It’s a fantastic option for entertaining and one of our favorite make-ahead icebox cake recipes.
- Crowd-Pleaser: From kids to adults, everyone loves the rich chocolate flavor and creamy texture of a classic icebox cake. It’s a guaranteed hit at potlucks, barbecues, and family dinners, making it a staple among popular icebox cake recipes.
- Customizable Fun: While this recipe is for a classic chocolate version, the base is incredibly versatile. You can easily adapt it with different cookies, fruits, or flavorings to create your own signature icebox cake recipes.
Key Ingredient Notes
While icebox cake recipes are known for their simplicity, a few key ingredients truly shine and make all the difference. Understanding their role will help you achieve the best possible dessert.
Heavy Cream for the Win
The star of many classic icebox cake recipes is undoubtedly the whipped cream. For this recipe, we’re using heavy cream (also known as heavy whipping cream) to create a light, airy, yet stable base. The high fat content (at least 36%) is crucial for achieving stiff peaks. Make sure your cream is very cold – this is the secret to successful whipping! Cold cream whips up faster and holds its shape longer. Avoid using milk or half-and-half as they won’t provide the necessary structure. If you’re looking for a slightly less rich option, some icebox cake recipes might call for Cool Whip, but for that homemade, decadent taste, heavy cream is irreplaceable.
The Magic of Chocolate Wafers
Chocolate wafers, specifically Nabisco Famous Chocolate Wafers, are the traditional choice for classic chocolate icebox cake recipes. Their crisp texture is designed to soften beautifully as they absorb moisture from the cream, transforming into a cake-like layer. Don’t be tempted to use thin chocolate chip cookies or other types of biscuits, as they might not achieve the same delicate, melt-in-your-mouth consistency. If you can’t find chocolate wafers, a good substitute for these icebox cake recipes would be thin chocolate graham crackers or even digestive biscuits, though the flavor profile will be slightly different. The beauty of these wafers is how they contribute to the signature texture of these beloved icebox cake recipes.
Sweeteners and Flavorings
While the heavy cream and chocolate wafers are the foundation, the addition of powdered sugar and vanilla extract elevates the flavor profile. Powdered sugar (confectioners’ sugar) not only adds sweetness but also contains a small amount of cornstarch, which helps stabilize the whipped cream. This is especially important for icebox cake recipes that need to hold up in the refrigerator for hours. Vanilla extract provides a warm, aromatic note that complements the chocolate perfectly. For an extra chocolatey kick, some of our favorite icebox cake recipes also include a touch of cocoa powder in the whipped cream, creating a richer, darker chocolate flavor.
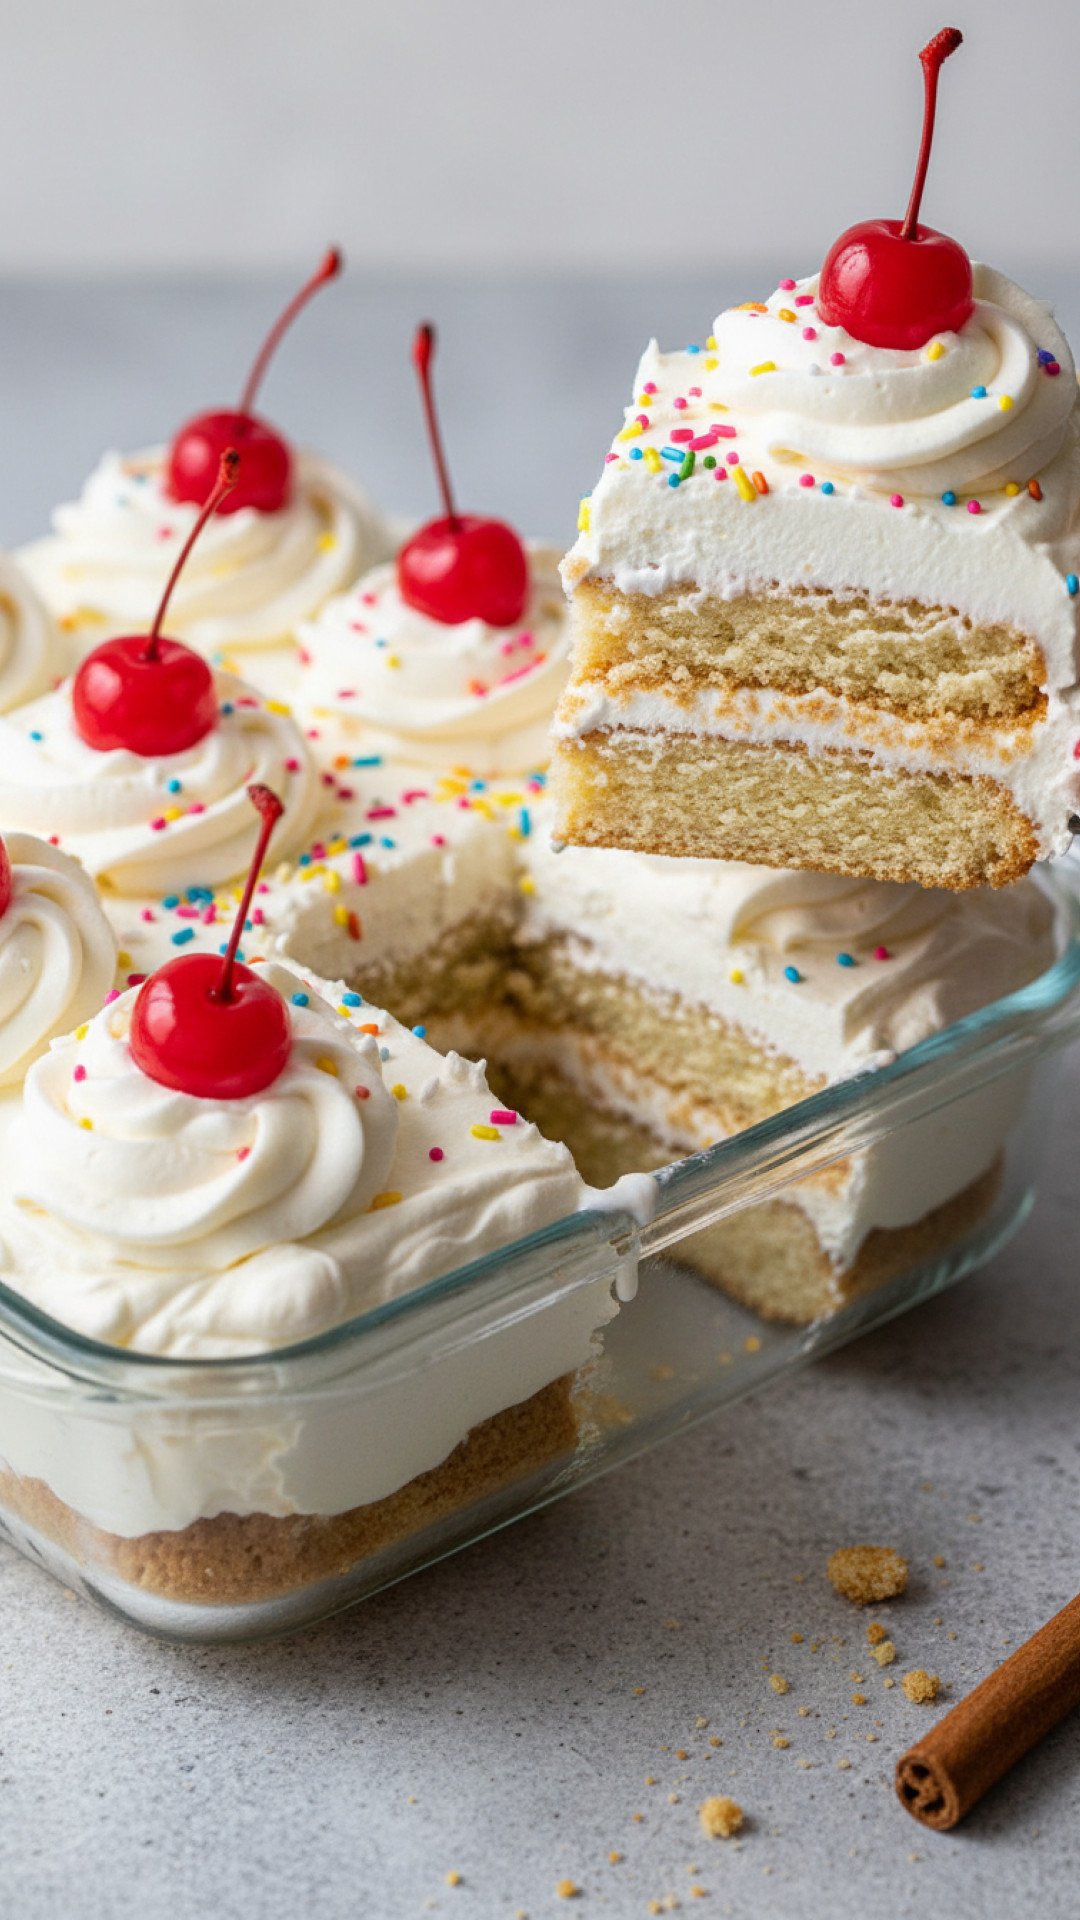
Step-by-Step Guide with Pro Tips
Creating this delightful no-bake dessert is incredibly straightforward, but a few pro tips can elevate your icebox cake from good to absolutely divine. Follow these steps for perfect icebox cake recipes every time!
- Step 1: Prepare your pan. Line an 8×8 inch square baking dish or a 9×5 inch loaf pan with parchment paper, leaving an overhang on two sides. This will make it much easier to lift the finished cake out later. This simple trick is a lifesaver for all icebox cake recipes.
- Step 2: Chill your equipment. For the best whipped cream, place your mixing bowl (preferably metal) and whisk attachment in the freezer for 10-15 minutes before you start. Cold equipment helps the cream whip faster and achieve stiffer peaks, which is crucial for stable icebox cake recipes.
- Step 3: Make the chocolate whipped cream. In the chilled bowl, combine the heavy cream, powdered sugar, unsweetened cocoa powder, and vanilla extract. Beat on medium-high speed with an electric mixer until stiff peaks form. Be careful not to overbeat, or you’ll end up with butter! The cream should be thick and hold its shape. This creamy component is the heart of many decadent icebox cake recipes.
- Step 4: Start layering. Spread a thin layer (about 1/4 inch) of the chocolate whipped cream on the bottom of your prepared pan. This prevents the first layer of cookies from sticking and provides a nice base.
- Step 5: Add the first cookie layer. Arrange a single layer of chocolate wafers over the cream, breaking them as needed to fit snugly. Don’t worry if there are small gaps; the cream will fill them in.
- Step 6: Continue layering. Spread another generous layer of chocolate whipped cream over the cookies, gently pressing down to ensure even coverage. Repeat with alternating layers of cookies and cream, finishing with a final layer of whipped cream on top. Aim for about 4-5 layers of cookies and cream for optimal texture in these classic icebox cake recipes.
- Step 7: Chill thoroughly. Cover the pan tightly with plastic wrap and refrigerate for at least 6 hours, or preferably overnight. This chilling time is non-negotiable for icebox cake recipes, as it allows the cookies to soften and the flavors to meld beautifully. The longer it chills, the better!
- Step 8: Garnish and serve. Once thoroughly chilled, use the parchment paper overhangs to carefully lift the cake out of the pan. Remove the parchment paper. You can dust the top with a little extra cocoa powder, add chocolate shavings, or fresh berries for a beautiful presentation. Slice and serve immediately.
- Pro Tip 1 (Cream Consistency): If your cream isn’t whipping, ensure everything is super cold – the bowl, whisk, and cream itself. Also, ensure you’re using heavy cream, not regular whipping cream, for best results in icebox cake recipes.
- Pro Tip 2 (Even Layers): Use an offset spatula or the back of a spoon to spread the cream evenly. This ensures every bite has a good balance of softened cookie and rich cream, a hallmark of excellent icebox cake recipes.
- Pro Tip 3 (Storage): After enjoying your delicious icebox cake, you’ll want to store any leftovers properly. A good set of airtight containers, like these Basics Glass Food Storage containers, will keep your cake fresh and prevent it from drying out in the refrigerator.
Variations & Serving Suggestions
The beauty of icebox cake recipes lies in their adaptability. Once you’ve mastered the classic chocolate version, the possibilities for customization are endless!
Flavor Variations:
- Berry Bliss Icebox Cake: Layer vanilla wafers or graham crackers with whipped cream and fresh berries like strawberries, blueberries, or raspberries. The fruit adds a lovely tartness and freshness, creating vibrant icebox cake recipes perfect for summer. If you’re a fan of no-bake desserts and crave something with fresh fruit, you might also love our Ultimate Fresh Strawberry Tart.
- Peanut Butter Dream: Swirl a few tablespoons of creamy peanut butter into your chocolate whipped cream for a rich, nutty twist. This variation of icebox cake recipes is a dream for peanut butter lovers.
- Mint Chocolate Chip: Add a few drops of peppermint extract to your whipped cream and sprinkle with mini chocolate chips between layers for a refreshing minty treat.
- S’mores Icebox Cake: Use graham crackers, chocolate whipped cream, and layers of mini marshmallows. A quick blast under the broiler (carefully!) before serving can even toast the marshmallows. These s’mores inspired icebox cake recipes are always a crowd-pleaser.
- Coffee Lover’s Delight: Infuse your whipped cream with instant espresso powder for a sophisticated coffee-chocolate flavor. Ladyfingers can make a great substitute for chocolate wafers in this version of icebox cake recipes.
Cookie Swaps:
While chocolate wafers are classic, feel free to experiment with other cookies in your icebox cake recipes:
- Graham Crackers: A popular choice for a slightly less intense chocolate flavor and a chewier texture.
- Vanilla Wafers: Great for fruit-based icebox cake recipes.
- Oreo Cookies: Crush them or use them whole for an
FAQs
What is an icebox cake?
An icebox cake is a no-bake dessert typically made by layering cookies or wafers with whipped cream (or a similar creamy filling) and then refrigerating it. The chilling process allows the cookies to soften and absorb moisture from the cream, creating a cake-like texture. These icebox cake recipes are famous for their simplicity and deliciousness.
How long does an icebox cake need to chill?
For the best results, an icebox cake needs to chill for at least 6 hours. However, chilling it overnight (12-24 hours) is highly recommended. This extended time allows the cookies to fully soften and the flavors to meld beautifully, resulting in the perfect cake-like consistency for these icebox cake recipes.
Can I use different cookies for icebox cake recipes?
Absolutely! While chocolate wafers are classic for traditional icebox cake recipes, you can experiment with various types of cookies. Graham crackers, vanilla wafers, thin shortbread, or even crushed Oreos work wonderfully. Just make sure they are thin enough to absorb moisture and soften effectively.
How long will an icebox cake last in the refrigerator?
When stored in an airtight container in the refrigerator, an icebox cake can last for 3-4 days. The texture of the cookies will continue to soften over time, but it will still be delicious. Some icebox cake recipes even suggest they taste better the second day!

Classic Chocolate Icebox Cake
An incredibly easy and rich no-bake chocolate dessert, perfect for cooling down on a hot day. Layers of crisp chocolate wafers soften into a cake-like consistency when combined with airy chocolate whipped cream, creating a treat that’s pure nostalgia.
- Total Time: 6 hours 20 minutes
- Yield: 8 servings 1x
Ingredients
Scale2 cups (480ml) heavy cream, very cold
1/2 cup (60g) powdered sugar
1/4 cup (25g) unsweetened cocoa powder
1 teaspoon vanilla extract
1 (9-ounce/255g) package chocolate wafers (like Nabisco Famous Chocolate Wafers)
Optional for garnish: chocolate shavings, fresh berries, or extra cocoa powderInstructions
Step 1: Line an 8×8 inch square baking dish or a 9×5 inch loaf pan with parchment paper, leaving an overhang on two sides for easy removal.
Step 2: Place a large mixing bowl (preferably metal) and the whisk attachment of an electric mixer in the freezer for 10-15 minutes to chill thoroughly.
Step 3: In the chilled bowl, combine the very cold heavy cream, powdered sugar, unsweetened cocoa powder, and vanilla extract. Beat on medium-high speed with the electric mixer until stiff peaks form. Be careful not to overbeat.
Step 4: Spread a thin layer of the chocolate whipped cream (about 1/4 inch thick) on the bottom of the prepared pan.
Step 5: Arrange a single layer of chocolate wafers over the cream, breaking them as needed to fit snugly and cover the cream layer completely.
Step 6: Spread another generous layer of chocolate whipped cream over the cookies, gently pressing down to ensure even coverage. Repeat the layering process, alternating between cookies and cream, until all ingredients are used, finishing with a final layer of whipped cream on top. You should have approximately 4-5 layers of cookies.
Step 7: Cover the pan tightly with plastic wrap and refrigerate for at least 6 hours, or preferably overnight, to allow the cookies to soften and the flavors to meld.
Step 8: Once thoroughly chilled, use the parchment paper overhangs to carefully lift the cake out of the pan. Gently peel away the parchment paper. Garnish with chocolate shavings, fresh berries, or a dusting of cocoa powder, if desired. Slice and serve immediately. Store any leftovers in an airtight container in the refrigerator.Notes
For best results, ensure your heavy cream is very cold before whipping. The longer the cake chills, the better the texture will be as the wafers fully absorb the moisture from the cream. An overnight chill is highly recommended for ultimate deliciousness in these icebox cake recipes.
- Prep Time: 20 minutes
- Cook Time: 0 minutes
- Category: Baked Goods
- Cuisine: American
Nutrition
- Serving Size: 1 slice
- Calories: 395 kcal
- Sugar: 34g
- Sodium: 210mg
- Fat: 28g
- Saturated Fat: 17g
- Unsaturated Fat: 7g
- Trans Fat: 0.4g
- Carbohydrates: 42g
- Fiber: 3g
- Protein: 6g
- Cholesterol: 65mg
Keywords: icebox cake recipes, chocolate icebox cake, no-bake dessert, easy dessert, summer dessert, chocolate wafers, whipped cream cake, make-ahead dessert, classic icebox cake