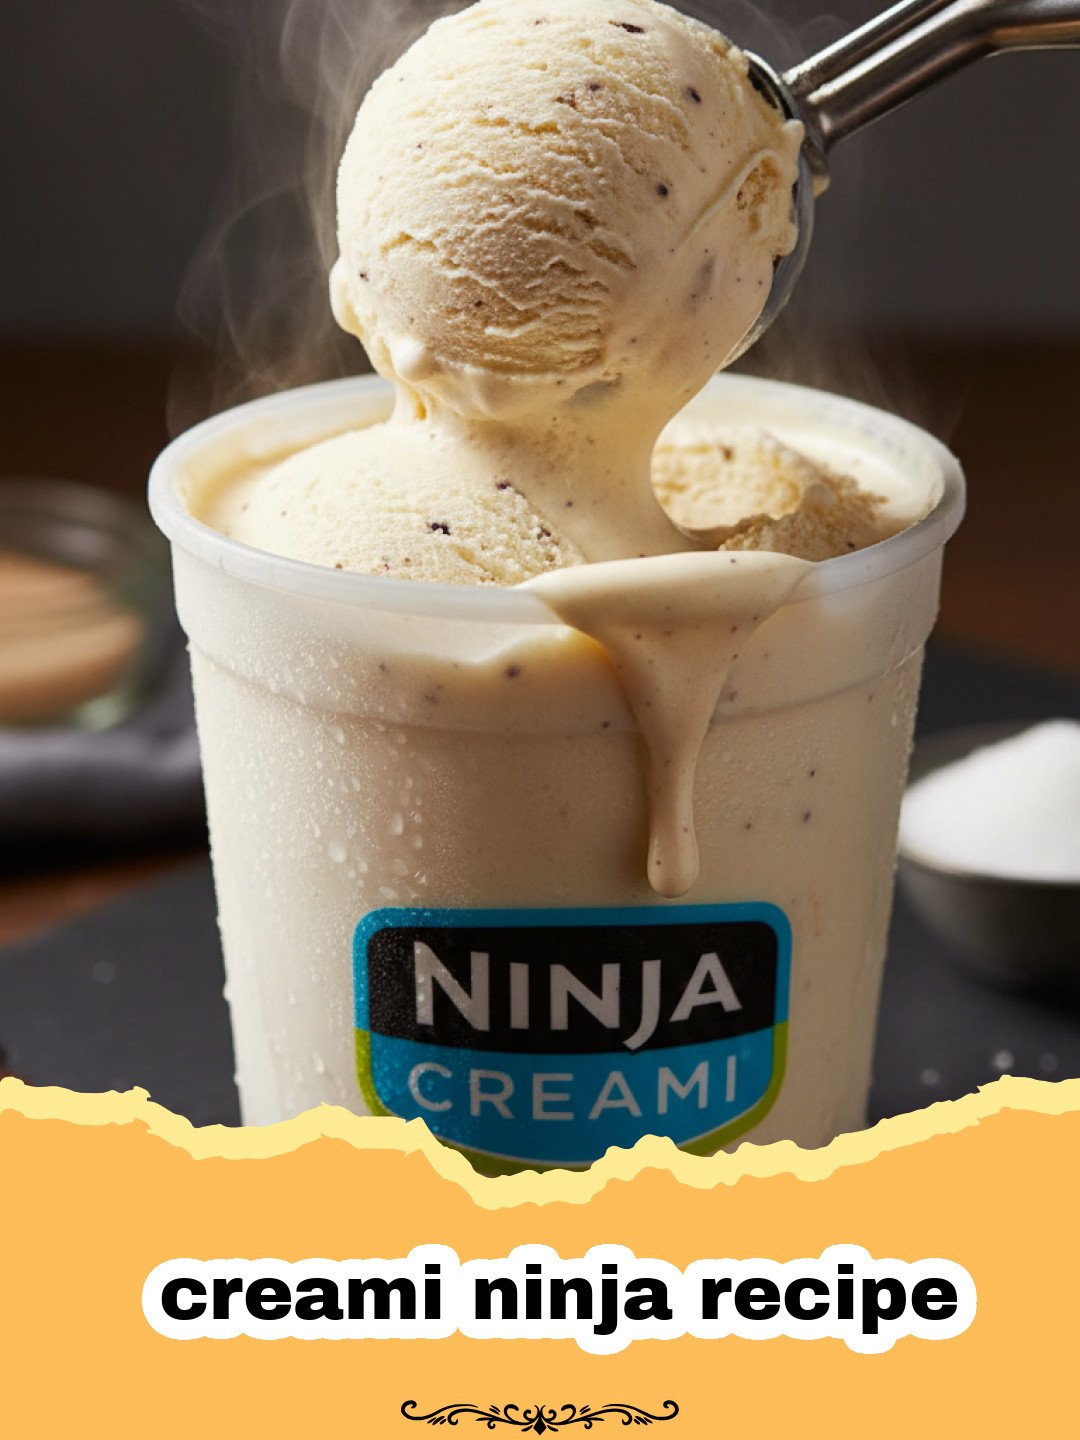
There’s something magical about a perfectly creamy, homemade frozen treat on a warm afternoon, isn’t there? For years, I chased that elusive, velvety texture with various ice cream makers, often ending up with icy disappointment or a machine that was just too much hassle. Then, a few seasons ago, my sister-in-law raved about her new kitchen gadget. She described desserts so smooth they practically melted on her tongue, and her enthusiasm was contagious. Intrigued, I invested in a Ninja Creami, and let me tell you, it was a game-changer. The first time I made this foundational creami ninja recipe, a simple vanilla base, I was instantly hooked. It wasn’t just good; it was *perfect*. From that day on, my Creami has become a cherished appliance, transforming everyday ingredients into extraordinary, customized frozen delights. It’s the secret to guilt-free indulgence, creative flavor combinations, and dessert experiences that genuinely rival gourmet parlors. This creami ninja recipe isn’t just about making ice cream; it’s about unlocking a new world of culinary creativity and satisfying that sweet tooth with unparalleled creaminess.
Why This Creami Ninja Recipe is a Must-Try
- Unmatched Creaminess: Unlike traditional ice cream makers that churn, the Ninja Creami pulverizes frozen bases into an incredibly smooth, airy texture, free of ice crystals. This creami ninja recipe truly delivers.
- Healthy Customization: You’re in control of all ingredients! Ditch excessive sugars and unhealthy fats, and tailor your treat to your dietary needs, whether you’re looking for a high-protein, low-sugar, or dairy-free option. This creami ninja recipe is incredibly versatile.
- Endless Flavor Possibilities: Once you master the basic creami ninja recipe, the world is your oyster. From fruit sorbets to decadent ice creams and refreshing smoothie bowls, your creativity is the only limit.
- Effortless Preparation: The bulk of the work is just mixing your base and freezing it. The Creami does the hard part, making homemade frozen desserts incredibly accessible.
Key Ingredient Notes for Your Creami Ninja Recipe
Getting the base right is crucial for any stellar creami ninja recipe. Here are a few thoughts on essential ingredients:
Milk/Dairy Base
Your choice of milk or dairy is fundamental to the final texture and richness of your creami ninja recipe. For a classic, rich ice cream, whole milk or a blend of whole milk and heavy cream works wonders, providing a luxurious mouthfeel. If you’re aiming for a lighter, lower-calorie option, skim milk or unsweetened almond milk can still yield excellent results, though the texture might be slightly less dense. For those seeking a higher protein content, fairlife milk (ultra-filtered milk) is a fantastic choice as it contains more protein and less sugar than regular milk, making it ideal for a protein-packed creami ninja recipe. Coconut milk (full-fat or light) is perfect for a dairy-free base and imparts a subtle, tropical flavor. Ensure your chosen liquid is cold before mixing with other ingredients.
Sweeteners
The type and amount of sweetener you use will dramatically impact the flavor and, to some extent, the texture of your creami ninja recipe. Granulated sugar is a classic for a reason; it dissolves well and provides a clean sweetness. However, for those monitoring sugar intake, alternatives like erythritol, stevia, or monk fruit can be used. Just be mindful of their differing sweetness levels and potential aftertastes. Maple syrup or honey can add depth and a unique flavor profile, but remember they are liquids and may slightly alter the overall consistency. A good starting point for any creami ninja recipe is about 1/4 to 1/2 cup of granulated sugar per 16 oz of liquid base, adjusting to your preference. Remember, flavors mellow when frozen, so your base might taste a little sweeter than you want the final product to be.
Stabilizers (Optional but Recommended)
While not strictly necessary for every creami ninja recipe, a good stabilizer can significantly improve the final texture, especially if you plan on storing your treat for a while or want that ultra-premium feel. Xanthan gum, used in very small quantities (1/4 to 1/2 teaspoon per pint), can prevent ice crystal formation and improve creaminess. Another excellent option is instant pudding mix (sugar-free or regular). A tablespoon or two can work wonders, adding body and preventing a gummy texture. It’s an easy way to elevate your creami ninja recipe without much effort. Even a small amount of cream cheese can act as a natural stabilizer, adding richness and a slight tang, perfect for a cheesecake-inspired creami ninja recipe.
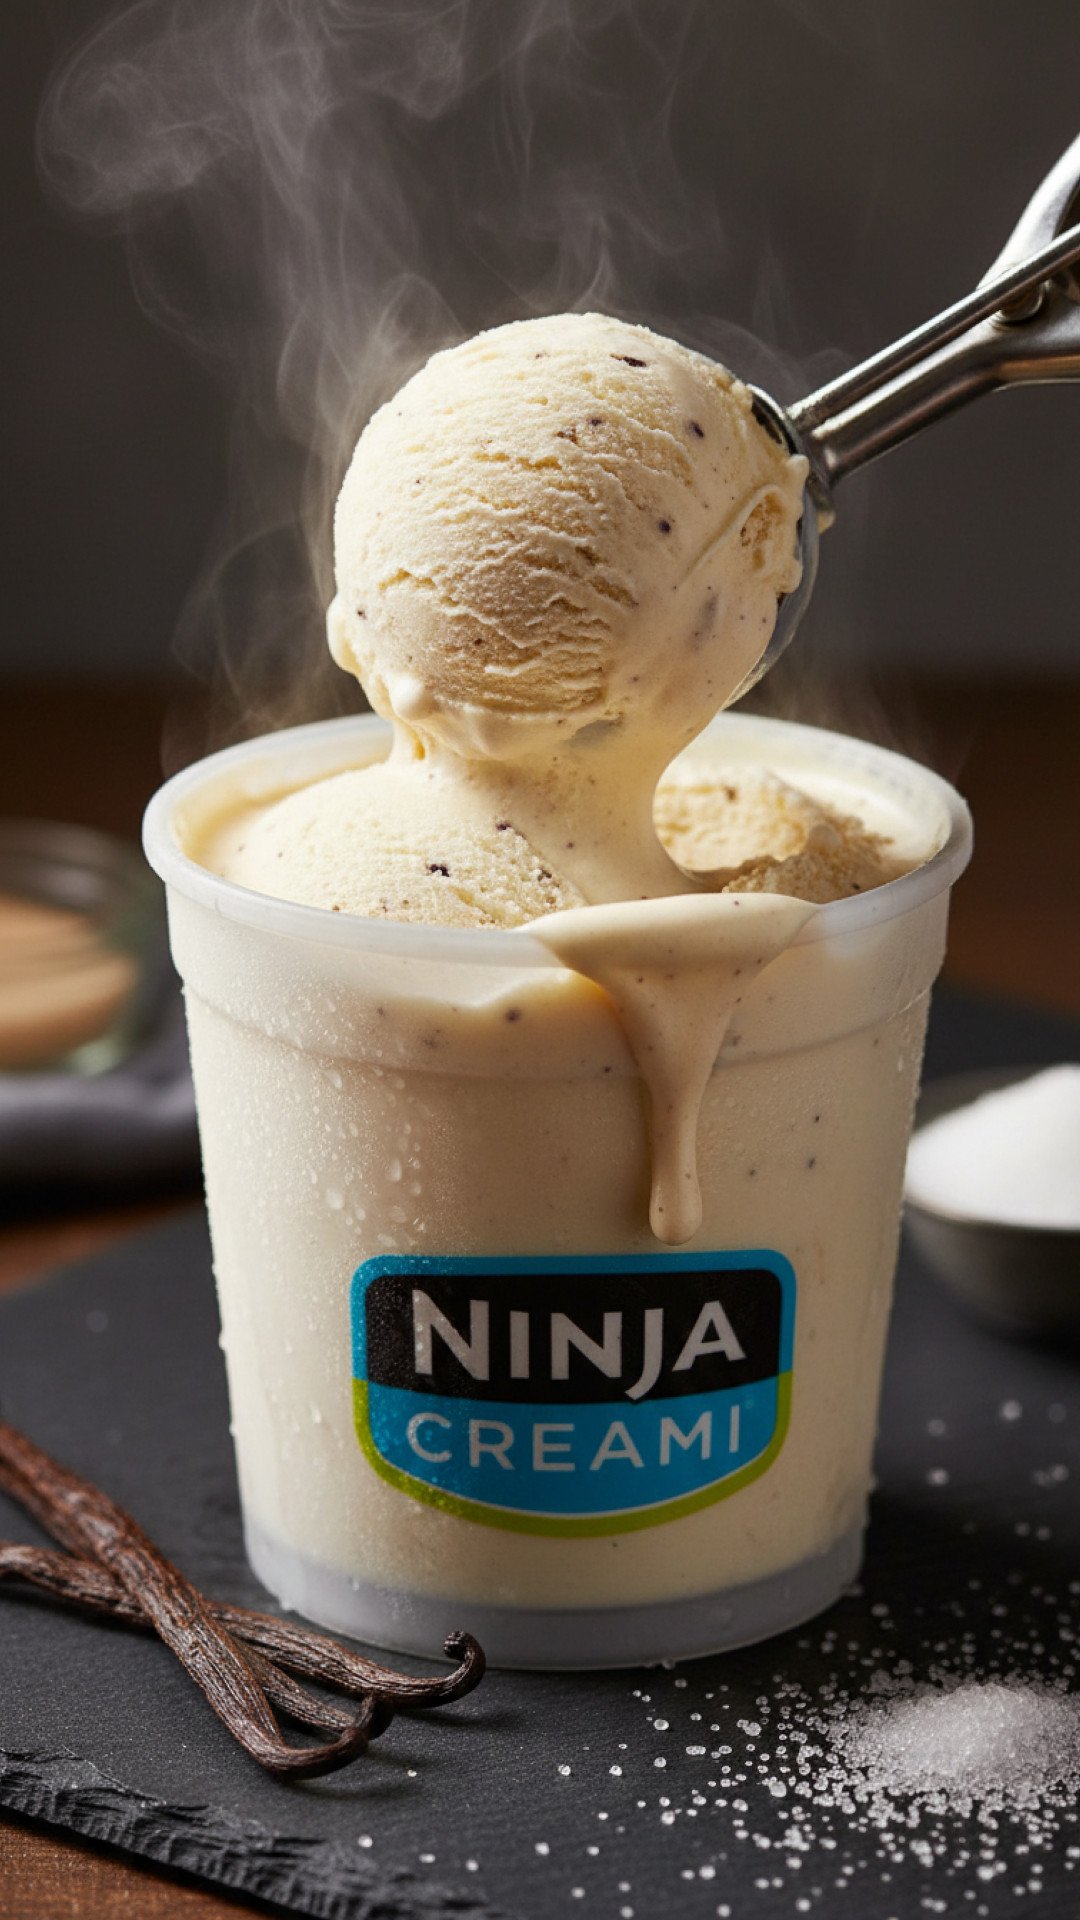
Step-by-Step Guide with Pro Tips for Your Creami Ninja Recipe
Mastering the Ninja Creami is all about the process. Follow these steps for the perfect creami ninja recipe every time.
Ingredients:
- 1 ½ cups whole milk (or preferred dairy/non-dairy milk)
- ½ cup heavy cream (optional, for richer texture)
- ¼ to ½ cup granulated sugar (or preferred sweetener, to taste)
- 1 teaspoon vanilla extract
- Pinch of salt
- Optional: 1 tablespoon instant vanilla pudding mix (sugar-free or regular, for enhanced creaminess)
Instructions:
- Step 1: In a medium bowl, whisk together the whole milk, heavy cream (if using), granulated sugar, vanilla extract, and a pinch of salt until the sugar is fully dissolved. If using instant pudding mix, whisk it in thoroughly until no lumps remain. Ensure all ingredients for this creami ninja recipe are well combined.
- Step 2: Pour the mixture into a Ninja Creami pint container. Do not fill past the MAX FILL line.
- Step 3: Place the lid securely on the pint container.
- Step 4: Freeze the pint container on a level surface for at least 24 hours at -7°F (-22°C) or colder. A deep freeze or the coldest part of your freezer works best. This extended freezing time is crucial for the perfect creami ninja recipe texture.
- Step 5: Once thoroughly frozen, remove the pint from the freezer and place it into the outer bowl of your Ninja Creami machine. Secure the outer bowl lid and attach the paddle.
- Step 6: Select the ‘ICE CREAM’ or ‘LITE ICE CREAM’ function on your Ninja Creami. Allow the machine to process the frozen base.
- Step 7: After the first processing, the mixture may appear crumbly or powdery. This is normal. Remove the pint, use a spoon to create a small well in the center of the mixture, and return it to the outer bowl.
- Step 8: Select the ‘RE-SPIN’ function. This second spin is often the secret to achieving that ultra-creamy, smooth consistency. If it’s still too crumbly, you can add 1-2 tablespoons of milk or liquid and re-spin again.
- Step 9: Serve immediately and enjoy your incredibly smooth and delicious creami ninja recipe creation! For any leftovers, flatten the top and freeze again. When ready to eat, you may need to re-spin it one or two times with a splash of milk for optimal texture.
Variations & Serving Suggestions for Your Creami Ninja Recipe
The beauty of the creami ninja recipe is its adaptability. Once you have your perfectly creamy base, the world of flavors opens up. Here are some ideas to get you started:
- Chocolate Dream: Add 2-3 tablespoons of unsweetened cocoa powder to your base mixture before freezing. For an extra decadent treat, fold in chocolate chips or a drizzle of fudge sauce after the final spin.
- Berry Bliss: Swirl in a handful of fresh or frozen berries (like strawberries, raspberries, or blueberries) during the RE-SPIN cycle. You can even blend them into your base for a fruit-infused creami ninja recipe from the start.
- Coffee Lover’s Treat: Dissolve 1-2 teaspoons of instant espresso powder in a small amount of warm milk before adding it to your base. It’s a fantastic pick-me-up!
- Protein Powerhouse: Substitute half of the milk with your favorite protein shake or a scoop of unflavored protein powder for a high-protein creami ninja recipe. Adjust sweetener as needed.
- Mint Chocolate Chip: Add a few drops of peppermint extract and a handful of mini chocolate chips during the RE-SPIN for a refreshing classic.
- Tropical Paradise: Use coconut milk as your base and add blended mango or pineapple before freezing. For more adventurous flavor pairings, consider making your own Coconut Macaroons to crumble over the top.
Serving Suggestions:
Serve your amazing creami ninja recipe creation in chilled bowls or cones. Top with fresh fruit, whipped cream, sprinkles, chocolate syrup, caramel sauce, or a sprinkle of crushed brownie cookies. Don’t forget to store any extra base in an airtight container. I often use Basics Glass Food Storage containers for freezing bases, as they’re durable and easy to clean.
Nutrition Information
Here’s an estimated nutritional breakdown for one serving of the basic vanilla creami ninja recipe (approx. 1 pint), based on whole milk and sugar. Values will vary significantly with substitutions.
| Nutrient | Amount per serving |
|---|---|
| Calories | 450 kcal |
| Carbohydrates | 50 g |
| Cholesterol | 90 mg |
| Total Fat | 25 g |
| Fiber | 0 g |
| Protein | 15 g |
| Saturated Fat | 15 g |
| Serving Size | 1 pint |
| Sodium | 150 mg |
| Sugar | 45 g |
| Trans Fat | 1 g |
| Unsaturated Fat | 8 g |
*Please note these are estimated values and can vary based on specific ingredients and brands used in your creami ninja recipe.
There you have it – the ultimate guide to creating your very own, perfect creami ninja recipe masterpiece. With a little planning and the magic of your Ninja Creami, you’ll be whipping up gourmet frozen desserts right in your kitchen. This foundational creami ninja recipe will empower you to experiment and discover endless delicious possibilities. So go ahead, get creative, and enjoy the unparalleled creaminess that only a Ninja Creami can deliver. Happy freezing!
FAQs
Why is my creami ninja recipe coming out powdery or crumbly?
This is a common occurrence after the first spin. The key is to use the ‘RE-SPIN’ function on your Ninja Creami. If it’s still powdery, add 1-2 tablespoons of milk or liquid (like a flavored syrup) and re-spin again. Ensure your base was frozen solid for at least 24 hours at a very cold temperature (-7u00b0F or colder).
Can I make a sugar-free or dairy-free creami ninja recipe?
Absolutely! The Ninja Creami is fantastic for dietary customization. For sugar-free, use sweeteners like erythritol, stevia, or monk fruit. For dairy-free, substitute dairy milk with unsweetened almond milk, oat milk, or full-fat coconut milk. You can still achieve incredible creaminess with these substitutions in your creami ninja recipe.
How long does a frozen creami ninja recipe base need to freeze?
For the best results with any creami ninja recipe, the base should be frozen for a minimum of 24 hours. Freezing it at a consistent, very cold temperature (ideally -7u00b0F / -22u00b0C or colder) is crucial for the Creami to work its magic and produce a perfectly smooth texture.
What can I add to my creami ninja recipe for extra creaminess?
Several ingredients can enhance the creaminess of your creami ninja recipe. A small amount of heavy cream in your base, 1-2 tablespoons of instant pudding mix (sugar-free or regular), or even a tablespoon of cream cheese can make a significant difference. These ingredients help prevent ice crystal formation and contribute to a richer mouthfeel.
Ultimate Creami Ninja Vanilla Ice Cream Base
Unlock perfectly smooth, homemade vanilla ice cream with this easy-to-follow Ninja Creami recipe. This foundational creami ninja recipe is your gateway to endless custom frozen treats, offering unmatched creaminess and flavor.
- Total Time: 24 hours 5 minutes
- Yield: 1 pint 1x
Ingredients
1 1/2 cups whole milk (or preferred dairy/non-dairy milk)
1/2 cup heavy cream (optional, for richer texture)
1/4 to 1/2 cup granulated sugar (or preferred sweetener, to taste)
1 teaspoon vanilla extract
Pinch of salt
Optional: 1 tablespoon instant vanilla pudding mix (sugar-free or regular)
Instructions
Step 1: In a medium bowl, whisk together the whole milk, heavy cream (if using), granulated sugar, vanilla extract, and a pinch of salt until the sugar is fully dissolved. If using instant pudding mix, whisk it in thoroughly until no lumps remain. Ensure all ingredients for this creami ninja recipe are well combined.
Step 2: Pour the mixture into a Ninja Creami pint container. Do not fill past the MAX FILL line.
Step 3: Place the lid securely on the pint container.
Step 4: Freeze the pint container on a level surface for at least 24 hours at -7°F (-22°C) or colder. A deep freeze or the coldest part of your freezer works best. This extended freezing time is crucial for the perfect creami ninja recipe texture.
Step 5: Once thoroughly frozen, remove the pint from the freezer and place it into the outer bowl of your Ninja Creami machine. Secure the outer bowl lid and attach the paddle.
Step 6: Select the ‘ICE CREAM’ or ‘LITE ICE CREAM’ function on your Ninja Creami. Allow the machine to process the frozen base.
Step 7: After the first processing, the mixture may appear crumbly or powdery. This is normal. Remove the pint, use a spoon to create a small well in the center of the mixture, and return it to the outer bowl.
Step 8: Select the ‘RE-SPIN’ function. This second spin is often the secret to achieving that ultra-creamy, smooth consistency. If it’s still too crumbly, you can add 1-2 tablespoons of milk or liquid and re-spin again.
Step 9: Serve immediately and enjoy your incredibly smooth and delicious creami ninja recipe creation! For any leftovers, flatten the top and freeze again. When ready to eat, you may need to re-spin it one or two times with a splash of milk for optimal texture.
Notes
For best results, ensure your freezer is consistently at -7°F (-22°C) or colder and allow the pint to freeze for a full 24 hours. The ‘RE-SPIN’ function is key for achieving optimal creaminess.
- Prep Time: 5 minutes
- Cook Time: 0 minutes
- Category: How To
- Cuisine: American
Nutrition
- Serving Size: 1 pint
- Calories: 450 kcal
- Sugar: 45 g
- Sodium: 150 mg
- Fat: 25 g
- Saturated Fat: 15 g
- Unsaturated Fat: 8 g
- Trans Fat: 1 g
- Carbohydrates: 50 g
- Fiber: 0 g
- Protein: 15 g
- Cholesterol: 90 mg
Keywords: creami ninja recipe, ninja creami, ice cream recipe, homemade ice cream, creamy dessert, frozen treat, vanilla ice cream, ninja creami tips, healthy ice cream, how to use ninja creami