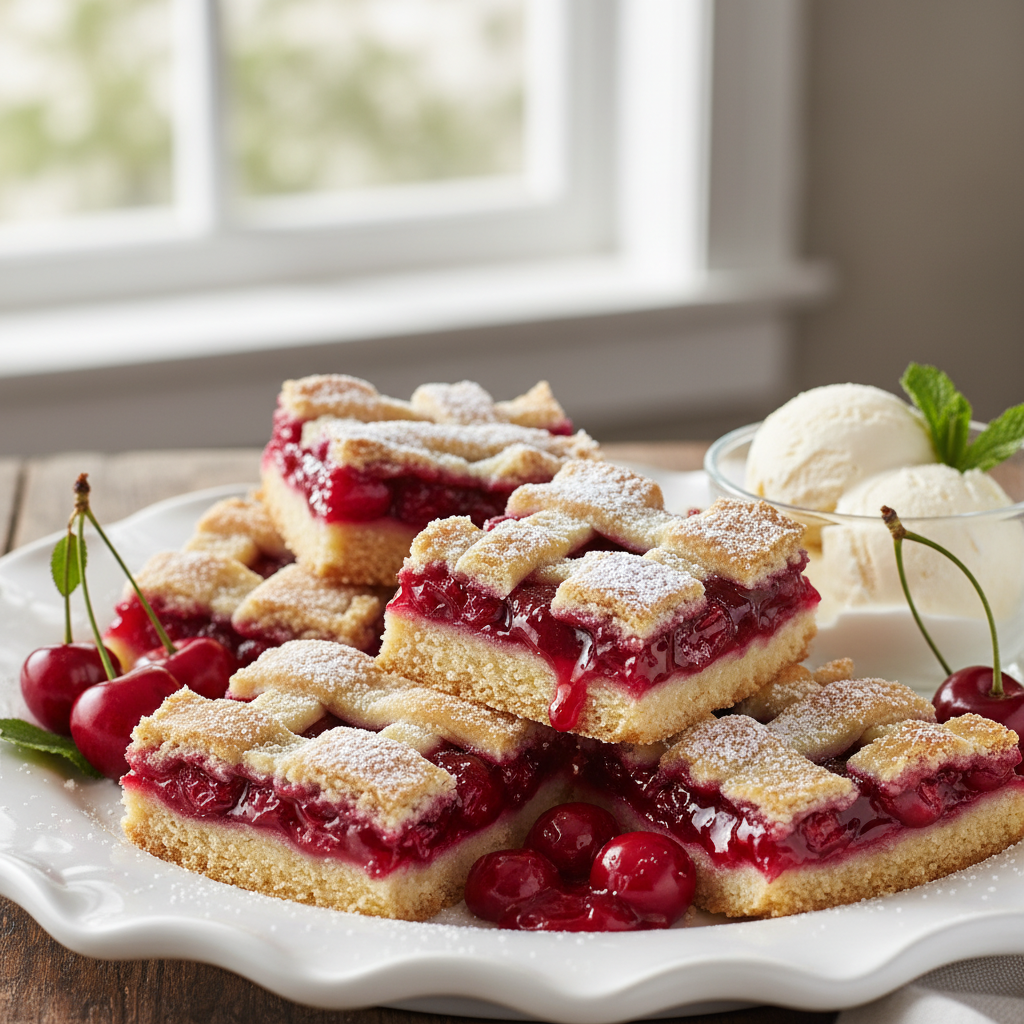
Get ready to add a new favorite to your dessert repertoire! These Delicious Cherry Pie Bars offer all the joy and flavor of a classic cherry pie, but in an incredibly convenient and easy-to-serve bar form. Perfect for picnics, potlucks, or simply a sweet treat at home, they feature a luscious, vibrant cherry filling nestled between layers of buttery, crumbly crust. Forget the fuss of a traditional pie; these bars are designed for deliciousness with minimal effort!
Why You’ll Fall in Love with These Cherry Pie Bars
If you’re looking for a dessert that’s a guaranteed crowd-pleaser, look no further. Here’s why these easy cherry pie bars will quickly become a go-to recipe:
- Effortlessly Simple: With straightforward steps and common pantry ingredients, you’ll achieve a spectacular dessert without stress.
- Perfectly Portable: Cut into neat squares, they’re ideal for transport to any gathering, making them the ultimate grab-and-go sweet.
- Irresistible Flavor Harmony: The delightful balance of sweet and tart cherries pairs perfectly with the rich, buttery crumb crust.
- Versatile Enjoyment: Serve them warm with a scoop of vanilla ice cream, or at room temperature with a dusting of powdered sugar.
- Make-Ahead Friendly: Prepare them in advance, and enjoy fresh-tasting dessert whenever you desire, saving you time on busy days.
Essential Ingredients for Your Perfect Cherry Pie Bars
Crafting these delectable bars requires two main components: a tender, buttery crust that cleverly doubles as the crumbly topping, and a vibrant, fruit-filled center. You’ll primarily need staples like all-purpose flour, sugar, butter, and, of course, your choice of fresh or frozen cherries for the star filling.
For the Buttery Crust and Crumb Topping:
- All-purpose flour
- Granulated sugar
- Baking powder
- Salt
- Unsalted butter, softened
- Vanilla extract
For the Juicy Cherry Filling:
- Fresh or frozen pitted cherries
- Granulated sugar
- Cornstarch (your secret weapon for perfect thickening!)
- Lemon juice (to brighten and balance flavors)
- Almond extract (optional, but highly recommended for an extra layer of flavor)
Step-by-Step Guide to Baking Perfection
Baking these cherry pie bars is a straightforward and enjoyable process, suitable for bakers of all experience levels. Follow these clear instructions to achieve a perfectly baked, mouthwatering dessert every time.
Preparing Your Baking Pan and Oven
Start by preheating your oven and preparing your baking pan. This crucial first step ensures even baking and easy removal of your finished bars.
Crafting the Luscious Cherry Filling
The heart of these bars is the sweet and tart cherry filling. Whether using fresh or frozen, a simple mix creates a perfectly balanced flavor profile.
Mixing the Perfect Crust and Topping
This clever dough serves double duty! Most will form the sturdy base, while the rest becomes the delightful crumbly topping, giving you that classic pie texture without the hassle.
Assembling Your Cherry Pie Bars
Layering is key for these bars. A solid base, a generous layer of filling, and a crumbly top ensure every bite offers a harmonious blend of textures and flavors.
Baking to Golden Perfection
Patience during baking is a virtue! Baking until golden ensures a crisp crust and a bubbly, perfectly set filling. For more baking wisdom, check out King Arthur Baking’s tips for beginners.
Cooling and Serving Your Masterpiece
Allowing the bars to cool completely is absolutely vital for clean, neat slices and a perfectly set filling. Then, it’s time to enjoy!
Expert Tips for the Best Cherry Pie Bars
- Cherry Choice Matters: While fresh cherries are wonderful, frozen pitted cherries are a fantastic, convenient alternative that don’t even need thawing. If using very sweet canned pie filling, adjust the sugar in the recipe accordingly.
- The Parchment Paper Trick: Always line your baking pan with parchment paper, leaving an overhang on the sides. This simple trick allows you to easily lift the entire slab of bars out for clean, effortless cutting.
- Cooling is Crucial: Seriously, resist the urge to cut into them too early! Fully cooled bars slice cleanly, and the filling will be perfectly set, preventing any oozy mess.
- Flavor Boosters: A tiny touch of almond extract truly enhances the cherry flavor. Consider adding a little lemon zest to the filling for an even brighter, more complex taste.
Variations & Storage Solutions
Creative Variations:
- Mixed Berry Bars: Swap out half the cherries for blueberries, raspberries, or sliced strawberries for a delightful summer berry blend.
- Almond Crunch: Fold a tablespoon of sliced almonds into your crumb topping for added crunch and a nutty aroma.
- Spiced Bars: A pinch of cinnamon or nutmeg in the filling can add a warm, comforting note, especially perfect for fall.
Storing Your Delicious Bars:
These bars store wonderfully, making them an excellent dessert to prepare ahead or enjoy throughout the week. For more on preparing this fantastic dessert, refer to Delicious Cherry Pie Bars – Best Easy Sweet Dessert Recipe!.
- Room Temperature: Store cooled bars in an airtight container for up to 3 days.
- Refrigeration: For longer storage, refrigerate in an airtight container for up to 7 days.
- Freezing: Wrap individual bars tightly in plastic wrap, then place in a freezer-safe bag or container for up to 3 months. Thaw in the refrigerator before serving.
Conclusion
These Delicious Cherry Pie Bars are a truly satisfying dessert, expertly blending the sweet-tart tang of cherries with a comforting, buttery crust. They are straightforward to make, wonderfully portable, and guaranteed to bring smiles to anyone who tries them. Whether you’re a seasoned baker or just starting your baking journey, this recipe for Delicious Cherry Pie Bars – Best Easy Sweet Dessert Recipe! is a guaranteed success. So, grab your apron, get baking, and savor every delightful bite!
FAQs
Can I use frozen cherries for these cherry pie bars?
Yes, absolutely! Frozen pitted cherries work wonderfully. There’s no need to thaw them beforehand; just mix them directly into the filling ingredients. If using canned cherries, ensure they are well-drained.
How can I prevent my cherry pie bars from becoming soggy?
To prevent sogginess, make sure your cherries are not overly wet. The cornstarch in the filling is crucial for thickening, so don’t reduce it. Additionally, allowing the bars to cool completely before slicing helps the filling set properly and prevents a soggy bottom.
Can I make these cherry pie bars ahead of time?
Yes, these cherry pie bars are excellent for making ahead! You can prepare them a day or two in advance. Store them in an airtight container at room temperature or in the refrigerator to maintain freshness. They taste even better the next day!
What’s the best way to store leftover cherry pie bars?
Store any cooled leftover cherry pie bars in an airtight container at room temperature for up to 3 days. For extended freshness, refrigerate them for up to a week. They also freeze beautifully for up to 3 months; simply thaw in the refrigerator before serving.
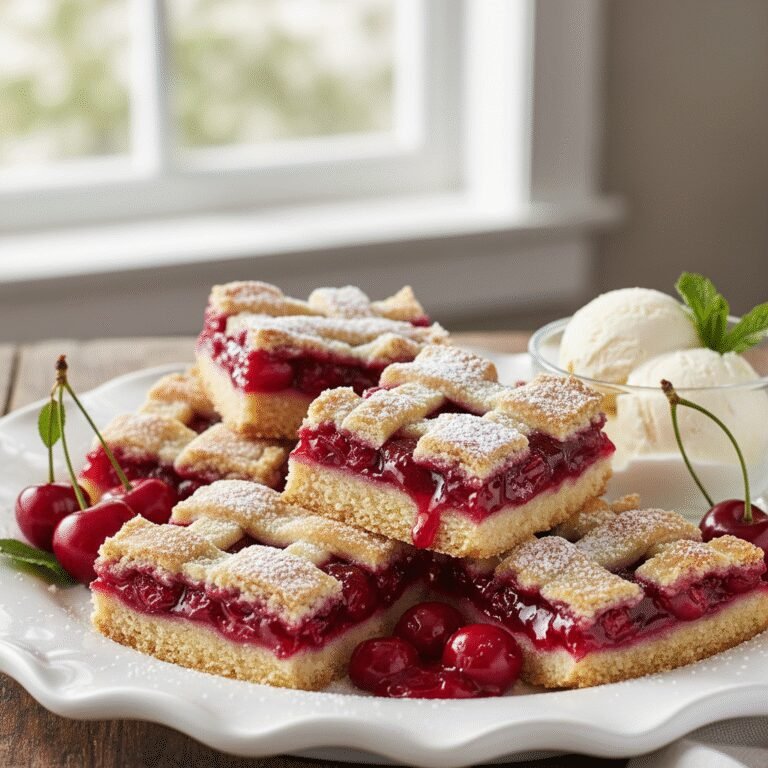
Delicious Cherry Pie Bars
An irresistible dessert featuring a sweet-tart cherry filling nestled between buttery, crumbly crust layers, perfect for any occasion.
- Total Time: 1 hour
- Yield: 16 bars 1x
Ingredients
2 1/2 cups all-purpose flour
1 cup granulated sugar
1/2 teaspoon baking powder
1/4 teaspoon salt
1 cup (2 sticks) unsalted butter, softened
1 teaspoon vanilla extract
4 cups fresh or frozen pitted cherries (no need to thaw if frozen)
1/2 cup granulated sugar (adjust based on cherry sweetness)
1/4 cup cornstarch
1 tablespoon lemon juice
1/2 teaspoon almond extract (optional)
Instructions
Step 1: Preheat oven to 375°F (190°C). Line a 9×13-inch baking pan with parchment paper, leaving an overhang on the sides for easy lifting.
Step 2: In a large bowl, whisk together the flour, 1 cup granulated sugar, baking powder, and salt. Cut in the softened butter until the mixture resembles coarse crumbs. Stir in the vanilla extract until just combined.
Step 3: Press about two-thirds of the crumb mixture evenly into the bottom of the prepared baking pan to form the crust.
Step 4: In a separate bowl, combine the pitted cherries, 1/2 cup granulated sugar, cornstarch, and lemon juice. If using, stir in the almond extract.
Step 5: Spread the cherry filling evenly over the crust in the baking pan.
Step 6: Crumble the remaining one-third of the crust mixture evenly over the cherry filling.
Step 7: Bake for 40-45 minutes, or until the topping is golden brown and the cherry filling is bubbly and set.
Step 8: Remove from oven and let cool completely on a wire rack before slicing into bars. Cooling fully is crucial for clean, neat cuts.
Notes
For an extra flavor boost, add a touch of lemon zest to the cherry filling. If using very sweet canned pie filling, reduce the sugar in the filling to 1/4 cup or omit it entirely. These bars freeze beautifully for up to 3 months when wrapped tightly!
- Prep Time: 20 minutes
- Cook Time: 40 minutes
- Category: Dessert
- Method: Baking
- Cuisine: American
- Diet: Vegetarian
Nutrition
- Serving Size: 1 bar
- Calories: 320 kcal
- Sugar: 28g
- Sodium: 120mg
- Fat: 15g
- Saturated Fat: 9g
- Unsaturated Fat: 6g
- Trans Fat: 0g
- Carbohydrates: 45g
- Fiber: 3g
- Protein: 3g
- Cholesterol: 45mg
Keywords: cherry pie bars, easy cherry dessert, sweet dessert recipe, fruit bars, pie bars