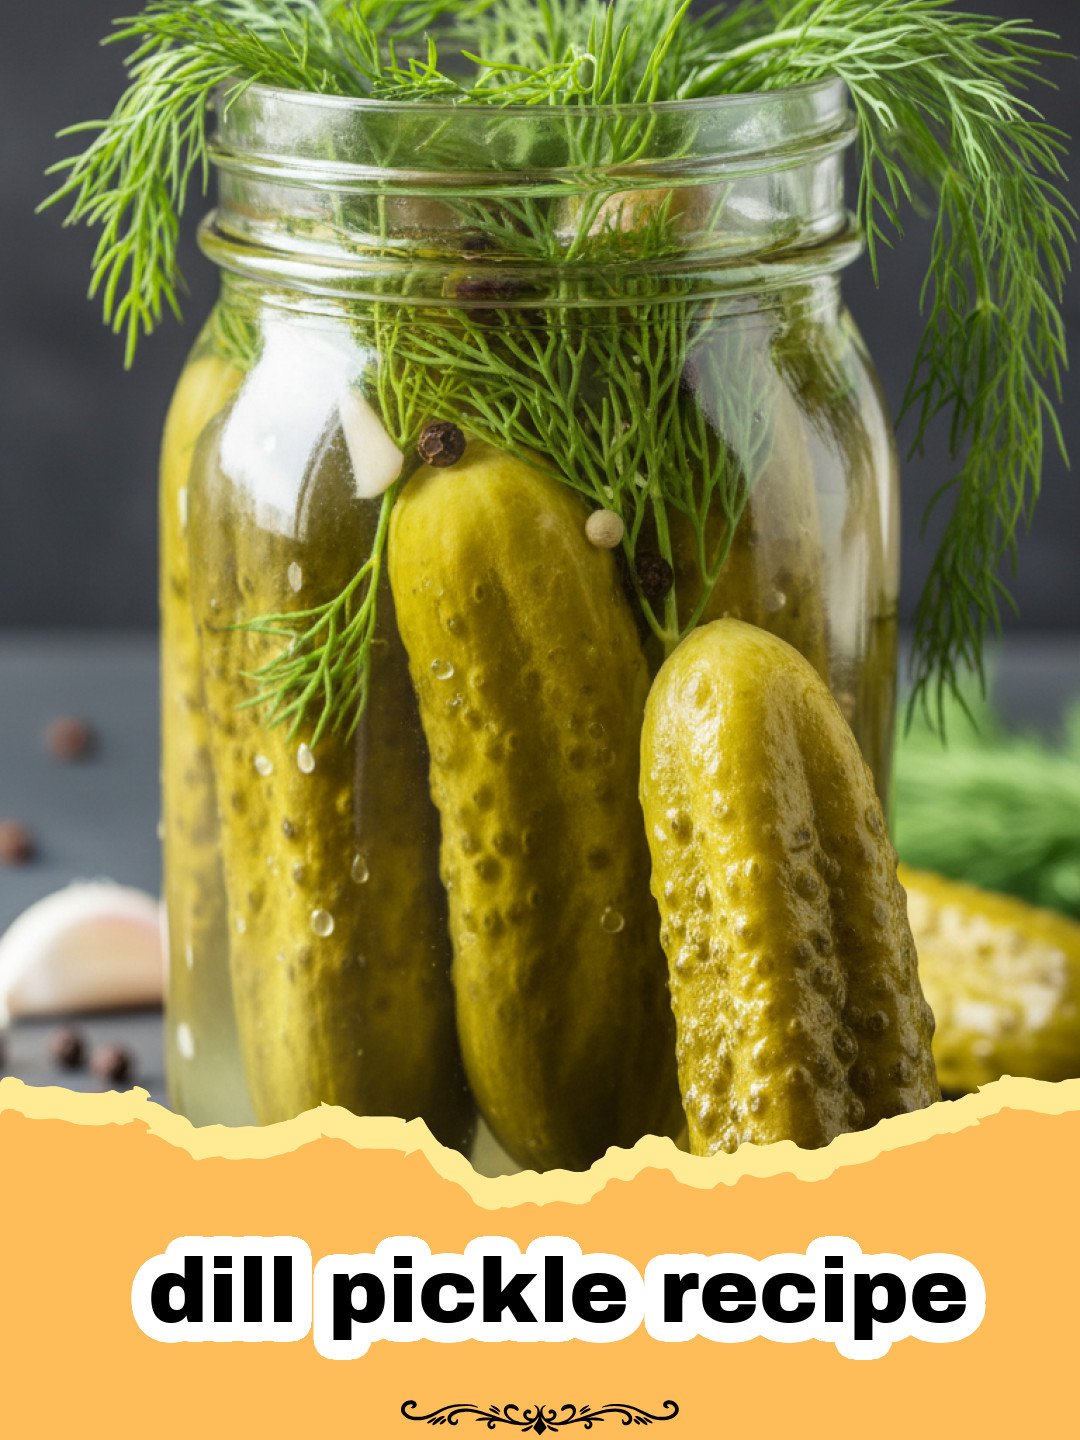
There are some smells that instantly transport you back to childhood, and for me, one of the most potent is the sweet, tangy, and undeniably briny aroma of a fresh batch of homemade pickles. I remember summers spent at my grandmother’s farm, where mountains of cucumbers would arrive from the garden, destined for jars upon jars of her legendary dill pickle recipe. Her kitchen, warm and bustling, was a symphony of chopping, simmering, and the rhythmic clinking of canning jars. As a little girl, I’d sit on a stool, watching her nimble fingers trim the ends of each cucumber, carefully pack them into sterilized jars, and then pour over the fragrant brine. That first crisp, juicy bite from a homemade dill pickle recipe, fresh from the fridge, was pure magic. It wasn’t just a snack; it was a taste of summer, a memory of love, and a tradition passed down through generations. Fast forward to today, and while my kitchen might not be as grand as hers, the joy I find in making my own dill pickles is just as profound. This classic dill pickle recipe is my tribute to those cherished memories, designed to bring that same authentic, irresistible crunch and flavor right into your home.
Why This Dill Pickle Recipe is a Must-Try
- Unbeatable Crunch: Say goodbye to soggy pickles! This dill pickle recipe is specifically designed to deliver that satisfying, crisp texture every time, thanks to precise brining and the addition of special ingredients.
- Bursting with Flavor: Forget bland store-bought versions. Our dill pickle recipe is loaded with fresh dill, pungent garlic, and a perfect balance of vinegar and salt, creating a vibrant, tangy, and aromatic flavor profile.
- Surprisingly Simple: Don’t be intimidated by canning! This step-by-step guide makes the dill pickle recipe accessible for beginners and seasoned picklers alike, ensuring a successful batch with minimal fuss.
- Versatile & Delicious: These homemade dill pickles are fantastic straight from the jar, as a side with sandwiches, sliced onto burgers, or as a zingy addition to salads. They’re the perfect accompaniment to almost any meal.
Key Ingredient Notes for Your Dill Pickle Recipe
Success with any dill pickle recipe hinges on the quality and preparation of a few key ingredients. Here’s what you need to know to make the best possible dill pickles:
Fresh Pickling Cucumbers
This is non-negotiable for a truly great dill pickle recipe. Look for small to medium-sized cucumbers specifically labeled for pickling, such as Kirby or Boston pickling varieties. They have thinner skins and fewer seeds, making them ideal for absorbing the brine and staying crisp. Avoid larger slicing cucumbers, as they tend to become watery and soft. Make sure your cucumbers are firm, blemish-free, and as fresh as possible. The sooner you pickle them after harvesting, the crisper your dill pickle recipe will turn out!
High-Quality Pickling Salt
Do NOT use iodized table salt! The iodine and anti-caking agents in regular salt can make your brine cloudy and potentially affect the flavor and texture of your dill pickle recipe. Always opt for pickling salt, canning salt, or pure kosher salt (ensure it’s iodine-free). This fine-grained salt dissolves easily and produces clear, flavorful brine crucial for this dill pickle recipe.
Fresh Dill and Garlic
These aromatics are the heart and soul of any classic dill pickle recipe. Use fresh dill heads (the flowering part of the plant) if you can find them, or a generous amount of fresh dill sprigs. For garlic, fresh cloves are essential – they provide a pungent, savory depth that dried garlic just can’t replicate. Don’t skimp on these; they infuse the cucumbers with that characteristic dill pickle flavor.
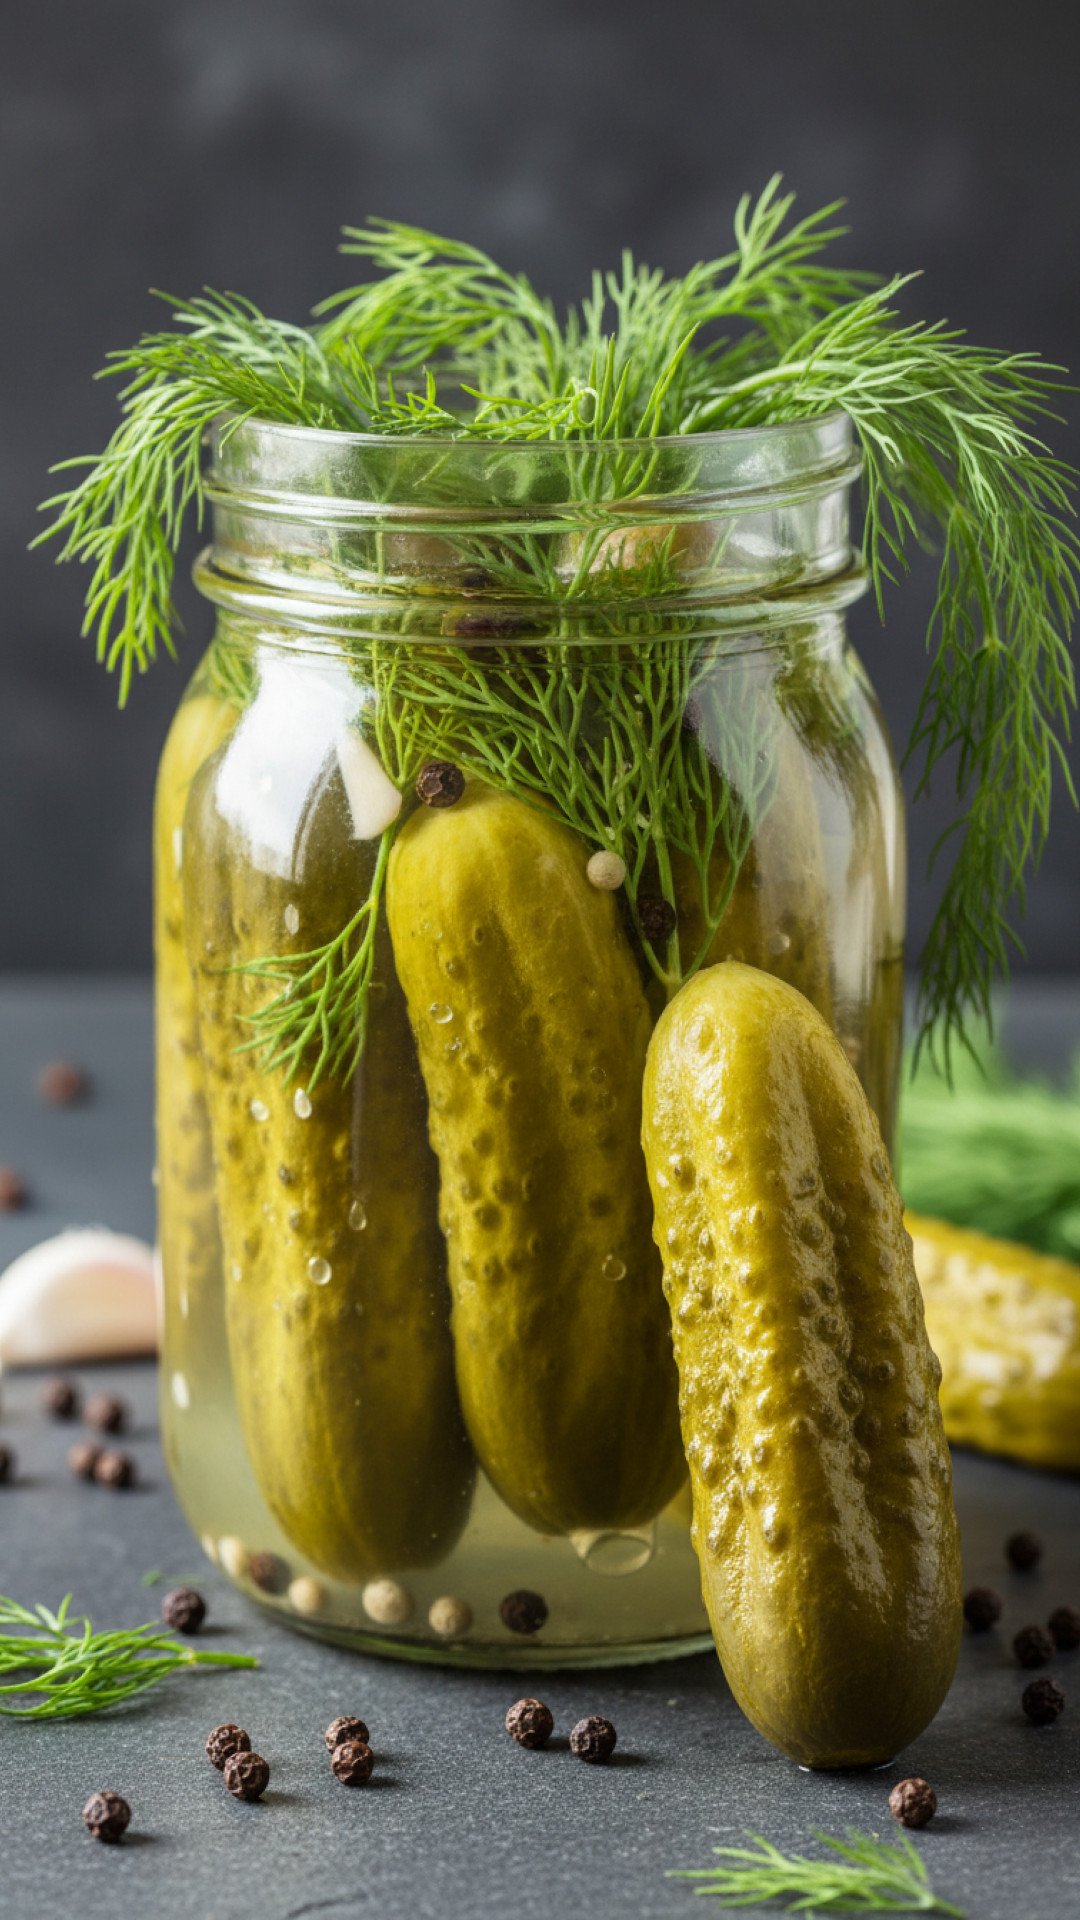
Step-by-Step Guide with Pro Tips for this Dill Pickle Recipe
Making a delicious dill pickle recipe is a rewarding experience. Follow these steps carefully for crisp, flavorful results every time.
Prepare Your Equipment and Cucumbers
Step 1: Sterilize your canning jars and lids. Wash jars thoroughly with hot soapy water, rinse well, and either run them through a dishwasher on a hot cycle or immerse them in boiling water for at least 10 minutes. Keep them hot until ready to fill. New lids should be simmered in hot (not boiling) water for a few minutes to soften the sealing compound. Bands do not need to be sterilized.
Step 2: Wash cucumbers thoroughly. Trim off about 1/16 inch from both the blossom and stem ends of each cucumber. The blossom end contains enzymes that can lead to softer pickles, so removing it is crucial for a crunchy dill pickle recipe. You can leave them whole, slice them into spears, or cut them into chips, depending on your preference. For whole pickles, prick them several times with a fork to allow the brine to penetrate.Pack the Jars and Make the Brine
Step 3: To each sterilized quart jar, add 1-2 cloves of peeled garlic, 1-2 dill heads or several dill sprigs, and 1/2 teaspoon of pickling spice (optional, but highly recommended for depth of flavor). Tightly pack the prepared cucumbers into the jars, leaving about a 1/2-inch headspace from the rim.
Step 4: In a large non-reactive pot, combine the water, vinegar, and pickling salt. Bring the mixture to a rolling boil, stirring occasionally to ensure the salt dissolves completely. This brine is the foundation of your dill pickle recipe’s taste and preservation.Process Your Dill Pickle Recipe
Step 5: Carefully pour the hot brine over the packed cucumbers in each jar, ensuring the cucumbers are completely submerged and maintaining the 1/2-inch headspace. Tap the jars gently on the counter to release any trapped air bubbles. Add more brine if necessary.
Step 6: Wipe the rims of the jars clean with a damp cloth – any residue can prevent a proper seal. Center a hot lid on each jar and screw on the band until it’s fingertip tight (snug, but not overly tight). This allows air to escape during processing. Step 7: Carefully place the jars into a boiling water canner, ensuring they are covered by at least 1-2 inches of boiling water. Bring the water back to a rolling boil and process pint jars for 10 minutes, or quart jars for 15 minutes (adjusting for altitude if necessary). Proper processing is vital for food safety and the long-term storage of your dill pickle recipe. For storing your finished pickles, consider using durable Basics Glass Food Storage containers once opened, or for any leftovers.Cool and Store
Step 8: Once processing time is complete, turn off the heat and carefully remove the jars from the canner using a jar lifter. Place them on a wire rack or a clean towel, away from drafts, and allow them to cool completely undisturbed for 12-24 hours. You should hear popping sounds as the lids seal.
Step 9: After cooling, check the seals. The center of each lid should be concave and not flex when pressed. If any jar hasn’t sealed, refrigerate it and consume within a few weeks. Wipe jars clean, label with the date, and store your perfectly preserved dill pickle recipe in a cool, dark place for up to one year. For the best flavor, allow the pickles to cure for at least 2-4 weeks before opening. You’ll love the crisp, tangy results of this homemade dill pickle recipe!Variations & Serving Suggestions for Your Dill Pickle Recipe
While this classic dill pickle recipe is fantastic on its own, there are many ways to customize and enjoy your homemade creations.
Flavor Variations:
- Spicy Dill Pickles: Add 1/2 teaspoon of red pepper flakes or a small dried chili pepper to each jar along with the garlic and dill for a fiery kick.
- Garlic Lover’s Dill Pickles: Double the amount of garlic cloves per jar for an extra pungent flavor.
- Sweet & Sour Dill Pickles: While this is a classic dill pickle recipe, you can adjust the vinegar-to-sugar ratio slightly in the brine for a touch more sweetness, creating a bread-and-butter-like pickle with a dill twist.
- Mixed Vegetable Pickles: Don’t limit yourself to just cucumbers! This brine works wonderfully with green beans (try our Garlic Lemon Fresh Green Beans for inspiration), carrots, or even small bell peppers. Just ensure all vegetables are fresh and cut to a similar size for even pickling.
Serving Suggestions:
- Classic Sandwich Companion: A must-have alongside any sandwich, burger, or hot dog. The tanginess cuts through richness beautifully.
- Snack Attack: Enjoy them straight from the jar for a refreshing, low-calorie snack.
- Charcuterie Boards: Add a bowl of these vibrant pickles to your cheese and charcuterie boards for a briny contrast.
- Salad Booster: Chop them up and add them to potato salad, tuna salad, or even a homemade pickled beets and cucumber salad for an extra burst of flavor and crunch.
- Fried Pickles: Slice them into rounds, bread them, and deep fry for a truly indulgent appetizer.
Nutrition Information
| Nutrient | Amount Per Serving |
|---|---|
| Calories | 15 kcal |
| Carbohydrates | 3g |
| Cholesterol | 0mg |
| Fat | 0g |
| Fiber | 1g |
| Protein | 1g |
| Saturated Fat | 0g |
| Sodium | 450mg |
| Sugar | 1g |
| Trans Fat | 0g |
| Unsaturated Fat | 0g |
Conclusion
Crafting your own dill pickle recipe at home is more than just cooking; it’s an art, a science, and a wonderful way to connect with food. This classic dill pickle recipe will yield jars of crunchy, flavorful pickles that will make your taste buds sing and perhaps even create new cherished memories in your own kitchen. Whether you’re a seasoned canner or a first-timer, this dill pickle recipe is foolproof and incredibly rewarding. So gather your fresh cucumbers, get your jars ready, and prepare to enjoy the best homemade dill pickles you’ve ever tasted. Happy pickling!
FAQs
How do I ensure my homemade dill pickles are crispy?
For crispy dill pickles, start with fresh, firm pickling cucumbers, remove the blossom end which contains softening enzymes, and use pickling salt. Some people also soak cucumbers in ice water for a few hours before pickling, or add a grape leaf or bay leaf to each jar, as their tannins can help maintain crispness in your dill pickle recipe.
What kind of salt should I use for this dill pickle recipe?
Always use pickling salt, canning salt, or pure kosher salt that is iodine-free. Do not use iodized table salt, as the iodine and anti-caking agents can cause your brine to become cloudy and may affect the flavor and texture of your homemade dill pickle recipe.
How long do homemade dill pickles last?
When properly processed using the boiling water bath method and stored in a cool, dark place, sealed homemade dill pickles can last for up to one year. Once opened, they should be refrigerated and consumed within a few weeks for the best quality and safety.
Can I use regular slicing cucumbers for this dill pickle recipe?
While you technically can, it’s highly recommended to use pickling cucumber varieties like Kirby or Boston. Slicing cucumbers tend to have higher water content and thicker skins, which can result in a softer, less desirable texture in your dill pickle recipe. Pickling cucumbers are designed to absorb the brine better and stay crisper.
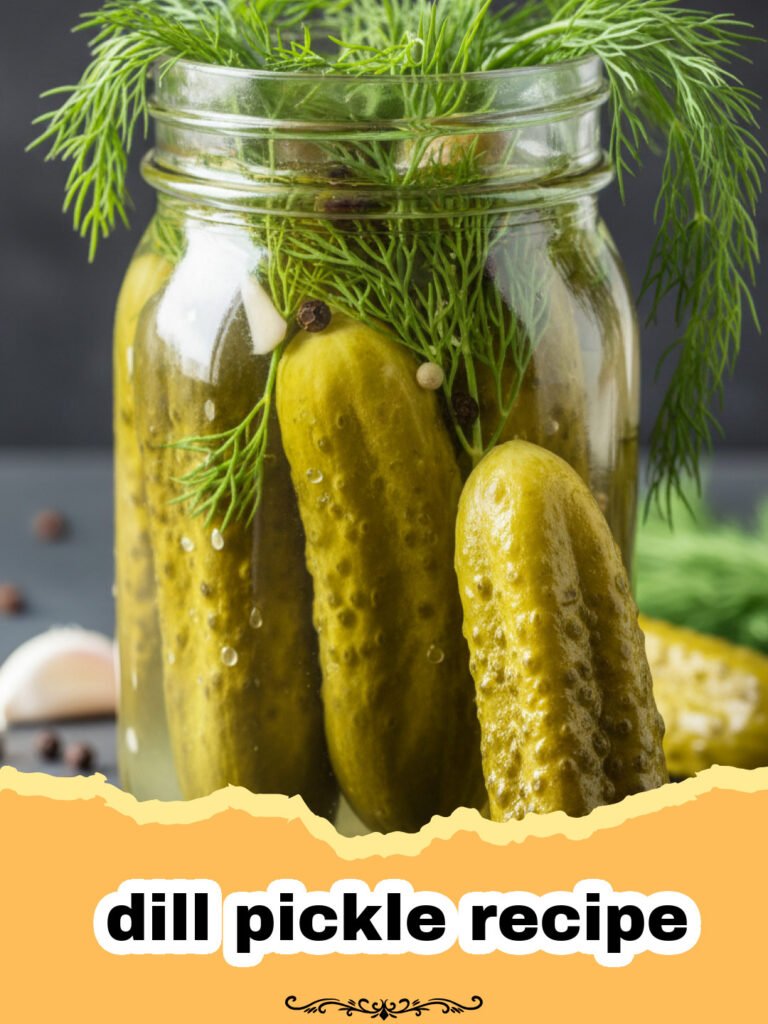
Classic Crispy Dill Pickle Recipe
Unlock the secret to perfectly crisp and tangy homemade dill pickles with this easy-to-follow, classic dill pickle recipe. Full of fresh dill, garlic, and a perfectly balanced brine, these pickles are perfect for snacking, sandwiches, and more. A true taste of summer, preserved for enjoyment all year round.
- Total Time: 45 minutes
- Yield: 4 quarts 1x
Ingredients
8–10 lbs pickling cucumbers (Kirby or Boston variety)
8 cups water
8 cups distilled white vinegar (5% acidity)
1/2 cup pickling salt
8–16 cloves garlic, peeled
8–16 fresh dill sprigs or 4–8 dill heads
4 teaspoons pickling spice (optional)
Instructions
Step 1: Sterilize 4 quart-sized canning jars and lids. Wash jars thoroughly with hot soapy water, rinse well, and either run them through a dishwasher on a hot cycle or immerse them in boiling water for at least 10 minutes. Keep them hot until ready to fill. Simmer new lids in hot (not boiling) water for a few minutes.
Step 2: Wash cucumbers thoroughly. Trim off about 1/16 inch from both the blossom and stem ends of each cucumber. Cut cucumbers into spears, slices, or leave whole, pricking whole cucumbers several times with a fork.
Step 3: To each sterilized quart jar, add 2-4 cloves of garlic, 2-4 dill sprigs (or 1 dill head), and 1 teaspoon of pickling spice (if using). Tightly pack the prepared cucumbers into the jars, leaving about a 1/2-inch headspace.
Step 4: In a large non-reactive pot, combine the water, vinegar, and pickling salt. Bring the mixture to a rolling boil, stirring occasionally to ensure the salt dissolves completely.
Step 5: Carefully pour the hot brine over the packed cucumbers in each jar, ensuring the cucumbers are completely submerged and maintaining the 1/2-inch headspace. Tap jars gently to release air bubbles; add more brine if needed.
Step 6: Wipe the rims of the jars clean with a damp cloth. Center a hot lid on each jar and screw on the band until it’s fingertip tight.
Step 7: Carefully place the jars into a boiling water canner, ensuring they are covered by at least 1-2 inches of boiling water. Bring the water back to a rolling boil and process quart jars for 15 minutes (adjust for altitude if necessary).
Step 8: Once processing time is complete, turn off the heat and carefully remove the jars. Place them on a wire rack or clean towel, away from drafts, and allow them to cool completely undisturbed for 12-24 hours.
Step 9: After cooling, check seals by pressing the center of each lid. It should be concave and not flex. If any jar hasn’t sealed, refrigerate and consume within a few weeks. Label sealed jars with the date and store in a cool, dark place for up to one year. Allow at least 2-4 weeks for optimal curing before opening for the best flavor.
Notes
For extra crispness, some people soak cucumbers in an ice bath for 2-4 hours before pickling. You can also add a grape leaf to each jar; the tannins can help maintain crispness. Always use non-reactive pots for making brine.
- Prep Time: 30 minutes
- Cook Time: 15 minutes
- Category: How To
- Cuisine: American
Nutrition
- Serving Size: 1/2 cup (approx. 100g)
- Calories: 15 kcal
- Sugar: 1g
- Sodium: 450mg
- Fat: 0g
- Saturated Fat: 0g
- Unsaturated Fat: 0g
- Trans Fat: 0g
- Carbohydrates: 3g
- Fiber: 1g
- Protein: 1g
- Cholesterol: 0mg
Keywords: dill pickle recipe, homemade pickles, canning pickles, crispy pickles, pickling cucumbers, pickle brine, preserving food, summer recipe, tangy pickles, easy pickle recipe