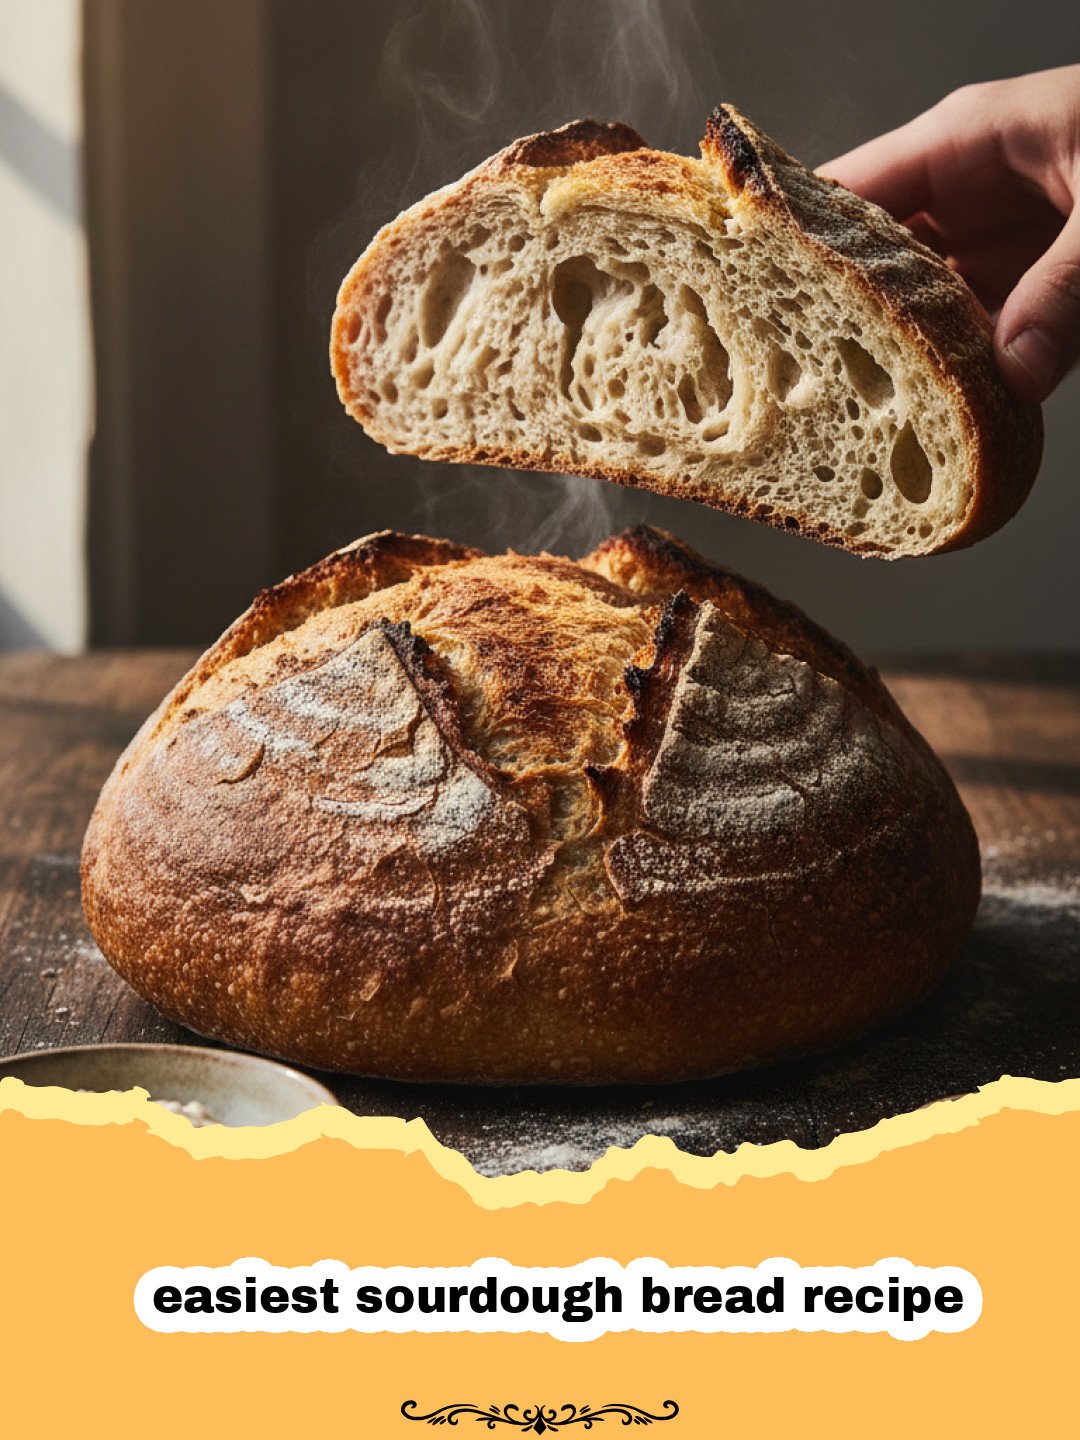
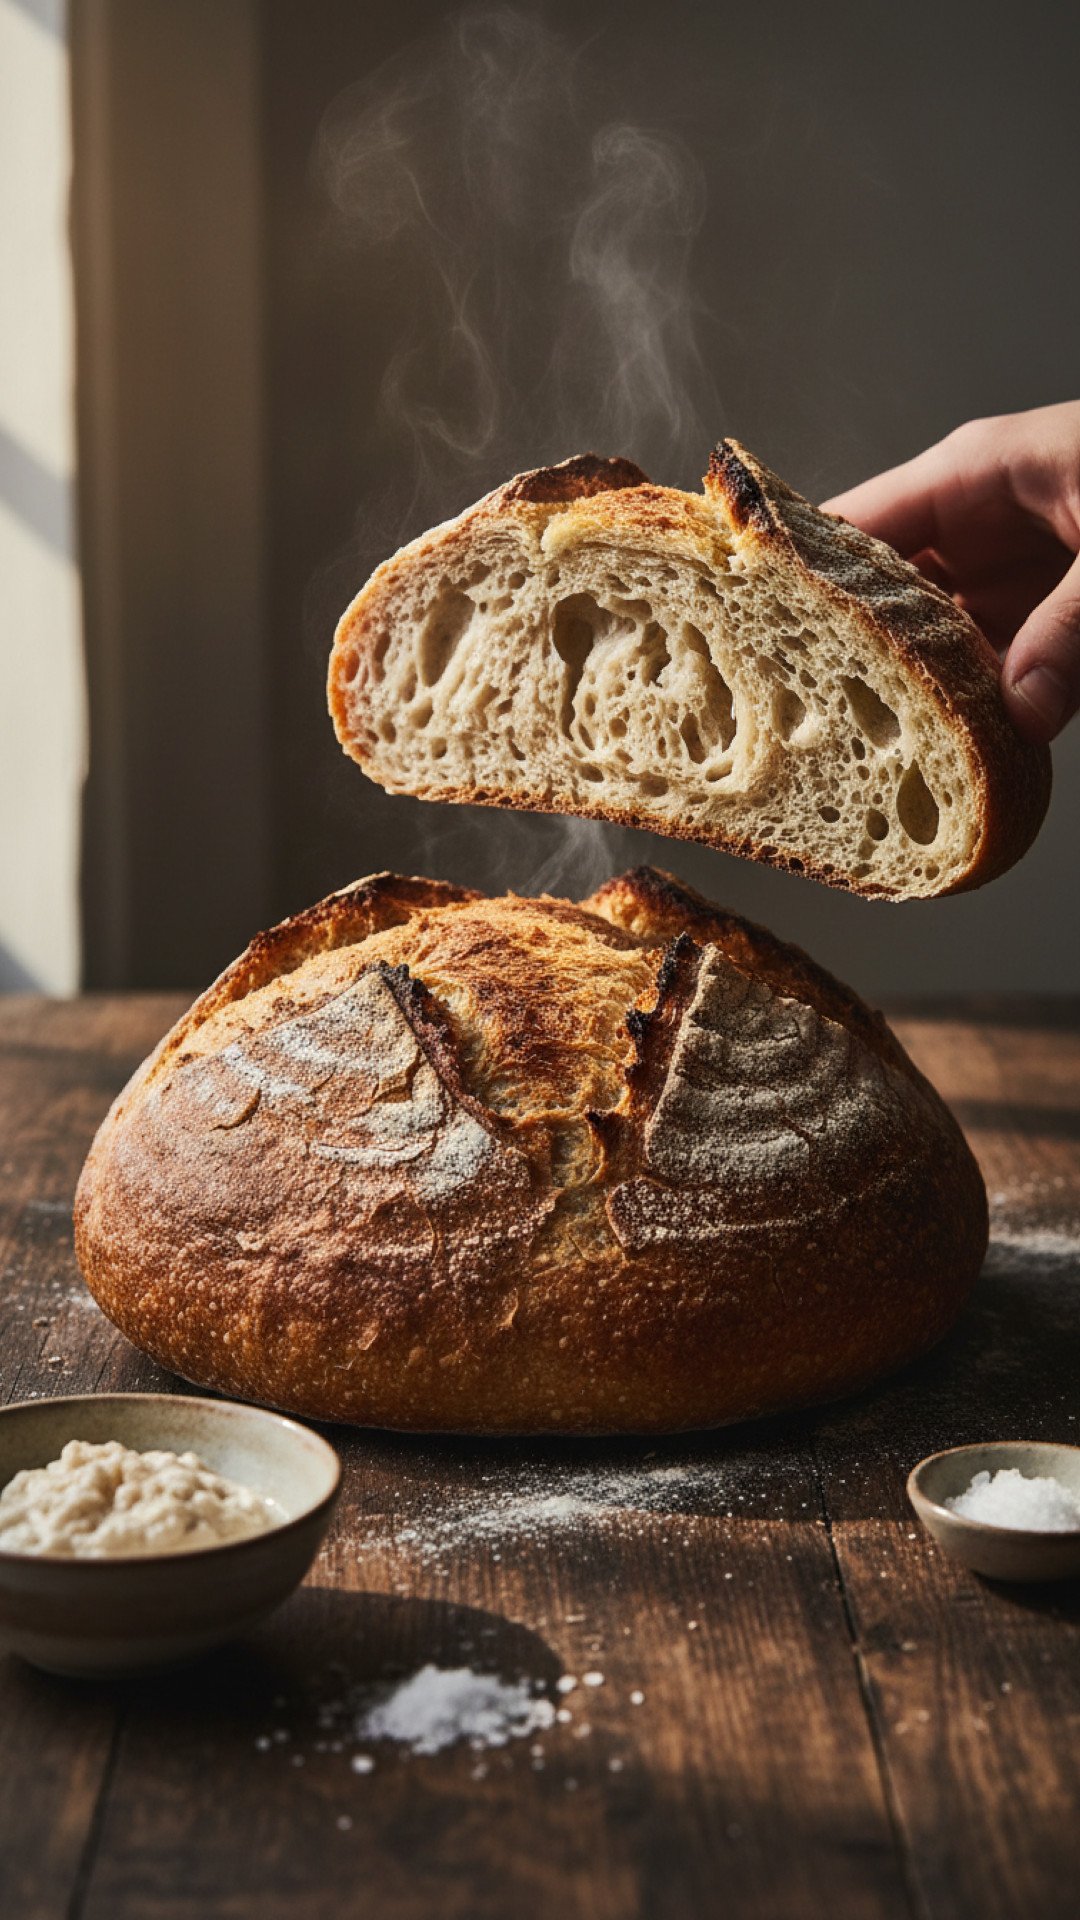
There was a time, not so long ago, when the very thought of baking sourdough bread sent shivers down my spine. It felt like a culinary Everest, reserved only for seasoned bakers with ancient starters and mystical rituals. My first few attempts were… humbling, to say the least. Dense, brick-like loaves that could double as doorstops, gummy interiors, and crusts that resisted all attempts at slicing. I was convinced sourdough and I were just not meant to be. I nearly gave up, resigning myself to buying overpriced artisanal loaves. But then, a glimmer of hope appeared in the form of a simplified method, a game-changer that promised to demystify the process. With trepidation, I tried again, nurturing my starter, mixing the dough with newfound patience, and following each step meticulously. And that’s when the magic happened. The aroma that filled my kitchen as it baked was intoxicating, and when I pulled out that golden-brown, crackling loaf, I knew I had found it: the easiest sourdough bread recipe. This isn’t just a recipe; it’s a testament to persistence and the joy of creating something truly amazing from scratch. If I, a former sourdough skeptic, can do it, so can you. Prepare to embark on a journey that will fill your home with the incredible smell of freshly baked bread and your heart with immense satisfaction. Forget everything you thought you knew about complex bread baking; this truly is the easiest sourdough bread recipe that delivers professional results every single time.
Why This Recipe is a Must-Try
- Simplicity at its Best: This is truly the easiest sourdough bread recipe you’ll find, stripping away intimidating complexities without sacrificing flavor or texture. We focus on natural fermentation and minimal intervention.
- Minimal Hands-On Time: While sourdough requires patience over a longer period, this method maximizes passive time. You’ll spend mere minutes actively working the dough, allowing you to live your life while the magic of fermentation happens, creating an incredibly flavorful loaf.
- Incredible Flavor & Texture: Achieve that coveted chewy interior and crispy, golden crust with a delightful tang, rivaling bakery-bought bread. The long fermentation also contributes to a more digestible and nutrient-rich loaf.
- Boost Your Baking Confidence: Successfully baking your own sourdough will empower you to tackle even more ambitious baking projects. Once you master this easiest sourdough bread recipe, a world of homemade bread opens up to you!
- Economical & Wholesome: Making your own bread is far more cost-effective than buying artisanal loaves, and you control every ingredient, ensuring a wholesome product free from additives.
Key Ingredient Notes
Success with even the easiest sourdough bread recipe hinges on understanding your core ingredients. Here’s what you need to know:
Active Sourdough Starter
This is the heart and soul of your bread. Ensure your starter is active and bubbly, fed 4-12 hours before you plan to mix the dough. A happy starter will double or triple in size after feeding and pass the float test (a small spoonful will float in water). This is paramount for the easiest sourdough bread recipe success. Think of your starter as a pet; it thrives on regular feeding and a warm environment. If your starter isn’t robust, your bread won’t rise properly, making even the easiest method challenging.
Unbleached Bread Flour
Bread flour has a higher protein content (typically 12-14%) than all-purpose flour, which helps develop stronger gluten. This strong gluten network is what traps the gases produced by fermentation, creating that desirable airy, chewy texture and better structure in your loaf. Unbleached flour is preferred as it hasn’t undergone harsh chemical treatments, which can sometimes interfere with fermentation and flavor development. While you can use all-purpose flour, the results might be a bit denser.
Good Quality Water
Avoid chlorinated tap water if possible, as chlorine can inhibit yeast activity and overall fermentation. Filtered or spring water is ideal. Temperature matters too; aim for lukewarm water (around 90-95°F / 32-35°C) to kickstart your starter’s activity and help it dissolve quickly. Water plays a crucial role in hydration, affecting the dough’s texture and workability, so getting this right is key to the easiest sourdough bread recipe.
Fine Sea Salt
Salt isn’t just for flavor; it plays a vital role in controlling fermentation, strengthening the gluten, and giving your bread a better crust. Use a good quality fine sea salt, not iodized table salt, which can have an off-flavor and contain anti-caking agents. Add it after the initial mixing, giving your starter a head start.
Step-by-Step Guide with Pro Tips
Follow these steps closely, and you’ll be amazed at how simple it is to achieve a professional-quality loaf with the easiest sourdough bread recipe.
- Step 1: Mix Autolyse (The Initial Blend)
In a large mixing bowl, combine the active sourdough starter with the warm water. Stir gently to mostly dissolve the starter. Add the bread flour and mix with your hands or a Danish dough whisk until just combined and no dry flour remains. The dough will be shaggy. Cover the bowl with a damp cloth or plastic wrap and let it rest for 30 minutes to 1 hour. This “autolyse” step allows the flour to fully hydrate and gluten development to begin naturally, making the kneading process almost nonexistent. This simple start is why this is such an easiest sourdough bread recipe. - Step 2: Add Salt & Initial Mixing
After the autolyse, sprinkle the salt evenly over the dough. Using damp hands, gently work the salt into the dough by squeezing and folding it for about 2-3 minutes. The dough will feel a bit sticky at first but will start to come together. This is the only “kneading” you’ll do, and it’s surprisingly effective. Ensure the salt is well distributed. - Step 3: Bulk Fermentation & Stretch and Folds (The Magic Happens)
Cover the bowl again and let the dough rest. Over the next 3-4 hours, you’ll perform a series of “stretch and folds.” This develops gluten structure without intense kneading.- First Set (30 mins after salt): With damp hands, grab a portion of the dough from one side, stretch it upwards, and fold it over the center. Rotate the bowl and repeat this 3-4 more times until all sides have been stretched and folded.
- Subsequent Sets (every 30-45 mins for 2.5-3.5 hours): Repeat the stretch and fold process 3-4 more times. As you progress, the dough will become smoother, stronger, and more elastic.
After the last set of stretch and folds, let the dough rest, covered, at room temperature (ideally 70-75°F / 21-24°C) until it has increased in volume by about 30-50% and feels bubbly and alive. This bulk fermentation can take 6-12 hours, depending on your room temperature and starter strength. For the easiest sourdough bread recipe, patience during this stage is key.
- Step 4: Pre-Shaping (Developing Tension)
Lightly flour your work surface. Gently turn the dough out onto the surface. Using a bench scraper, gently shape the dough into a loose round or rectangle. Avoid deflating it too much. Let it rest, uncovered, for 20-30 minutes. This allows the gluten to relax, making final shaping easier. This simple step contributes significantly to the final structure of your easiest sourdough bread recipe loaf. - Step 5: Final Shaping & Cold Proof (Overnight Chill)
Lightly flour a banneton (proofing basket) or a bowl lined with a floured cloth. Gently shape the dough into a taut round or oval, creating tension on the surface. Place the dough, seam-side up, into the prepared banneton. Cover it with plastic wrap or place it in a large plastic bag. Refrigerate for 12-16 hours. The cold proof slows down fermentation, developing deeper flavor and making the dough easier to handle and score before baking. This long, slow cold proof is a secret to the success of this easiest sourdough bread recipe. - Step 6: Preheat Oven & Dutch Oven
About 45 minutes to 1 hour before you plan to bake, place your Dutch oven (with lid) into your oven and preheat to 450°F (232°C). Getting the Dutch oven screaming hot is crucial for achieving that amazing crust. - Step 7: Score & Bake (The Grand Finale!)
Carefully remove the hot Dutch oven from the oven. Gently invert the cold dough from the banneton directly into the hot Dutch oven. Use a sharp razor blade or lame to score the top of the dough. This allows the bread to expand beautifully as it bakes. Immediately place the lid back on the Dutch oven. Bake for 30 minutes with the lid on. Remove the lid and continue baking for another 10-15 minutes, or until the crust is a deep golden brown and the internal temperature reaches 200-210°F (93-99°C). The initial covered bake creates steam, which helps develop that characteristic thin, crispy crust. - Step 8: Cool Completely
Carefully remove the bread from the Dutch oven and place it on a wire rack to cool completely for at least 2 hours before slicing. Slicing too early can result in a gummy interior. The internal structure is still setting, and steam needs to escape. Once cooled, store any leftover bread in a bread box or wrap it tightly. For longer storage, slices can be frozen. Consider using Basics Glass Food Storage containers for keeping your precious sourdough fresh! This final step ensures you fully enjoy the fruits of your labor with this easiest sourdough bread recipe.
Variations & Serving Suggestions
Once you’ve mastered the basic, easiest sourdough bread recipe, the possibilities for customization are endless!
Flavorful Variations:
- Seeded Sourdough: Add 2-3 tablespoons of mixed seeds (sesame, poppy, flax, sunflower, or chia) to the dough during the first set of stretch and folds. You can also sprinkle some on the outside of the loaf before baking for extra crunch and visual appeal.
- Cheese & Herb Sourdough: Fold in ½ cup shredded sharp cheddar, Gruyere, or Parmesan cheese and 2 tablespoons fresh chopped rosemary, chives, or thyme during the final shaping. The cheese will melt into pockets of savory goodness.
- Olive & Rosemary Sourdough: Incorporate ½ cup pitted and chopped olives (Kalamata or Castelvetrano work wonderfully) and 1 tablespoon fresh chopped rosemary during the second set of stretch and folds.
- Whole Wheat Blend: For a heartier loaf, substitute up to 100g of the bread flour with whole wheat flour. This will require a bit more water, so adjust hydration as needed.
Perfect Serving Suggestions:
This easiest sourdough bread recipe yields a versatile loaf that pairs beautifully with almost anything:
- Breakfast & Brunch: Toast slices for avocado toast, eggs Benedict, or simply with butter and jam.
- Lunch: The ultimate sandwich bread! Build towering creations with your favorite fillings.
- Dinner Companion: Serve alongside hearty soups, stews, or use it to soak up delicious sauces from your main course. Try dipping it in good quality olive oil and balsamic vinegar.
- Appetizers: Make crostini for bruschetta or serve with a fresh, vibrant pasta salad or a zesty guacamole for a truly satisfying meal.
Nutrition Information
Here’s an estimated nutritional breakdown per serving for this delightful easiest sourdough bread recipe, based on approximately 10 servings per loaf. Please note that these values are estimates and can vary based on specific ingredients and preparation methods.
| Nutrient | Amount per Serving |
|---|---|
| Calories | 280 kcal |
| Carbohydrates | 56 g |
| Protein | 10 g |
| Fat | 1 g |
| Saturated Fat | 0 g |
| Trans Fat | 0 g |
| Unsaturated Fat | 1 g |
| Cholesterol | 0 mg |
| Sodium | 400 mg |
| Fiber | 3 g |
| Sugars | 0 g |
Conclusion
And there you have it – the definitive guide to baking the easiest sourdough bread recipe. Gone are the days of intimidation and dense, disappointing loaves. With a little patience and a lot of love for the process, you can achieve bakery-quality sourdough right in your own kitchen. This journey from flour and water to a crusty, tangy masterpiece is incredibly rewarding. So go ahead, feed your starter, roll up your sleeves, and experience the immense satisfaction of pulling a warm, aromatic loaf of homemade sourdough from your oven. Happy baking!
FAQs
What is an active sourdough starter?
An active sourdough starter is one that has been fed within the last 4-12 hours, has doubled or tripled in size, and shows visible bubbles on the surface and throughout. A good test is the ‘float test’: a small spoonful of starter should float when dropped into water.
Can I use all-purpose flour for this easiest sourdough bread recipe?
While bread flour is recommended for its higher protein content and better gluten development, you can use unbleached all-purpose flour. However, your loaf might be slightly less chewy and have a slightly different crumb structure. You may also need to adjust the water slightly as different flours absorb liquids differently.
Why is a cold proof necessary for sourdough bread?
A cold proof (refrigeration) slows down the fermentation process, allowing for deeper flavor development and making the dough much easier to handle and score without sticking. It also helps in achieving a more even and open crumb structure. Itu2019s a crucial step for achieving the best results with this easiest sourdough bread recipe.
How do I store homemade sourdough bread?
Once completely cooled, store your sourdough bread at room temperature. It keeps well wrapped in a clean kitchen towel, in a bread box, or in a paper bag for 2-3 days. For longer storage, slice the loaf and freeze the slices in an airtight bag or container for up to 3 months. Toasting from frozen works perfectly.
Easiest Sourdough Bread Recipe
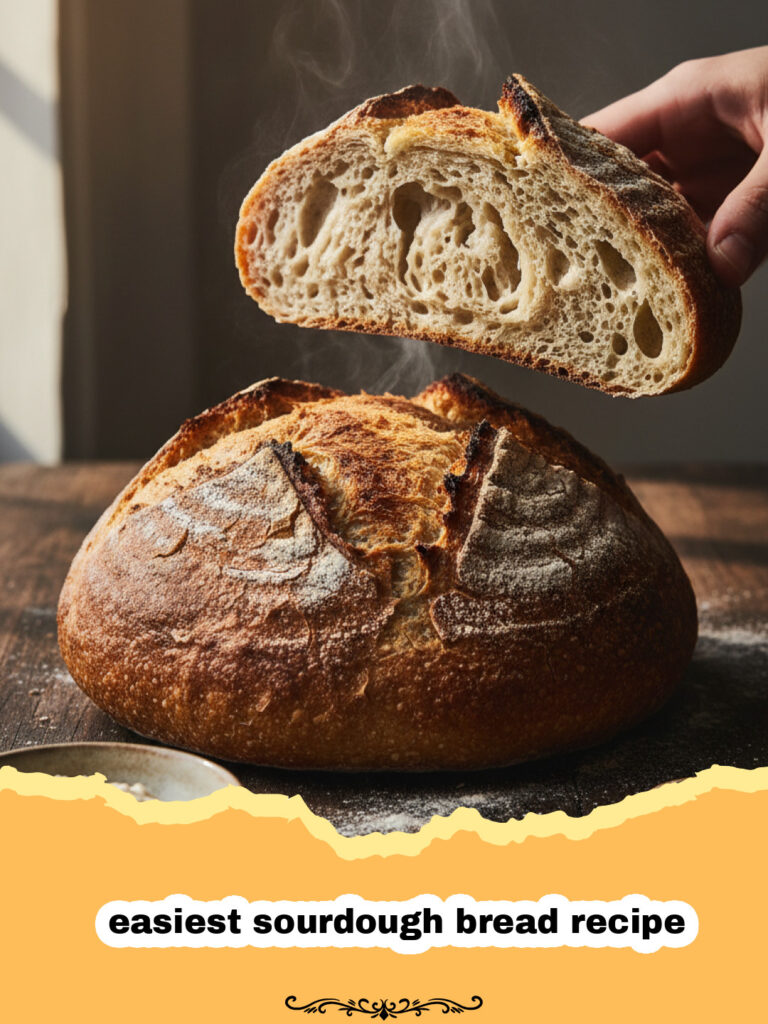
This comprehensive guide introduces you to the simplest method for baking delicious homemade sourdough bread. Perfect for beginners, this recipe minimizes complexities while maximizing flavor and texture, resulting in a beautifully crusty exterior and a soft, airy, tangy crumb. Say goodbye to store-bought bread and hello to your new favorite baking hobby!
- Total Time: 24-36 hours (mostly passive)
- Yield: 1 large loaf (approx. 10 servings) 1x
Ingredients
100g active sourdough starter
350g warm water (90-95°F / 32-35°C)
500g unbleached bread flour (plus more for dusting)
10g fine sea salt
Instructions
Step 1: In a large mixing bowl, combine the active sourdough starter with the warm water. Stir gently to mostly dissolve the starter. Add the bread flour and mix with your hands or a Danish dough whisk until just combined and no dry flour remains. The dough will be shaggy. Cover the bowl with a damp cloth or plastic wrap and let it rest for 30 minutes to 1 hour (autolyse).
Step 2: After the autolyse, sprinkle the salt evenly over the dough. Using damp hands, gently work the salt into the dough by squeezing and folding it for about 2-3 minutes until well distributed.
Step 3: Cover the bowl again and let the dough rest. Over the next 3-4 hours, perform 4-5 sets of “stretch and folds” every 30-45 minutes. With damp hands, grab a portion of the dough from one side, stretch it upwards, and fold it over the center. Rotate the bowl and repeat 3-4 more times. After the last set, let the dough complete its bulk fermentation, covered, at room temperature (70-75°F / 21-24°C) until it has increased in volume by about 30-50% (this can take 6-12 hours total, depending on your environment and starter).
Step 4: Lightly flour your work surface. Gently turn the dough out onto the surface. Using a bench scraper, gently shape the dough into a loose round or rectangle. Avoid deflating it too much. Let it rest, uncovered, for 20-30 minutes (pre-shaping).
Step 5: Lightly flour a banneton (proofing basket) or a bowl lined with a floured cloth. Gently shape the dough into a taut round or oval, creating tension on the surface. Place the dough, seam-side up, into the prepared banneton. Cover it with plastic wrap or place it in a large plastic bag. Refrigerate for 12-16 hours (cold proof).
Step 6: About 45 minutes to 1 hour before you plan to bake, place your Dutch oven (with lid) into your oven and preheat to 450°F (232°C).
Step 7: Carefully remove the hot Dutch oven from the oven. Gently invert the cold dough from the banneton directly into the hot Dutch oven. Use a sharp razor blade or lame to score the top of the dough. Immediately place the lid back on the Dutch oven. Bake for 30 minutes with the lid on. Remove the lid and continue baking for another 10-15 minutes, or until the crust is a deep golden brown and the internal temperature reaches 200-210°F (93-99°C).
Step 8: Carefully remove the bread from the Dutch oven and place it on a wire rack to cool completely for at least 2 hours before slicing. Slicing too early can result in a gummy interior.
Notes
The key to success with this easiest sourdough bread recipe is an active starter and patience during bulk fermentation. Adjust fermentation times based on your kitchen temperature – warmer environments speed things up, cooler ones slow them down. For best results, use a Dutch oven for baking, as it creates the ideal steamy environment for a beautiful crust.
- Prep Time: 20 minutes (active)
- Cook Time: 40 minutes
- Category: Baked Goods
- Cuisine: American
Nutrition
- Serving Size: 1 slice (approx. 1/10th loaf)
- Calories: 280 kcal
- Sugar: 0 g
- Sodium: 400 mg
- Fat: 1 g
- Saturated Fat: 0 g
- Unsaturated Fat: 1 g
- Trans Fat: 0 g
- Carbohydrates: 56 g
- Fiber: 3 g
- Protein: 10 g
- Cholesterol: 0 mg
Keywords: sourdough, sourdough bread, easy sourdough, beginner sourdough, homemade bread, bread recipe, crusty bread, no-knead sourdough, artisan bread