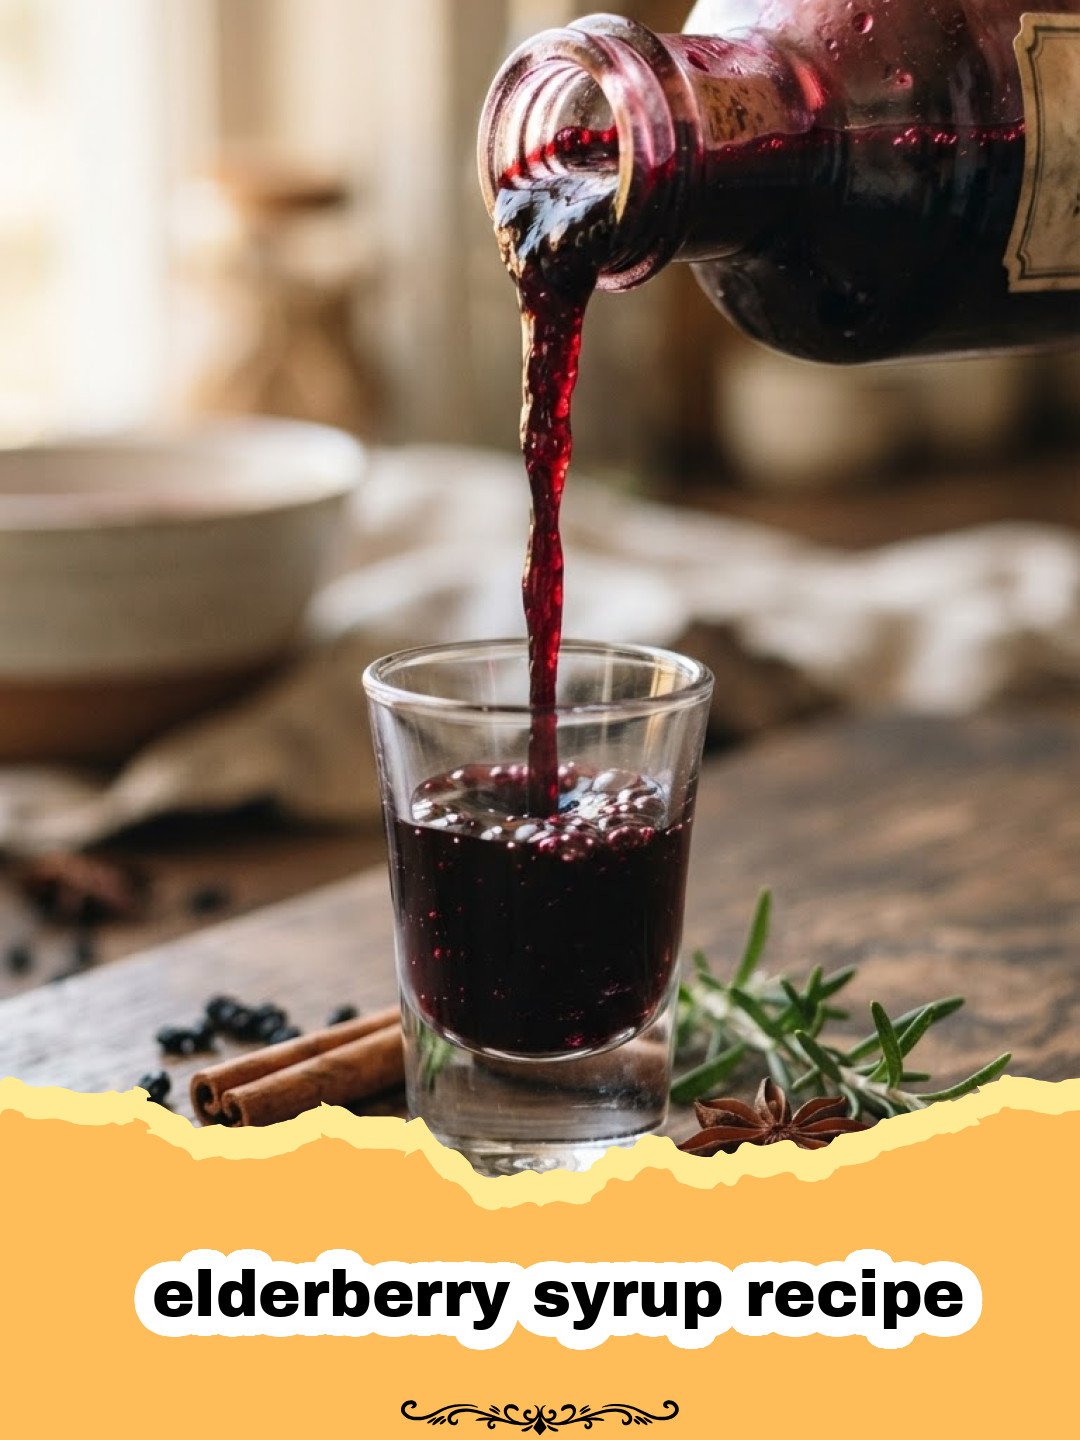
There’s a distinct chill in the air, a sure sign that cold and flu season is just around the corner. For years, I dreaded this time, stocking up on over-the-counter remedies and bracing myself for the inevitable sniffles. But then, a few winters ago, a dear friend introduced me to the magic of making my own elderberry syrup recipe. I was skeptical at first, but the idea of a natural, homemade immune booster resonated with my growing desire for holistic wellness. I remember the first time I brewed a batch; the aroma of spices — cinnamon, cloves, ginger — mingling with the earthy scent of elderberries filled my kitchen, creating an instant feeling of warmth and comfort. It was a revelation, and from that day on, crafting this vibrant, potent syrup became a cherished annual ritual. Not only is this elderberry syrup recipe incredibly effective, but the process itself is a therapeutic journey, connecting me to ancient traditions of herbal medicine. It’s more than just a remedy; it’s a taste of winter’s embrace, a sweet, spiced hug in a bottle that prepares my family for whatever the season brings.
Why This Elderberry Syrup Recipe is a Must-Try
- Immune System Support: Elderberries are packed with antioxidants and vitamins that can help bolster your immune system, making this elderberry syrup recipe an excellent ally during colder months.
- Customizable & Natural: Unlike store-bought versions, you control every ingredient, ensuring no unwanted additives or excessive sugars. You can adjust the spices and sweetness to your preference.
- Cost-Effective & Easy: Making your own elderberry syrup recipe is significantly cheaper than buying it, and the process is surprisingly simple, requiring minimal effort for maximum benefit.
- Delicious & Versatile: This syrup isn’t just for spoonfuls; it’s a delightful addition to teas, sparkling water, yogurt, or even pancakes, making wellness a treat.
Key Ingredient Notes
While the star of our show is undoubtedly the elderberry, a few other ingredients play crucial supporting roles in making this elderberry syrup recipe truly special and effective.
Dried Elderberries
The foundation of our syrup! Dried elderberries (Sambucus nigra) are rich in anthocyanins, which are potent antioxidants. When sourcing, look for organic, high-quality berries from a reputable supplier. You can often find them in health food stores, herb shops, or online. While fresh elderberries can also be used, they must be cooked thoroughly, as raw elderberries contain compounds that can cause stomach upset. Dried berries are simply easier and safer for most home cooks.
Fresh Ginger
Beyond its warm, spicy kick, fresh ginger root adds significant anti-inflammatory and digestive benefits to our elderberry syrup recipe. Its pungent notes complement the earthiness of the elderberries and the sweetness of the honey beautifully, creating a complex flavor profile. Always opt for fresh ginger over powdered for the best flavor and potency.
Raw Honey
Honey acts as both a natural sweetener and a preservative, and raw honey, in particular, brings its own set of medicinal properties, including soothing sore throats and providing antibacterial benefits. It’s crucial to add honey *after* the elderberry mixture has cooled down sufficiently (below 115°F or 46°C) to preserve its beneficial enzymes and nutrients. Local raw honey is often preferred for its potential to help with seasonal allergies, adding another layer of wellness to your homemade elderberry syrup recipe.
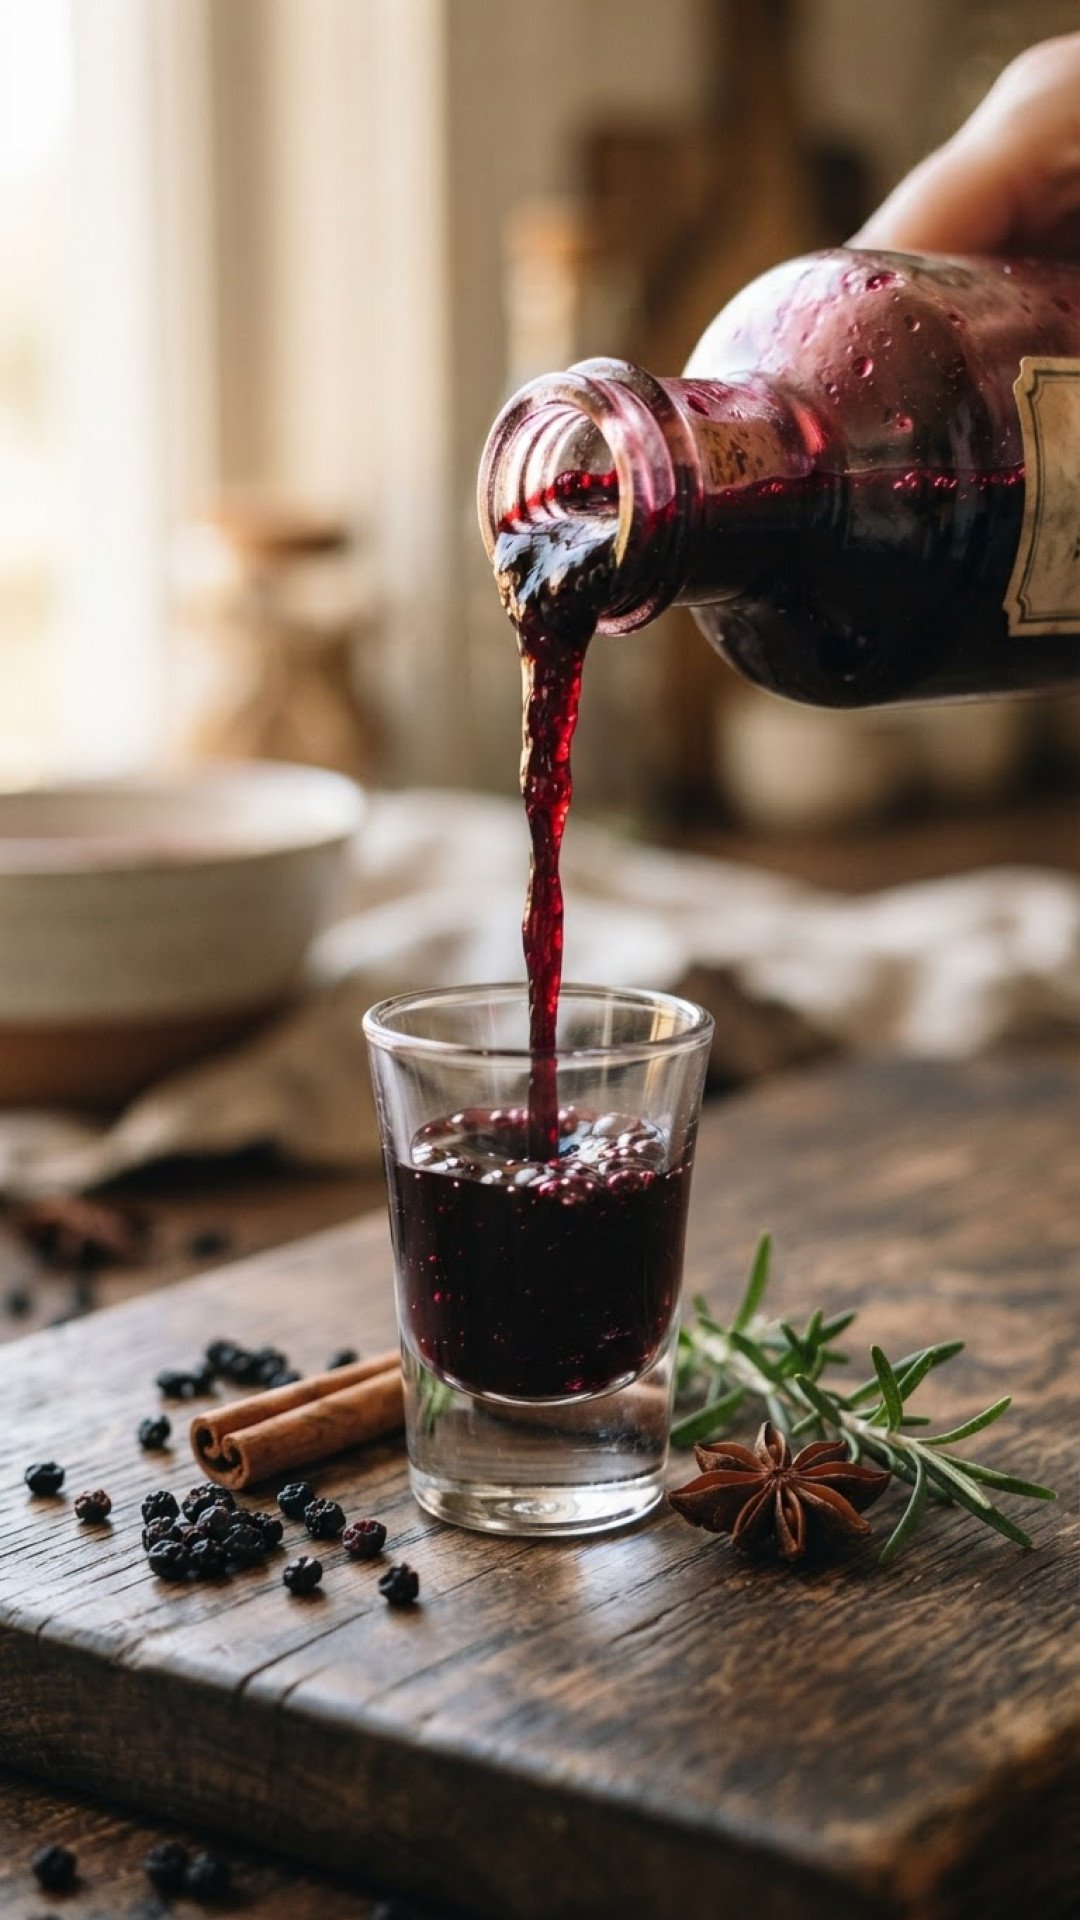
Step-by-Step Guide with Pro Tips
Creating your own elderberry syrup recipe is a rewarding process. Follow these steps carefully for the best results.
Equipment Needed:
- Large saucepan or pot
- Fine-mesh sieve or cheesecloth
- Large mixing bowl
- Spoon or spatula
- Clean glass jars or bottles for storage
Step 1: Combine the dried elderberries, water, fresh ginger, cinnamon sticks, and whole cloves in a large saucepan. Ensure all the dry ingredients are submerged in the water. This is the foundation of your potent elderberry syrup recipe.
Step 2: Bring the mixture to a boil over medium-high heat. Once boiling, reduce the heat to low, cover the pot, and let it simmer for about 45-60 minutes. You want the liquid to reduce by roughly a third to a half. This simmering process extracts all the goodness from the elderberries and spices, forming a concentrated base for your elderberry syrup recipe.
Step 3: Remove the pot from the heat and let it cool for about 10-15 minutes. This allows the mixture to steep a little longer and cool enough to handle.
Step 4: Place a fine-mesh sieve over a large mixing bowl. Pour the elderberry mixture through the sieve, pressing down on the solids with the back of a spoon to extract as much liquid as possible. Discard the spent elderberries and spices. You now have a rich, spiced elderberry liquid.
Step 5: Allow the strained elderberry liquid to cool completely to room temperature. This is a critical step for retaining the beneficial properties of raw honey. If the liquid is too hot, it will destroy the enzymes in the honey, lessening its therapeutic value. Cooling might take an hour or more.
Step 6: Once the liquid is cool, stir in the raw honey until it is fully dissolved. Taste and adjust sweetness if desired. Some prefer a sweeter elderberry syrup recipe, while others like it less so. Now your incredible homemade elderberry syrup recipe is almost ready!
Step 7: Pour the finished elderberry syrup into clean, airtight glass jars or bottles. Store it in the refrigerator. Properly stored, this elderberry syrup recipe will last for 2-3 months.
Variations & Serving Suggestions
This elderberry syrup recipe is wonderfully adaptable! Here are some ideas to make it your own and enjoy it in various ways:
- Spice It Up: Feel free to experiment with other warming spices like star anise, cardamom pods, or a pinch of black peppercorns during the simmering stage for a more complex flavor profile in your elderberry syrup recipe.
- Citrus Boost: Add the zest of an orange or lemon to the pot while simmering for a bright, zesty note and an extra dose of Vitamin C.
- Sweetener Alternatives: If you’re vegan or prefer not to use honey, maple syrup or agave nectar can be used as alternatives. Remember to add them after the mixture has cooled.
- Serving Suggestions:
- Daily Dose: Take 1 teaspoon to 1 tablespoon daily for immune support. Increase to 1 tablespoon every 3-4 hours when feeling under the weather.
- Tea Time: Stir a spoonful into your favorite herbal tea for a soothing, immune-boosting beverage. It’s especially good with chamomile or peppermint tea.
- Sparkling Refresher: Mix with sparkling water and a slice of lemon for a delicious and healthy soda alternative.
- Breakfast Boost: Drizzle over pancakes, waffles, yogurt, oatmeal, or even a honey butter toast for a flavorful and nutritious start to your day.
- Cocktail/Mocktail Mixer: Use it to sweeten and flavor cocktails or create unique mocktails. The rich flavor of this elderberry syrup recipe adds depth to many drinks.
Nutrition Information
Here’s a breakdown of the estimated nutrition information per serving for this elderberry syrup recipe. Please note that these values can vary based on specific ingredient brands and preparation methods.
| Nutrient | Amount Per Serving |
|---|---|
| Calories | 50 kcal |
| Carbohydrates | 13 g |
| Cholesterol | 0 mg |
| Fat | 0 g |
| Fiber | 0.5 g |
| Protein | 0 g |
| Saturated Fat | 0 g |
| Serving Size | 1 tbsp (15ml) |
| Sodium | 0 mg |
| Sugar | 12 g |
| Trans Fat | 0 g |
| Unsaturated Fat | 0 g |
Conclusion
Embracing the tradition of homemade remedies has brought so much joy and peace of mind into my kitchen. This elderberry syrup recipe is not just a seasonal health tonic; it’s a testament to the power of natural ingredients and the simple satisfaction of creating something truly beneficial with your own hands. As the seasons change and the days grow shorter, having a batch of this vibrant, immune-boosting elixir ready in your fridge is like having a secret weapon against the sniffles and sneezes. It’s a small act of self-care that yields big rewards, a delicious reminder that sometimes, the best medicine comes from nature’s pantry and a little bit of love. I hope this elderberry syrup recipe becomes a cherished staple in your home, just as it has in mine. For more natural wellness recipes, why not try The Ultimate Homemade Fire Cider Recipe?
FAQs
What are the benefits of this elderberry syrup recipe?
This elderberry syrup recipe is rich in antioxidants and vitamins, which are known to support the immune system. Many people use it to help prevent and alleviate symptoms of colds and flu, soothe sore throats, and reduce inflammation.
How should I store homemade elderberry syrup?
Homemade elderberry syrup should be stored in an airtight glass jar or bottle in the refrigerator. When stored properly, it typically lasts for 2-3 months. Always check for any signs of mold or off-smells before consuming.
Can I use fresh elderberries for this elderberry syrup recipe?
Yes, you can use fresh elderberries, but it’s crucial to cook them thoroughly before consumption. Raw elderberries contain compounds that can cause digestive upset. Ensure they are simmered for the full cook time to neutralize these compounds, then proceed with the recipe as directed.
What is the recommended dosage for elderberry syrup?
For general immune support, adults typically take 1 teaspoon to 1 tablespoon daily. If you feel a cold coming on, some people increase the dosage to 1 tablespoon every 3-4 hours. Always consult with a healthcare professional for personalized advice, especially for children or individuals with underlying health conditions.
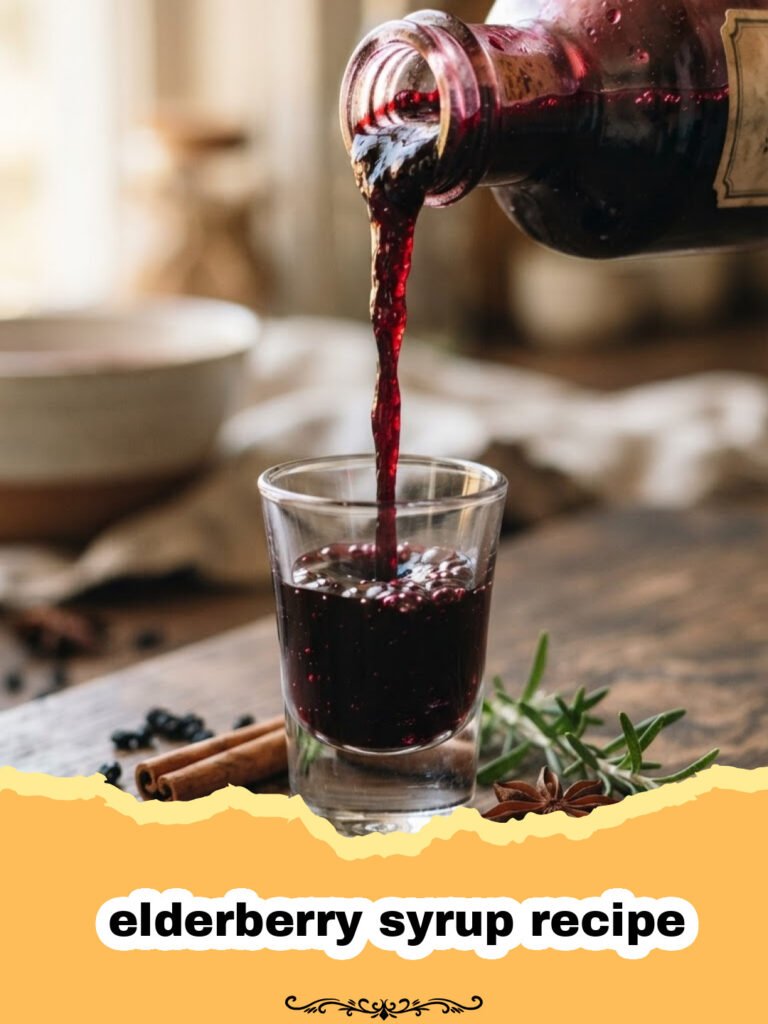
Homemade Elderberry Syrup
A potent and delicious elderberry syrup recipe, packed with immune-boosting antioxidants and warming spices. Perfect for cold and flu season.
- Total Time: 1 hour 10 minutes
- Yield: Approximately 2 cups (480ml) 1x
Ingredients
1 cup dried elderberries
4 cups filtered water
2–3 inches fresh ginger, peeled and sliced
2 cinnamon sticks
1/2 teaspoon whole cloves
1 cup raw local honey (or to taste)
Instructions
Step 1: Combine the dried elderberries, water, fresh ginger, cinnamon sticks, and whole cloves in a large saucepan.
Step 2: Bring the mixture to a boil over medium-high heat. Once boiling, reduce the heat to low, cover the pot, and let it simmer for about 45-60 minutes, or until the liquid has reduced by about one-third to one-half.
Step 3: Remove the pot from the heat and let it cool for about 10-15 minutes.
Step 4: Place a fine-mesh sieve over a large mixing bowl. Pour the elderberry mixture through the sieve, pressing down on the solids with the back of a spoon to extract as much liquid as possible. Discard the spent elderberries and spices.
Step 5: Allow the strained elderberry liquid to cool completely to room temperature. This is crucial for preserving the beneficial enzymes in raw honey.
Step 6: Once the liquid is cool, stir in the raw honey until it is fully dissolved. Taste and adjust sweetness if desired.
Step 7: Pour the finished elderberry syrup into clean, airtight glass jars or bottles. Store it in the refrigerator. It will last for 2-3 months.
Notes
Always consult with a healthcare professional before using herbal remedies, especially if pregnant, breastfeeding, or on medication. Ensure elderberries are cooked thoroughly if using fresh berries, as raw elderberries contain toxic compounds.
- Prep Time: 10 minutes
- Cook Time: 1 hour
- Category: How To
- Cuisine: Herbal, American
Nutrition
- Serving Size: 1 tbsp (15ml)
- Calories: 50 kcal
- Sugar: 12 g
- Sodium: 0 mg
- Fat: 0 g
- Saturated Fat: 0 g
- Unsaturated Fat: 0 g
- Trans Fat: 0 g
- Carbohydrates: 13 g
- Fiber: 0.5 g
- Protein: 0 g
- Cholesterol: 0 mg
Keywords: elderberry syrup recipe, homemade elderberry syrup, immune booster, natural remedies, cold and flu relief, herbal syrup, winter wellness, elderberry benefits, DIY elderberry syrup