
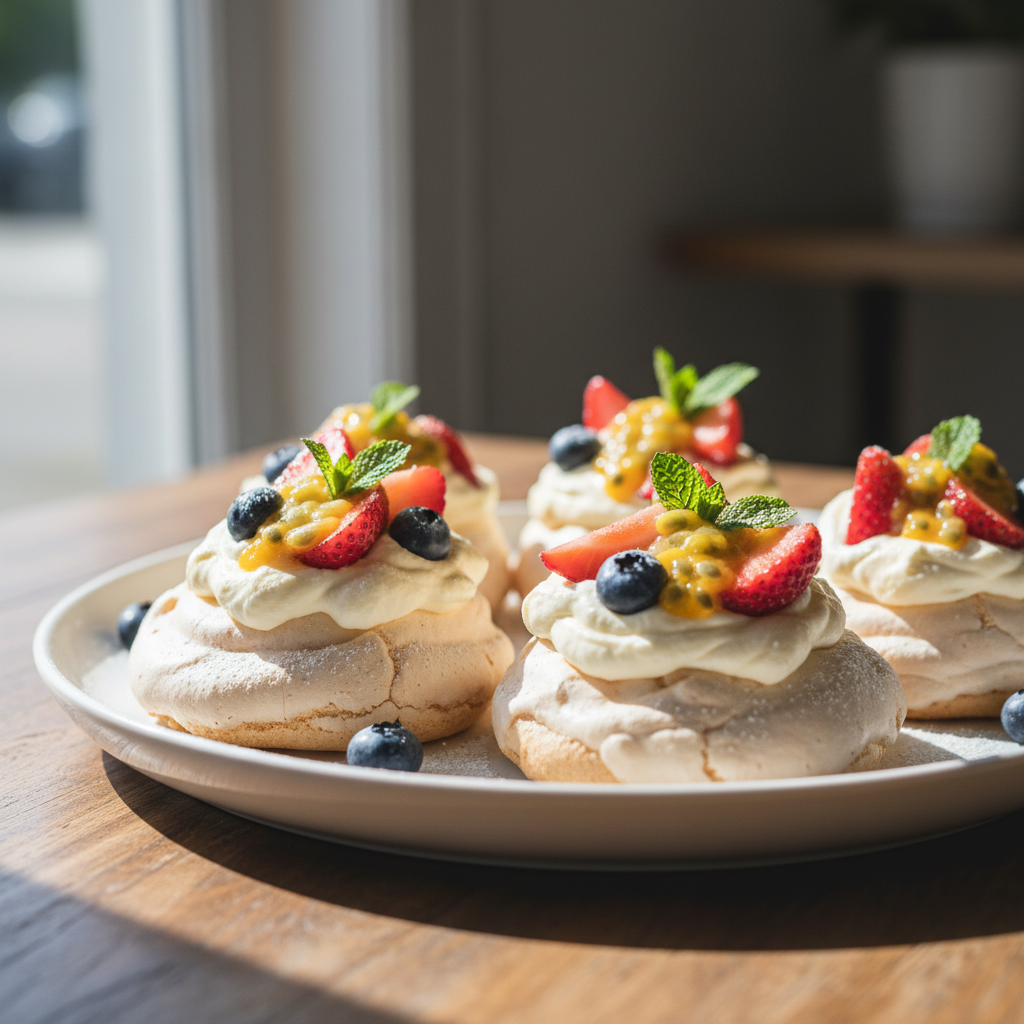
When it comes to elegant desserts that impress without requiring a culinary degree, Mini Pavlovas are in a league of their own. These individual meringue nests, with their delicate crisp shell and wonderfully soft, chewy center, are the perfect canvas for a myriad of delicious toppings. Whether you’re hosting a garden party, a sophisticated dinner, or simply treating yourself, these bite-sized wonders offer a delightful experience.
Originating from either Australia or New Zealand in honor of ballerina Anna Pavlova, this dessert is renowned for its light-as-air texture and stunning presentation. Forget complicated baking techniques; our guide will walk you through crafting these beautiful treats with ease, ensuring a showstopper every time.
The Charm of Mini Pavlovas: Why They’re a Must-Try
Mini Pavlovas offer several advantages over their larger counterpart. Their individual portions mean no messy slicing, making them ideal for gatherings. Each guest gets their own perfectly formed dessert, ready to be adorned with their favorite toppings. Plus, their small size allows for quicker baking and cooling, getting you to the delicious part faster!
They are incredibly versatile. While classic pavlovas feature whipped cream and berries, mini versions invite creativity. Think tropical fruit and coconut, rich chocolate and espresso cream, or zesty lemon curd for a delightful twist. The possibilities are endless, allowing you to tailor them to any season or preference.
Gather Your Ingredients for Meringue Magic
Creating the perfect pavlova begins with a few simple ingredients, transformed through careful technique. Fresh egg whites are crucial for achieving stable, voluminous meringue. Granulated sugar provides the sweetness and helps create the glossy, stable peaks. A touch of vinegar (or lemon juice) and cornstarch are your secret weapons for that signature crisp exterior and soft, marshmallowy interior.
For the toppings, think vibrant and fresh. High-quality heavy cream, whipped to soft peaks, forms the cloud-like base. Then, a colorful array of seasonal fruits like strawberries, blueberries, raspberries, or kiwi adds natural sweetness and a beautiful visual appeal. Don’t forget a potential dusting of icing sugar for that extra touch of elegance!
Step-by-Step: Crafting Your Perfect Mini Pavlovas
Making mini pavlovas might seem intimidating, but with precise steps, you’ll achieve perfection. A stand mixer is highly recommended for achieving the best meringue consistency, though a hand mixer works too. Ensure your bowl and whisk are impeccably clean and free of any grease, as this can prevent your egg whites from whipping correctly.
Step 1: Preheat your oven to a low temperature, around 250°F (120°C). Line a baking sheet with parchment paper. This low temperature is vital for drying out the meringues rather than baking them rapidly, which helps prevent cracks.
Step 2: Separate the egg whites from the yolks. Be careful not to get any yolk into the whites. Place the egg whites in a very clean, dry mixing bowl. Begin to beat the egg whites on medium speed until soft peaks form.
Step 3: Gradually add the granulated sugar, about one tablespoon at a time, while continuing to beat on medium-high speed. Do not rush this step. Allow each addition of sugar to dissolve before adding the next. Continue beating until the meringue is glossy, stiff, and holds firm peaks, and you can no longer feel sugar granules when rubbing a small amount between your fingers.
Step 4: Gently fold in the white vinegar and cornstarch. Be careful not to deflate the meringue. This combination helps create the signature crisp shell and chewy interior.
Step 5: Spoon or pipe the meringue onto the prepared baking sheet, forming individual nests approximately 3-4 inches in diameter with a slight well in the center to hold toppings. Leave enough space between each pavlova as they will expand slightly.
Step 6: Place the baking sheet in the preheated oven and bake for 60-90 minutes, or until the pavlovas are firm to the touch and sound hollow when tapped. They should be mostly white, with perhaps a very light cream color.
Step 7: Once baked, turn off the oven and leave the pavlovas inside with the oven door slightly ajar for at least 1-2 hours, or even overnight. This slow cooling process is critical to prevent them from cracking and ensures they dry out completely, resulting in a perfectly crisp shell. For more baking tips on meringues, you can refer to authoritative culinary sites like Serious Eats.
Step 8: Once completely cool, carefully transfer the pavlova shells to an airtight container if not serving immediately. They will keep for up to two days.
Step 9: Just before serving, whip the heavy cream to desired consistency and gently fill the cooled pavlova nests. Top generously with your chosen fresh fruits and any other desired garnishes.
Creative Topping Ideas to Elevate Your Pavlovas
While fresh berries and whipped cream are a timeless combination, don’t hesitate to experiment with other flavors and textures:
- Tropical Twist: Mango slices, passionfruit pulp, and a sprinkle of toasted coconut flakes.
- Chocolate Indulgence: Chocolate ganache drizzle, raspberries, and a dusting of cocoa powder.
- Lemon Lovers: A dollop of tangy lemon curd, fresh blueberries, and a curl of lemon zest.
- Nutty Crunch: Sliced peaches, a drizzle of honey, and toasted slivered almonds or pistachios.
Each variation brings a unique character to this already beloved dessert, ensuring there’s a mini pavlova for every palate and occasion.
Common Pitfalls and How to Avoid Them
Even seasoned bakers can encounter issues with pavlovas, but most can be easily remedied or avoided:
- Cracking: This is often due to rapid cooling. Always let your pavlovas cool slowly inside the oven.
- Sticky Meringue: Insufficient baking time or humidity can lead to a sticky texture. Ensure proper baking and cooling, and avoid making them on very humid days.
- Weeping: This happens when sugar isn’t fully dissolved or if meringues are underbaked. Take your time adding sugar and ensure stiff peaks are achieved.
- Deflated Meringue: Overmixing after adding sugar, or not having clean equipment, can cause deflation. Beat egg whites just until stiff, glossy peaks form, then stop.
With these tips in mind, you’re well on your way to creating stunning and delicious mini pavlovas that will delight everyone.
Conclusion
Mini Pavlovas are more than just a dessert; they’re a celebration of texture, flavor, and elegance. With their airy crunch and tender chew, topped with luxurious cream and vibrant fruits, they are a feast for both the eyes and the palate. This recipe offers a straightforward path to mastering these delightful individual treats, perfect for any occasion that calls for a touch of sophistication. So, gather your ingredients, follow our steps, and get ready to impress with your homemade mini pavlovas!
FAQs
What’s the secret to perfectly crisp mini pavlovas with a soft center?
The key is to bake them low and slow, then allow them to cool completely within the oven. This gradual cooling prevents cracking and ensures that delightful contrast between a crisp exterior and a marshmallow-soft interior.
Can I prepare mini pavlova shells in advance?
Absolutely! The baked pavlova shells can be stored in an airtight container at room temperature for up to two days. It’s best to add the whipped cream and fresh fruit toppings just before serving to maintain their crispness.
Why do some pavlova recipes include vinegar and cornstarch?
Vinegar (or lemon juice) helps stabilize the egg whites, contributing to a more tender and marshmallow-like interior. Cornstarch also aids in stabilizing the meringue and helps create that desirable crisp exterior, while minimizing cracking.
What are the best toppings for mini pavlovas?
Classic toppings include freshly whipped cream and an assortment of fresh berries like strawberries, raspberries, and blueberries. For variations, consider lemon curd, passionfruit pulp, chocolate shavings, or even a sprinkle of toasted nuts.
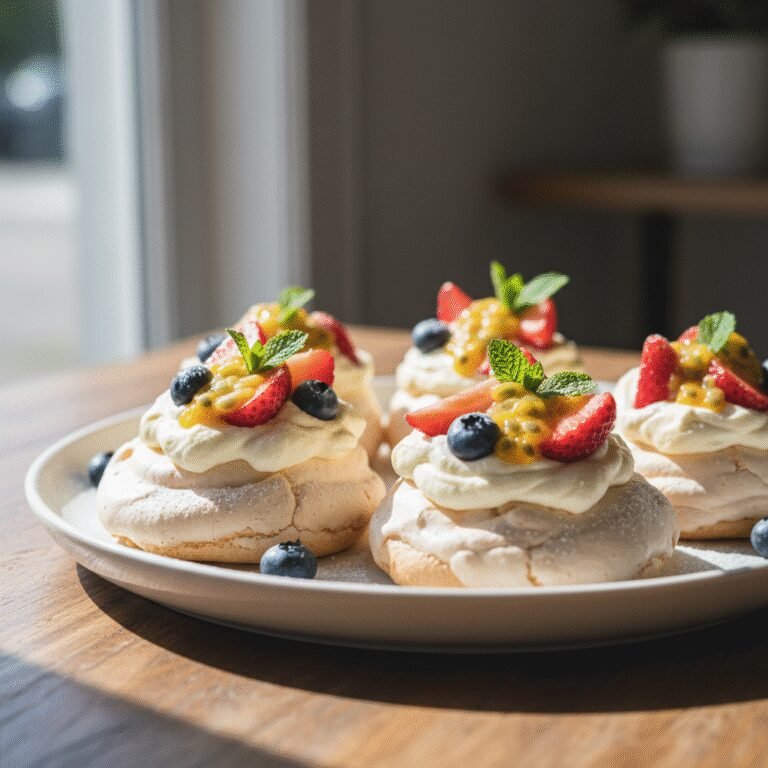
Elegant Mini Pavlovas
Individual meringue nests with a crisp exterior, marshmallow-soft interior, topped with whipped cream and fresh berries.
- Total Time: 3 hours (including cooling)
- Yield: 12 mini pavlovas 1x
Ingredients
4 large egg whites, at room temperature
1 cup (200g) granulated sugar
1 teaspoon white vinegar or lemon juice
1 teaspoon cornstarch
1.5 cups (360ml) heavy cream, chilled
2 tablespoons powdered sugar (for whipped cream, optional)
1 teaspoon vanilla extract (for whipped cream, optional)
Assorted fresh berries (strawberries, raspberries, blueberries)
Optional: Kiwi slices, passionfruit pulp, lemon curd, chocolate shavings
Instructions
Step 1: Preheat your oven to 250°F (120°C) and line a large baking sheet with parchment paper.
Step 2: In a very clean, dry mixing bowl (preferably a stand mixer), beat the egg whites on medium speed until soft peaks form.
Step 3: Gradually add the granulated sugar, 1 tablespoon at a time, continuing to beat on medium-high speed. Beat until the meringue is glossy, stiff, and holds firm peaks, and all sugar has dissolved.
Step 4: Gently fold in the white vinegar (or lemon juice) and cornstarch until just combined.
Step 5: Spoon or pipe 12 individual meringue nests (about 3-4 inches in diameter) onto the prepared baking sheet, creating a slight well in the center of each.
Step 6: Bake for 60-75 minutes, or until the pavlovas are firm to the touch and easily lift from the parchment. They should be white or very lightly golden.
Step 7: Turn off the oven and leave the pavlovas inside with the oven door slightly ajar for at least 1-2 hours (or overnight) to cool completely. This prevents cracking.
Step 8: Just before serving, combine the chilled heavy cream, powdered sugar (if using), and vanilla extract (if using) in a cold bowl. Beat until soft peaks form.
Step 9: Carefully transfer the cooled pavlova shells to a serving platter. Fill each well with a generous dollop of whipped cream and top with fresh assorted berries and any other desired garnishes.
Notes
Ensure your mixing bowl and whisk are grease-free for the best meringue. For best results, serve pavlovas within a few hours of assembly to maintain crispness.
- Prep Time: 30 minutes
- Cook Time: 60 minutes
- Category: Dessert
- Method: Baking
- Cuisine: Australian/New Zealander
- Diet: Gluten-Free
Nutrition
- Serving Size: 1 mini pavlova
- Calories: 180 kcal
- Sugar: 23g
- Sodium: 20mg
- Fat: 9g
- Saturated Fat: 6g
- Unsaturated Fat: 3g
- Trans Fat: 0g
- Carbohydrates: 25g
- Fiber: 1g
- Protein: 2g
- Cholesterol: 40mg
Keywords: pavlova, mini pavlovas, meringue, dessert, berries, elegant dessert, party food




