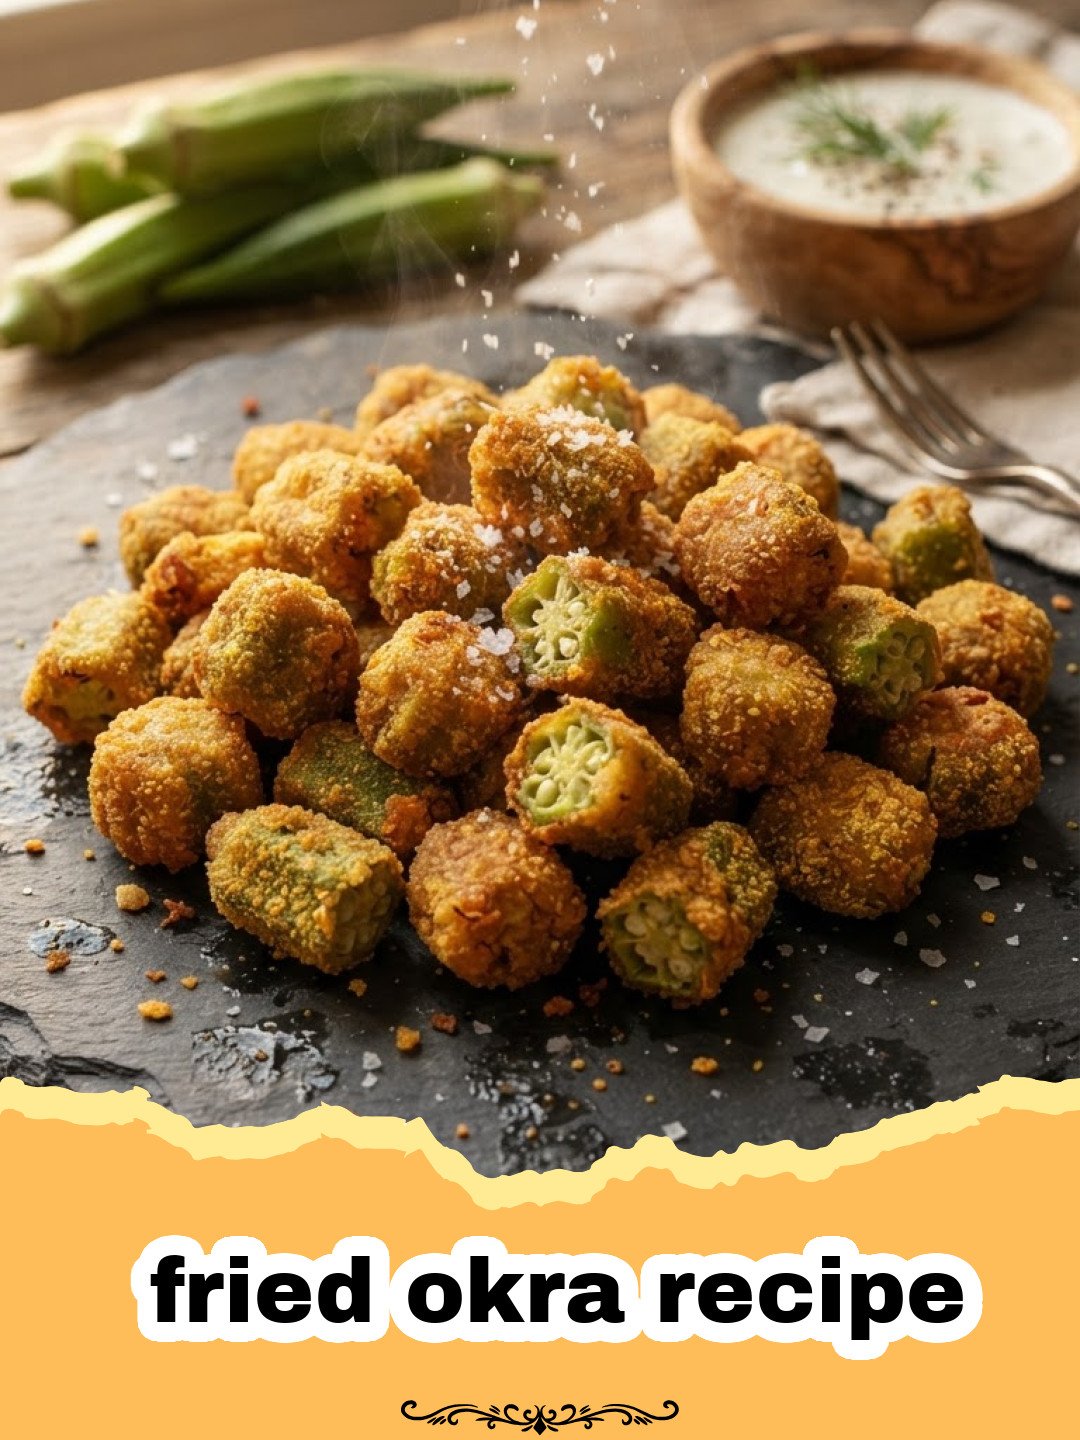
Ah, the scent of summer evenings and the promise of good food! Growing up in the South, there were certain smells that instantly transported me back to my grandmother’s kitchen. The sizzle of bacon, the sweet aroma of peach pie baking, and, most distinctly, the earthy, slightly sweet fragrance of fresh okra hitting hot oil. My grandmother, bless her heart, had a knack for turning simple garden vegetables into culinary masterpieces. Her fried okra recipe wasn’t just a side dish; it was an event. Every pod was perfectly coated, achieving a golden, crisp exterior that gave way to a tender, flavorful inside. There was no sliminess, just pure, unadulterated Southern comfort. I remember sitting at her kitchen table, a huge bowl of steaming fried okra recipe in the center, and us kids trying to sneak the crispiest bits before the adults got to them. It was a race against deliciousness! That fried okra recipe wasn’t merely food; it was a memory, a tradition, a taste of home. Today, I’m thrilled to share her time-honored fried okra recipe with you, so you can create those same cherished memories in your own kitchen.
Why This Fried Okra Recipe is a Must-Try
- Unbelievably Crispy Texture: Say goodbye to slimy okra! This fried okra recipe focuses on a dry, well-seasoned coating that fries up to an irresistible crunch every time.
- Authentic Southern Flavor: Rooted in tradition, this fried okra recipe brings the true taste of Southern comfort food to your table, perfect for any meal.
- Quick and Easy Preparation: Despite its gourmet taste, this fried okra recipe is surprisingly simple to make, requiring minimal prep and cook time.
- Versatile Side Dish: Whether paired with BBQ, fried chicken, or a simple weeknight meal, this fried okra recipe is always a crowd-pleaser and a fantastic way to enjoy a seasonal vegetable.
Key Ingredient Notes for the Perfect Fried Okra Recipe
Getting your hands on fresh, high-quality ingredients is the first step to a truly outstanding fried okra recipe. Here’s a closer look at what makes this fried okra recipe shine:
Fresh Okra
The star of our show! When selecting okra, look for pods that are bright green, firm, and between 2-4 inches long. Avoid any that are soft, discolored, or have blemishes. Smaller pods tend to be more tender. If you can’t find fresh, frozen okra (thawed and thoroughly patted dry) can work in a pinch, but fresh is always best for this fried okra recipe. Properly drying your okra before coating is crucial to preventing sliminess and ensuring a crispy fried okra recipe.
Buttermilk and Egg
This dynamic duo forms the essential wet dredge for our fried okra recipe. Buttermilk not only adheres well to the okra but also contains lactic acid, which helps tenderize the okra slightly and adds a subtle tang that complements its natural flavor. The egg acts as a binder, ensuring the cornmeal and flour mixture sticks perfectly. If you don’t have buttermilk, you can make a substitute by adding one tablespoon of white vinegar or lemon juice to regular milk and letting it sit for 5-10 minutes.
Cornmeal and Flour Blend
The secret to that golden, crispy crust in our fried okra recipe lies in the perfect ratio of cornmeal and all-purpose flour. Cornmeal provides the signature coarse texture and adds to the crunch, while flour helps create a finer, more even coating. Seasoning this blend generously with salt, black pepper, and a touch of cayenne pepper (for a little kick!) is paramount for a flavorful fried okra recipe.
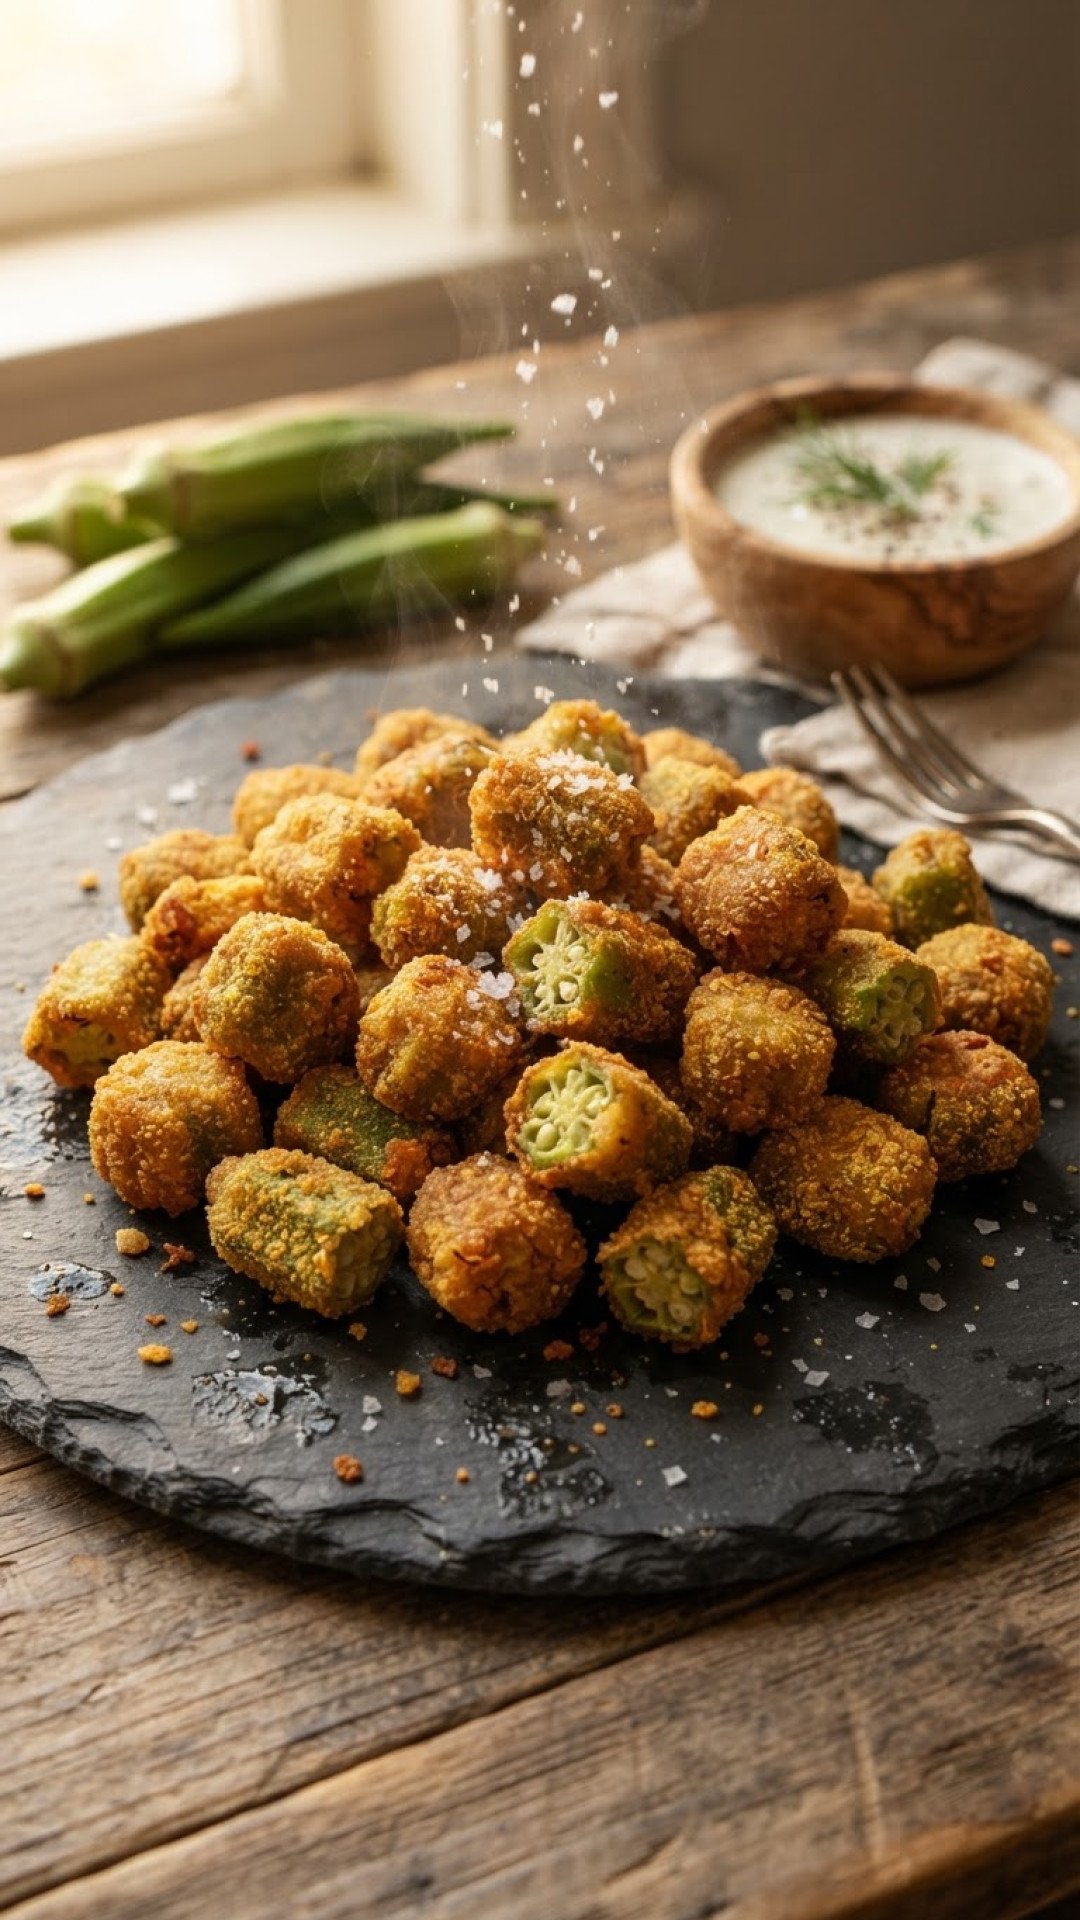
Step-by-Step Guide with Pro Tips for the Best Fried Okra Recipe
Mastering this fried okra recipe is all about technique. Follow these steps closely, and you’ll be enjoying perfectly crispy fried okra in no time.
- Step 1: Prepare the Okra. Start by washing the fresh okra thoroughly under cold water. Pat them completely dry with paper towels. This step is critical! Moisture is the enemy of crispy fried okra. Trim off the very tips of the stem and the blossom end. Slice the okra into 1/2-inch thick rounds.
- Step 2: Set Up Your Dredging Stations. In a shallow bowl, whisk together the buttermilk and egg. In another shallow dish, combine the cornmeal, all-purpose flour, salt, black pepper, and cayenne pepper. Stir well to ensure the seasonings are evenly distributed. This forms the backbone of your crispy fried okra recipe.
- Step 3: Coat the Okra. Working in batches, add the sliced okra to the buttermilk mixture, tossing gently to coat. Let any excess buttermilk drip off. Then, transfer the wet okra to the cornmeal mixture, ensuring each piece is thoroughly coated. Gently press the coating onto the okra slices. Place the coated okra on a wire rack set over a baking sheet, ensuring the pieces don’t touch. Repeat with remaining okra. Allow the coated okra to rest for 10-15 minutes; this helps the coating adhere better, leading to a crispier fried okra recipe.
- Step 4: Heat the Oil. Pour enough vegetable oil, peanut oil, or canola oil into a large cast-iron skillet or heavy-bottomed pot to reach a depth of about 1 inch. Heat the oil over medium-high heat until it reaches 350-375°F (175-190°C). If you don’t have a thermometer, drop a tiny pinch of the cornmeal mixture into the oil; if it sizzles vigorously, the oil is ready for your fried okra recipe.
- Step 5: Fry the Okra. Carefully add the coated okra to the hot oil in a single layer, making sure not to overcrowd the pan. Frying in batches is crucial to maintain oil temperature and achieve crispy results. Fry for 3-5 minutes, turning occasionally, until the okra is golden brown and crispy on all sides.
- Step 6: Drain and Season. Using a slotted spoon, remove the fried okra from the oil and transfer it to a plate lined with paper towels to drain excess oil. Immediately sprinkle with a little extra salt while hot. This enhances the flavor of your delicious fried okra recipe.
- Step 7: Serve Immediately. This fried okra recipe is best served hot and fresh!
Variations & Serving Suggestions for Your Fried Okra Recipe
This classic fried okra recipe is fantastic on its own, but there are countless ways to customize it and incorporate it into your meals.
Flavorful Variations:
- Spicy Kick: Increase the cayenne pepper in the coating blend, or add a pinch of smoked paprika for extra depth.
- Garlic & Herb: Mix in 1/2 teaspoon of garlic powder and 1/4 teaspoon of dried thyme or oregano into your cornmeal mixture for an aromatic twist to your fried okra recipe.
- Cheesy Goodness: For an extra savory treat, finely grate some Parmesan cheese into the cornmeal mixture before coating.
- Gluten-Free Option: Use a gluten-free all-purpose flour blend in place of regular flour in your fried okra recipe coating. Ensure your cornmeal is also certified gluten-free.
Serving Suggestions:
- Classic Southern Spread: Serve your crispy fried okra recipe alongside other Southern staples like fried chicken, pulled pork (check out our Ultimate Easy Slow Cooker Pulled Pork recipe), or collard greens.
- Dipping Delights: Offer a variety of dipping sauces such as ranch, remoulade, comeback sauce, or even a spicy sriracha mayo.
- Summer Salad Topper: Add cooled fried okra as a crunchy element to your summer salads.
- Quick Snack: Sometimes, a bowl of hot, salty fried okra recipe is all you need for a satisfying snack!
- Meal Prep Tip: Store any leftover fried okra in an airtight container. While best fresh, you can reheat it in an air fryer or oven at 375°F (190°C) for 5-7 minutes to regain some crispness. For easy storage and reheating, consider using quality Basics Glass Food Storage containers. They are excellent for keeping food fresh and reheating without plastic.
Nutrition Information
| Nutrient | Amount Per Serving |
|---|---|
| Calories | 210 kcal |
| Carbohydrates | 25g |
| Cholesterol | 45mg |
| Fat | 11g |
| Fiber | 4g |
| Protein | 5g |
| Saturated Fat | 2g |
| Serving Size | 1 cup |
| Sodium | 450mg |
| Sugar | 2g |
| Trans Fat | 0g |
| Unsaturated Fat | 8g |
Conclusion
There’s something truly magical about a simple vegetable transformed into a crispy, golden delight. This fried okra recipe isn’t just about frying; it’s about connecting with tradition, savoring simple pleasures, and making new memories around the table. Whether you’re a long-time okra lover or trying it for the first time, this fried okra recipe promises a perfectly crispy, flavorful experience that will have you coming back for more. So gather your ingredients, fire up that skillet, and get ready to enjoy the best fried okra recipe you’ve ever tasted. Don’t forget to check out our Ultimate Zesty Smashed Cucumber Salad for another refreshing side dish option!
FAQs
How do you prevent fried okra from being slimy?
The key to preventing sliminess in fried okra is to ensure the okra is completely dry before coating it, and to fry it in hot oil, preferably in a single layer, without overcrowding the pan. The acidic buttermilk in the dredge also helps. Allow the coated okra to rest for 10-15 minutes before frying to help the coating adhere better.
Can I use frozen okra for this fried okra recipe?
While fresh okra is always recommended for the best texture, you can use frozen okra. Make sure to thaw it completely and then pat it thoroughly dry with paper towels to remove all excess moisture before coating and frying. This is crucial for achieving a crispy fried okra recipe.
What type of oil is best for frying okra?
For frying okra, choose oils with a high smoke point and neutral flavor. Vegetable oil, peanut oil, canola oil, or corn oil are all excellent choices. These oils can reach the necessary high temperatures without breaking down or imparting undesirable flavors to your fried okra recipe.
How do I reheat leftover fried okra to keep it crispy?
To reheat leftover fried okra and maintain its crispiness, avoid the microwave. Instead, preheat an air fryer to 375u00b0F (190u00b0C) and cook for 5-7 minutes, or spread it in a single layer on a baking sheet and bake in a preheated oven at 375u00b0F (190u00b0C) for 8-12 minutes, or until heated through and crispy.

The Crispiest Southern Fried Okra
Unlock the secret to perfectly crispy, non-slimy fried okra with this authentic Southern fried okra recipe. A golden-brown coating and tender interior make this side dish an absolute delight.
- Total Time: 30 minutes
- Yield: 4 servings 1x
Ingredients
1 lb fresh okra, washed and dried
1/2 cup buttermilk
1 large egg
1/2 cup all-purpose flour
1/2 cup cornmeal
1 tsp salt, plus more for seasoning
1/2 tsp black pepper
1/4 tsp cayenne pepper (optional, for a kick)
3–4 cups vegetable oil, peanut oil, or canola oil, for frying
Instructions
Step 1: Prepare the Okra. Wash the fresh okra thoroughly and pat them completely dry with paper towels. This step is critical! Trim off the very tips of the stem and the blossom end. Slice the okra into 1/2-inch thick rounds.
Step 2: Set Up Your Dredging Stations. In a shallow bowl, whisk together the buttermilk and egg. In another shallow dish, combine the cornmeal, all-purpose flour, salt, black pepper, and cayenne pepper. Stir well to ensure the seasonings are evenly distributed.
Step 3: Coat the Okra. Working in batches, add the sliced okra to the buttermilk mixture, tossing gently to coat. Let any excess buttermilk drip off. Then, transfer the wet okra to the cornmeal mixture, ensuring each piece is thoroughly coated. Gently press the coating onto the okra slices. Place the coated okra on a wire rack set over a baking sheet, ensuring the pieces don’t touch. Allow the coated okra to rest for 10-15 minutes.
Step 4: Heat the Oil. Pour enough vegetable oil, peanut oil, or canola oil into a large cast-iron skillet or heavy-bottomed pot to reach a depth of about 1 inch. Heat the oil over medium-high heat until it reaches 350-375°F (175-190°C).
Step 5: Fry the Okra. Carefully add the coated okra to the hot oil in a single layer, making sure not to overcrowd the pan. Fry for 3-5 minutes, turning occasionally, until the okra is golden brown and crispy on all sides.
Step 6: Drain and Season. Using a slotted spoon, remove the fried okra from the oil and transfer it to a plate lined with paper towels to drain excess oil. Immediately sprinkle with a little extra salt while hot.
Step 7: Serve Immediately. This fried okra is best served hot and fresh!
Notes
For best results, ensure your okra is completely dry before dredging. Don’t overcrowd the pan when frying; work in batches to maintain oil temperature and achieve maximum crispiness. Serve immediately!
- Prep Time: 15 minutes
- Cook Time: 15 minutes
- Category: Side Dishes
- Cuisine: Southern
Nutrition
- Serving Size: 1 cup
- Calories: 210 kcal
- Sugar: 2g
- Sodium: 450mg
- Fat: 11g
- Saturated Fat: 2g
- Unsaturated Fat: 8g
- Trans Fat: 0g
- Carbohydrates: 25g
- Fiber: 4g
- Protein: 5g
- Cholesterol: 45mg
Keywords: fried okra recipe, okra recipe, southern fried okra, crispy okra, no slime okra, easy fried okra, side dish, vegetable recipe, classic southern, fried vegetables