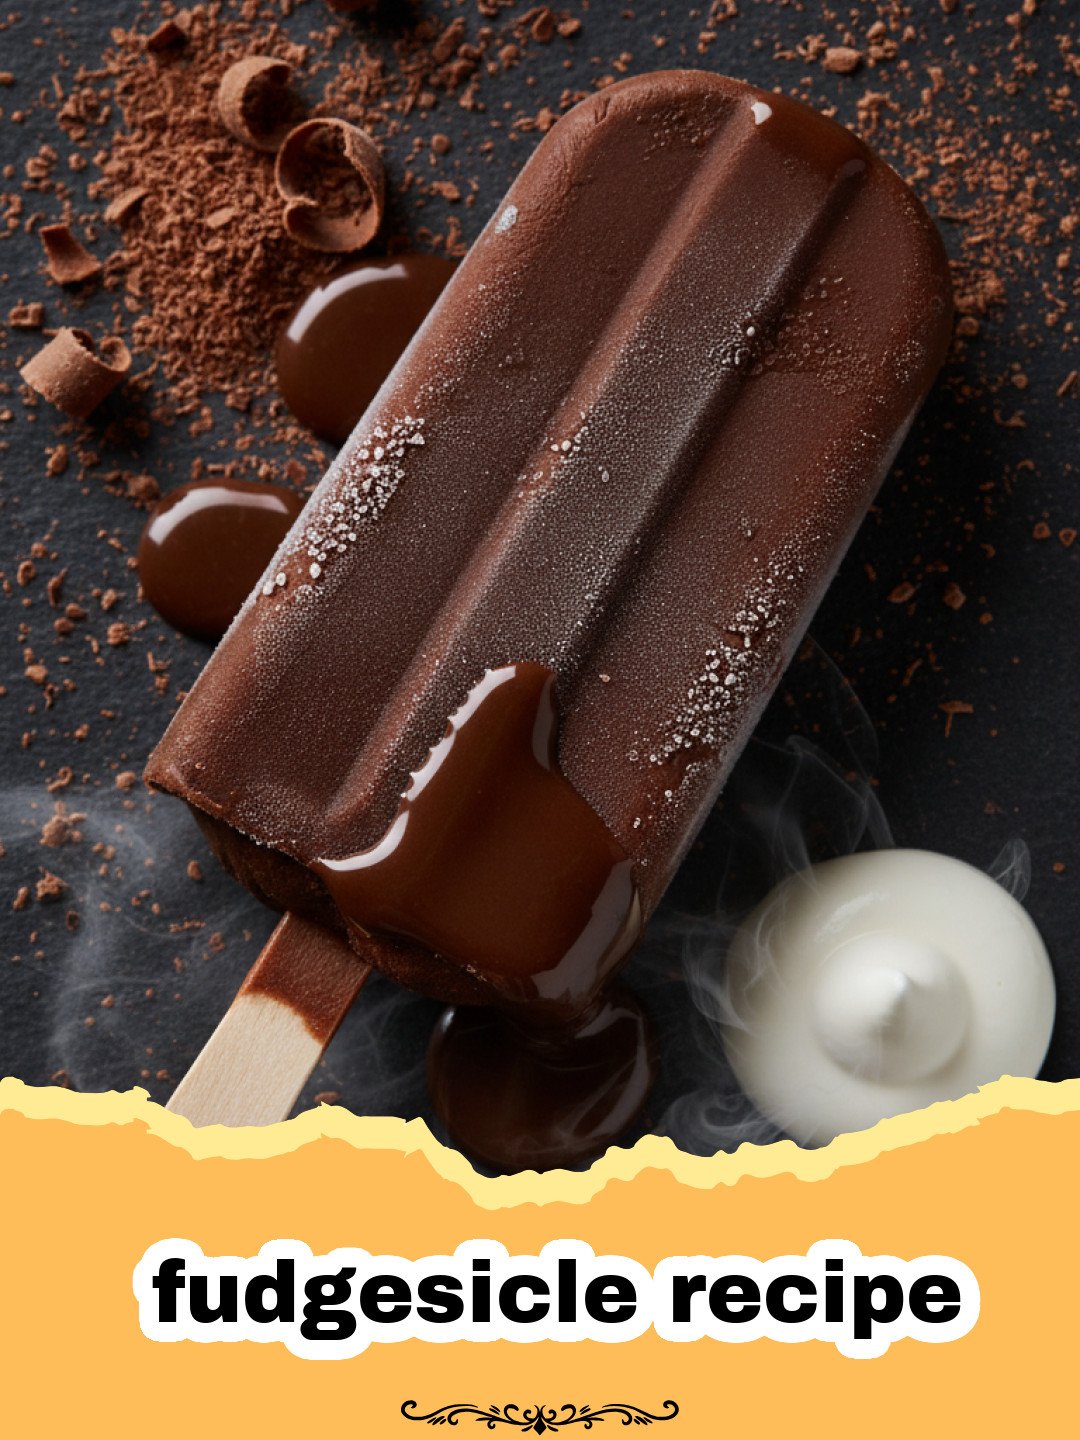
There’s nothing quite like a homemade fudgesicle recipe to bring back a flood of sweet, sticky memories of summer! I can practically taste the sun-drenched afternoons and hear the distant jingle of the ice cream truck. For me, nothing truly encapsulated the pure joy of summer more than tearing open a crinkly wrapper to reveal a dark, frosty fudgesicle. My childhood summers were a blur of bike rides, scraped knees, and the blissful relief of that first chocolatey bite. There was something magical about that simple frozen treat – the way it slowly melted, coating your tongue with rich, creamy cocoa goodness. This particular fudgesicle recipe isn’t just a dessert; it’s a passport back to those carefree days, a sweet embrace of nostalgia that tastes even better than you remember. Forget the store-bought versions; once you try this creamy, decadent fudgesicle recipe, you’ll be making it all season long. It’s a truly irresistible way to beat the heat, and remarkably easy to prepare. If you’ve ever dreamed of recreating that perfect childhood treat, this easy fudgesicle recipe is your golden ticket.
Why This Fudgesicle Recipe is a Must-Try
There are countless reasons why this particular fudgesicle recipe will become your go-to frozen treat. It’s more than just mixing ingredients; it’s about crafting a perfect summer memory that the whole family will adore. Here’s why this fudgesicle recipe stands head and shoulders above the rest:
- Unbelievable Creaminess, Not Icy: Unlike many store-bought or even other homemade versions that can turn out disappointingly icy, our carefully crafted fudgesicle recipe boasts an incredibly velvety smooth texture. The thoughtful combination of whole milk, rich heavy cream, and a touch of cornstarch works in harmony to prevent large ice crystal formation, ensuring each bite is pure, melty bliss. You’ll be amazed at how luxuriously smooth this fudgesicle recipe is!
- Intensely Rich, Deep Chocolate Flavor: We don’t skimp on the cocoa! This fudgesicle recipe is designed to deliver a profound, satisfying chocolate punch that will delight any chocoholic. By using a generous amount of high-quality unsweetened cocoa powder, and even the option to add extra chocolate chips, we achieve a depth of flavor that’s far superior to lighter, less impactful versions. It’s the quintessential chocolate experience in frozen form.
- Simple, Wholesome Ingredients You Trust: You won’t find any mysterious additives, artificial flavors, or unpronounceable ingredients in this fudgesicle recipe. We stick to basic, readily available pantry staples: cocoa, sugar, milk, cream, cornstarch, and vanilla. This means you know exactly what’s going into your frozen treats, offering a healthier, more transparent, and equally delicious alternative to pre-packaged options. It’s a wholesome way to enjoy a classic.
- Effortlessly Customizable & Fun for All Ages: While perfect as is, this foundational fudgesicle recipe is a fantastic canvas for your culinary creativity. Whether you’re looking to add a hint of spice, a dash of mint, or a swirl of another flavor, it adapts beautifully. Plus, the process of making this fudgesicle recipe is simple enough that it becomes a fun kitchen project for kids and adults alike, creating delicious memories along the way.
Key Ingredient Notes for the Perfect Fudgesicle Recipe
Achieving that perfect fudgesicle texture and flavor comes down to understanding the role of a few key ingredients in this fudgesicle recipe. Don’t underestimate their power; each plays a crucial part in the final creamy, delicious result!
Quality Cocoa Powder Matters
The star of any chocolate treat is, of course, the cocoa, and our fudgesicle recipe is no exception. For the deepest, richest chocolate flavor, I highly recommend opting for a high-quality unsweetened cocoa powder. My personal preference leans towards Dutch-processed cocoa powder. Dutch-processed cocoa has been treated to reduce its acidity, resulting in a milder, less bitter flavor and a darker, more appealing color. This contributes to that classic fudgesicle depth we all crave. While natural cocoa powder will still work, you might notice a slightly fruitier, more acidic undertone. Whichever you choose, always select a brand whose flavor you genuinely love, as it will be the dominant note in your finished fudgesicles.
The Creaminess Power Duo: Whole Milk and Heavy Cream
This is where the magic happens for achieving that coveted, non-icy creaminess! Using whole milk provides an excellent fat base, which is crucial for a rich mouthfeel. But it’s the addition of heavy cream that truly elevates the richness and luxurious texture of this fudgesicle recipe to another level. The higher fat content in both ingredients is absolutely essential for preventing the formation of large, icy crystals during freezing. These fats interfere with the water molecules, keeping them smaller and resulting in that dreamy, smooth consistency that defines a perfect fudgesicle. Skim milk or low-fat milk simply won’t cut it for this fudgesicle recipe if you’re chasing true indulgence and a superior texture; they will lead to a much icier product. Trust me, the fat is your friend here!
The Unsung Hero: Cornstarch for the Fudgesicle Recipe
Cornstarch might seem like an unusual or even an optional addition to a frozen treat, but in this fudgesicle recipe, it’s the unsung hero that ensures a velvety smooth and fudgy texture. When cooked with the liquid ingredients, cornstarch acts as a thickener, creating a custard-like base. This thickening action is vital for producing a fudgesicle that is smooth, cohesive, and doesn’t turn into a gritty or overly icy block when frozen. It helps to bind the ingredients and provides a structure that contributes to the rich, fudgy bite rather than a watery one. Make sure to whisk it thoroughly with the dry ingredients first to avoid any lumps before adding liquids, and then cook the mixture over medium heat until it visibly thickens properly. This step is non-negotiable for the best results from your fudgesicle recipe.
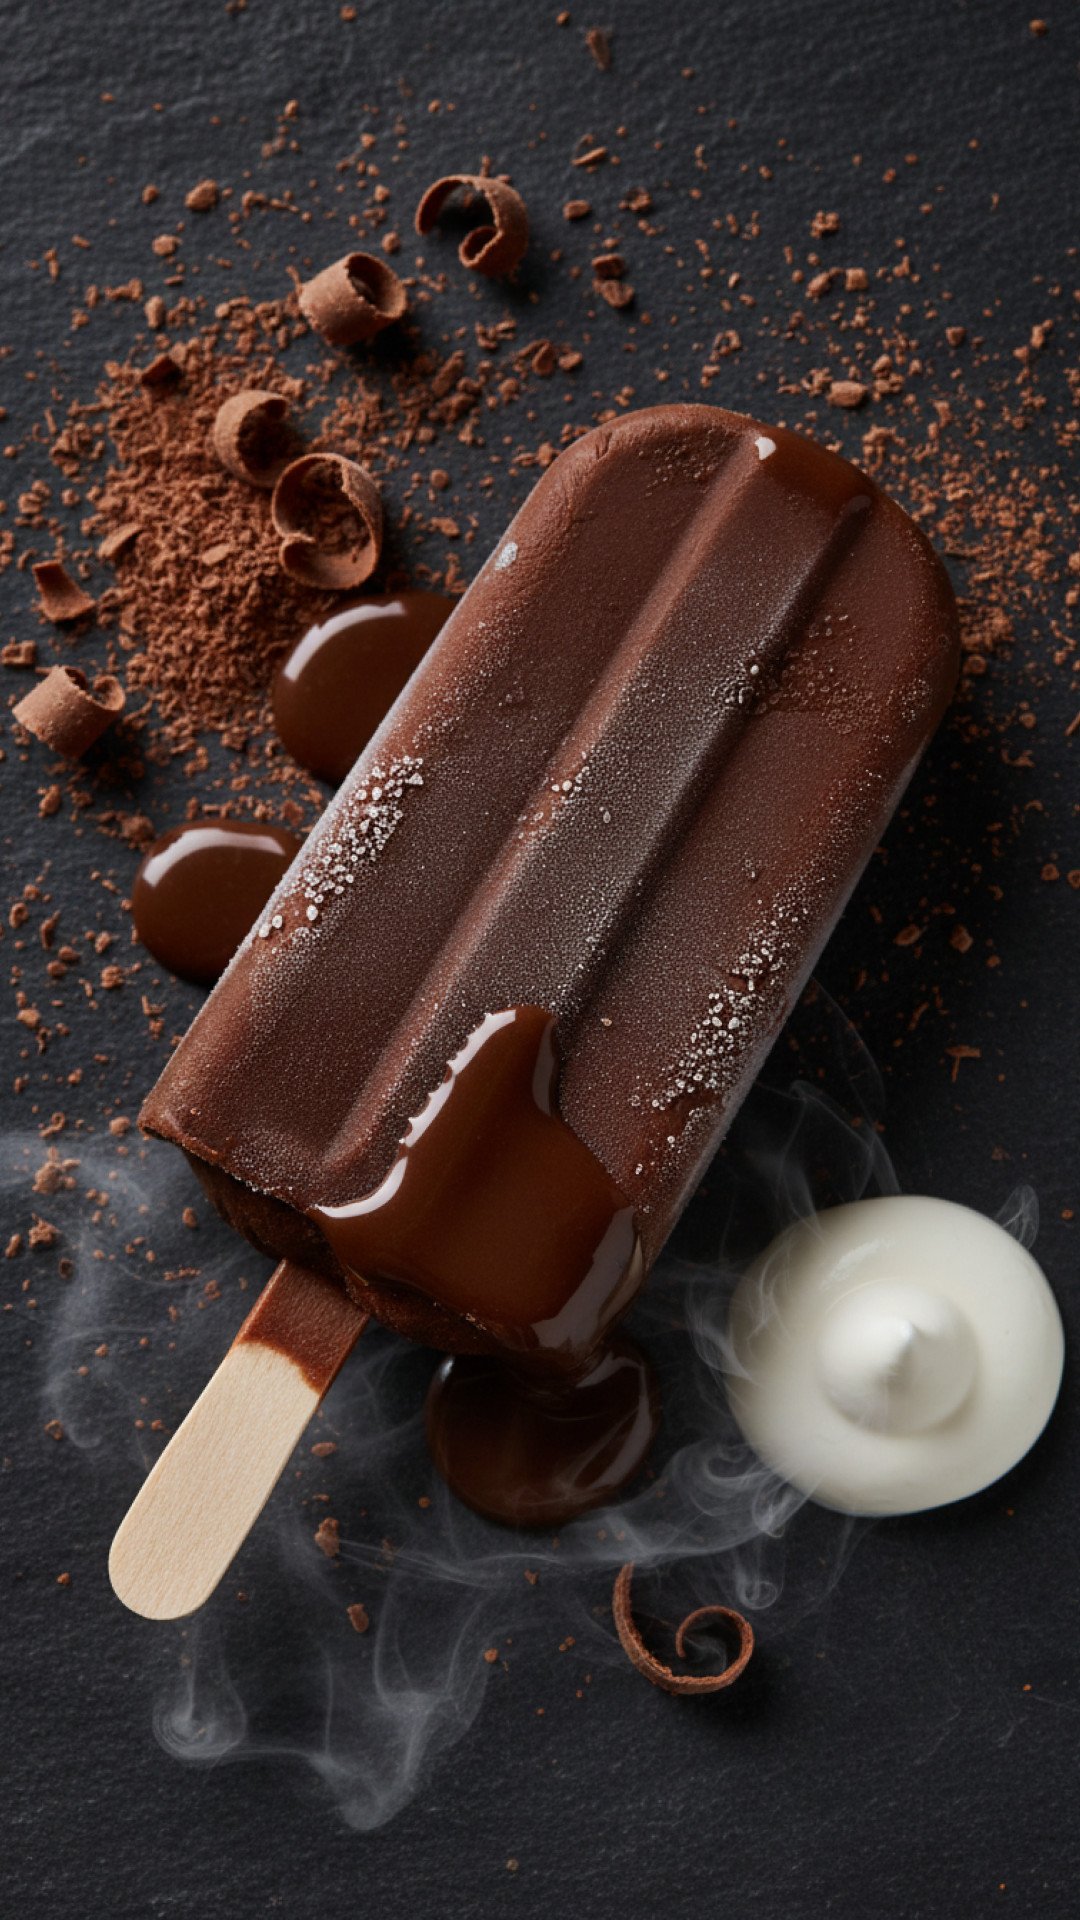
Step-by-Step Guide with Pro Tips for Your Fudgesicle Recipe
Making homemade fudgesicles is surprisingly straightforward, but a few expert tips can truly elevate your results from good to absolutely phenomenal. Follow this detailed guide for the best homemade fudgesicle recipe you’ll ever make!
- Step 1: In a medium saucepan, whisk together the unsweetened cocoa powder, granulated sugar, cornstarch, and salt. This initial step is absolutely crucial for preventing lumps. By thoroughly combining the dry ingredients first, you ensure that the cornstarch and cocoa disperse evenly, which is key to creating a perfectly smooth, silky base for your fudgesicle recipe. Take your time with this to avoid any surprises later.
- Step 2: Gradually whisk in the whole milk and heavy cream until the mixture is completely smooth and lump-free. Once fully combined, place the saucepan over medium heat. Consistent, gentle whisking during this stage ensures a homogenous mixture before the heat begins to activate the cornstarch, setting you up for success with your fudgesicle recipe.
- Step 3: Cook, stirring constantly with a whisk or rubber spatula, until the mixture thickens and comes to a gentle simmer. This process usually takes about 5-7 minutes. You’ll know it’s ready when the mixture is thick enough to coat the back of a spoon, and when you run your finger across the coated spoon, the line holds. Do not boil vigorously. This proper thickening is the secret to the incredibly fudgy, non-icy texture of this fudgesicle recipe.
- Step 4: Remove the saucepan from the heat immediately. Stir in the vanilla extract and, if using, the optional semi-sweet chocolate chips until they are completely melted and fully incorporated into the warm mixture. The residual heat from the cooked base will be sufficient to melt the chips, adding another layer of rich chocolate complexity to your fudgesicle recipe.
- Step 5: Pour the fudgesicle mixture through a fine-mesh sieve into a clean bowl or, ideally, a large measuring cup with a spout. This step might seem a little extra, but it’s a true game-changer! It effectively catches any tiny lumps of cocoa or cornstarch that may have formed, or any small bits of milk solids that might have cooked onto the bottom of the pan, guaranteeing your final fudgesicles are incredibly smooth and free of any gritty texture. For easy storage and chilling of the mixture, or even for prepping ingredients, I often rely on durable Basics Glass Food Storage containers.
- Step 6: Allow the mixture to cool slightly at room temperature for about 15-20 minutes. Then, cover it directly with plastic wrap (pressing the wrap onto the surface of the mixture to prevent a skin from forming) and refrigerate for at least 1 hour, or until it is completely and thoroughly chilled. Chilling the mixture completely before freezing is paramount; it significantly helps to prevent the formation of those pesky ice crystals, leading to a much creamier and more enjoyable fudgesicle recipe experience.
- Step 7: Once the mixture is perfectly chilled, give it a quick stir and then carefully pour it into your chosen popsicle molds. Make sure to leave a small space (about 1/4 to 1/2 inch) at the top of each mold. This is important to account for the mixture expanding slightly as it freezes. Don’t overfill, or your fudgesicles will be difficult to remove cleanly from the molds.
- Step 8: Insert popsicle sticks (if your molds require them) and transfer the filled molds to the freezer. Freeze for a minimum of 4-6 hours, or ideally, until they are completely solid. For the very best results and a truly firm fudgesicle, I highly recommend freezing them overnight. If you’re using traditional wooden sticks and flexible molds, it’s often easier to insert the sticks about 1-2 hours into the freezing time, when the mixture is semi-firm but not yet rock hard.
- Step 9: To serve your magnificent homemade fudgesicles, run the molds under warm tap water for about 15-20 seconds. This gentle warming helps to slightly loosen the frozen treat from the mold, allowing you to easily slide it out without breaking the fudgesicle. Pull firmly but gently on the stick. Now, enjoy your incredibly delicious, perfectly creamy fudgesicle recipe – a true taste of summer!
Variations & Serving Suggestions for Your Fudgesicle Recipe
While this classic fudgesicle recipe is utterly perfect on its own, it also serves as a magnificent base for endless creative experimentation! Don’t be afraid to get a little adventurous with your next batch. Here are a few ideas to inspire you and make this fudgesicle recipe truly your own:
Flavor Twists to Elevate Your Fudgesicle Recipe:
- Mint Chocolate Fudgesicles: For a refreshing and classic pairing, simply add 1/2 teaspoon of pure peppermint extract along with the vanilla extract in Step 4. Adjust to your taste preference for a subtle hint or a bold burst of mint.
- Spicy Mexican Chocolate Fudgesicles: Craving a little warmth? A pinch of cayenne pepper (start with 1/8 to 1/4 teaspoon, and add more if you’re brave!) mixed in with the cocoa powder in Step 1 will introduce a subtle, intriguing heat that beautifully enhances the chocolate flavor.
- Coffee Infusion for Mocha Lovers: Dissolve 1-2 teaspoons of high-quality instant espresso powder or very strong instant coffee in the warm milk mixture during Step 3. This creates a sophisticated, mocha-inspired fudgesicle that’s perfect for adult palates.
- Creamy Peanut Butter Swirl: Once the fudgesicle mixture is fully chilled in Step 6, gently melt about 1/4 cup of creamy peanut butter. Swirl it delicately into the chocolate mixture just before pouring it into the molds. The contrast of rich chocolate and nutty peanut butter is divine!
- Hazelnut Heaven Fudgesicles: For a decadent, Ferrero Rocher-like treat, add a tablespoon of hazelnut extract or a couple of tablespoons of your favorite chocolate-hazelnut spread (like Nutella) to the warm mixture in Step 4.
Creative Serving Suggestions:
- Dipped in Magic Shell: For an extra special, crunchy coating, dip your freshly released, frozen fudgesicles into melted chocolate or a homemade magic shell (chocolate melted with a touch of coconut oil) that hardens instantly upon contact with the cold fudgesicle.
- Topped with Crushed Delights: While the magic shell is still wet, or even just directly onto the fudgesicle, roll them in crushed nuts (peanuts, almonds, hazelnuts), colorful sprinkles, mini chocolate chips, or shredded coconut.
- Fudgesicle Floats for Retro Fun: Break up a homemade fudgesicle into a tall glass of root beer, cola, or even sparkling water for a nostalgic and surprisingly delicious twist on a classic float.
- A Garnish for Desserts: For an unexpected touch, use mini fudgesicles as a fun and impressive garnish for milkshakes, ice cream sundaes, or even a rich chocolate cake.
And if you’re looking for other ways to cool down or enjoy delightful sweet treats this summer, why not try The Ultimate Refreshing Watermelon Smoothie Recipe for Summer Bliss for a fruity alternative, or perhaps indulge in My Grandma’s Irresistible Peach Crumble for a different kind of sweet escape from the heat?
Nutrition Information
Here’s a breakdown of the estimated nutritional content per serving for this creamy fudgesicle recipe. Please note that these are approximate estimates and can vary based on specific brands of ingredients used, exact measurements, and individual portion sizes. This data is provided for general informational purposes.
| Nutrient | Amount (per serving) |
|---|---|
| Calories | 180 kcal |
| Carbohydrates | 25g |
| Cholesterol | 25mg |
| Total Fat | 8g |
| Fiber | 2g |
| Protein | 4g |
| Saturated Fat | 5g |
| Serving Size | 1 fudgesicle |
| Sodium | 60mg |
| Sugar | 20g |
| Trans Fat | 0g |
| Unsaturated Fat | 3g |
Conclusion
There you have it – your ultimate guide to crafting the most delicious, creamy, and wonderfully nostalgic homemade fudgesicles. This fudgesicle recipe is so much more than just a frozen treat; it’s a simple pleasure that reliably brings smiles, creates lasting summer memories, and offers a sweet, satisfying escape on even the hottest days. The joy of pulling a perfectly formed, deeply chocolatey fudgesicle from its mold, knowing you made it yourself, is truly unparalleled. So, gather your simple ingredients, dust off those popsicle molds, and get ready to enjoy the very best homemade fudgesicles you’ve ever tasted. Whether you stick to the classic version or experiment with exciting flavor variations, this fudgesicle recipe is guaranteed to be a hit. Happy freezing, and enjoy every single delicious bite!
FAQs
How do I make sure my homemade fudgesicles are creamy and not icy?
The key to creamy fudgesicles lies in a few steps. First, use full-fat dairy like whole milk and heavy cream. Second, incorporate a thickening agent like cornstarch and cook the mixture until it’s thick and coats a spoon. Third, ensure the mixture is completely chilled in the refrigerator before pouring into molds and freezing. Finally, a fine-mesh sieve helps remove any small lumps, contributing to a smoother texture. The fat content and the cooked base prevent large ice crystals from forming in this fudgesicle recipe.
How long do homemade fudgesicles last in the freezer?
Properly stored homemade fudgesicles will last in the freezer for up to 2-3 months. For best quality, once frozen solid, remove them from their molds and wrap each fudgesicle individually in plastic wrap, then place them in an airtight freezer-safe bag or container. This prevents freezer burn and helps maintain their creamy texture and flavor from this fudgesicle recipe.
Can I make this fudgesicle recipe dairy-free or vegan?
Yes, you can adapt this fudgesicle recipe to be dairy-free or vegan! Substitute the whole milk with full-fat canned coconut milk or a rich plant-based milk like oat milk, and replace the heavy cream with full-fat canned coconut cream (the thick part from a can of coconut milk that’s been refrigerated overnight). Ensure your chocolate chips (if using) are also dairy-free. The cornstarch will still work as a thickener to achieve that creamy consistency.
What kind of molds are best for making homemade fudgesicles?
For homemade fudgesicles, silicone popsicle molds are excellent as they make it very easy to release the frozen treats. Stainless steel molds are also a good option for quick freezing and durability. If you’re using plastic molds, make sure they are BPA-free. Even small paper cups with wooden sticks can work in a pinch for a rustic approach. Ensure your chosen mold has a tight-fitting lid or a slot for sticks, making it ideal for this fudgesicle recipe.
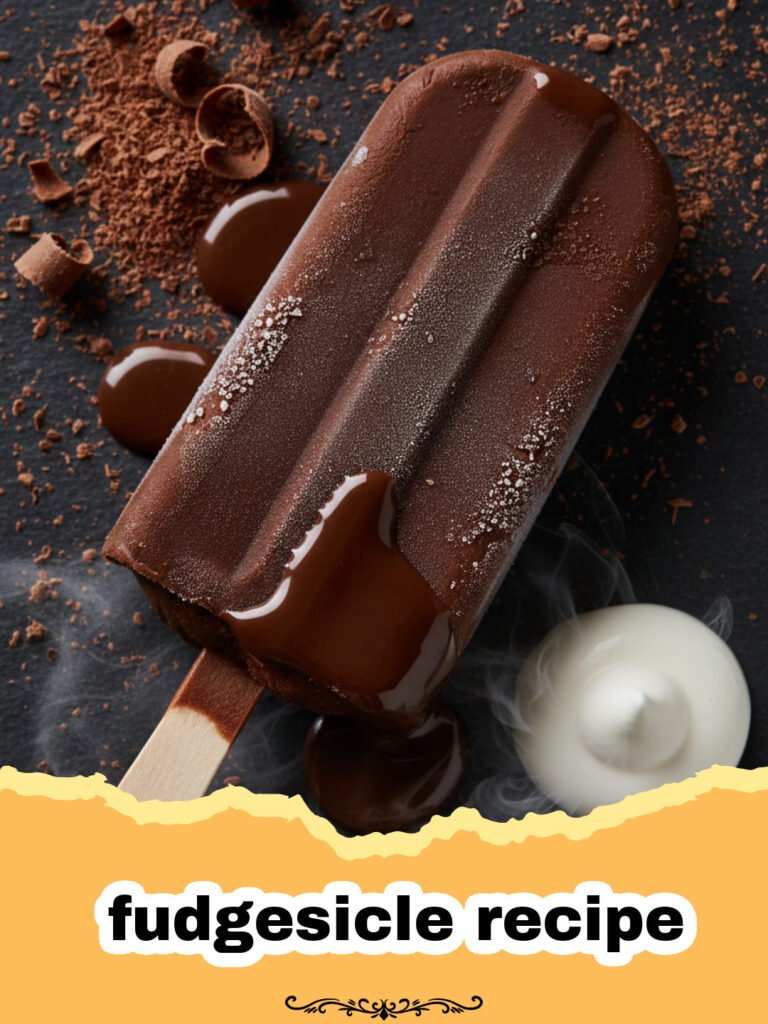
Homemade Creamy Chocolate Fudgesicles
Indulge in the nostalgic delight of perfectly creamy, rich chocolate fudgesicles made right in your own kitchen. This simple fudgesicle recipe brings back all the happy memories of summer days and is surprisingly easy to make.
- Total Time: 25 minutes (plus 4-6 hours freezing time)
- Yield: 8–10 fudgesicles 1x
Ingredients
1/2 cup unsweetened cocoa powder
1/2 cup granulated sugar
1/4 cup cornstarch
1/4 teaspoon salt
2 cups whole milk
1/2 cup heavy cream
1 teaspoon vanilla extract
Optional: 1/4 cup semi-sweet chocolate chips (for extra richness)
Instructions
Step 1: In a medium saucepan, whisk together the unsweetened cocoa powder, granulated sugar, cornstarch, and salt. This ensures no lumps form later and creates a smooth base for your fudgesicle recipe.
Step 2: Gradually whisk in the whole milk and heavy cream until the mixture is smooth and lump-free. Place the saucepan over medium heat.
Step 3: Cook, stirring constantly, until the mixture thickens and comes to a gentle simmer. This should take about 5-7 minutes. The mixture should be thick enough to coat the back of a spoon, indicating it’s ready for the next step of this fudgesicle recipe.
Step 4: Remove the saucepan from the heat and stir in the vanilla extract and optional chocolate chips until melted and fully incorporated. This adds the final touch of rich flavor to the fudgesicle recipe.
Step 5: Pour the fudgesicle mixture through a fine-mesh sieve into a bowl or a large measuring cup with a spout. This step helps remove any potential small lumps and ensures a super smooth texture, crucial for a creamy fudgesicle recipe.
Step 6: Allow the mixture to cool slightly at room temperature for about 15-20 minutes, then cover it directly with plastic wrap and refrigerate for at least 1 hour, or until completely chilled. This prevents ice crystal formation, ensuring a perfectly creamy fudgesicle recipe.
Step 7: Once chilled, pour the fudgesicle mixture into your popsicle molds, leaving a small space at the top for expansion during freezing. Do not overfill to ensure easy removal of your homemade fudgesicles.
Step 8: Insert popsicle sticks (if your molds require them) and freeze for at least 4-6 hours, or until solid. For best results with this fudgesicle recipe, freeze overnight.
Step 9: To serve, run the molds under warm water for 15-20 seconds to easily release the homemade fudgesicles. Enjoy your delicious, creamy fudgesicle recipe!
Notes
For best results, allow fudgesicles to freeze completely for at least 6 hours, or overnight. If using wooden sticks, insert them about 1-2 hours into freezing time when the mixture is semi-firm but not fully frozen. To remove, run the popsicle molds under warm water for 15-20 seconds. This fudgesicle recipe can be easily doubled for larger batches.
- Prep Time: 15 minutes
- Cook Time: 10 minutes
- Category: Appetizers & Snacks
- Cuisine: American
Nutrition
- Serving Size: 1 fudgesicle
- Calories: 180 kcal
- Sugar: 20g
- Sodium: 60mg
- Fat: 8g
- Saturated Fat: 5g
- Unsaturated Fat: 3g
- Trans Fat: 0g
- Carbohydrates: 25g
- Fiber: 2g
- Protein: 4g
- Cholesterol: 25mg
Keywords: fudgesicle recipe, homemade fudgesicles, chocolate popsicles, creamy fudgesicles, summer dessert, easy fudgesicle, frozen treats, chocolate frozen dessert