

There’s a certain magic that happens in a kitchen, a kind of alchemy where simple ingredients transform into something truly special. For me, that magic often started with my grandmother. I can still vividly recall the scent of cinnamon and butter wafting from her kitchen on a hot summer’s day. She wasn’t making a complex cake, but rather laying the foundation for one of her famous no-bake cheesecakes. And that foundation? It was always a perfectly crisp, buttery, and utterly delightful graham cracker crust recipe. This wasn’t just about baking; it was about memories, about tradition, and about the sheer joy of creating something delicious with your hands.
As a child, I’d stand on a stool, eagerly waiting for my turn to help crush the graham crackers. Back then, it was a Ziploc bag and a rolling pin – a surprisingly effective and therapeutic method! The coarse crumbs, the melted butter, the hint of sugar… it all came together to form what felt like the bedrock of summer desserts. Grandma would always say, “A good crust is the secret to a great pie, sweet pea.” And she was absolutely right. Over the years, I’ve refined her technique, tried countless variations, but the core essence of that simple graham cracker crust recipe remains. It’s more than just an ingredient; it’s the welcoming embrace that cradles your favorite fillings, the crunch that contrasts with creamy textures, and the flavor that ties everything together. Whether you’re a seasoned baker or a kitchen novice, mastering this easy no-bake graham cracker crust recipe will open up a world of dessert possibilities, just as it did for me all those years ago.
Why This Graham Cracker Crust Recipe is a Must-Try
- Effortlessly Delicious: Forget complicated pastry dough! This no-bake graham cracker crust recipe comes together in minutes with minimal fuss, delivering maximum flavor and a delightful texture.
- Unmatched Versatility: This isn’t just for cheesecake! Use this foolproof graham cracker crust recipe as the base for a wide array of desserts, from creamy pies and tarts to layered parfaits and even ice cream cakes.
- Perfect Texture Every Time: The combination of crushed graham crackers, butter, and a touch of sugar creates a sturdy yet tender crust that holds its shape and offers a satisfying crunch with every bite.
- No-Bake Convenience: Ideal for summer desserts when you want to avoid turning on the oven, or simply when you need a quick and easy dessert solution. This graham cracker crust recipe is your answer.
Key Ingredient Notes for Your Graham Cracker Crust Recipe
While this graham cracker crust recipe is incredibly simple, the quality and preparation of a few key ingredients make all the difference.
Graham Crackers
The star of our graham cracker crust recipe! For the best results, use good quality, fresh graham crackers. You’ll need about 1 and 1/2 cups of fine crumbs, which usually equates to around 10-12 full sheets of graham crackers. You can crush them in a food processor for super fine, even crumbs, or go old-school with a Ziploc bag and a rolling pin for a slightly coarser texture (which I personally love!). Just ensure there are no large chunks, as they won’t bind as well.
Unsalted Butter
Melted unsalted butter is crucial for binding the crumbs and imparting that rich, irresistible flavor. Using unsalted butter allows you to control the salt content in your graham cracker crust recipe. Make sure it’s fully melted but not boiling hot when you mix it with the crumbs. The butter acts as the glue, holding your crust together and giving it that signature crispness once chilled.
Granulated Sugar
A touch of granulated sugar enhances the sweetness of the graham crackers and helps with the binding process. While you could technically omit it for a less sweet crust, I find that it perfectly balances the flavors and contributes to the overall texture of this delicious pie base. Don’t be tempted to add too much, as it can make the crust overly brittle.
Step-by-Step Guide with Pro Tips for Your Graham Cracker Crust Recipe
Creating the perfect graham cracker crust recipe is easier than you think! Follow these steps for a flawless result every time.
Step 1: Gather your ingredients. Ensure your graham crackers, butter, and sugar are ready to go. This makes the whole process smooth and quick. This no-bake graham cracker crust recipe truly comes together in a flash.
Step 2: Prepare the graham cracker crumbs. Place 1 and 1/2 cups of graham cracker crumbs (about 10-12 full sheets) into a food processor and pulse until fine crumbs form. Alternatively, place them in a sturdy plastic bag and crush them with a rolling pin until uniformly fine. The finer the crumbs, the more compact and sturdy your graham cracker crust recipe will be.
Step 3: Melt the butter. In a small microwave-safe bowl, melt 6 tablespoons (3/4 stick) of unsalted butter. Be careful not to overheat it; just until it’s fully liquid.
Step 4: Combine wet and dry ingredients. In a medium bowl, combine the graham cracker crumbs, 1/4 cup granulated sugar, and the melted butter. Mix thoroughly with a fork or spatula until all crumbs are moistened and resemble wet sand. This is the key to a cohesive graham cracker crust recipe.
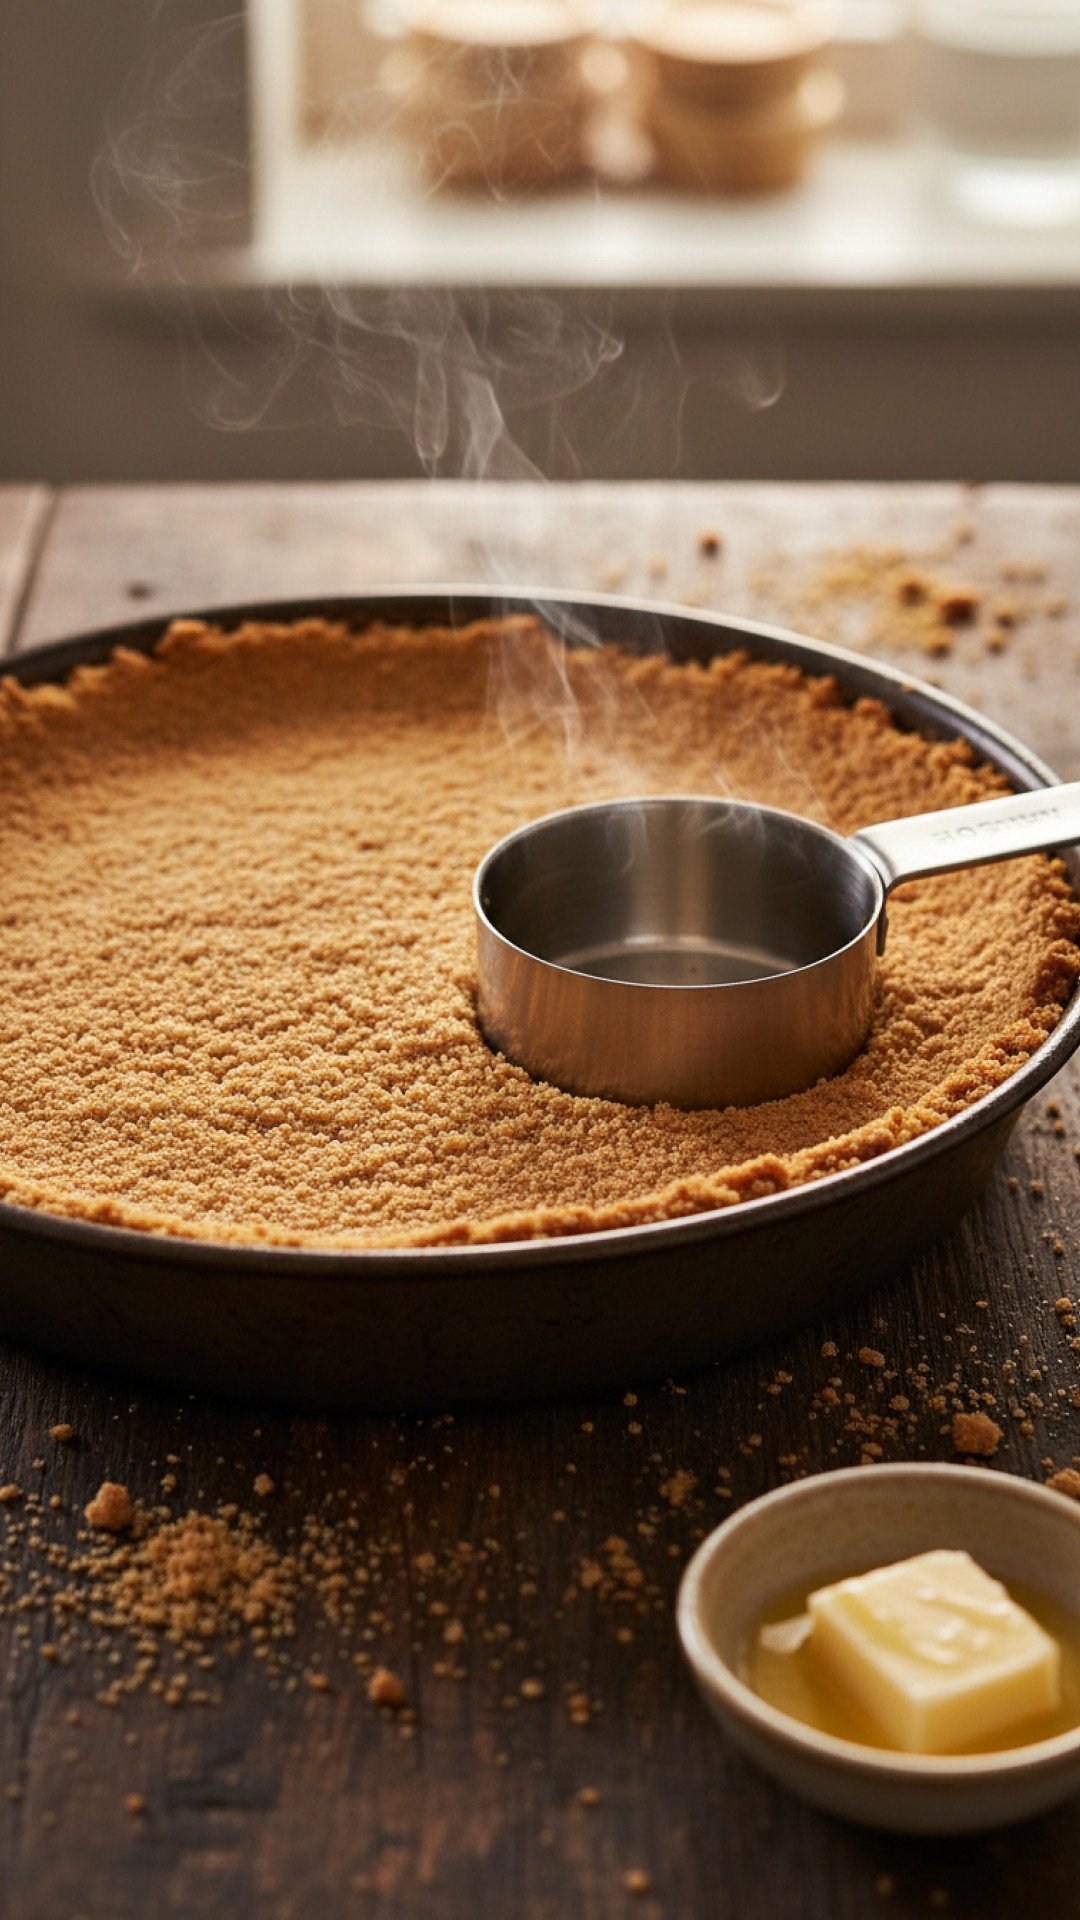
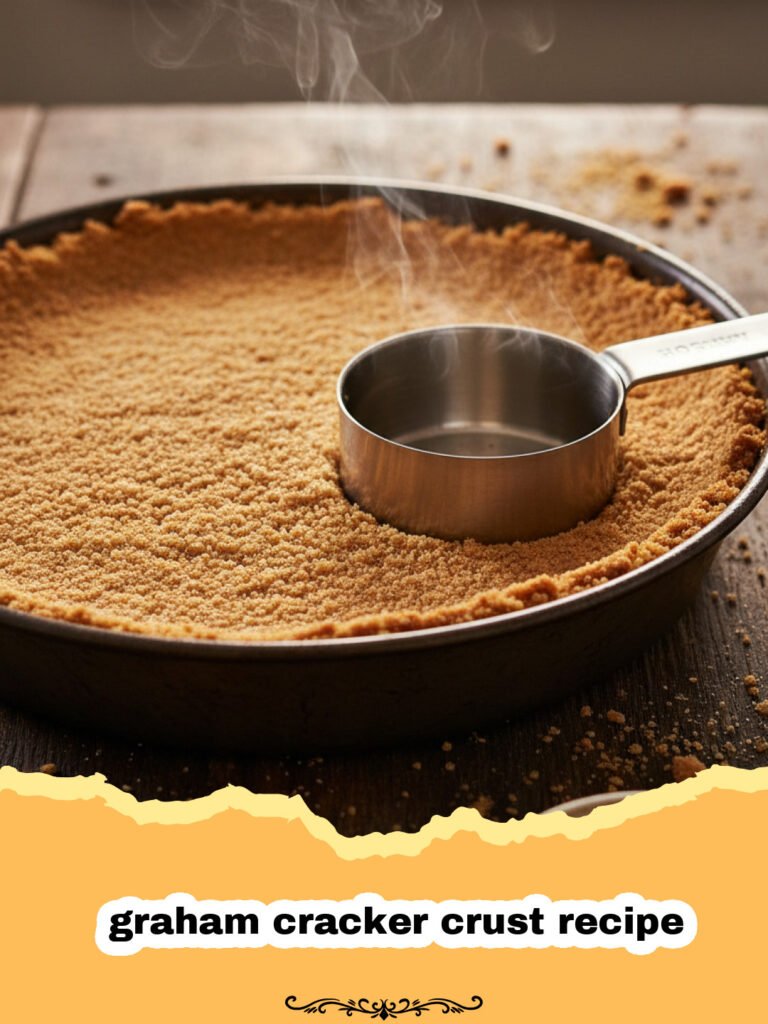
Step 5: Press the crust into the pan. Pour the mixture into a 9-inch pie plate or springform pan. Use the bottom of a flat glass or a measuring cup to firmly press the crumbs evenly into the bottom and up the sides of the pan. Pay special attention to the edges to ensure they are compact and sturdy. A well-pressed crust is vital for this no-bake ice cream cake base.
Step 6: Chill thoroughly. Place the prepared graham cracker crust in the refrigerator for at least 30 minutes, or up to several hours, to firm up. This chilling time is crucial for the butter to solidify and bind the crumbs, making your graham cracker crust recipe stable and ready for filling. For best results, chill for at least an hour.
Pro Tip: For an extra sturdy crust, you can bake it for 8-10 minutes at 350°F (175°C) before cooling completely and chilling. This isn’t strictly necessary for a no-bake recipe, but it adds an extra layer of crispness and security to your graham cracker crust recipe. Just ensure it cools completely before filling.
Variations & Serving Suggestions
This classic graham cracker crust recipe is fantastic on its own, but it’s also a chameleon, ready to adapt to whatever delicious filling you dream up!
Flavor Variations:
- Chocolate Lover’s Delight: Substitute chocolate graham crackers for regular ones, or add 2 tablespoons of unsweetened cocoa powder to the crumb mixture for a rich, dark chocolate crust.
- Spiced Perfection: Add 1/2 teaspoon of ground cinnamon, a pinch of nutmeg, or even a tiny dash of ginger to the dry crumbs before mixing with butter for a warm, spiced graham cracker crust recipe.
- Nutty Crunch: Fold in 1/4 cup of finely chopped toasted pecans, walnuts, or almonds to the crumb mixture for an added layer of flavor and texture.
- Cookie Crumb Swap: Don’t have graham crackers? This basic graham cracker crust recipe principle works beautifully with other cookies! Try vanilla wafers, gingersnaps, or even shortbread for a different flavor profile.
Serving Suggestions:
- Classic Cheesecake Base: This is its most famous role! Whether it’s a baked New York style or a no-bake fluffy cheesecake, this graham cracker crust recipe is the perfect partner.
- Cream Pies & Puddings: Ideal for banana cream pie, chocolate silk pie, lemon meringue, or even a simple vanilla pudding pie. The crunch of the crust provides a wonderful contrast to creamy fillings.
- Fruit Tarts & Parfaits: Fill with fresh berries and a cream cheese mixture for an easy summer tart, or layer crumbled crust with yogurt, fruit, and granola for a quick breakfast or dessert parfait.
- Ice Cream Cake: This sturdy graham cracker crust recipe is the perfect foundation for a homemade ice cream cake. Press it into the bottom of a springform pan, freeze, then layer with your favorite ice cream and toppings.
- Individual Desserts: Press the crumb mixture into muffin tins lined with paper liners for individual mini pies or cheesecakes. Chill, then fill for perfect single servings.
Experiment with different fillings and toppings. The possibilities are truly endless once you have this versatile graham cracker crust recipe mastered. And when you’re done, store any leftover crust (or crumbs!) in airtight glass food storage containers for future baking adventures!
Nutrition Information
| Nutrient | Amount (per serving) |
|---|---|
| Calories | 185 kcal |
| Carbohydrates | 22g |
| Cholesterol | 15mg |
| Fat | 10g |
| Fiber | 1g |
| Protein | 2g |
| Saturated Fat | 6g |
| Serving Size | 1/8 crust |
| Sodium | 150mg |
| Sugar | 10g |
| Trans Fat | 0g |
| Unsaturated Fat | 3g |
Conclusion
And there you have it – the ultimate guide to creating a perfectly buttery, crisp, and versatile graham cracker crust recipe. This isn’t just a basic baking skill; it’s a gateway to countless delicious desserts, from comforting classics to creative new concoctions. Whether you’re whipping up a quick no-bake treat or laying the groundwork for a show-stopping pie, this simple recipe ensures a stellar foundation every time. So go ahead, get crumbling, get pressing, and get ready to impress with your newfound graham cracker crust prowess. Happy baking, and even happier eating!
FAQs
How do I make a graham cracker crust recipe without a food processor?
To make this graham cracker crust recipe without a food processor, place the graham cracker sheets in a sturdy freezer bag (like a Ziploc bag) and seal it, pressing out excess air. Use a rolling pin or the bottom of a heavy skillet to crush the crackers until they form fine crumbs. This method works perfectly and can even be a fun way to get rid of some stress!
Can I make this graham cracker crust recipe ahead of time?
Absolutely! This graham cracker crust recipe is perfect for making in advance. Once pressed into the pan and thoroughly chilled, it can be covered tightly with plastic wrap and stored in the refrigerator for up to 3-4 days before filling. You can also freeze the unbaked crust for up to 1 month; just thaw it in the refrigerator before filling.
What can I use if I don’t have graham crackers for this crust recipe?
If you don’t have graham crackers, you can use other cookies to create a similar crust! Vanilla wafers, digestive biscuits, shortbread cookies, or even chocolate wafers (for a chocolate crust) work wonderfully. Just ensure you use the same quantity of finely crushed crumbs as specified in the graham cracker crust recipe.
Why is my graham cracker crust recipe falling apart?
A common reason a graham cracker crust recipe falls apart is insufficient binding or chilling. Ensure all crumbs are thoroughly moistened with melted butter u2013 they should resemble wet sand. Also, firmly press the mixture into the pan, especially up the sides. Most importantly, allow it to chill in the refrigerator for at least 30 minutes, or ideally longer, so the butter can solidify and bind the crumbs together properly.
Classic No-Bake Graham Cracker Crust
Master the perfect graham cracker crust recipe with this easy no-bake guide. Ideal for pies, cheesecakes, and tarts, it delivers a buttery, crisp foundation for any dessert.
- Total Time: 10 minutes
- Yield: 1 (9-inch) crust (8 servings) 1x
Ingredients
1 1/2 cups graham cracker crumbs (about 10–12 full sheets)
1/4 cup granulated sugar
6 tablespoons unsalted butter, melted
Instructions
Step 1: Prepare the graham cracker crumbs. Place graham cracker sheets in a food processor and pulse until fine crumbs form. Alternatively, place them in a sturdy plastic bag and crush with a rolling pin until uniformly fine.
Step 2: In a medium bowl, combine the graham cracker crumbs and granulated sugar. Stir well to mix.
Step 3: Pour the melted unsalted butter into the crumb mixture. Mix thoroughly with a fork or spatula until all crumbs are moistened and resemble wet sand. Ensure there are no dry spots.
Step 4: Transfer the mixture into a 9-inch pie plate or springform pan. Use the bottom of a flat glass or a measuring cup to firmly press the crumbs evenly into the bottom and up the sides of the pan. Pay special attention to compacting the edges.
Step 5: Place the prepared graham cracker crust in the refrigerator for at least 30 minutes (or up to several hours) to chill and firm up before filling. This allows the butter to solidify and bind the crumbs, creating a sturdy crust.
Notes
For an extra sturdy crust, you can bake it for 8-10 minutes at 350°F (175°C) before cooling completely and chilling. This isn’t strictly necessary for a no-bake recipe, but it adds an extra layer of crispness and security. Ensure graham crackers are finely crushed for the best binding.
- Prep Time: 10 minutes
- Cook Time: 0 minutes
- Category: Baked Goods
- Cuisine: American
Nutrition
- Serving Size: 1/8 crust
- Calories: 185 kcal
- Sugar: 10g
- Sodium: 150mg
- Fat: 10g
- Saturated Fat: 6g
- Unsaturated Fat: 3g
- Trans Fat: 0g
- Carbohydrates: 22g
- Fiber: 1g
- Protein: 2g
- Cholesterol: 15mg
Keywords: graham cracker crust recipe, no bake crust, pie crust, cheesecake crust, easy crust, dessert base, graham cracker pie crust




