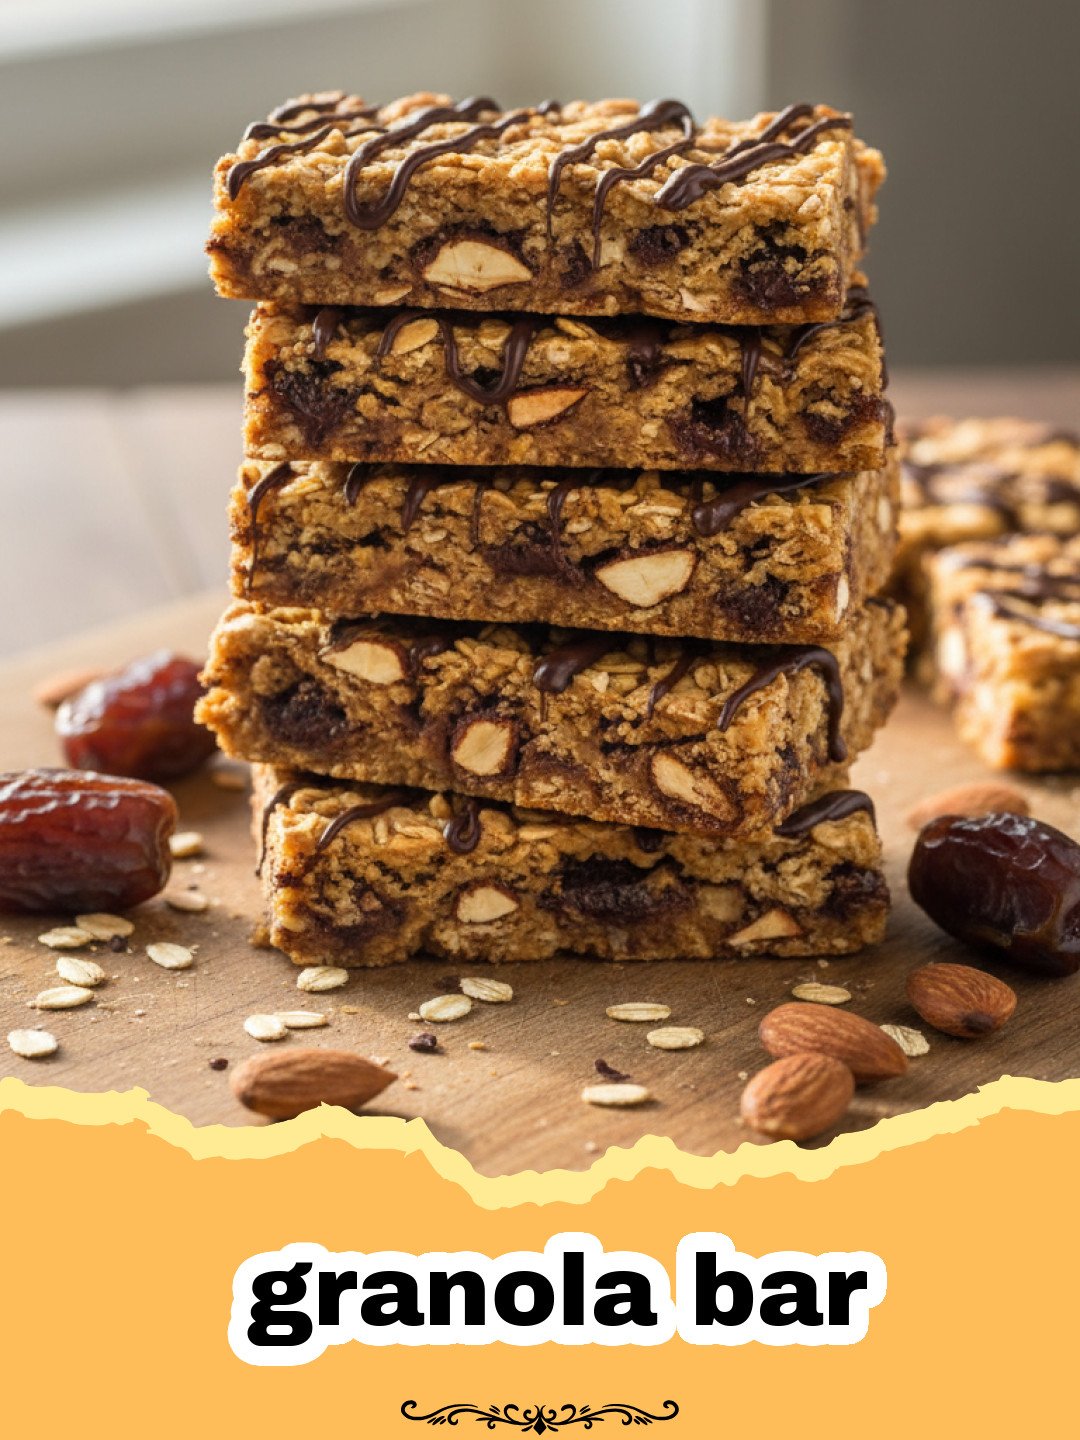
Finding the perfect granola bar that balances chewiness, sweetness, and health can feel like an endless quest for most busy parents and snack-lovers alike. I remember those Tuesday mornings, rushing out the door with a coffee in one hand and a crumbling, store-bought, overly sugary snack in the other, feeling like there had to be a better way to fuel my day. It was during one of those chaotic weeks that I decided to experiment with my own kitchen staples to create a granola bar that actually tasted like real food. After a few sticky mishaps and several batches that were either too hard or too soft, I finally landed on this golden ratio of oats, honey, and nut butter. This granola bar isn’t just a snack; it’s a labor of love that has saved my mornings more times than I can count. Whether you are prepping for a hike, packing a school lunch, or just need a 3 PM pick-me-up, this granola bar is the reliable, delicious companion you have been searching for.
Why This Recipe is a Must-Try
- No-Bake Ease: You don’t even need to turn on your oven to create a professional-quality granola bar, making this perfect for hot summer days or busy meal-prep Sundays.
- Completely Customizable: This granola bar serves as a blank canvas, allowing you to swap in your favorite nuts, seeds, or dried fruits based on what you have in your pantry.
- Cost-Effective: Stop spending a fortune on individual pre-packaged snacks when you can make a large batch of a superior granola bar for a fraction of the price.
- Wholesome Ingredients: By making your own granola bar at home, you control the sugar content and ensure there are no hidden preservatives or artificial flavors.
Key Ingredient Notes
The foundation of any great granola bar is the choice of oats. I highly recommend using old-fashioned rolled oats rather than quick oats or steel-cut oats. Rolled oats provide that classic chewy texture that defines a high-quality granola bar. They hold their shape well when mixed with the liquid binders, ensuring your snack doesn’t turn into a tray of mush. If you are looking for a gluten-free option, simply ensure your oats are certified gluten-free.
Another critical component is the binder, which in this granola bar is a combination of honey and creamy nut butter. The honey acts as a natural glue, providing sweetness while keeping the bar together. If you prefer a more floral note, use a high-quality local honey. For the nut butter, peanut butter is the classic choice, but almond butter or cashew butter works beautifully too. The oils in the nut butter help the granola bar stay moist and pliable even after being refrigerated. To keep everything organized while you prep, I love using Basics Glass Food Storage containers to hold my pre-measured ingredients.
Step-by-Step Guide with Pro Tips
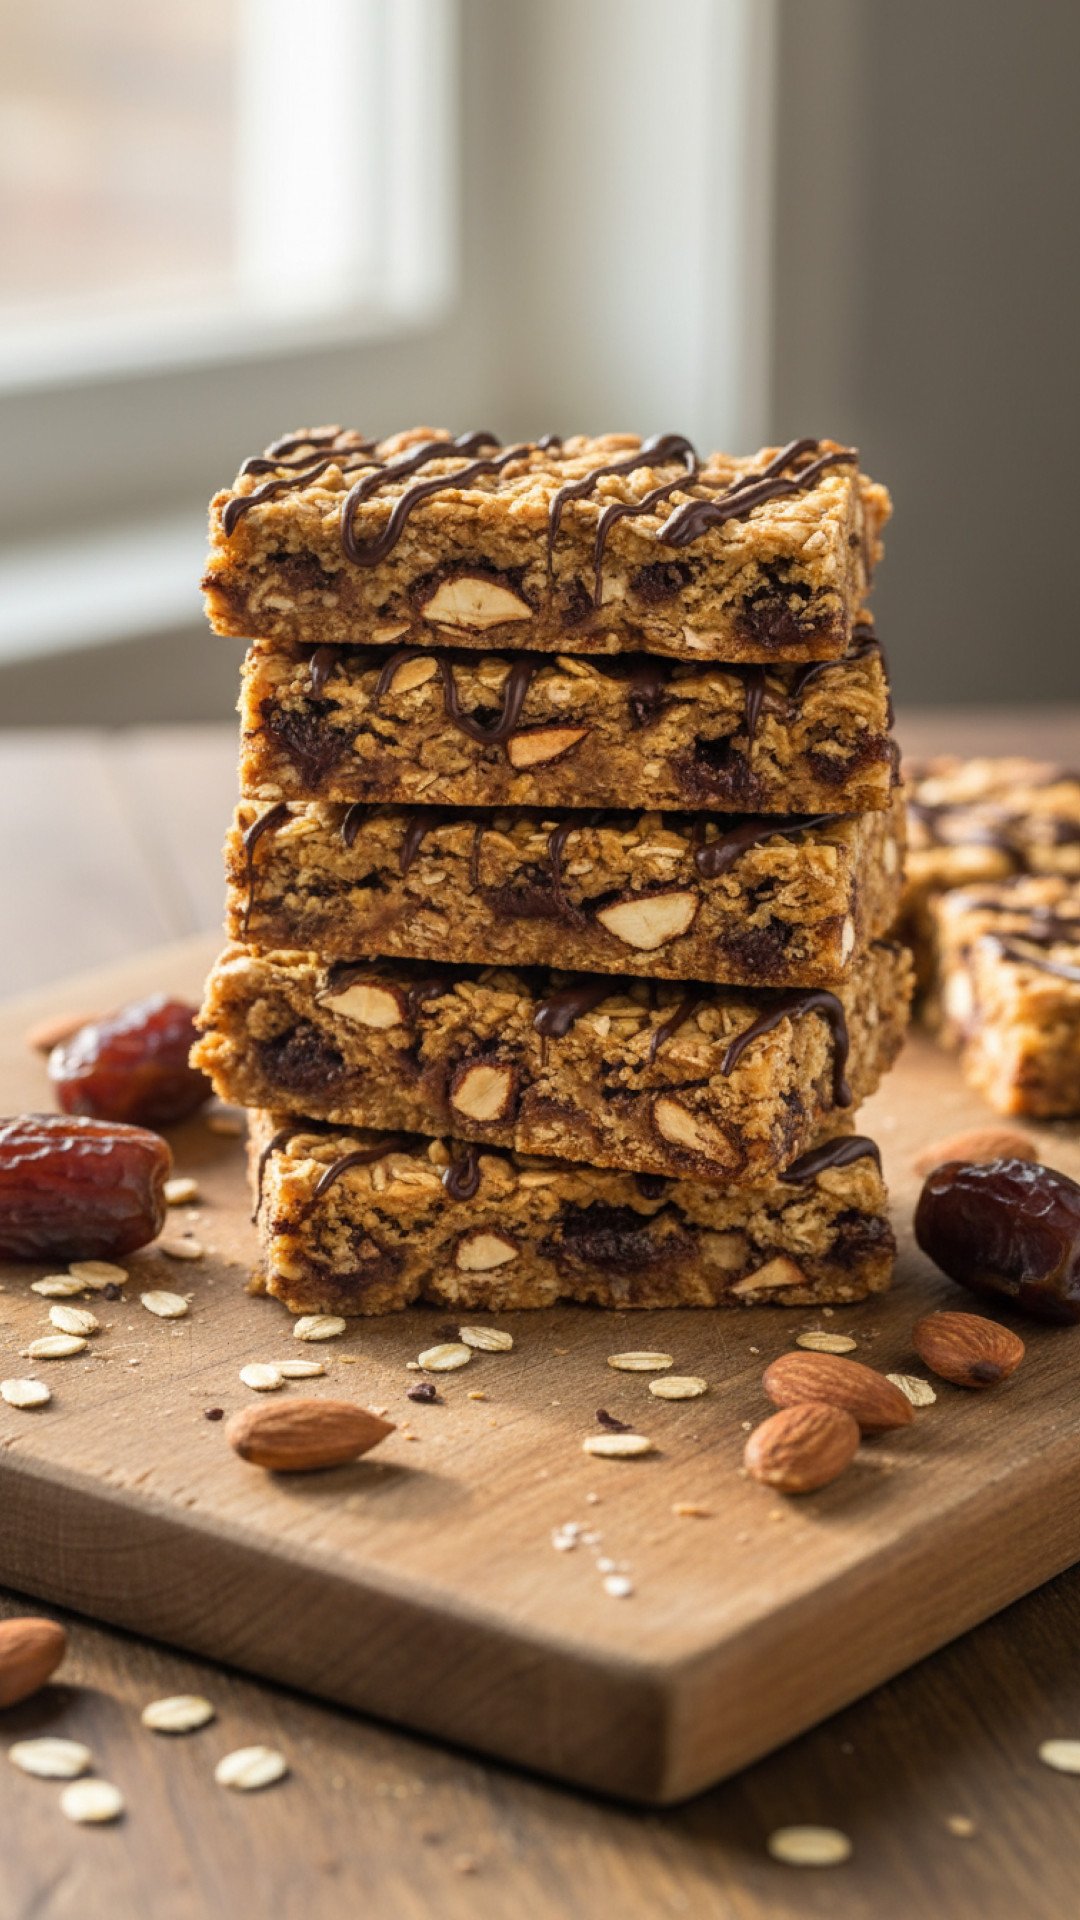
Creating the perfect granola bar is all about the technique used to press the mixture into the pan. If you press too lightly, your granola bar will crumble when sliced; if you press too hard, it can become overly dense. Start by lining your square baking pan with parchment paper, leaving an overhang on the sides. This “sling” makes it incredibly easy to lift the entire block of granola bar out of the pan once it has set.
In a large mixing bowl, combine your dry ingredients first. Once your oats and add-ins are tossed together, melt your honey and nut butter slightly in the microwave or on the stovetop. This ensures they incorporate smoothly. Pour the warm liquid over the oats and stir until every single flake is coated. This is the secret to a granola bar that doesn’t fall apart. After transferring the mixture to the pan, use the back of a heavy metal spoon or a flat-bottomed measuring cup to firmly press the mixture into every corner. Pro Tip: Place a small piece of parchment paper over the top of the mixture before pressing to prevent your hands or tools from sticking.
Letting the granola bar set is the hardest part. It needs at least two hours in the refrigerator. If you try to cut it too soon, you will end up with granola instead of a granola bar! Once firm, lift the block out, place it on a cutting board, and use a sharp chef’s knife to slice them into even rectangles. If you enjoy a variety of textures in your snacks, you might find that these bars pair perfectly with a hearty breakfast like The Best Crispy Homemade Buttermilk Waffles on a slow Saturday morning.
Variations & Serving Suggestions
One of the best things about this granola bar recipe is its versatility. For a decadent twist, fold in dark chocolate chips or drizzle the finished bars with melted white chocolate. If you want a more tropical granola bar, try adding dried mango pieces and shredded coconut. For those with nut allergies, sunflower seed butter is an excellent 1:1 replacement for peanut butter, ensuring everyone can enjoy a homemade granola bar. To add a boost of omega-3s, stir in a tablespoon of chia seeds or ground flaxseeds into the oat mixture before adding the wet ingredients.
These bars are excellent on their own, but they also make a great side for a balanced meal. If you are packing a lunch, a granola bar provides the perfect sweet finish after a savory main dish like The Ultimate BBQ Chicken Quesadillas Recipe for Easy Weeknights. They also crumble beautifully over a bowl of Greek yogurt for a quick breakfast parfait. For the best texture, keep your granola bar stored in the refrigerator until you are ready to head out the door.
Nutrition Information
| Nutrient | Amount |
|---|---|
| Calories | 195 kcal |
| CarbohydrateContent | 24g |
| CholesterolContent | 0mg |
| FatContent | 10g |
| FiberContent | 3g |
| ProteinContent | 5g |
| SaturatedFatContent | 2g |
| ServingSize | 1 bar |
| SodiumContent | 85mg |
| SugarContent | 12g |
| TransFatContent | 0g |
| UnsaturatedFatContent | 7g |
Conclusion
Mastering the homemade granola bar is a game-changer for anyone looking to eat better while saving time and money. This recipe yields a granola bar that is far superior to anything you will find in a box, with a perfect chewy texture and just the right amount of sweetness. I hope this granola bar becomes a staple in your household just as it has in mine. Happy snacking!
FAQs
Why does my granola bar fall apart when I cut it?
The most common reason a granola bar falls apart is either not pressing it firmly enough into the pan or not letting it chill long enough. Make sure to use a flat-bottomed cup to pack the mixture tightly and refrigerate for at least 2 hours before slicing.
Can I make this granola bar recipe vegan?
Yes! To make a vegan granola bar, simply swap the honey for maple syrup or brown rice syrup. Also, ensure your chocolate chips are dairy-free.
How should I store my homemade granola bars?
These bars are best kept in an airtight container in the refrigerator. They will stay fresh and chewy for up to one week. You can also freeze them for up to 3 months.
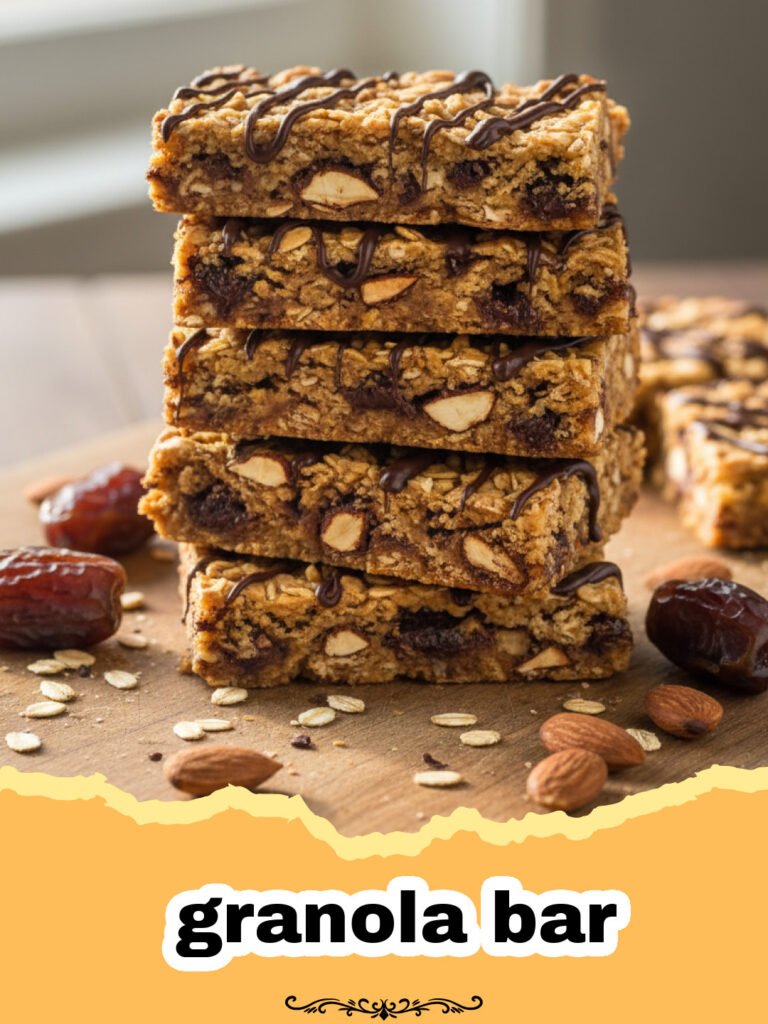
Homemade Chewy No-Bake Granola Bar
A simple, healthy, and delicious no-bake granola bar recipe featuring rolled oats, honey, and peanut butter. Perfect for on-the-go snacking.
- Total Time: 2 hours 15 minutes
- Yield: 12 bars 1x
Ingredients
2 1/2 cups old-fashioned rolled oats
1/2 cup creamy peanut butter or almond butter
1/3 cup honey or maple syrup
1/4 cup mini chocolate chips
1/4 cup chopped almonds or walnuts
1 teaspoon vanilla extract
1/4 teaspoon sea salt
Instructions
Step 1: Line an 8×8 inch square baking pan with parchment paper, leaving a slight overhang on two sides for easy removal.
Step 2: In a large mixing bowl, combine the rolled oats, chopped nuts, and sea salt. Stir well to distribute the ingredients evenly.
Step 3: In a microwave-safe bowl, combine the peanut butter and honey. Heat for 30-45 seconds until melted and smooth, then stir in the vanilla extract.
Step 4: Pour the warm peanut butter mixture over the dry oats. Mix thoroughly with a spatula until all the oats are well-coated and the mixture is sticky.
Step 5: Fold in the mini chocolate chips. (Note: if the mixture is too warm, the chips may melt slightly, which creates a lovely marbled effect).
Step 6: Transfer the mixture to the prepared baking pan. Spread it evenly and use a flat-bottomed object to press down very firmly.
Step 7: Refrigerate the pan for at least 2 hours, or until the block is completely firm.
Step 8: Lift the block out of the pan using the parchment paper overhang. Use a sharp knife to cut into 12 even granola bars.
Notes
Ensure you press the mixture down very firmly into the pan to prevent the bars from crumbling. Store in an airtight container in the fridge for up to one week.
- Prep Time: 15 minutes
- Cook Time: 0 minutes
- Category: Appetizers & Snacks
- Cuisine: American
Nutrition
- Serving Size: 1 bar
- Calories: 195 kcal
- Sugar: 12g
- Sodium: 85mg
- Fat: 10g
- Saturated Fat: 2g
- Unsaturated Fat: 7g
- Trans Fat: 0g
- Carbohydrates: 24g
- Fiber: 3g
- Protein: 5g
- Cholesterol: 0mg
Keywords: granola bar, no-bake snack, healthy oats, homemade granola, easy snack recipe