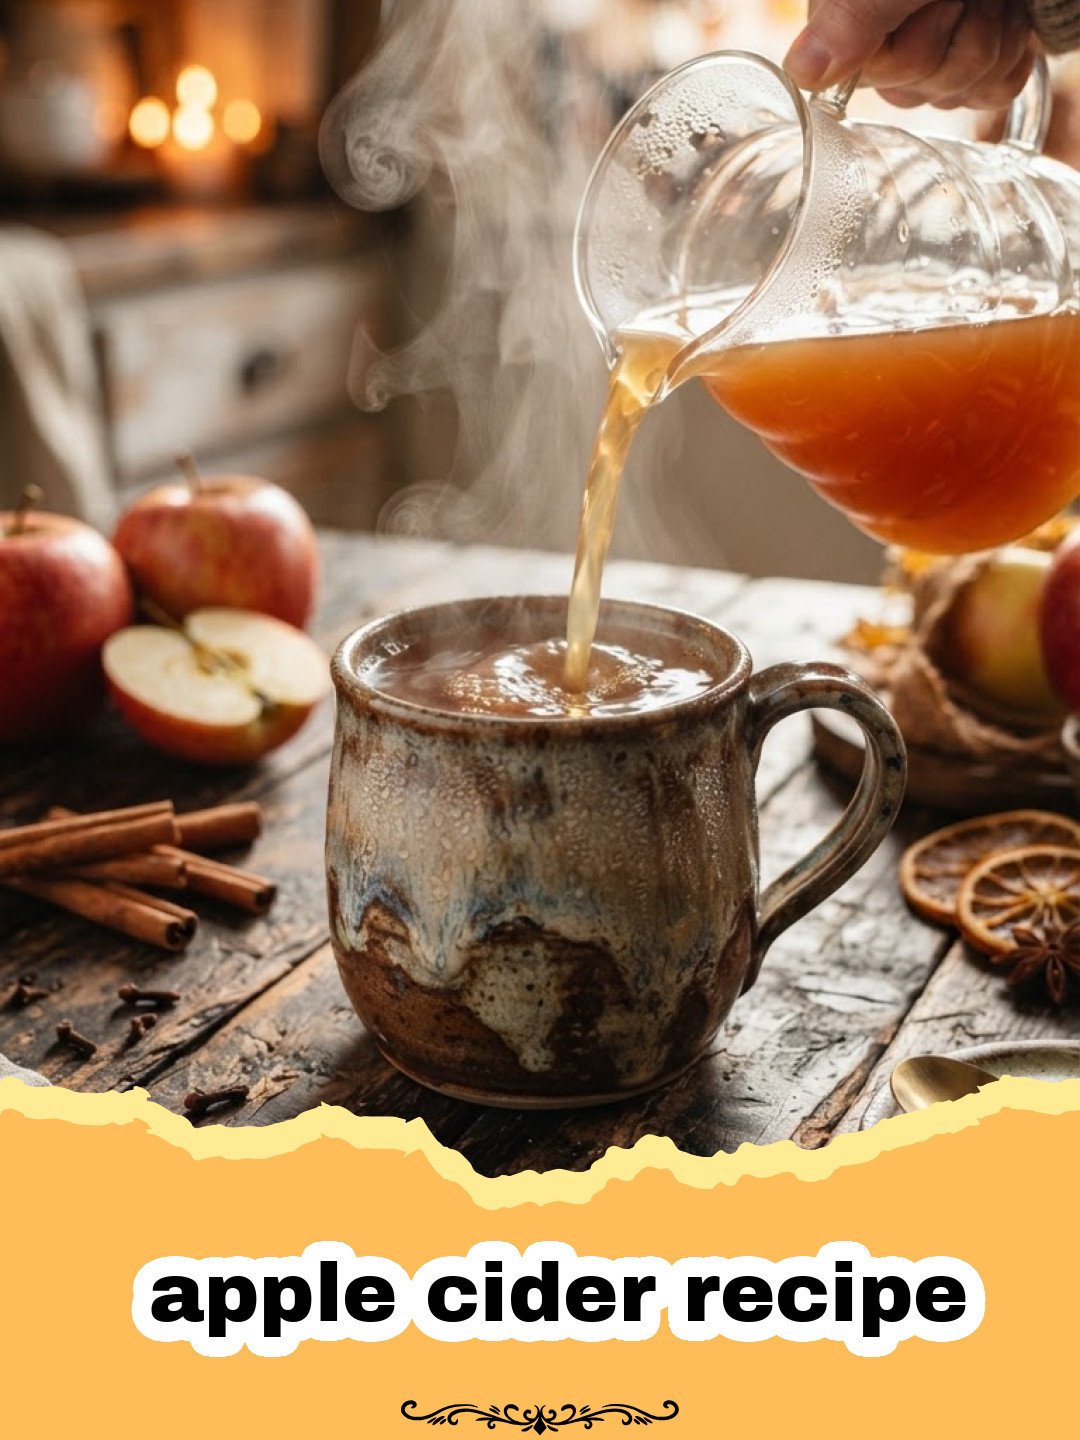
There’s nothing quite like the aroma of simmering spices and sweet apples to usher in the cozy embrace of autumn, and today, I’m sharing my cherished apple cider recipe that brings all those warm, nostalgic feelings right into your home. I remember my grandmother making huge batches of apple cider every fall. The entire kitchen would smell like cinnamon, cloves, and ripe apples, a scent so comforting it could cure any ailment. We’d help her pick apples from the local orchard, our hands sticky with juice, and then spend the afternoon peeling and coring, anticipating that first warm, spiced sip. It wasn’t just a drink; it was a ritual, a celebration of the harvest, and a promise of crisp days and cozy nights ahead. This homemade apple cider recipe is more than just a beverage; it’s a hug in a mug, a taste of tradition, and an invitation to slow down and savor the season. It’s perfect for cool evenings, holiday gatherings, or simply a quiet moment by the fire. Forget store-bought versions; once you try this easy-to-follow apple cider recipe, you’ll never go back.
Why This Apple Cider Recipe Is a Must-Try
- Unbeatable Freshness: Unlike commercial ciders, making your own ensures you’re getting the purest, most vibrant apple flavor, without any artificial additives or excessive sugars. This fresh apple cider recipe truly highlights the natural sweetness of the fruit.
- Customizable Perfection: You have complete control over the spices and sweetness. Want more cinnamon? Go for it! Prefer it less sweet? Adjust to your heart’s content. This flexibility makes it the best apple cider recipe for personal taste.
- Aromatherapy for Your Home: As your cider simmers, your kitchen will fill with the most incredible scent of autumn, creating an inviting and cozy atmosphere that store-bought options can’t replicate. It’s a delightful bonus of this apple cider recipe.
- Perfect for Gatherings: A large batch of homemade apple cider is a comforting centerpiece for any fall or winter gathering, offering warmth and hospitality to your guests. It’s an impressive yet simple apple cider recipe for entertaining.
Key Ingredient Notes for Your Apple Cider Recipe
The success of any great apple cider recipe hinges on the quality of its ingredients, especially the apples and spices. Here’s what you need to know:
Choosing the Right Apples
Don’t just grab any apples; a mix is key for a complex, balanced flavor in your apple cider recipe. You’ll want a combination of sweet, tart, and aromatic varieties.
- Sweet Apples: Gala, Fuji, Honeycrisp, and Golden Delicious are excellent choices. They provide the natural sugars that give the cider its comforting sweetness.
- Tart Apples: Granny Smith or Braeburn add a crucial zing that prevents the cider from being cloyingly sweet and provides depth.
- Aromatic Apples: Rome Beauty or Mutsu (Crispin) can add subtle floral or spicy notes, further enhancing the complexity of your homemade apple cider recipe.
The Warming Spices
These aromatics are what truly transform apple juice into comforting apple cider. The beauty of this apple cider recipe is that you can adjust them to your preference.
- Cinnamon Sticks: Essential for that classic warm, woody aroma. Use whole sticks for a cleaner flavor that infuses slowly.
- Whole Cloves: Pungent and sweet, cloves add a rich, deep warmth. Be mindful, as too many can overpower the apple flavor.
- Star Anise: Adds a beautiful, subtle licorice-like note and an elegant visual touch. Completely optional, but highly recommended for an extra layer of complexity in your apple cider recipe.
- Fresh Ginger (Optional): A few slices of fresh ginger root can add a lovely subtle spicy kick and brightness, especially appealing on a chilly day.
- Nutmeg (Optional): A pinch of freshly grated nutmeg can elevate the spice profile even further.
Sweetener of Choice
While apples provide natural sweetness, a little extra can round out the flavors. You can use:
- Brown Sugar: Adds a deeper, caramel-like sweetness that complements the apples and spices beautifully.
- Maple Syrup: Offers a rich, earthy sweetness and is a great natural alternative.
- Honey: Provides a distinct floral sweetness.
- Granulated Sugar: A straightforward option if you just need a boost of sweetness.
Start with a smaller amount and add more to taste after the cider has simmered for a while. The best apple cider recipe allows for this customization!
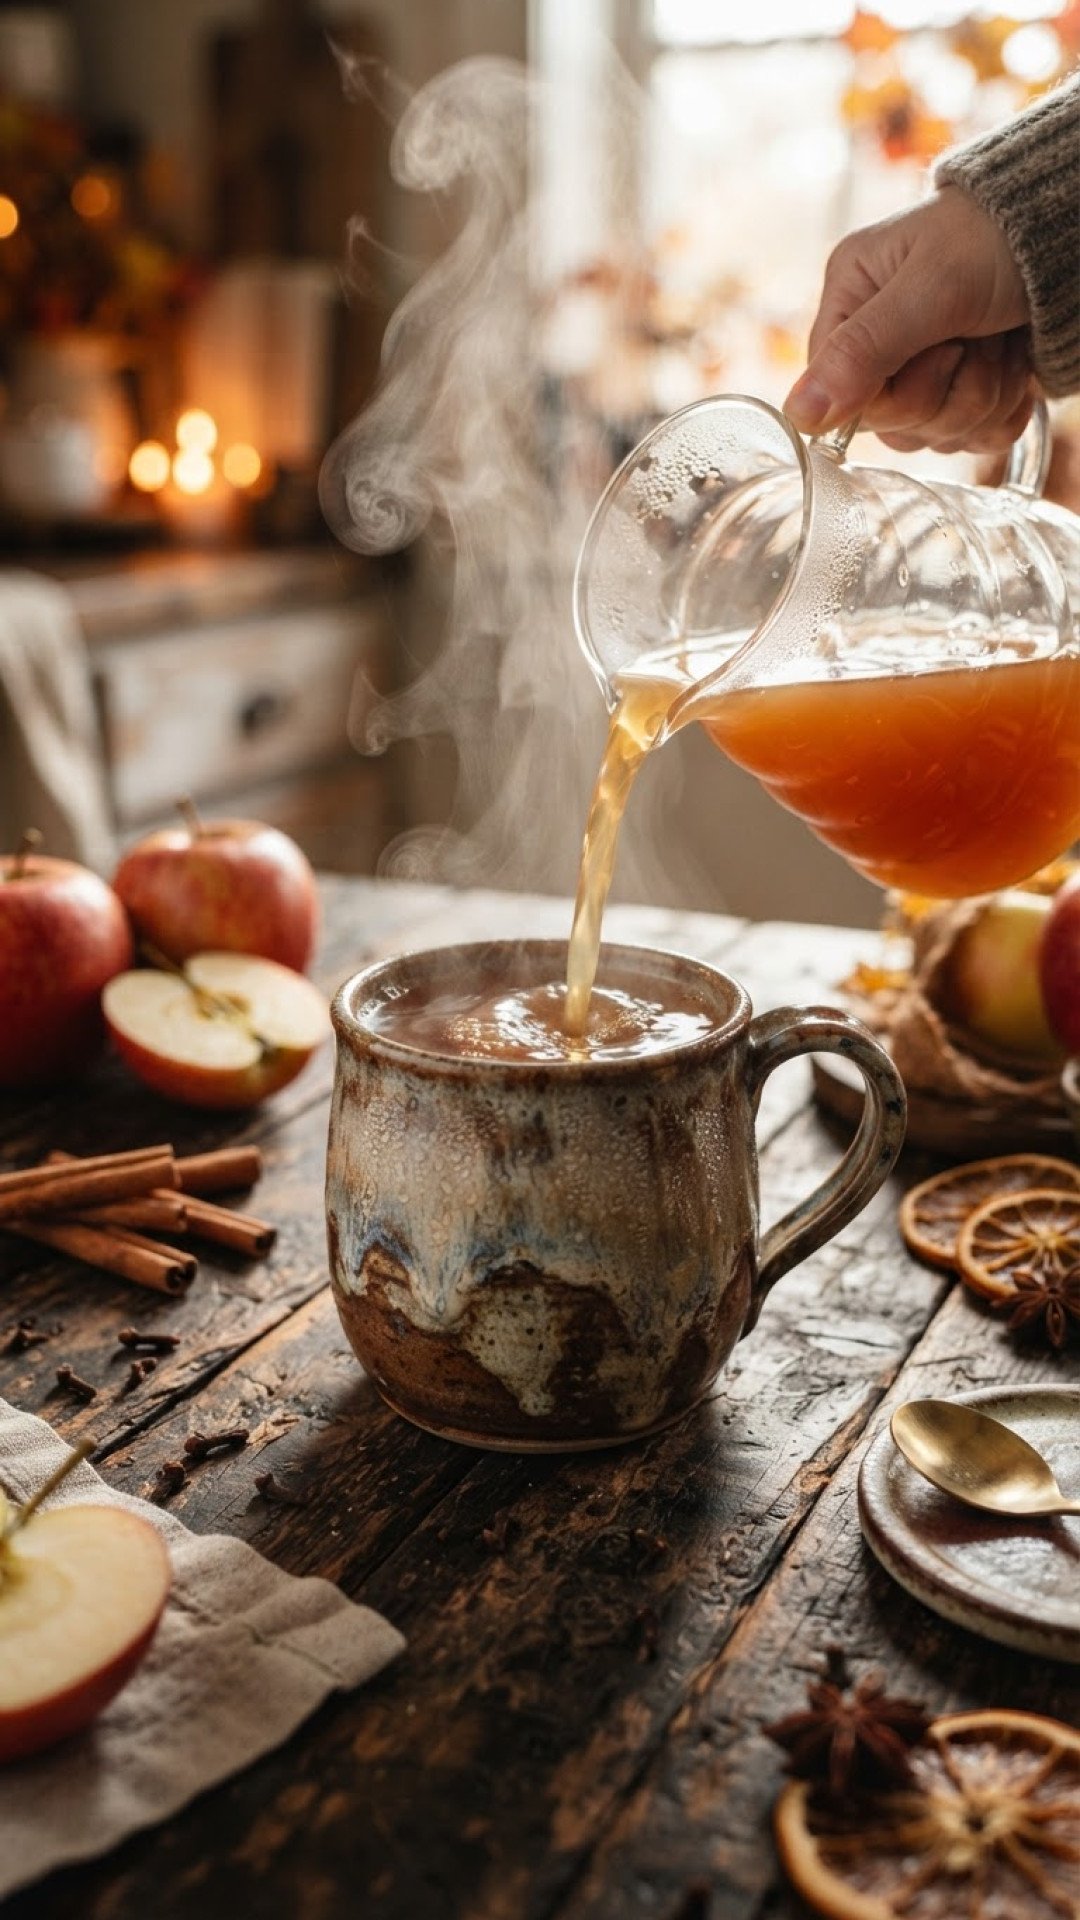
Step-by-Step Guide with Pro Tips for Your Apple Cider Recipe
Creating your own homemade apple cider recipe is a surprisingly simple and rewarding process. Follow these steps for the perfect brew:
Step 1: Gather Your Apples and Prep Them. Start by thoroughly washing all your apples. You don’t need to peel them, as the peels add color and flavor, but you will want to quarter them and remove the cores. Don’t worry about being too precise with the cuts; they’ll be strained out later. Roughly chop them into manageable pieces. This apple cider recipe is very forgiving when it comes to apple prep.
Step 2: Combine Apples and Water in a Large Pot. Place all your prepared apples into a very large stockpot or Dutch oven. Add enough cold water to just barely cover the apples. This ensures maximum apple flavor extraction without diluting your apple cider recipe too much.
Step 3: Add the Spices and Sweetener. Toss in your cinnamon sticks, whole cloves, star anise (if using), and any other optional spices like fresh ginger. Add your chosen sweetener, such as brown sugar or maple syrup, starting with the smaller amount recommended in the recipe card. Remember, you can always add more later to adjust the sweetness of your apple cider recipe.
Step 4: Bring to a Boil, Then Simmer. Place the pot over high heat and bring the mixture to a rolling boil. Once boiling, reduce the heat to low, cover the pot, and let it simmer gently for at least 2 to 3 hours. The longer it simmers, the more the apples will soften and release their juices and the more the flavors will meld together. You’ll know it’s ready when the apples are very soft and mushy, and the liquid has taken on a rich, amber color. This slow simmering is crucial for a robust apple cider recipe.
Step 5: Mash the Apples. After simmering, use a potato masher to thoroughly mash the softened apples directly in the pot. This step extracts even more juice and flavor from the fruit, enriching your homemade apple cider recipe. Don’t be shy; mash them until they are a pulp.
Step 6: Strain the Cider. This is where you separate the liquid gold from the apple pulp. Place a fine-mesh sieve or colander over another large pot or a very large bowl. Line the sieve with several layers of cheesecloth. Carefully ladle the apple mixture into the cheesecloth-lined sieve. Let it drain naturally for a while. Once the initial liquid has drained, gather the edges of the cheesecloth and twist them tightly, pressing out as much liquid as possible. Be careful, as it will be hot! This process can be a bit messy but is essential for a clear and smooth apple cider recipe.
Step 7: Taste and Adjust Sweetness. Once strained, taste your homemade apple cider. Now is the time to add more sweetener if desired. You can also add a pinch more spices if you feel it needs an extra kick. Stir until any added sugar has dissolved completely. This personalized adjustment is what makes this apple cider recipe truly yours.
Step 8: Serve Hot or Chill. Your apple cider is now ready to enjoy! Serve it warm, perhaps garnished with an extra cinnamon stick or a slice of orange. For a refreshing cold drink, allow it to cool completely before chilling it in the refrigerator. This versatile apple cider recipe is delicious both ways.
Step 9: Storing Your Homemade Apple Cider. Once cooled, transfer your homemade apple cider to clean, airtight containers. I highly recommend using Basics Glass Food Storage for freshness and easy visibility. It will keep well in the refrigerator for up to 7-10 days. For longer storage, you can freeze it in freezer-safe containers for up to 3 months. Thaw in the refrigerator before reheating. This ensures you can enjoy your delicious apple cider recipe for weeks to come.
Step 10: Reheating. To reheat, simply warm it gently on the stovetop over low heat until heated through, or microwave individual servings. Avoid boiling it again, as this can diminish some of the delicate flavors. Enjoy this ultimate apple cider recipe anytime!
Variations & Serving Suggestions
Spiced Apple Cider Recipe Variations
- Ginger Zest: Add 1-2 inches of fresh ginger, sliced, to the pot along with the other spices for a zesty kick.
- Orange Citrus Boost: Include 1-2 whole oranges, quartered, in the pot while simmering. The citrus notes pair beautifully with the apple and spices in this apple cider recipe.
- Cranberry Infusion: For a festive twist, add a cup or two of fresh cranberries to the pot during simmering. This will give your apple cider recipe a lovely tartness and a beautiful reddish hue.
- Vanilla Bean: Split a vanilla bean and add it to the pot for a luxurious, aromatic depth.
Serving Suggestions
- Garnishes: Serve hot apple cider with cinnamon sticks, orange slices, star anise pods, or a dollop of whipped cream and a sprinkle of nutmeg.
- Adult Beverage: For an adult treat, add a shot of bourbon, rum, or spiced rum to a mug of hot apple cider. It’s the perfect cozy cocktail, especially alongside Irresistibly Moist Pumpkin Muffins or our delightful The Best Soft and Chewy Pumpkin Cookie Recipe for Fall.
- Ice Cream Float: For a unique dessert, pour chilled apple cider over a scoop of vanilla ice cream.
- Apple Cider Sangria: Mix chilled apple cider with chopped apples, oranges, and a splash of white wine or sparkling cider for a refreshing punch.
Nutrition Information
| Nutrient | Amount (per serving) |
|---|---|
| Calories | 200 kcal |
| Carbohydrates | 48g |
| Cholesterol | 0mg |
| Fat | 0.5g |
| Fiber | 2g |
| Protein | 0.5g |
| Saturated Fat | 0g |
| Serving Size | 1 cup (240ml) |
| Sodium | 5mg |
| Sugar | 40g |
| Trans Fat | 0g |
| Unsaturated Fat | 0.5g |
Conclusion
There’s a special magic that happens when you make something from scratch, and this homemade apple cider recipe is no exception. It fills your home with warmth, your senses with comforting aromas, and your heart with the simple joys of the season. Whether you’re gathering with loved ones or simply enjoying a quiet moment of self-care, a mug of this delicious apple cider is the perfect companion. So go ahead, embrace the cozy, make this apple cider recipe, and create your own cherished autumn memories. Happy simmering!
FAQs
What are the best apples for making homemade apple cider?
For the best homemade apple cider recipe, use a blend of sweet and tart apples. Good sweet varieties include Gala, Fuji, Honeycrisp, and Golden Delicious. For tartness, Granny Smith or Braeburn are excellent choices. A mix creates a balanced and complex flavor profile.
How long can homemade apple cider be stored?
Your homemade apple cider recipe can be stored in an airtight container in the refrigerator for 7-10 days. For longer storage, it can be frozen in freezer-safe containers for up to 3 months. Thaw in the refrigerator before reheating gently.
Can I make this apple cider recipe in a slow cooker?
Yes, you absolutely can! To adapt this apple cider recipe for a slow cooker, combine all ingredients in the slow cooker and cook on low for 6-8 hours or on high for 3-4 hours, until apples are very soft. Then proceed with mashing and straining as described in the original recipe.
What’s the difference between apple juice and apple cider?
Generally, apple juice is filtered to remove pulp and sediment, and it’s often pasteurized for a longer shelf life, resulting in a clearer, sweeter drink. Apple cider, like this homemade apple cider recipe, is typically unfiltered, giving it a cloudier appearance, and may or may not be pasteurized. It often has a fresher, more robust apple flavor due to less processing.
The Ultimate Homemade Apple Cider
A comforting and aromatic apple cider recipe made from scratch with a perfect blend of sweet and tart apples, infused with warming spices. This easy recipe brings the taste and scent of autumn right into your home.
- Total Time: 2 hours 50 minutes
- Yield: 1 gallon (approx. 16 servings) 1x
Ingredients
8–10 lbs mixed apples (Gala, Fuji, Honeycrisp, Granny Smith, etc.), washed, quartered, and cored
12 cups cold water (or enough to cover apples)
4–6 cinnamon sticks
1 tablespoon whole cloves
2–3 star anise pods (optional)
1/2 – 1 cup brown sugar or maple syrup (to taste)
Instructions
Step 1: Wash and prepare the apples. Thoroughly wash all apples. Quarter them and remove the cores. There’s no need to peel them, as the peels contribute to the color and flavor of this apple cider recipe. Roughly chop into pieces.
Step 2: Place apples and water in a large stockpot. Put all the prepared apples into a very large stockpot or Dutch oven. Add enough cold water to just barely cover the apples.
Step 3: Add spices and initial sweetener. Add the cinnamon sticks, whole cloves, and star anise (if using). Stir in 1/2 cup of brown sugar or maple syrup. You can adjust the sweetness later.
Step 4: Bring to a boil, then simmer. Place the pot over high heat and bring the mixture to a rolling boil. Once boiling, reduce the heat to low, cover, and simmer gently for 2 to 3 hours, or until the apples are very soft and mushy.
Step 5: Mash the apples. After simmering, use a potato masher to thoroughly mash the softened apples directly in the pot. This helps extract maximum juice and flavor for your apple cider recipe.
Step 6: Strain the cider. Set a fine-mesh sieve or colander over another large pot or bowl. Line the sieve with several layers of cheesecloth. Carefully ladle the apple mixture into the cheesecloth-lined sieve. Allow it to drain naturally for about 15-20 minutes. Then, gather the edges of the cheesecloth and twist tightly, pressing out as much liquid as possible from the pulp.
Step 7: Taste and adjust sweetness. Taste your strained apple cider. Add more brown sugar or maple syrup, if desired, stirring until dissolved. You can also add a pinch more spices if needed.
Step 8: Serve hot or chill. Serve your homemade apple cider warm, garnished with a cinnamon stick or orange slice, or allow it to cool completely before chilling and serving cold. This versatile apple cider recipe is perfect for any preference.
Step 9: Store properly. Store cooled apple cider in airtight containers in the refrigerator for up to 7-10 days. For longer storage, freeze in freezer-safe containers for up to 3 months.
Step 10: Reheat gently. To reheat, warm gently on the stovetop over low heat or in the microwave. Avoid re-boiling to preserve the delicate flavors of your delicious apple cider recipe.
Notes
For an even richer flavor, you can roast the apples slightly before simmering. Adjust sugar to your preference and always use a mix of sweet and tart apples for the best balance.
- Prep Time: 20 minutes
- Cook Time: 2 hours 30 minutes
- Category: How To
- Cuisine: American
Nutrition
- Serving Size: 1 cup (240ml)
- Calories: 200 kcal
- Sugar: 40g
- Sodium: 5mg
- Fat: 0.5g
- Saturated Fat: 0g
- Unsaturated Fat: 0.5g
- Trans Fat: 0g
- Carbohydrates: 48g
- Fiber: 2g
- Protein: 0.5g
- Cholesterol: 0mg
Keywords: apple cider recipe, homemade apple cider, fall drinks, autumn recipe, spiced apple cider, hot cider, easy apple cider, how to make apple cider, best apple cider