
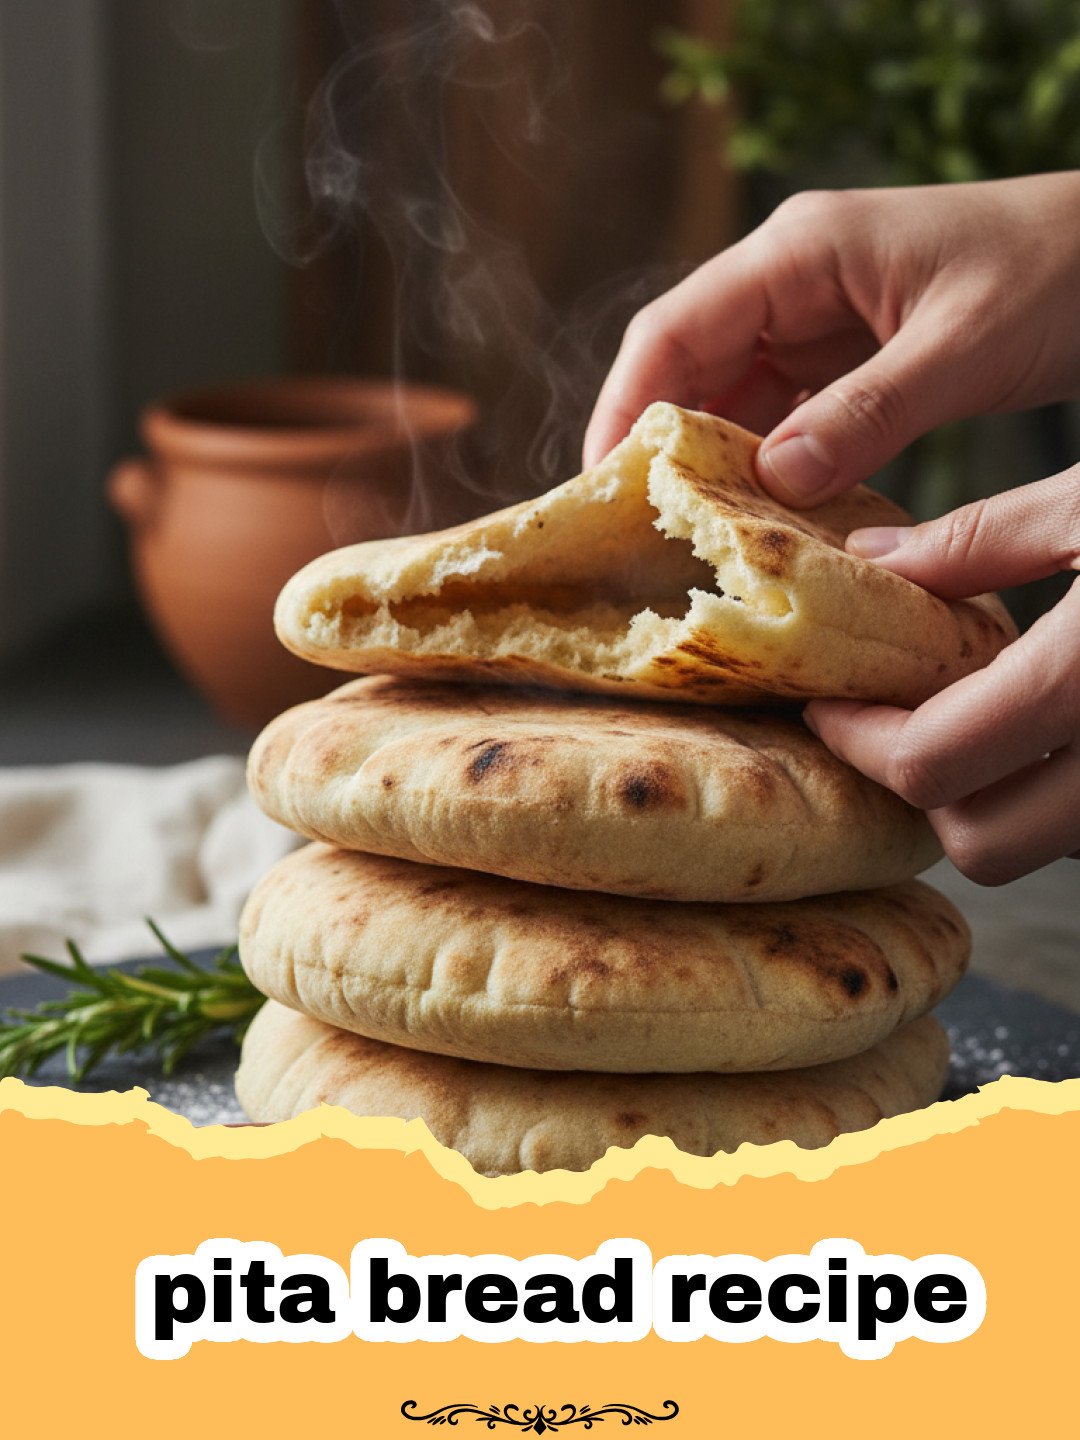
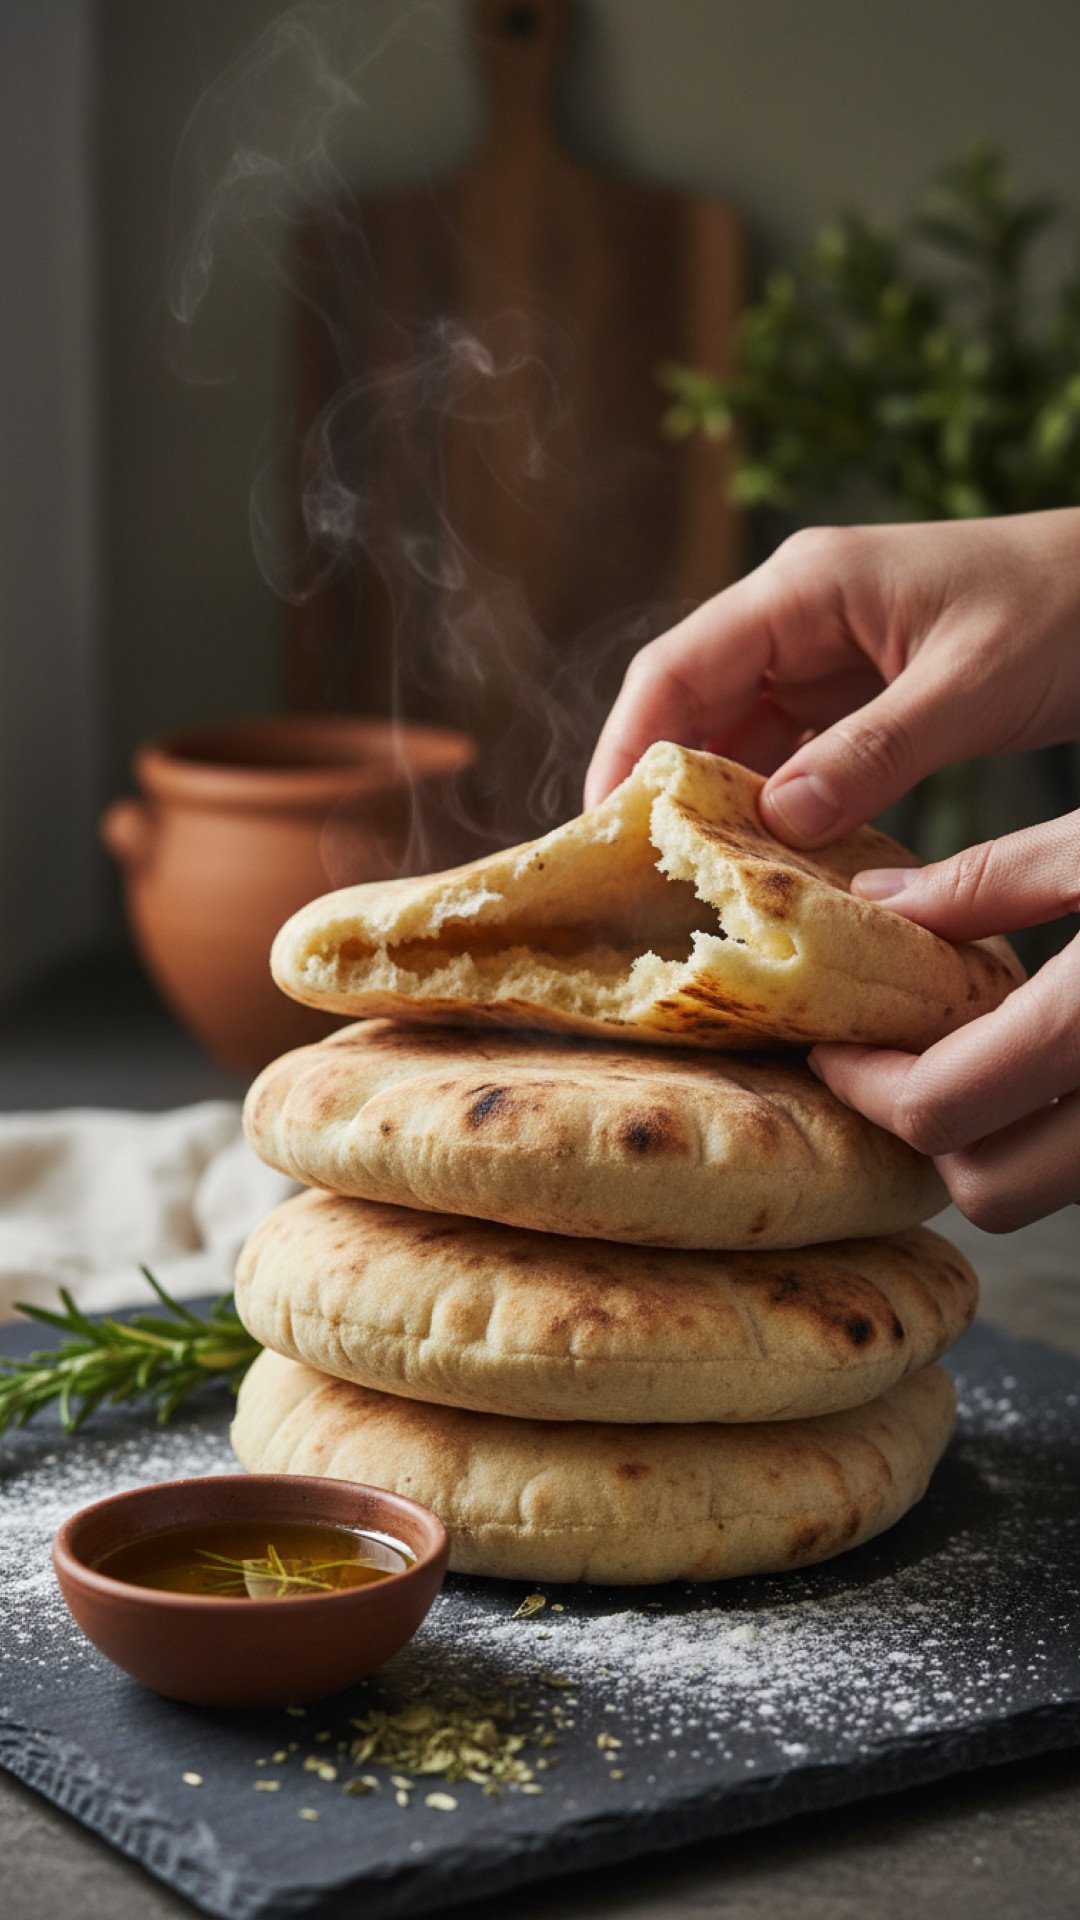
There’s something truly magical about the aroma of freshly baked bread wafting through your home. For me, that magic often conjures memories of bustling markets in the Mediterranean, where warm, pillowy pita bread was pulled straight from scorching ovens, ready to be filled with savory delights. I remember my first trip to Greece, wandering through a small village, and being handed a piece of still- steaming pita. The slight char, the incredible softness, and the distinct pocket just begging to be stuffed with olives, feta, and grilled halloumi – it was an experience that stayed with me. For years, I tried to replicate that perfection at home, often ending up with flat, dense discs that were more like crackers than pita. But after much experimentation, countless flour-dusted countertops, and a few minor kitchen disasters, I finally cracked the code. And today, I’m thrilled to share my ultimate homemade pita bread recipe with you. This isn’t just about making bread; it’s about bringing a piece of that authentic, rustic charm into your own kitchen. Forget the dry, store-bought versions – this recipe promises a tender, chewy texture and that coveted pocket that makes it perfect for dipping, stuffing, or simply savoring on its own. It’s a simple yet incredibly rewarding bake that will elevate any meal. Get ready to impress your family and friends with this incredible pita bread recipe that is surprisingly easy to master.
Why This Recipe is a Must-Try
- Achieve the Perfect Pocket: Our method guarantees those beautiful, airy pockets essential for filling with your favorite ingredients, a hallmark of a truly authentic pita bread recipe.
- Unbeatable Freshness & Flavor: Store-bought pita simply can’t compare to the warm, soft, and slightly chewy texture of homemade. The difference is night and day!
- Versatile Culinary Canvas: From wraps and sandwiches to dippers for hummus or even mini pizzas, homemade pita bread is incredibly adaptable. This versatile recipe will become a staple in your kitchen.
- Surprisingly Simple: Don’t be intimidated by yeast! This pita bread recipe breaks down the process into easy, manageable steps, making it accessible even for novice bakers.
Key Ingredient Notes
All-Purpose Flour or Bread Flour
The foundation of any great bread is its flour. For this incredible pita bread recipe, you have a couple of excellent options. While standard all-purpose flour will yield a perfectly delicious and soft pita, opting for bread flour will take your creation to the next level. Bread flour boasts a higher protein content, typically around 12-14%, which develops more gluten during kneading. This extra gluten provides a chewier texture and a stronger structure, which is particularly beneficial for creating those iconic, airy pockets that define a good pita. If you crave that authentic, satisfying chew, reach for bread flour. Regardless of your choice, ensure your flour is fresh and stored in a cool, dry place to maintain its quality. Fresh flour makes a noticeable difference in both the rise and the flavor of your homemade pita bread.
Active Dry Yeast
Yeast is the living, breathing heart of this pita bread recipe, responsible for its delightful rise and light, airy texture. Using active dry yeast requires a quick activation step, which is also a fantastic way to verify its viability. To do this, you’ll combine it with warm water (not hot, as it can kill the yeast!) and a pinch of sugar. The sugar acts as food for the yeast, encouraging it to wake up and start fermenting. Within 5-10 minutes, your mixture should become visibly foamy and bubbly. This foam is a clear indicator that your yeast is alive and ready to work its magic, ensuring your pita bread recipe achieves its characteristic fluffiness and pocket formation. If your yeast doesn’t foam, it’s best to discard it and get a fresh batch.
Good Quality Olive Oil
Don’t underestimate the role of olive oil in this pita bread recipe. A splash of good quality extra virgin olive oil not only adds a subtle richness and a wonderful Mediterranean aroma to the dough but also contributes significantly to the pita’s tenderness and overall flavor profile. It helps keep the dough pliable and moist, preventing it from becoming dry or crumbly. The nuances of a high-quality olive oil will subtly enhance the taste of the finished pita, making it even more delectable, whether you’re dipping it in hummus or stuffing it with your favorite fillings. It’s a small addition that makes a big impact on the authenticity and deliciousness of your homemade pita.
Step-by-Step Guide with Pro Tips
Gather Your Tools
Before you dive into the magic of this pita bread recipe, gather all your essential kitchen tools. Having everything at hand will make the process smooth and enjoyable. You’ll need a large mixing bowl (or the bowl for your stand mixer), a stand mixer with a dough hook attachment (highly recommended for ease, but not essential), a clean kitchen towel or plastic wrap for covering, a sturdy rolling pin, and a baking surface. For baking, a preheated pizza stone, an inverted heavy-duty baking sheet, or a cast-iron skillet will yield the best results for that signature puff. A bench scraper can also be handy for dividing the dough.
Prepare the Dough – The Foundation of Your Pita Bread Recipe
Step 1: In your large mixing bowl, combine 1 cup of warm water (ensure it’s between 105-115°F or 40-46°C – too hot will kill the yeast, too cold won’t activate it), 2 teaspoons of active dry yeast, and 1 teaspoon of sugar. Stir gently with a spoon. Let this mixture sit undisturbed for 5 to 10 minutes. You’ll know your yeast is alive and well when it becomes wonderfully foamy and bubbly on the surface. This crucial step guarantees the success of your pita bread recipe.
Step 2: Once your yeast is active, add 3 cups of all-purpose or bread flour, 2 tablespoons of good quality olive oil, and 1 teaspoon of salt to the yeast mixture. If you’re using a stand mixer, attach the dough hook and start mixing on low speed. Mix for about 2 minutes until all the ingredients come together to form a shaggy, somewhat sticky dough. If you’re mixing by hand, use a sturdy wooden spoon or your hands to bring the dough together in the bowl.
Step 3: Now it’s time to develop the gluten. If using a stand mixer, increase the speed to medium-low and knead the dough for 7-10 minutes. The dough should gradually transform from shaggy to smooth, elastic, and supple, pulling away from the sides of the bowl. When poked gently with a finger, it should spring back. If kneading by hand, turn the dough out onto a lightly floured surface and knead vigorously for 10-15 minutes, pushing, folding, and turning until it achieves the same smooth and elastic consistency. Proper kneading is paramount for the texture and puff of this pita bread recipe.
First Rise – Letting Your Dough Develop Flavor
Step 4: Lightly grease a clean, large bowl with a teaspoon of olive oil. Transfer the kneaded dough to this bowl, turning it once to ensure it’s lightly coated with oil (this prevents it from drying out). Cover the bowl tightly with plastic wrap or a clean, damp kitchen towel. Place the bowl in a warm, draft-free spot in your kitchen. An oven with just the light on, or a sunny windowsill, works well. Let the dough rise for 1 to 1.5 hours, or until it has visibly doubled in size. This first rise allows the yeast to ferment, developing the deep, nuanced flavors characteristic of a truly excellent pita bread recipe.
Shape the Pita – Preparing for the Puff
Step 5: Once the dough has doubled, gently punch it down to release the accumulated gases. Turn the dough out onto a lightly floured surface. Using a bench scraper or a sharp knife, divide the dough into 8-10 equal pieces. For uniform pita, you can weigh them (about 70-80 grams each). Roll each piece into a smooth, round ball. This step is crucial for consistent pita results.
Step 6: Arrange the dough balls on your lightly floured surface, ensuring they have a little space between them. Cover them again with a clean kitchen towel and let them rest for another 15-20 minutes. This second brief rest is vital: it allows the gluten to relax, making the dough much easier to roll out without it springing back excessively. Skipping this step can lead to tough, difficult-to-shape pita.
Step 7: While the dough balls are resting, preheat your oven to its highest possible setting, typically 475-500°F (245-260°C). Place your pizza stone or an inverted heavy-duty baking sheet inside the oven as it preheats. It’s essential that this surface gets intensely hot, so let it preheat for at least 30-45 minutes. The extreme heat is the secret to getting that spectacular puff in your pita bread recipe.
Step 8: Working with one dough ball at a time, and keeping the others covered, roll it out on a lightly floured surface into a round disc, approximately 6-8 inches in diameter and about 1/8 to 1/4 inch thick. Aim for an even thickness across the entire disc; inconsistencies can prevent a full, even puff. Don’t worry if they’re not perfectly round – rustic charm is part of the appeal! Repeat with the remaining dough balls, stacking them with small squares of parchment paper in between to prevent sticking.
Bake the Pita – Witnessing the Magic
Step 9: Carefully transfer one or two rolled-out pita discs directly onto your intensely hot pizza stone, baking sheet, or cast iron skillet. A pizza peel dusted with cornmeal or semolina can help with transfer. Close the oven door swiftly to trap the heat. Watch closely – this is where the magic happens! Within 1-3 minutes, the pita should begin to puff up dramatically like a balloon, creating that perfect internal pocket. This rapid expansion is a sign of a well-made pita bread recipe.
Step 10: Once puffed and you see some small, delicate brown spots appear on the top surface, carefully flip the pita using tongs or a spatula. Bake for another 30 seconds to 1 minute on the other side, just long enough to cook through slightly and develop a little color. Be careful not to overbake, as this will dry out your pita and make it stiff instead of soft and pliable. The goal is soft, tender, and slightly chewy.
Step 11: As each pita finishes baking, remove it from the oven and immediately transfer it to a plate or basket lined with a clean kitchen towel. Cover the warm pita loosely with another towel. The residual steam trapped under the towel will help keep the pita soft, pliable, and moist, ensuring your pita bread recipe results in the ideal texture. Continue this process until all your pita bread is baked and ready to enjoy.
Variations & Serving Suggestions
Flavor Boosters for Your Pita Bread Recipe
While this classic pita bread recipe is delightful on its own, don’t hesitate to experiment with flavor additions to customize your homemade pita. Before baking, you can lightly brush the rolled-out dough with garlic-infused olive oil for an aromatic kick, or sprinkle it generously with traditional Middle Eastern za’atar spice blend for an authentic taste. Dried oregano, rosemary, or a pinch of red pepper flakes can also add wonderful complexity. For a warm, earthy note, a little smoked paprika can be blended into the flour or sprinkled on top. These simple variations can transform your standard pita bread recipe into something truly unique and tailored to your palate.
Beyond the Dip: Creative Ways to Enjoy Your Homemade Pita
The versatility of fresh pita bread is one of its greatest assets. Here are some inspiring ideas for enjoying your delicious homemade creation:
- The Quintessential Dipper: The most beloved way to enjoy pita is, of course, for dipping. Its sturdy yet soft pocket is absolutely perfect for scooping up creamy hummus, smoky baba ghanoush, or a refreshing dollop of homemade Tzatziki sauce. Don’t forget other favorites like mutabal, labneh, or even a simple olive tapenade.
- Delectable Wraps and Sandwiches: Transform your pita into a vessel for incredible fillings. It’s ideal for housing grilled chicken or lamb kebabs, falafel, gyros, or even simple fresh vegetables with a drizzle of tahini. Consider it for a lighter take on lunch, perhaps stuffed with a flavorful steak salad for a satisfying and portable meal. The sturdy structure of this recipe holds up beautifully to juicy fillings.
- Quick and Easy Mini Pizzas: For a fast weeknight meal or a fun activity with kids, use leftover pita as a base for individual pizzas. Spread a thin layer of your favorite tomato sauce, add cheese and any desired toppings, then bake until the cheese is melted and bubbly. The thin crust of the pita crisps up perfectly.
- Homemade Pita Chips: Don’t let any leftover pita go to waste! Cut slightly stale pita into triangles, brush lightly with olive oil, sprinkle with salt, pepper, garlic powder, or your preferred spices, and bake until golden brown and crispy. These homemade pita chips are far superior to store-bought versions and are fantastic with dips or as a crunchy salad topping.
Storage Tip: To keep your precious homemade pita bread fresh and soft, store any leftovers in an airtight container or a Basics Glass Food Storage container at room temperature for up to 3 days. For longer storage, they freeze exceptionally well. Simply stack them with parchment paper in between and place in a freezer-safe bag for up to 3 months. When ready to enjoy, reheat gently in a dry skillet, a toaster, or a microwave for a few seconds to regain their beautiful softness and warmth. This ensures every piece from your pita bread recipe is as good as the first!
Nutrition Information
| Nutrient | Amount (per serving) |
|---|---|
| Calories | 220 kcal |
| Carbohydrates | 42g |
| Cholesterol | 0mg |
| Fat | 3g |
| Fiber | 2g |
| Protein | 7g |
| Saturated Fat | 0g |
| Serving Size | 1 pita |
| Sodium | 350mg |
| Sugar | 1g |
| Trans Fat | 0g |
| Unsaturated Fat | 3g |
Making your own pita bread is truly one of the most rewarding culinary adventures you can embark on. The entire process, from mixing the humble ingredients to witnessing that miraculous puff in the oven, is a joy. This simple yet profound pita bread recipe allows you to bring the authentic taste and incredible texture of freshly baked Mediterranean bread right into your own home. Forget the dry, often flavorless, store-bought alternatives; with this recipe, you’ll be creating warm, soft, and perfectly pocketed pita that will elevate any meal, from a casual snack with hummus to a grand family feast. So, embrace the flour, roll up your sleeves, and get ready to bake some magic. Your kitchen is about to become your favorite bakery. Happy baking, and enjoy every delicious bite of your homemade pita!
FAQs
Why isn’t my pita bread puffing up?
The most common reasons for pita not puffing are insufficient oven heat (ensure your oven and baking surface are preheated to the highest temperature for at least 30-45 minutes), under-kneaded dough, or dough that hasn’t risen enough. Make sure your yeast is active and your dough is elastic before baking.
Can I make pita bread without a stand mixer?
Absolutely! You can knead the dough by hand. It will require a bit more effort and time, typically 10-15 minutes of vigorous kneading on a lightly floured surface, but the results will be just as wonderful.
How do I store leftover homemade pita bread?
Store leftover pita bread in an airtight container or a sealed plastic bag at room temperature for up to 3 days to keep it soft. For longer storage, you can freeze it for up to 3 months. Reheat gently in a dry skillet, toaster, or microwave until warm and pliable.
Can I use whole wheat flour for this pita bread recipe?
Yes, you can substitute some or all of the all-purpose flour with whole wheat flour. Keep in mind that whole wheat flour absorbs more liquid, so you might need to add an extra tablespoon or two of water. Whole wheat pita will be denser and have a slightly different texture, but still delicious and nutritious.
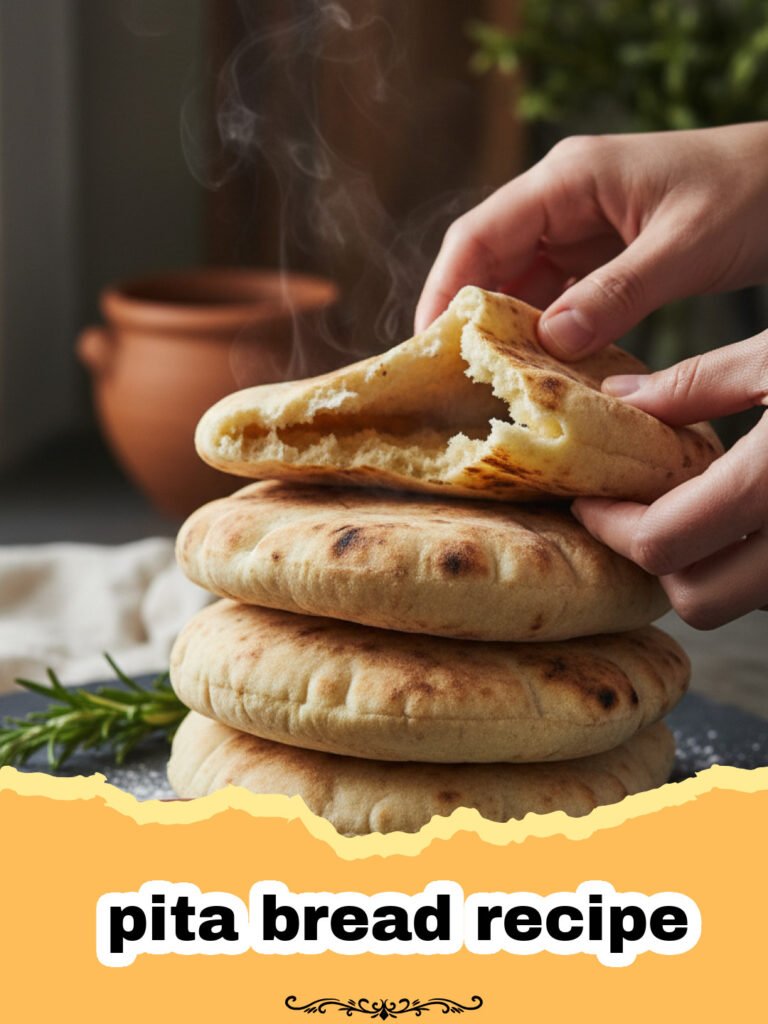
Homemade Fluffy Pita Bread
Learn how to make perfectly puffy, soft, and delicious homemade pita bread with this easy-to-follow recipe. Ideal for dipping, wraps, and more, this Mediterranean staple is surprisingly simple to master.
- Total Time: 2 hours 30 minutes
- Yield: 8–10 pitas 1x
Ingredients
1 cup warm water (105-115°F / 40-46°C)
2 teaspoons active dry yeast
1 teaspoon sugar
3 cups all-purpose flour or bread flour, plus more for dusting
2 tablespoons olive oil, plus more for greasing
1 teaspoon salt
Instructions
Step 1: In a large mixing bowl or the bowl of your stand mixer, combine 1 cup of warm water (ensure it’s between 105-115°F or 40-46°C), 2 teaspoons of active dry yeast, and 1 teaspoon of sugar. Stir gently and let it sit for 5 to 10 minutes until foamy.
Step 2: Add 3 cups of flour, 2 tablespoons of olive oil, and 1 teaspoon of salt to the yeast mixture. If using a stand mixer, attach the dough hook and mix on low speed for 2 minutes until a shaggy dough forms. If mixing by hand, stir with a wooden spoon until combined.
Step 3: Increase speed to medium-low (or turn out onto a lightly floured surface) and knead for 7-10 minutes, until the dough is smooth, elastic, and no longer sticky. It should bounce back when gently poked.
Step 4: Lightly grease a clean, large bowl with a teaspoon of olive oil. Place the kneaded dough in the bowl, turning it once to coat. Cover the bowl tightly with plastic wrap or a clean, damp kitchen towel and let it rise in a warm, draft-free place for 1 to 1.5 hours, or until doubled in size.
Step 5: Gently punch down the risen dough to release the air. Turn it out onto a lightly floured surface and divide it into 8-10 equal pieces. Roll each piece into a smooth ball.
Step 6: Cover the dough balls with a clean kitchen towel and let them rest for 15-20 minutes. This allows the gluten to relax, making the dough easier to roll out.
Step 7: Preheat your oven to its highest setting (typically 475-500°F or 245-260°C) with a pizza stone or an inverted heavy-duty baking sheet inside for at least 30-45 minutes. If using a cast iron skillet, preheat it over high heat on the stovetop.
Step 8: On a lightly floured surface, take one dough ball and roll it into a round disc, about 6-8 inches in diameter and about 1/8 to 1/4 inch thick. Aim for an even thickness. Repeat with remaining dough balls, stacking with parchment paper if needed, keeping them covered.
Step 9: Carefully place one or two rolled-out pita discs directly onto the preheated pizza stone/baking sheet or into the hot cast iron skillet. Close the oven door quickly. The pita should puff up dramatically within 1-3 minutes.
Step 10: Once puffed and lightly browned on top, carefully flip the pita and bake for another 30 seconds to 1 minute to cook the other side. Do not overbake.
Step 11: Remove the baked pita from the oven and immediately transfer it to a plate or basket lined with a clean kitchen towel. Cover them loosely to keep them warm and soft while you bake the remaining pita.
Notes
For the best results, ensure your yeast is active before adding other ingredients. The high oven temperature is key for getting the pita to puff. Do not overbake, as this will make the pita dry and hard.
- Prep Time: 2 hours
- Cook Time: 15 minutes
- Category: Baked Goods
- Cuisine: Mediterranean
Nutrition
- Serving Size: 1 pita
- Calories: 220 kcal
- Sugar: 1g
- Sodium: 350mg
- Fat: 3g
- Saturated Fat: 0g
- Unsaturated Fat: 3g
- Trans Fat: 0g
- Carbohydrates: 42g
- Fiber: 2g
- Protein: 7g
- Cholesterol: 0mg
Keywords: pita bread, homemade pita, pita recipe, flatbread recipe, Mediterranean bread, easy pita, fluffy pita, puffed pita, yeast bread




