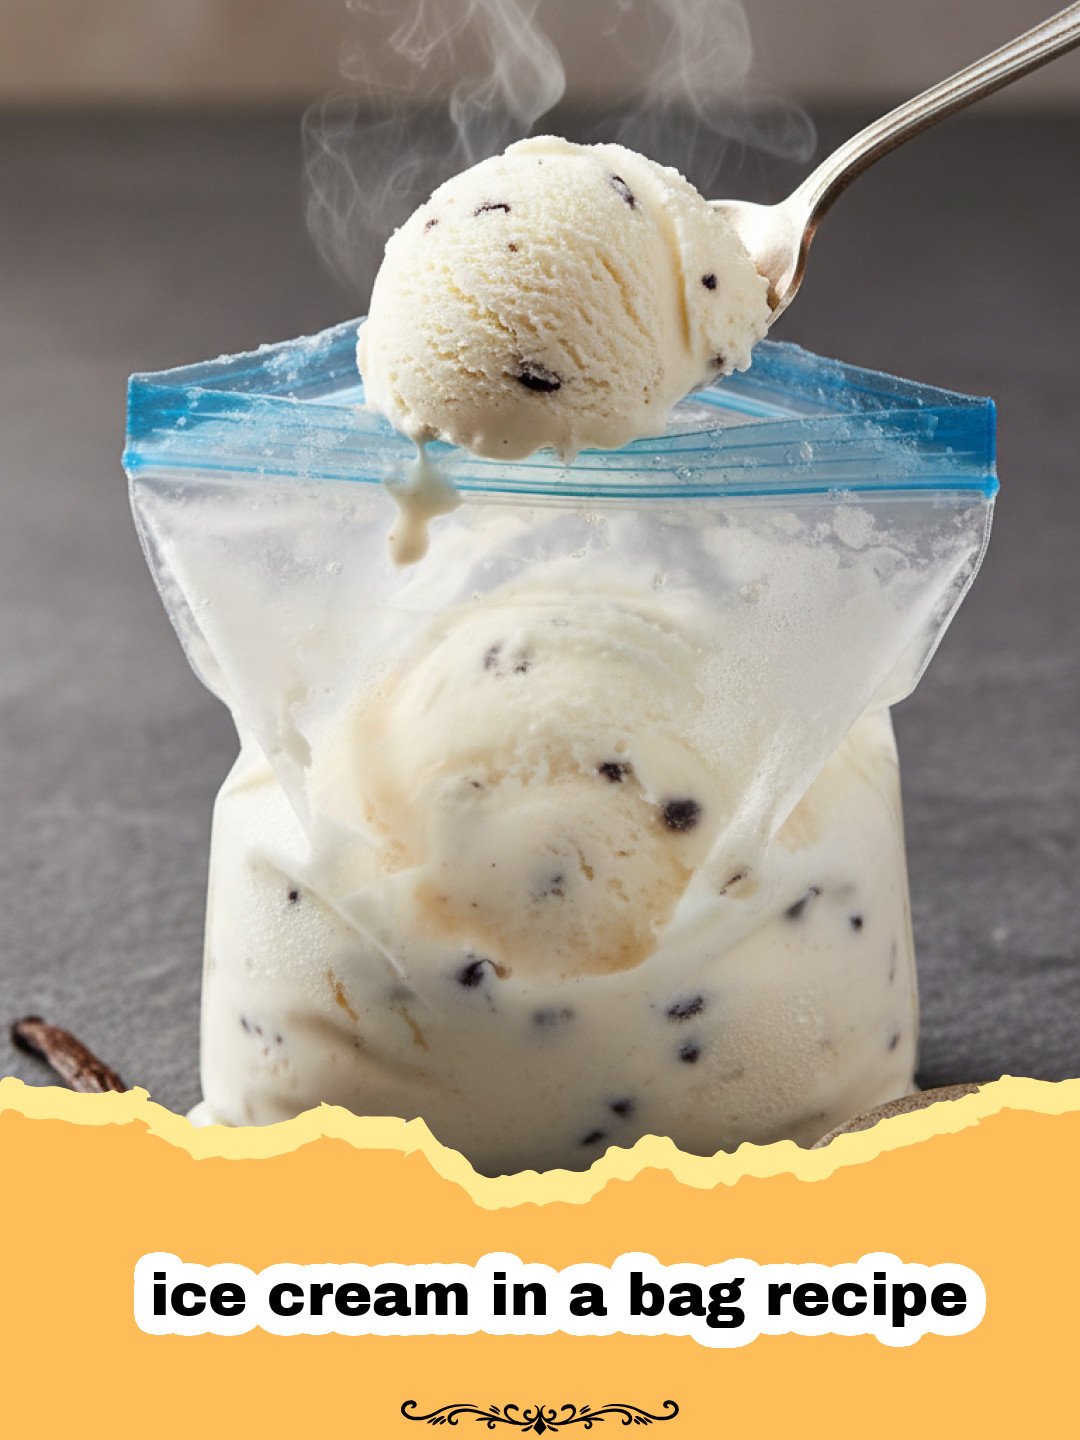
My earliest summer memories are painted with sunshine, the smell of freshly cut grass, and the joyful chaos of neighborhood kids. But if there’s one memory that stands out, it’s the thrill of making an ice cream in a bag recipe. I must have been around eight years old, at my best friend Sarah’s house. Her mom, a magician in the kitchen, introduced us to this incredible concept. We’d shake those bags with all our might, giggling as the icy concoction transformed from liquid to a creamy, dreamy dessert. It felt like science and magic combined, and the resulting vanilla bean delight was always the most satisfying treat after a long day of playing tag. That simple ice cream in a bag recipe wasn’t just about the dessert; it was about the shared experience, the anticipation, and the pure, unadulterated joy of creating something delicious with our own hands. Today, I still get that same spark of delight when I introduce this classic to new generations.
Why This Ice Cream in a Bag Recipe is a Must-Try
- Instant Gratification: Forget fancy ice cream makers! This ice cream in a bag recipe delivers fresh, creamy ice cream in about 10-15 minutes, making it perfect for spontaneous cravings or last-minute dessert needs.
- Kid-Friendly Fun: It’s an engaging, hands-on activity that kids adore. The shaking process is half the fun, turning dessert-making into an exciting science experiment. Plus, it teaches them a little bit about food science in a delicious way.
- Minimal Equipment: All you need are a couple of plastic bags, ice, salt, and your basic dairy ingredients. No complicated machinery, no churning, no fuss. This truly is the simplest ice cream in a bag recipe you’ll ever find.
- Customizable Flavors: While vanilla is a classic, this method is incredibly versatile. Easily swap out extracts or add mix-ins to create endless flavor combinations, from chocolate chip to strawberry swirl.
Key Ingredient Notes for Your Perfect Ice Cream in a Bag Recipe
While the beauty of this ice cream in a bag recipe lies in its simplicity, a few notes on the key ingredients can elevate your final product from good to absolutely glorious. Understanding why each component plays its role will help you troubleshoot and even get creative with your flavors.
Heavy Cream vs. Half-and-Half vs. Milk
The fat content of your dairy is crucial for creamy ice cream. Heavy cream (also known as whipping cream) is your best friend here, offering the highest fat percentage. This fat helps prevent ice crystals from forming, resulting in that smooth, rich texture we all crave. You can certainly use half-and-half for a slightly lighter (though still delicious) result, but be aware that it might be a bit icier. Whole milk can also be used, but it will yield a much icier, less rich product. For the classic, decadent ice cream in a bag recipe, stick with heavy cream if possible.
The Magic of Salt (and Ice)
This is where the science really comes into play for your ice cream in a bag recipe. You’re not just using ice to cool the mixture; the salt mixed with the ice creates a freezing point depression. This means the salted ice water mixture gets much colder than plain ice water (well below 32°F or 0°C). This super-cold environment rapidly chills and freezes your cream mixture. Don’t skip the salt! It’s essential for achieving the right temperature for freezing. Rock salt (ice cream salt) is often recommended because its larger crystals dissolve slower, but any coarse salt like kosher salt will work effectively.
Sweeteners and Flavorings
Granulated sugar is standard for this ice cream in a bag recipe, dissolving easily into the liquid base. You can adjust the amount to your sweetness preference. As for flavorings, pure vanilla extract is a timeless choice, providing that comforting, familiar taste. But don’t hesitate to experiment! A few drops of almond extract, a swirl of cocoa powder, or even a dash of espresso powder can transform your basic vanilla into something extraordinary. Just remember to add extracts *before* freezing.
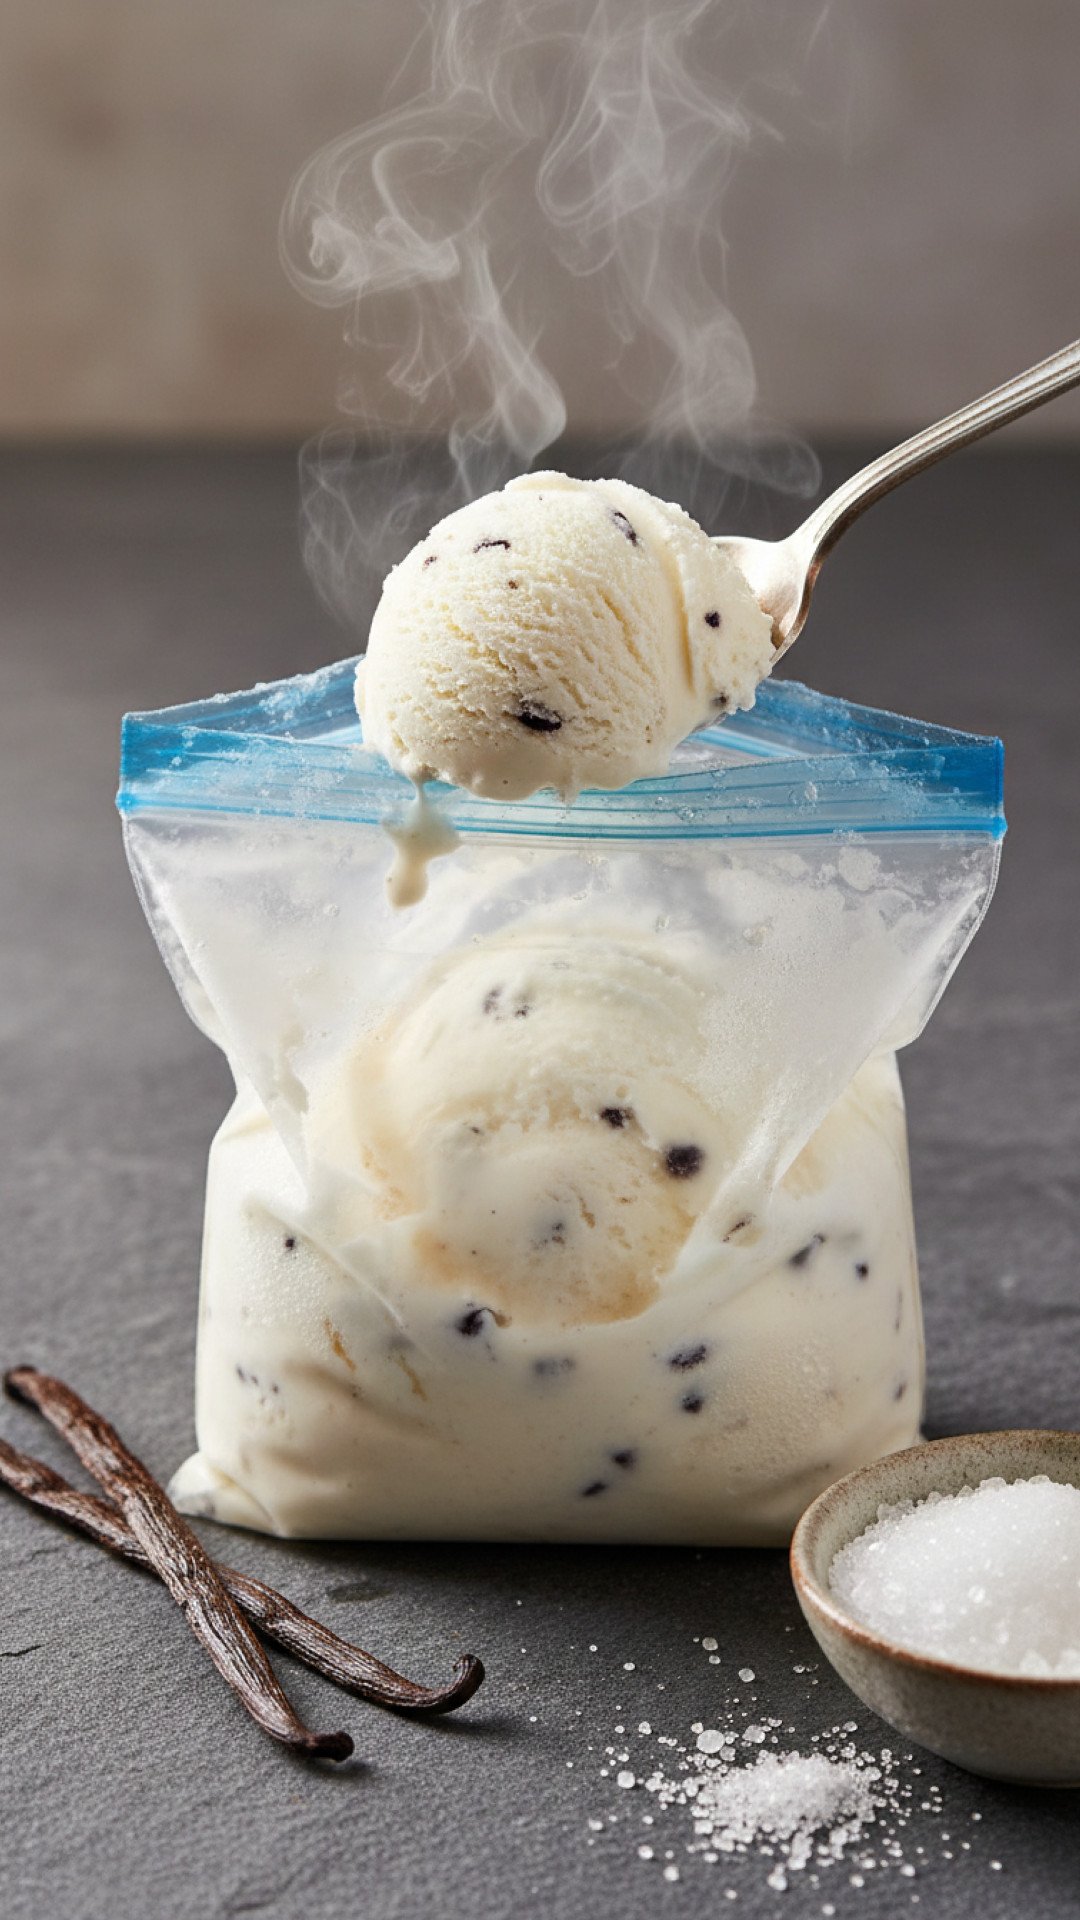
Step-by-Step Guide: Crafting Your Own Ice Cream in a Bag Recipe with Pro Tips
Ready to make some magic? Follow these simple steps to create the best ice cream in a bag recipe right in your kitchen, or even on your next camping trip!
Gather Your Tools and Ingredients
Before you begin, make sure you have everything laid out. This includes your dairy, sugar, vanilla, plenty of ice, and crucially, two sizes of sealable plastic bags. A quart-sized bag for the ice cream mixture and a gallon-sized bag for the ice and salt. A kitchen towel or oven mitts are also helpful for shaking!
Pro Tip: Bag Quality Matters!
Invest in good quality, freezer-safe, heavy-duty plastic bags. A leaky bag can turn your fun ice cream in a bag recipe experience into a salty, milky mess. Double-bagging the small bag is also a wise precaution, especially with enthusiastic shakers!
Let’s Get Shaking!
Making an ice cream in a bag recipe is all about the shake! Here’s how to do it.
- Step 1: In the small (quart-sized) sealable plastic bag, combine the heavy cream, granulated sugar, and vanilla extract. Squeeze out as much air as possible before sealing it tightly. This prevents ice crystals and promotes faster freezing.
- Step 2: Fill the larger (gallon-sized) sealable plastic bag about halfway with ice.
- Step 3: Pour about 1/2 cup of rock salt (or coarse kosher salt) over the ice in the gallon bag. The salt is essential for lowering the freezing point of the ice, allowing the ice cream mixture to get cold enough to freeze.
- Step 4: Place the sealed small bag containing the cream mixture into the larger bag with the ice and salt. Make sure it’s nestled securely amidst the ice.
- Step 5: Seal the gallon bag tightly, again trying to remove excess air. If you’re worried about leaks, you can place this entire gallon bag inside another gallon bag.
- Step 6: Now for the fun part! Vigorously shake, squish, and massage the bag for 7-10 minutes. This might feel like a workout, but it’s crucial for the ice cream to form. Wear gloves or wrap the bag in a kitchen towel to protect your hands from the cold.
- Step 7: After 7-10 minutes, carefully open the large bag and inspect the small bag. The mixture inside should have thickened and solidified into creamy ice cream! If it’s still too soft, reseal and continue shaking for a few more minutes.
- Step 8: Once your ice cream is ready, remove the small bag. Wipe off any salt water from the exterior of the small bag to prevent your ice cream from tasting salty. Spoon your freshly made ice cream into bowls and enjoy immediately!
Pro Tip: The Chill Factor
If your ice cream isn’t firm enough after shaking, it’s usually one of two things: not enough salt or not enough shaking. Add a bit more salt to the ice bag and keep shaking. You can also add more fresh ice if yours has melted considerably. The colder the mixture, the faster and firmer your ice cream in a bag recipe will set.
Pro Tip: Storing Leftovers (If Any!)
While this ice cream in a bag recipe is best enjoyed immediately, if you somehow manage to have leftovers, you can transfer them to an airtight container and freeze. For longer-term storage and to maintain freshness, consider using high-quality glass food storage containers. This helps prevent freezer burn and keeps your homemade treat tasting its best for a few days.
Variations & Serving Suggestions for Your Ice Cream in a Bag Recipe
One of the best things about this simple ice cream in a bag recipe is its incredible versatility. Once you’ve mastered the basic vanilla, the possibilities are endless!
Flavor Variations:
- Chocolate Dream: Add 1-2 tablespoons of unsweetened cocoa powder to your cream mixture at the beginning. You can also mix in mini chocolate chips after it’s frozen.
- Strawberry Swirl: Mash 1/4 cup of fresh strawberries with 1 teaspoon of sugar. Fold this into your ice cream after it’s formed, or layer it in your serving bowl. You could even create a delicious Homemade Strawberry Lemonade to enjoy alongside your ice cream!
- Mint Chocolate Chip: Add 1/2 teaspoon of pure mint extract (start with less and taste) and a few drops of green food coloring if desired. Mix in mini chocolate chips once the ice cream is firm.
- Coffee Kick: Dissolve 1-2 teaspoons of instant coffee or espresso powder in a tablespoon of hot water, then let it cool before adding to your cream mixture.
- Citrus Burst: Add 1-2 teaspoons of fresh lemon or orange zest for a bright, refreshing flavor. This would pair wonderfully with some Refreshing Mango Berry Swirl Popsicles on a hot day.
Serving Suggestions:
Your freshly made ice cream in a bag recipe is delicious on its own, but why stop there? Elevate your dessert experience with these ideas:
- Classic Sundae: Top with whipped cream, chocolate syrup, sprinkles, and a cherry.
- Fruit Extravaganza: Serve with fresh berries, sliced bananas, or a compote of your favorite fruits.
- Brownie or Cookie A La Mode: A scoop of this homemade ice cream is the perfect accompaniment to a warm brownie or a freshly baked cookie.
- Root Beer Float: Drop a generous scoop into a glass of root beer for a fizzy, creamy treat.
- Affogato: For the adults, pour a shot of hot espresso over a scoop of vanilla ice cream for a sophisticated dessert.
No matter how you flavor or serve it, making an ice cream in a bag recipe promises a delightful, personalized dessert experience every time.
Nutrition Information
Here’s an estimated nutritional breakdown for one serving of this ice cream in a bag recipe, based on approximately 6 servings. Please note that these values are estimates and can vary based on specific ingredients and serving sizes.
| Nutrient | Amount Per Serving |
|---|---|
| Calories | 350 kcal |
| Carbohydrates | 28g |
| Cholesterol | 120mg |
| Fat | 26g |
| Fiber | 0g |
| Protein | 3g |
| Saturated Fat | 16g |
| Serving Size | 1/2 cup |
| Sodium | 45mg |
| Sugar | 27g |
| Trans Fat | 1g |
| Unsaturated Fat | 8g |
Conclusion: The Sweet Simplicity of Ice Cream in a Bag
From childhood memories to quick summer fun, the ice cream in a bag recipe remains a beloved classic. It’s more than just a dessert; it’s an experience, a science lesson, and a delicious reward all rolled into one. Whether you’re looking for a simple activity with the kids, a fast treat for a spontaneous gathering, or just a little bit of homemade goodness, this ice cream in a bag recipe delivers. So grab your ingredients, gather your family, and get shaking. You’re just minutes away from enjoying your very own creamy, dreamy, homemade ice cream. Enjoy every spoonful!
FAQs
Why do I need salt to make ice cream in a bag?
Salt is essential because when mixed with ice, it lowers the freezing point of the water. This creates a super-cold brine that gets well below 0u00b0C (32u00b0F), allowing your cream mixture to freeze rapidly into ice cream. Without salt, the ice alone wouldn’t get cold enough quickly to solidify the ice cream.
Can I use regular milk instead of heavy cream for this ice cream in a bag recipe?
While you can technically use regular milk, heavy cream is highly recommended for the best results in this ice cream in a bag recipe. The higher fat content in heavy cream helps create a much creamier, smoother ice cream with fewer ice crystals. Using regular milk will result in a much icier, less rich product.
How long does ice cream in a bag take to make?
The entire process for making ice cream in a bag, from mixing ingredients to getting a firm, scoopable dessert, typically takes about 10-15 minutes of active shaking. It’s one of the fastest ways to enjoy homemade ice cream!
Can I make different flavors with this ice cream in a bag recipe?
Absolutely! The basic vanilla ice cream in a bag recipe is just a starting point. You can easily experiment with flavors by adding cocoa powder for chocolate, mint extract and chocolate chips for mint chocolate chip, or even pureed fruit for a fruity twist. Just remember to add any liquid flavorings or extracts to the cream mixture before shaking.
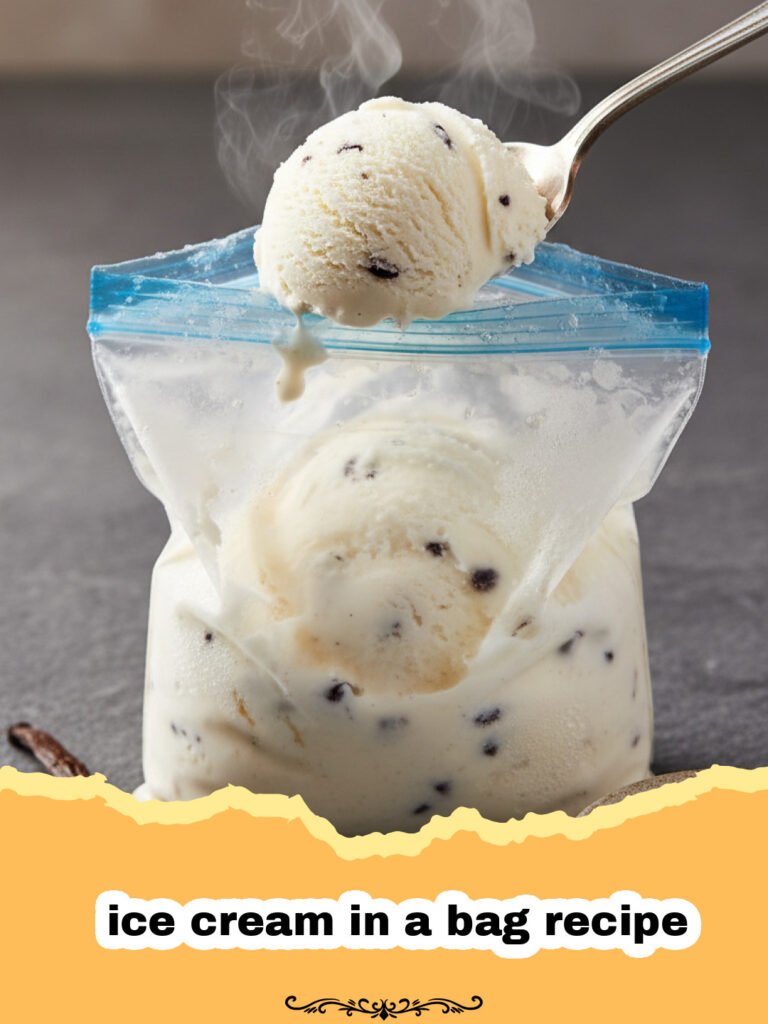
Homemade Ice Cream in a Bag: Easy No-Churn Recipe
Discover the magic of making delicious, creamy ice cream at home with this super easy ice cream in a bag recipe! Perfect for kids and parties, it requires no special equipment and delivers a delightful treat in minutes.
- Total Time: 15 minutes
- Yield: 2 servings (approx. 1 cup total) 1x
Ingredients
1 cup heavy cream (or half-and-half for a lighter version)
2 tablespoons granulated sugar (adjust to taste)
1/2 teaspoon pure vanilla extract
3–4 cups ice cubes
1/2 cup rock salt (or coarse kosher salt)
1 quart-sized sealable plastic bag
1 gallon-sized sealable plastic bag
Instructions
Step 1: In the small (quart-sized) sealable plastic bag, combine the heavy cream, granulated sugar, and vanilla extract. Squeeze out as much air as possible before sealing it tightly. This prevents ice crystals and promotes faster freezing.
Step 2: Fill the larger (gallon-sized) sealable plastic bag about halfway with ice.
Step 3: Pour about 1/2 cup of rock salt (or coarse kosher salt) over the ice in the gallon bag. The salt is essential for lowering the freezing point of the ice, allowing the ice cream mixture to get cold enough to freeze.
Step 4: Place the sealed small bag containing the cream mixture into the larger bag with the ice and salt. Make sure it’s nestled securely amidst the ice.
Step 5: Seal the gallon bag tightly, again trying to remove excess air. If you’re worried about leaks, you can place this entire gallon bag inside another gallon bag.
Step 6: Now for the fun part! Vigorously shake, squish, and massage the bag for 7-10 minutes. This might feel like a workout, but it’s crucial for the ice cream to form. Wear gloves or wrap the bag in a kitchen towel to protect your hands from the cold.
Step 7: After 7-10 minutes, carefully open the large bag and inspect the small bag. The mixture inside should have thickened and solidified into creamy ice cream! If it’s still too soft, reseal and continue shaking for a few more minutes.
Step 8: Once your ice cream is ready, remove the small bag. Wipe off any salt water from the exterior of the small bag to prevent your ice cream from tasting salty. Spoon your freshly made ice cream into bowls and enjoy immediately!
Notes
For best results, use heavy cream for the creamiest texture. Don’t skip the salt – it’s crucial for lowering the ice’s temperature and freezing the cream mixture quickly. Double-bagging the small cream bag is a good way to prevent leaks.
- Prep Time: 5 minutes
- Cook Time: 10 minutes
- Category: How To
- Cuisine: American
Nutrition
- Serving Size: 1/2 cup
- Calories: 350 kcal
- Sugar: 27g
- Sodium: 45mg
- Fat: 26g
- Saturated Fat: 16g
- Unsaturated Fat: 8g
- Trans Fat: 1g
- Carbohydrates: 28g
- Fiber: 0g
- Protein: 3g
- Cholesterol: 120mg
Keywords: ice cream in a bag recipe, no churn ice cream, homemade ice cream, kid friendly recipe, easy ice cream, summer dessert, vanilla ice cream, plastic bag ice cream, science experiment food