

The perfect summer treat often brings back a flood of childhood memories, and for me, it’s always been about the classic ice cream sandwich recipe. I grew up in a small town where the ice cream truck was a mythical, almost magical, sight. Its jingle, a beacon of pure joy, would echo through our quiet streets on sweltering July afternoons. My younger brother and I would scramble, digging through sofa cushions for spare change, racing outside just as the truck rounded the corner. My go-to order was never a fancy cone or a colorful popsicle; it was always the humble, yet utterly satisfying, ice cream sandwich. There was something so perfect about the soft, chewy chocolate cookie exterior giving way to the cold, creamy vanilla ice cream within. It was simple, unpretentious, and utterly delicious, a moment of blissful escape from the summer heat.
As I got older, the ice cream truck became a less frequent visitor, but my love for that classic treat never faded. I started experimenting in my own kitchen, determined to recreate that nostalgic flavor, but elevate it. Store-bought versions just couldn’t capture the fresh-baked goodness and the premium ice cream texture I craved. And so, after many attempts and a few very messy kitchen adventures, I perfected my own homemade ice cream sandwich recipe. This recipe isn’t just about combining cookies and ice cream; it’s about crafting an experience. It’s about the joy of baking, the thrill of customization, and the pure, unadulterated pleasure of biting into a treat that’s far superior to anything you’ll find in a freezer aisle. It’s a culinary journey back to those sun-drenched childhood days, with an adult twist of gourmet quality. Trust me, once you try this ice cream sandwich recipe, you’ll never go back to the pre-packaged kind.
Why This Ice Cream Sandwich Recipe is a Must-Try
- Unmatched Flavor & Texture: Forget the cardboard-like cookies and icy filling of store-bought versions. This ice cream sandwich recipe yields soft, intensely chocolatey cookies and perfectly creamy ice cream that melts in your mouth.
- Endless Customization: This isn’t just a chocolate cookie with vanilla ice cream. This ice cream sandwich recipe is a canvas for your creativity! Mix and match cookie flavors, ice cream types, and even add fun toppings to make it truly your own.
- Fun for All Ages: Making these is a fantastic activity for kids and adults alike. From baking the cookies to assembling the sandwiches, it’s a project that brings smiles and delicious rewards.
- Perfect for Entertaining: Impress your guests with homemade treats that look as good as they taste. Prepare them in advance, and pull them out of the freezer for an instant crowd-pleaser at any summer gathering.
Key Ingredient Notes for the Perfect Ice Cream Sandwich
Getting the right texture and flavor for your homemade ice cream sandwich recipe largely depends on the quality and preparation of a few key ingredients. Don’t skip these notes!
Cocoa Powder: The Heart of Your Cookie
For this ice cream sandwich recipe, I highly recommend using Dutch-processed cocoa powder. While natural cocoa powder is acidic and reacts with baking soda to create a lighter, more crumbly texture, Dutch-processed cocoa powder is non-acidic. It results in a darker, richer chocolate flavor and a softer, chewier cookie – absolutely essential for a good ice cream sandwich that won’t crack or crumble when you bite into it. The deep color also makes for a more visually appealing cookie that contrasts beautifully with the ice cream.
Butter: Temperature Matters
Always use unsalted butter at room temperature. “Room temperature” doesn’t mean soft and oily; it means firm enough to hold its shape but soft enough to make a slight indentation when pressed gently. Using butter that’s too cold will lead to a lumpy batter, while butter that’s too warm can make the cookies spread too much and become greasy. Properly softened butter creams together with sugar to incorporate air, which is crucial for a tender, soft cookie that’s perfect for this ice cream sandwich recipe.
Ice Cream: Quality and Tempering
The star of the show! Choose a high-quality ice cream for the best results. Whether it’s classic vanilla, mint chocolate chip, or a gourmet salted caramel, the better the ice cream, the better your final product will be. When it comes to assembly, it’s important to let your ice cream soften slightly (temper) at room temperature for about 10-15 minutes before you start. This makes it much easier to spread without melting completely, ensuring a smooth, even layer between your cookies. If it’s too hard, it will be difficult to work with, and you might break your soft cookies. This step is critical for a beautifully put-together ice cream sandwich recipe.
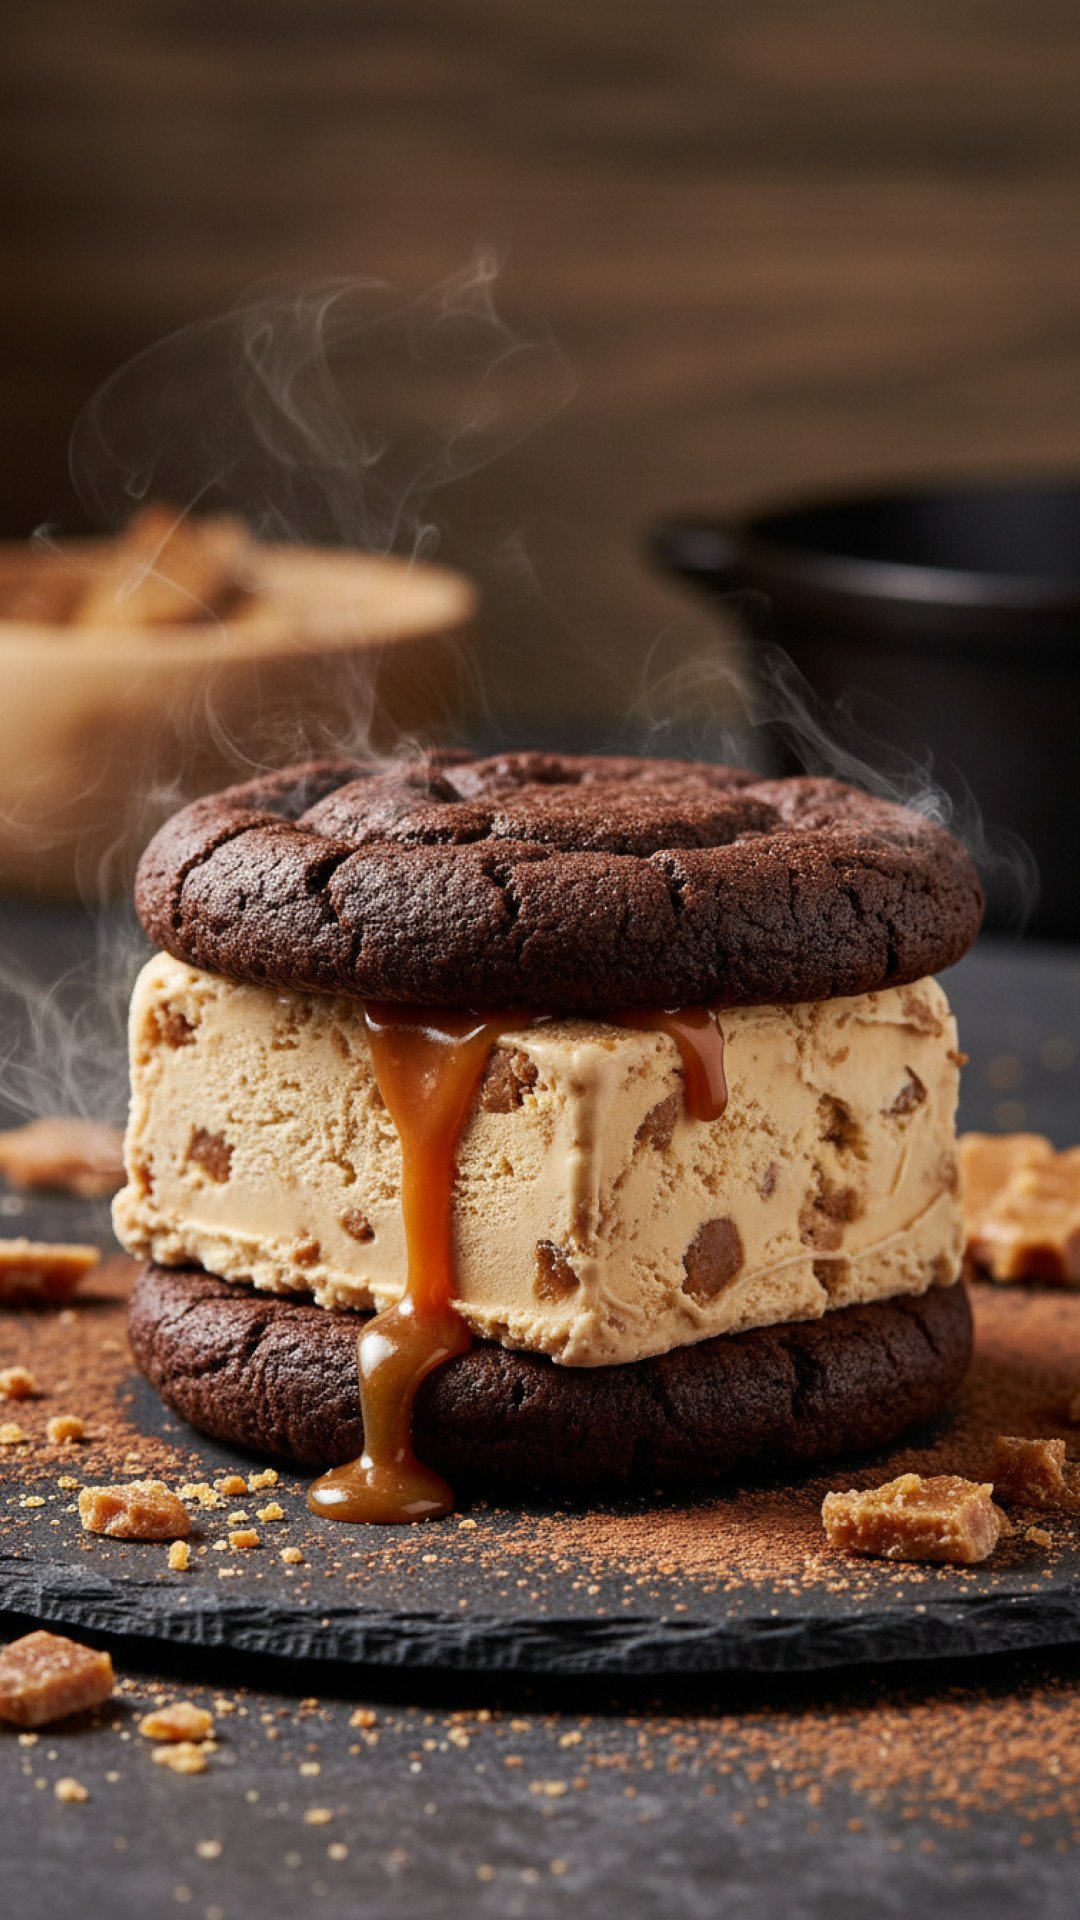
Step-by-Step Guide with Pro Tips for Your Ice Cream Sandwich Recipe
Making the Chewy Chocolate Cookies
This ice cream sandwich recipe starts with the perfect cookie. A rich, fudgy, and slightly chewy chocolate cookie is paramount to a superior ice cream sandwich.
Pro Tip: Chilling the dough is essential! It prevents the cookies from spreading too much during baking, ensuring they maintain a nice, thick texture perfect for holding ice cream. You can also make the cookie dough a day or two in advance and store it in the refrigerator, wrapped tightly. For storing dough or even the finished ice cream sandwiches, consider using durable Basics Glass Food Storage containers to keep them fresh and free from freezer burn.
Assembling Your Perfect Ice Cream Sandwiches
This is where the magic happens! Working quickly is key here to prevent the ice cream from melting too much.
Pro Tip: For perfectly shaped ice cream sandwiches, use a sharp knife (heated slightly under hot water and dried) to trim the edges of the ice cream block before placing it between the cookies. This ensures clean, professional-looking edges. You can also use cookie cutters slightly smaller than your baked cookies to cut the softened ice cream for a precise fit.
Freezing for Firmness
After assembly, the ice cream sandwiches need time to firm up in the freezer. This is crucial for them to hold their shape and prevent a melty mess when you bite into them.
Pro Tip: Place the assembled sandwiches on a parchment-lined baking sheet and freeze uncovered for about 30 minutes to an hour. Once firm, wrap each ice cream sandwich tightly in plastic wrap or parchment paper, then store them in an airtight container or a freezer-safe bag. This prevents freezer burn and keeps them fresh for up to two weeks. This is a brilliant way to prepare for a party or just have a stash of this amazing ice cream sandwich recipe ready for those spontaneous cravings!
Variations & Serving Suggestions for Your Ice Cream Sandwich Recipe
One of the best things about this ice cream sandwich recipe is its versatility. Once you’ve mastered the classic, the possibilities for customization are endless!
Cookie Flavor Swaps
- Peanut Butter Cookies: Replace some of the flour with peanut butter for a nutty twist. Pair with chocolate or banana ice cream.
- Snickerdoodle Cookies: A cinnamon-sugar cookie offers a warm, spiced contrast. Delicious with vanilla or coffee ice cream.
- Red Velvet Cookies: Add red food coloring and a touch of cocoa for a vibrant, classic flavor. Cream cheese swirl ice cream would be incredible!
- Oatmeal Cookies: For a chewier, heartier base, perfect with butter pecan or caramel ice cream.
Ice Cream Adventures
- Mint Chocolate Chip: A refreshing classic, especially with chocolate cookies.
- Coffee or Espresso: For the coffee lovers, a robust flavor that pairs well with almost any cookie base.
- Strawberry or Raspberry: Fruity and sweet, delightful with vanilla or even lemon-infused cookies.
- Pistachio or Toasted Almond: A sophisticated flavor profile for a gourmet ice cream sandwich recipe.
- Want more frozen dessert ideas? Check out our Ultimate Homemade Ice Cream Cake Recipe!
Fun Coatings & Toppings
- Sprinkles: A timeless choice for a festive look.
- Mini Chocolate Chips: Press them into the sides of the ice cream.
- Chopped Nuts: Peanuts, pecans, or walnuts add a crunchy texture.
- Toasted Coconut: For a tropical flair.
- Crushed Candy Bars: Get creative with your favorite confections!
Serving Suggestions
While an ice cream sandwich is perfect on its own, you can elevate the experience:
- Drizzle: A warm chocolate fudge sauce or a rich caramel sauce makes for an indulgent treat.
- Fresh Berries: A side of fresh strawberries or raspberries adds a touch of freshness and cuts through the richness.
- Milkshake Style: Blend a small ice cream sandwich with milk and a scoop of ice cream for a super thick, decadent milkshake.
Experimenting with this ice cream sandwich recipe is part of the fun. Don’t be afraid to try new combinations and find your ultimate favorite!
Nutrition Information
| Nutrient | Amount |
|---|---|
| Calories | 420 kcal |
| Carbohydrates | 55g |
| Cholesterol | 50mg |
| Fat | 21g |
| Fiber | 2g |
| Protein | 6g |
| Saturated Fat | 12g |
| Serving Size | 1 sandwich |
| Sodium | 200mg |
| Sugar | 38g |
| Trans Fat | 0.5g |
| Unsaturated Fat | 8g |
(Note: Nutrition facts are estimates and will vary based on specific ingredients and brands used.)
Conclusion
There you have it – my ultimate ice cream sandwich recipe, a delicious tribute to childhood nostalgia and a testament to the joy of homemade treats. This recipe is more than just a dessert; it’s an invitation to create lasting memories in your kitchen and share moments of pure delight with loved ones. Whether you stick to the classic chocolate and vanilla or venture into exciting new flavor combinations, the satisfaction of biting into a perfectly crafted, homemade ice cream sandwich is truly unparalleled. So, gather your ingredients, fire up your oven, and prepare to embark on a sweet adventure. Your taste buds (and your inner child) will thank you. And if you’re looking for another quick dessert fix, be sure to check out our Ultimate 5-Minute Chocolate Mug Cake Recipe!
FAQs
What’s the best type of ice cream for ice cream sandwiches?
The best ice cream for an ice cream sandwich recipe is typically a premium, full-fat variety. It tends to be creamier and less icy, which makes for a better texture when frozen solid and bitten into. Classic vanilla is a popular choice, but feel free to experiment with your favorite flavors like mint chip, coffee, or strawberry. Just ensure it’s slightly softened before assembly for easy spreading.
How do I prevent my ice cream sandwiches from getting soggy?
To prevent soggy ice cream sandwiches, it’s crucial to wrap them tightly in plastic wrap or parchment paper immediately after assembly and once they are firm from an initial chill. This creates a barrier against freezer burn and moisture. Also, ensure your cookies are completely cooled before assembly, as any residual warmth can cause the ice cream to melt and make the cookies soft. Freezing them quickly after assembly helps too.
Can I make ice cream sandwich cookies ahead of time?
Absolutely! The chocolate cookies for this ice cream sandwich recipe can be baked up to 3-4 days in advance and stored in an airtight container at room temperature. For longer storage, you can freeze the baked cookies for up to a month. Thaw them at room temperature before assembling. You can also prepare the cookie dough a few days ahead and keep it chilled in the refrigerator, ready to roll and bake when you’re ready to make your ice cream sandwich recipe.
What are some creative variations for this ice cream sandwich recipe?
The possibilities for customizing this ice cream sandwich recipe are endless! Try different cookie bases like peanut butter, snickerdoodle, or red velvet. Experiment with various ice cream flavors such as salted caramel, raspberry swirl, or even a dairy-free alternative. For extra flair, roll the sides of the assembled sandwiches in sprinkles, mini chocolate chips, chopped nuts, or toasted coconut before the final freeze.
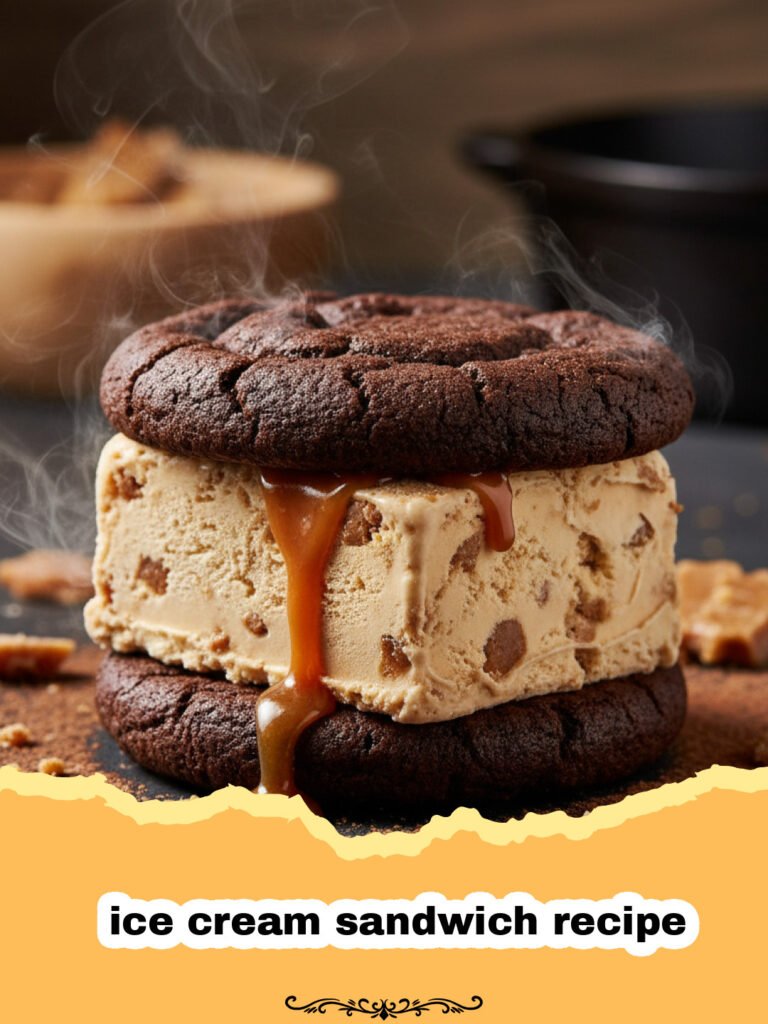
Classic Homemade Ice Cream Sandwich
Indulge in the ultimate nostalgic treat with this classic homemade ice cream sandwich recipe. Featuring chewy, rich chocolate cookies and creamy vanilla ice cream, this recipe is customizable and far superior to any store-bought version. Perfect for summer gatherings or a sweet everyday escape!
- Total Time: 2 hours 57 minutes
- Yield: 12 servings 1x
Ingredients
1 cup (2 sticks) unsalted butter, softened
1 1/2 cups granulated sugar
2 large eggs
1 teaspoon vanilla extract
2 cups all-purpose flour
3/4 cup Dutch-processed cocoa powder
1 teaspoon baking soda
1/2 teaspoon salt
1/4 cup milk (whole or 2%)
1.5 quarts (about 6 cups) vanilla ice cream, slightly softened
Instructions
Step 1: In a large bowl, cream together the softened butter and granulated sugar until light and fluffy, about 2-3 minutes.
Step 2: Beat in the eggs one at a time, mixing well after each addition. Stir in the vanilla extract.
Step 3: In a separate medium bowl, whisk together the all-purpose flour, Dutch-processed cocoa powder, baking soda, and salt.
Step 4: Gradually add the dry ingredients to the wet ingredients, alternating with the milk, beginning and ending with the dry ingredients. Mix until just combined, being careful not to overmix.
Step 5: Divide the dough in half, flatten into discs, wrap tightly in plastic wrap, and chill in the refrigerator for at least 1 hour (or up to 2 days). Chilling is crucial for easy handling and to prevent spreading.
Step 6: Preheat your oven to 350°F (175°C). Line two baking sheets with parchment paper.
Step 7: On a lightly floured surface, roll out one disc of dough to about 1/4-inch thickness. Using a 2 1/2-inch to 3-inch round cookie cutter, cut out cookies. Reroll scraps and cut more cookies. Repeat with the second disc of dough.
Step 8: Place the cut-out cookies about 1 inch apart on the prepared baking sheets.
Step 9: Bake for 10-12 minutes, or until the edges are set and the centers are still slightly soft. Do not overbake, as they will become too hard. Let the cookies cool on the baking sheets for 5 minutes before transferring them to a wire rack to cool completely.
Step 10: Once the cookies are completely cool, prepare the ice cream. Take the softened vanilla ice cream and spread it evenly onto a baking sheet or a shallow dish lined with parchment paper, about 1/2 to 3/4-inch thick. You may need to do this in batches. Freeze the spread ice cream for at least 30 minutes, or until firm enough to cut.
Step 11: Using the same cookie cutter you used for the cookies (or slightly smaller), cut out ice cream circles. Work quickly to prevent the ice cream from melting too much.
Step 12: Place one ice cream circle on the flat side of a cookie. Top with another cookie, flat side down, gently pressing to form a sandwich. Smooth the edges of the ice cream with an offset spatula or knife if desired.
Step 13: Immediately wrap each ice cream sandwich tightly in plastic wrap or parchment paper. Place them on a baking sheet and freeze for at least 2 hours, or until very firm. Store wrapped ice cream sandwiches in an airtight freezer-safe container for up to 2 weeks.
Notes
For best results, ensure your butter is at room temperature and chill the cookie dough thoroughly. This prevents spreading and ensures a perfect cookie texture. Use a good quality ice cream for a truly decadent treat. You can easily halve or double this ice cream sandwich recipe depending on your needs. For extra flair, roll the sides of the ice cream sandwiches in sprinkles, mini chocolate chips, or chopped nuts before the final freeze!
- Prep Time: 45 minutes
- Cook Time: 12 minutes
- Category: Baked Goods
- Cuisine: American
Nutrition
- Serving Size: 1 sandwich
- Calories: 420 kcal
- Sugar: 38g
- Sodium: 200mg
- Fat: 21g
- Saturated Fat: 12g
- Unsaturated Fat: 8g
- Trans Fat: 0.5g
- Carbohydrates: 55g
- Fiber: 2g
- Protein: 6g
- Cholesterol: 50mg
Keywords: ice cream sandwich recipe, homemade ice cream sandwich, chocolate ice cream sandwich, summer dessert, frozen treat, easy ice cream sandwich, classic dessert, cookie sandwich




