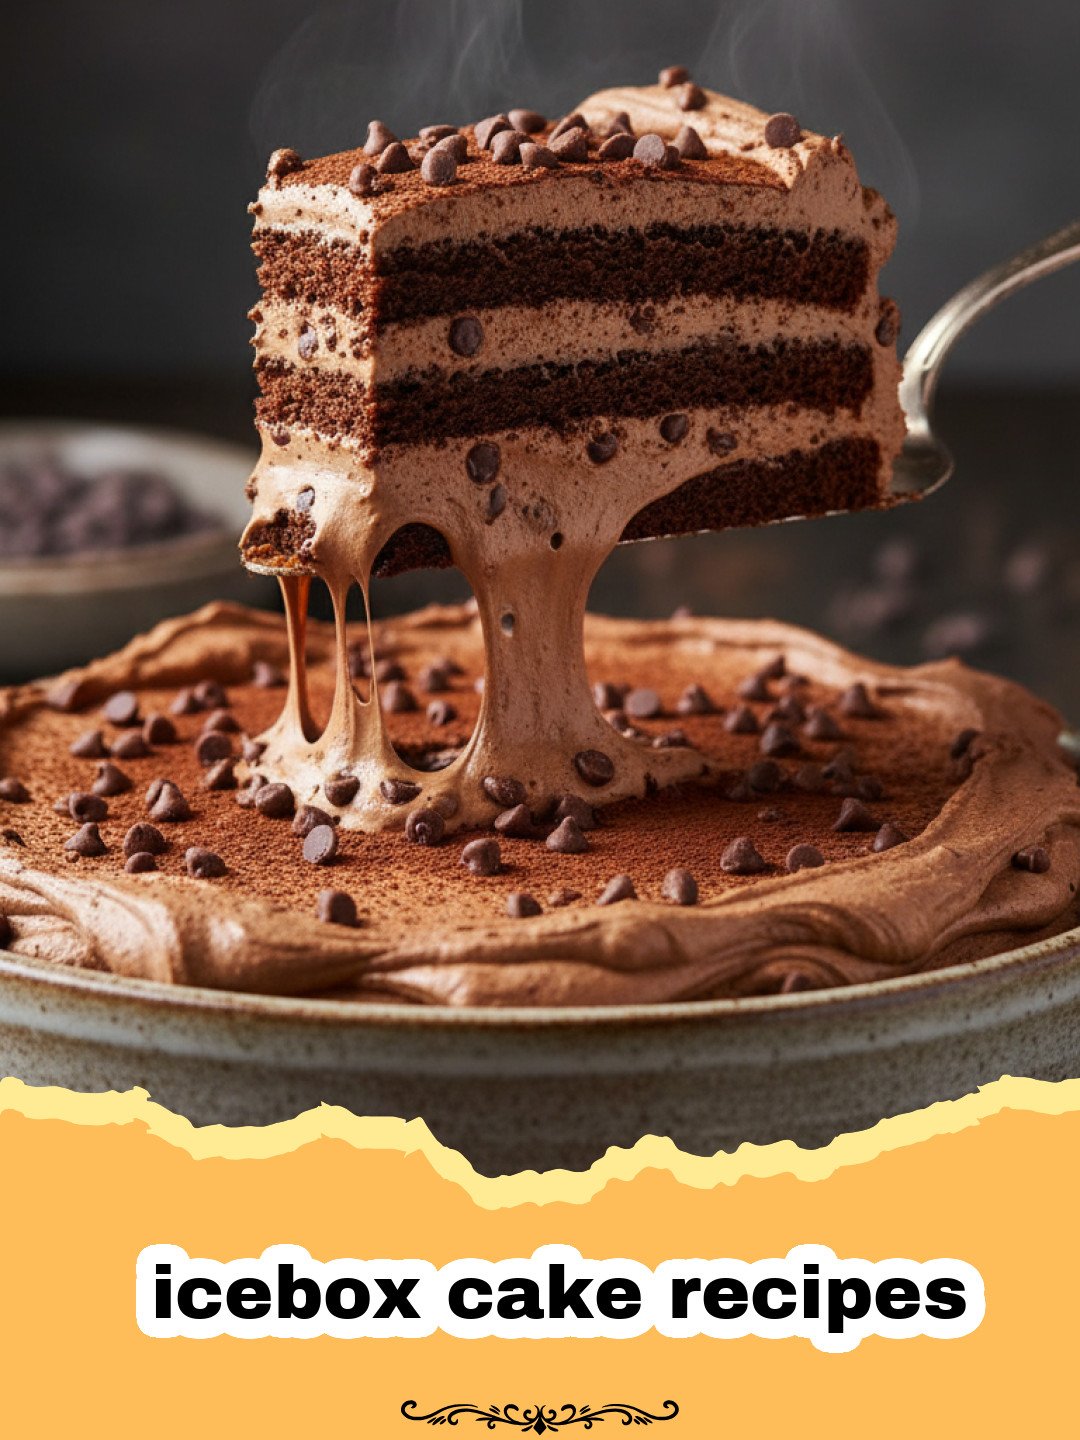
Exploring the world of icebox cake recipes is like stepping into a time machine that leads directly to the most refreshing summers of my childhood. I remember vividly the humid August afternoons in my grandmother’s kitchen, where the air was thick with the scent of gardenias and the promise of a cold treat. Unlike the heavy heat of the oven needed for our favorite The Secret to the Fudgiest Brownies Recipe Homemade, grandmother preferred the magic of the refrigerator. She would carefully layer thin chocolate wafers with clouds of sweetened whipped cream, whispering that the real secret was patience. For a child, waiting twenty-four hours felt like an eternity, but when that first slice was finally plated, it was worth every second. The way the cookies transformed from crisp snaps into soft, cake-like layers fascinated me then and continues to inspire my love for icebox cake recipes today. It is a dessert that proves you do not need heat to create heart-warming memories, just a few simple ingredients and a little bit of time in the chill.
Why This Recipe is a Must-Try
- No-Bake Simplicity: Among all icebox cake recipes, this classic chocolate version requires zero oven time, making it the perfect solution for hot summer days or when your oven is occupied with savory dishes.
- Make-Ahead Perfection: This dessert actually gets better as it sits, allowing you to prepare it a full day in advance and cross one more thing off your hosting to-do list.
- Customizable Canvas: Once you master the basic logic of icebox cake recipes, you can swap cookies, add fruit, or flavor the cream to suit any occasion or season.
- Impressive Texture: The science of the cookies absorbing moisture from the cream creates a unique, melt-in-your-mouth texture that mimics the finest sponge cakes without the effort of baking.
Key Ingredient Notes
When you start researching icebox cake recipes, you will find that the quality of your ingredients is paramount because there is nowhere for mediocre flavors to hide. First and foremost, the heavy cream must be cold and have a high fat content. This ensures that the whipped cream is stable enough to hold the weight of the layers. If the cream is too thin, your cake will turn into a puddle of mush rather than a structured dessert. I always recommend using heavy whipping cream rather than a stabilized whipped topping for the most authentic flavor and mouthfeel.
The second essential component of successful icebox cake recipes is the cookie. The traditional choice is a thin, dark chocolate wafer. These cookies are specifically designed to be dry and crisp, which allows them to drink up the moisture from the cream without completely disintegrating. If you cannot find chocolate wafers, high-quality graham crackers or even chocolate sandwich cookies can work, though the texture will vary slightly. For those who enjoy a bit of variety in their dessert repertoire, you might also consider how much fun it is to learn How to Make Perfect Homemade Cake Pops Every Time, but for sheer ease and nostalgia, the wafer remains king.
Lastly, don’t overlook the vanilla and sugar. Since we aren’t baking the cream, the floral notes of a high-quality vanilla extract will truly shine through. Use a light hand with the sugar; the cookies themselves provide a significant amount of sweetness, and you want the dairy to taste fresh and light rather than cloying. For the best storage results, I recommend using a sturdy container like Basics Glass Food Storage to keep the cake protected from any lingering odors in the fridge while it sets.
Step-by-Step Guide with Pro Tips
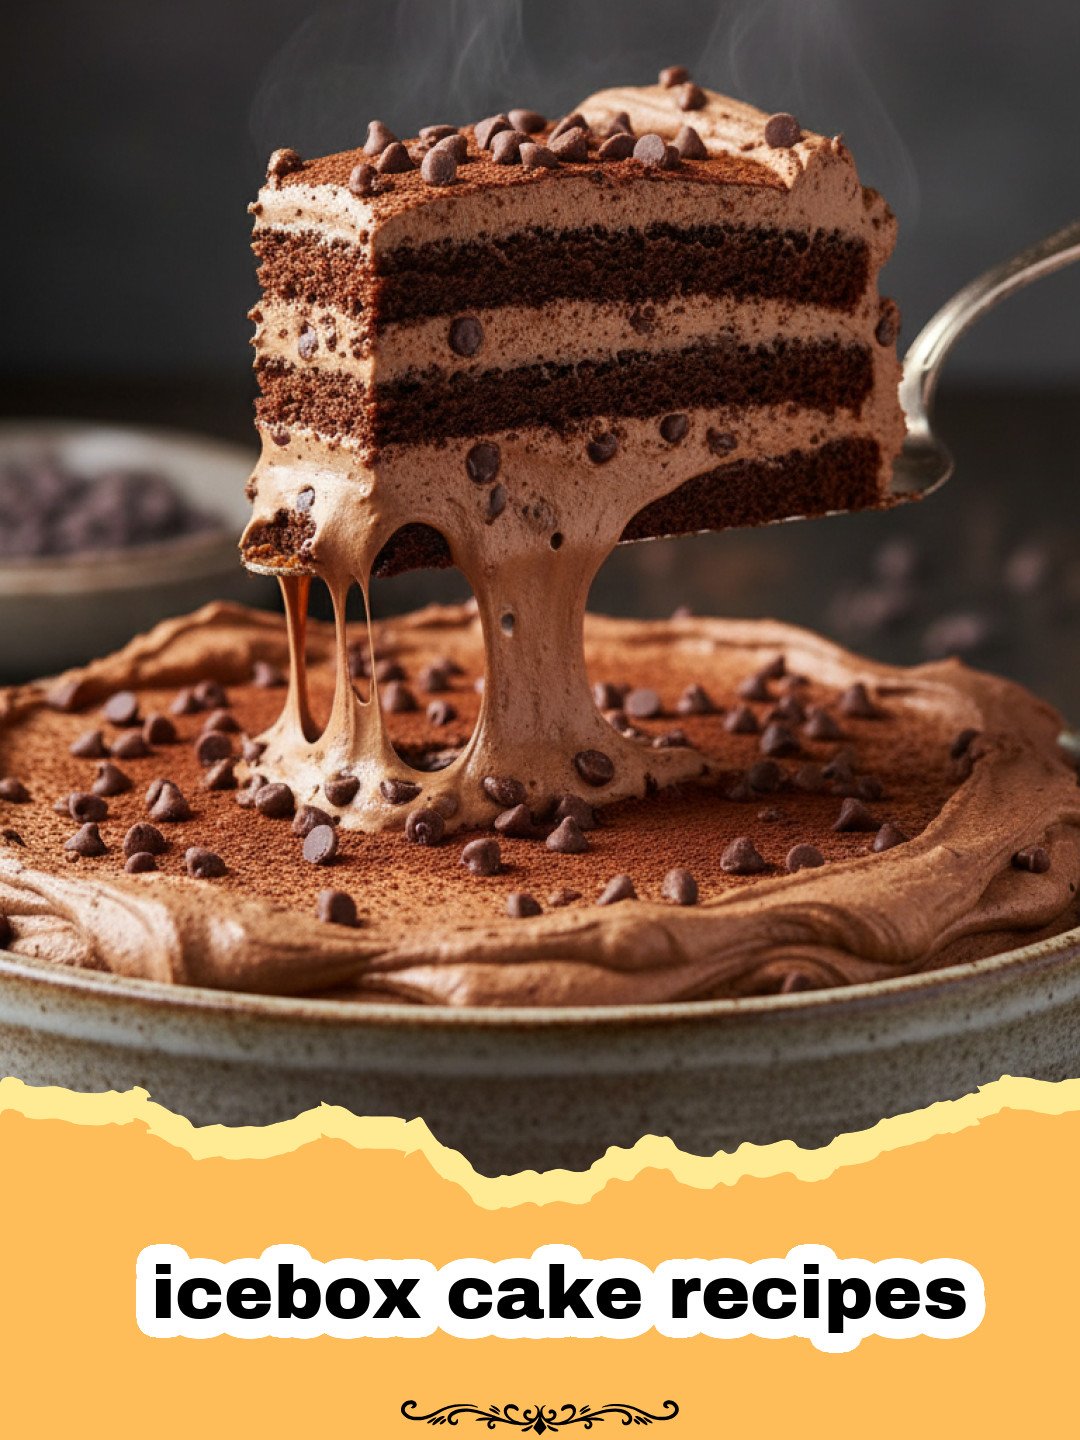
The process of assembling icebox cake recipes is meditative and straightforward, but there are a few pro tips that ensure professional results. Start by chilling your mixing bowl and whisk attachment; this helps the cream whip faster and creates smaller, more stable air bubbles. When adding the sugar and vanilla, do so slowly once the cream has reached soft peaks to avoid deflating the volume you have just built.
When it comes to assembly, consistency is key. Whether you are building a tall tower on a serving platter or layering it in a springform pan, try to keep the layers of cream even. A small offset spatula is your best friend here. If you are making a free-standing log, spread a thin layer of cream on each cookie before stacking them horizontally. For a more traditional “cake” look, layer them vertically. Remember that icebox cake recipes rely on the “set” time. Do not try to serve this after only four hours; the cookies will still be crunchy. Give it the full twenty-four hours to achieve that legendary cake-like consistency.
Variations & Serving Suggestions
While the chocolate and vanilla combination is the gold standard for icebox cake recipes, the variations are endless. For a fruity twist, add a layer of thinly sliced strawberries or raspberries between every second layer of cookies. The acidity of the berries cuts through the richness of the cream beautifully. If you are a fan of citrus, you can fold lemon curd into the whipped cream and use ginger snaps instead of chocolate wafers for a zesty, spicy alternative.
For serving, I love to garnish the top with extra cookie crumbles or a light dusting of cocoa powder just before bringing it to the table. Some people even prefer a drizzle of salted caramel or chocolate ganache for an extra decadent touch. If you are hosting a large party, you can even make individual portions in mason jars. This is one of the most versatile icebox cake recipes because it scales so easily for large crowds or intimate dinners alike.
Nutrition Information
| Metric | Value |
|---|---|
| Calories | 350 kcal |
| Carbohydrates | 32g |
| Cholesterol | 75mg |
| Fat | 24g |
| Fiber | 1g |
| Protein | 3g |
| Saturated Fat | 14g |
| Serving Size | 1 slice |
| Sodium | 160mg |
| Sugar | 18g |
| Trans Fat | 0g |
| Unsaturated Fat | 8g |
Conclusion
Mastering icebox cake recipes is a rite of passage for any home cook looking to expand their no-bake dessert arsenal. It is a dish that celebrates simplicity, patience, and the joy of sharing something handmade with loved ones. Whether you are reliving a childhood memory or creating new ones for your family, this chocolate icebox cake is sure to become a staple in your kitchen. So grab your whisk, find your favorite cookies, and get ready to enjoy the most effortless cake you have ever “baked”!
FAQs
Can I use graham crackers instead of chocolate wafers for icebox cake recipes?
Yes, graham crackers are a popular substitute in many icebox cake recipes. They will provide a slightly different honey-wheat flavor and a slightly denser texture compared to thin chocolate wafers.
How long does an icebox cake stay fresh in the refrigerator?
An icebox cake is best served between 24 and 48 hours after assembly. After 48 hours, the cookies may become overly soft or soggy, though it remains safe to eat for up to 3-4 days.
Can you freeze icebox cake recipes for later?
Absolutely! You can freeze the cake for up to one month. Just ensure it is tightly wrapped to prevent freezer burn. Thaw it in the refrigerator for a few hours before serving for the best texture.
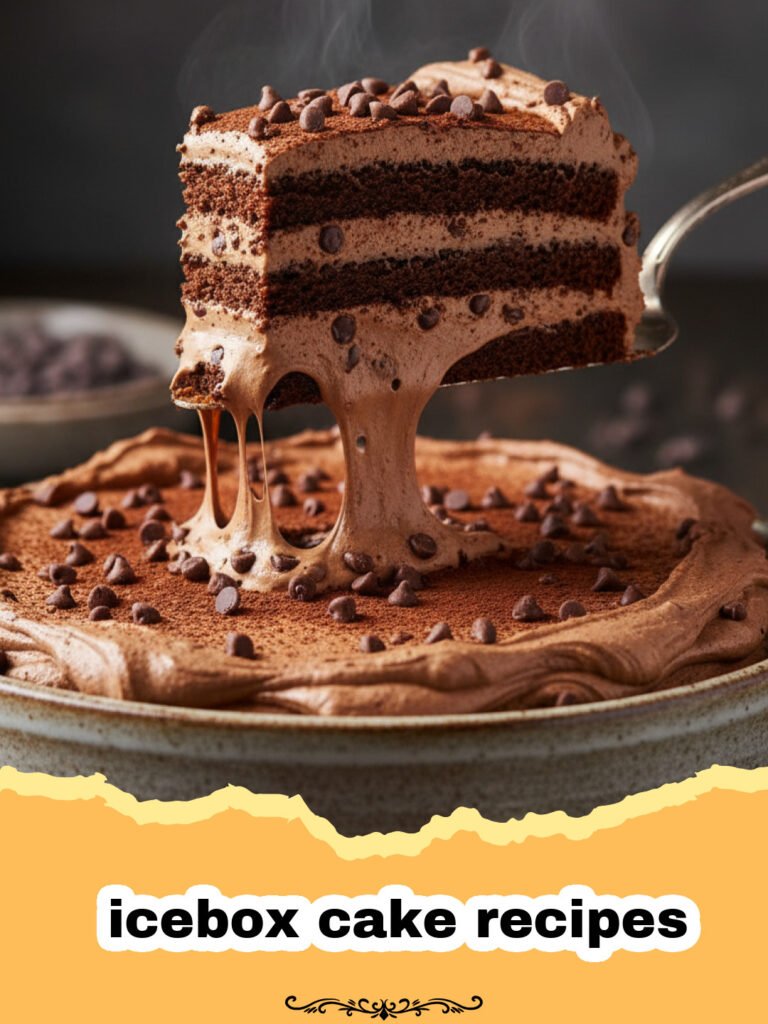
Classic No-Bake Chocolate Icebox Cake
A nostalgic, easy-to-make dessert featuring layers of crisp chocolate wafers and sweetened whipped cream that transform into a soft, cake-like treat overnight.
- Total Time: 24 hours 20 minutes
- Yield: 8 servings 1x
Ingredients
2 cups heavy whipping cream, chilled
1/2 cup powdered sugar
2 teaspoons pure vanilla extract
1 package (9 oz) chocolate wafer cookies
Optional: Fresh berries for garnish
Optional: Shaved chocolate for garnish
Instructions
Step 1: In a large, chilled bowl, combine the heavy whipping cream, powdered sugar, and vanilla extract.
Step 2: Use a hand mixer or stand mixer to beat the mixture on medium-high speed until stiff peaks form, being careful not to overbeat.
Step 3: On a serving platter or in a 9-inch springform pan, spread a small amount of whipped cream to act as an anchor.
Step 4: Arrange a layer of chocolate wafers on the cream, slightly overlapping if necessary to cover the surface.
Step 5: Spread a generous layer of whipped cream over the cookies (about 1/2 inch thick).
Step 6: Repeat the layers of cookies and cream until all cookies are used, ending with a final layer of whipped cream on top.
Step 7: Cover the cake loosely with plastic wrap and refrigerate for at least 24 hours to allow the cookies to soften completely.
Step 8: Before serving, garnish with fresh berries or shaved chocolate and slice with a sharp knife.
Notes
For the best results, ensure the cake chills for the full 24 hours. This allows the cookies to fully absorb the moisture.
- Prep Time: 20 minutes
- Cook Time: 0 minutes
- Category: Dessert
- Cuisine: American
Nutrition
- Serving Size: 1 slice
- Calories: 350
- Sugar: 18g
- Sodium: 160mg
- Fat: 24g
- Saturated Fat: 14g
- Unsaturated Fat: 8g
- Trans Fat: 0g
- Carbohydrates: 32g
- Fiber: 1g
- Protein: 3g
- Cholesterol: 75mg
Keywords: icebox cake recipes, no-bake dessert, chocolate wafer cake, easy summer dessert, whipped cream cake