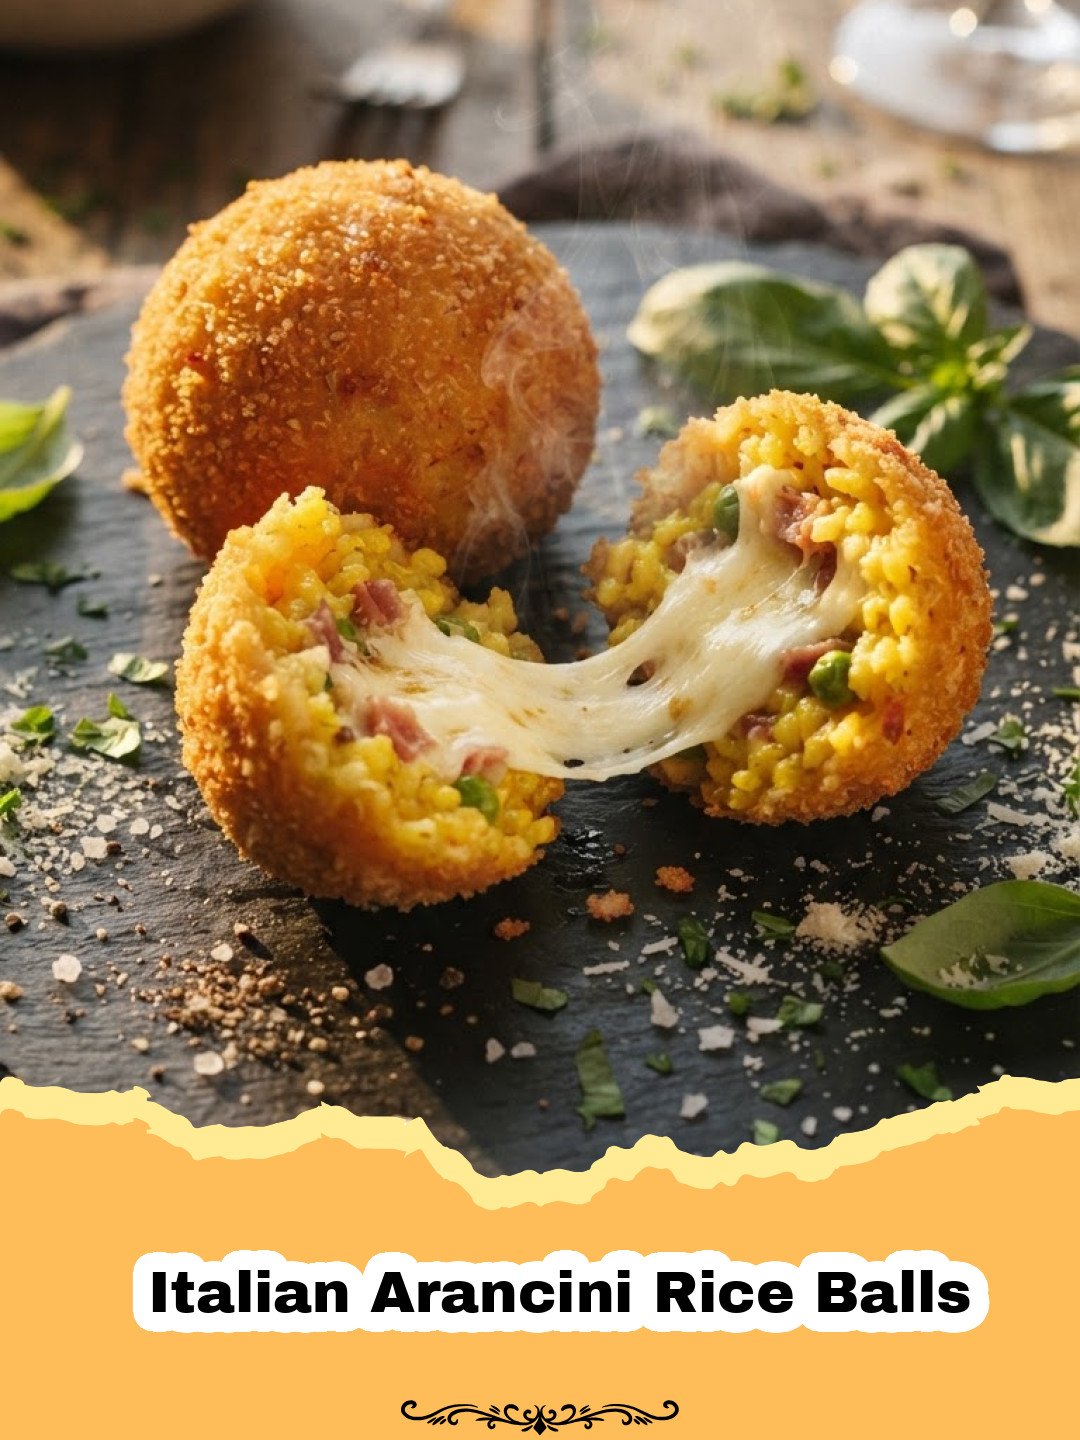
Ah, the scent of a bustling Italian kitchen! There’s something undeniably magical about it, a symphony of garlic, tomatoes, and simmering rice that transports you straight to the heart of Sicily. My first encounter with true Italian Arancini Rice Balls wasn’t in a fancy restaurant, but in the tiny, sun-drenched kitchen of Nonna Emilia, a friend’s grandmother in a small village outside Palermo. I was a wide-eyed culinary student, eager to soak up every secret, and Nonna Emilia, with her flour-dusted hands and a smile that could warm the chilliest Sicilian evening, was a living legend. She spoke no English, and my Italian was rudimentary, but food, as always, became our universal language. Watching her meticulously prepare batch after batch of these golden, crispy spheres, each one a perfect parcel of creamy risotto and melting mozzarella, was an education in itself. The air buzzed with the sizzle of oil and the joyous chatter of family, and with every bite of those exquisite Italian Arancini Rice Balls, I understood not just a recipe, but a tradition, a heritage, and a profound expression of love. It’s a memory I cherish, and one that inspired me to recreate that magic in my own kitchen, sharing the authentic taste of Italy with you.
Why This Recipe is a Must-Try
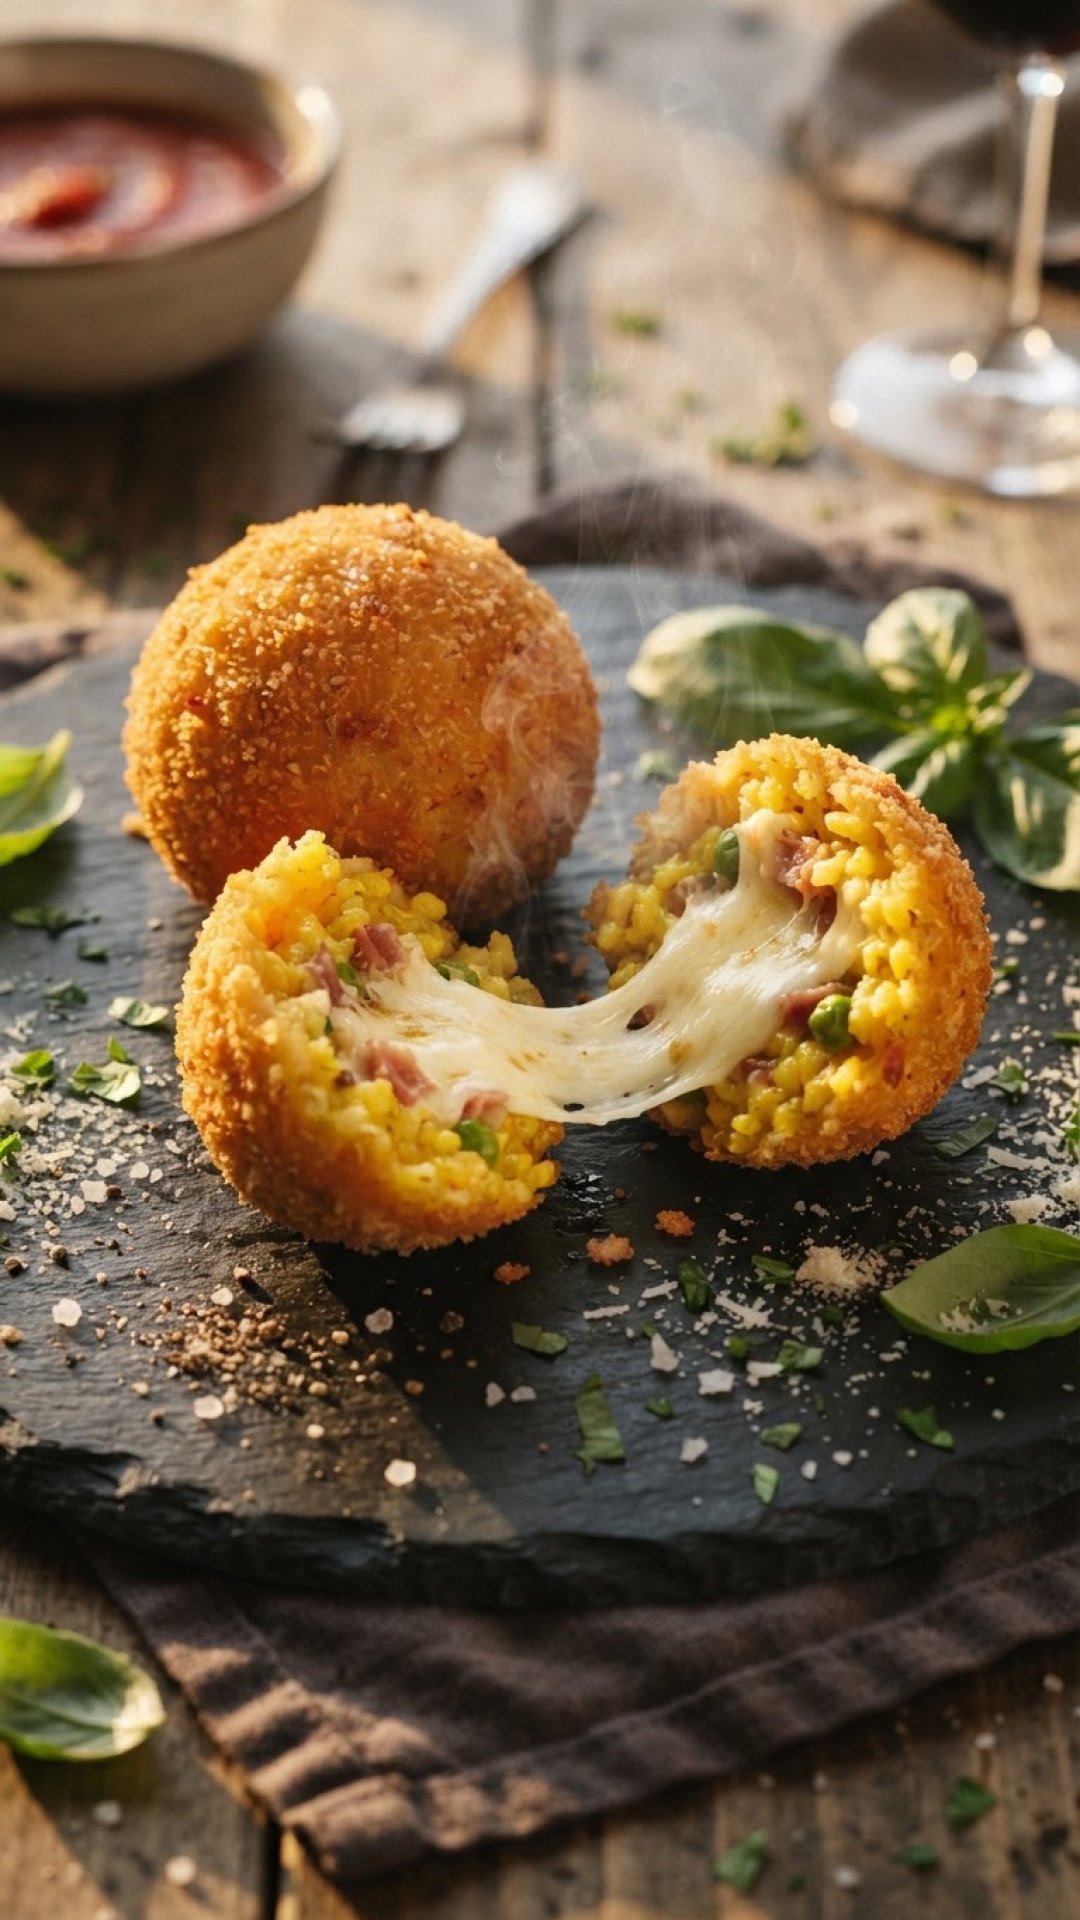
- Unforgettable Texture: Experience the perfect harmony of a shatteringly crisp exterior yielding to a rich, creamy, and flavorful interior, usually centered around gooey mozzarella. These Italian Arancini Rice Balls are a textural masterpiece.
- Versatility in Flavor: While this recipe focuses on a classic cheese filling, the base risotto can be adapted endlessly. Imagine Italian Arancini Rice Balls with a hearty ragù, earthy mushrooms, or vibrant pesto – the possibilities are truly delicious!
- Impressive Yet Approachable: Don’t let their gourmet appearance intimidate you. While they require a few steps, each is straightforward and rewarding. These are a showstopper appetizer that will undoubtedly impress your guests, making you feel like a true Italian chef.
- A Taste of Italian Heritage: Making Italian Arancini Rice Balls isn’t just cooking; it’s engaging with centuries of culinary tradition. Each bite offers a glimpse into the heart of Sicilian comfort food, a connection to nonnas and family gatherings across generations.
Key Ingredient Notes for Perfect Arancini
Arborio Rice: The Heart of the Ball
The choice of rice is paramount for authentic Italian Arancini Rice Balls. Arborio rice isn’t just any short-grain rice; it’s a high-starch variety that, when cooked correctly, releases its starches to create a wonderfully creamy and sticky risotto. This creaminess is what gives arancini their signature rich interior, and the stickiness is crucial for forming balls that hold together without falling apart during frying. Do not substitute with long-grain rice or even other short-grain varieties, as they simply won’t deliver the desired texture and structural integrity for these perfect Italian Arancini Rice Balls.
Saffron: The Golden Touch
Saffron threads are more than just a spice in traditional Italian Arancini Rice Balls; they are essential for both color and a subtle, floral aroma. A pinch of saffron dissolved in warm broth or water will impart a beautiful golden hue to your risotto, giving the arancini their characteristic sun-kissed appearance. Beyond color, saffron adds a delicate, earthy sweetness that elevates the overall flavor profile, distinguishing authentic arancini from simpler rice balls. While it can be a pricey ingredient, a little goes a long way, and its contribution to the final dish is absolutely worth it.
Fresh Mozzarella: The Melty Core
For the ultimate cheesy surprise inside your Italian Arancini Rice Balls, fresh mozzarella is non-negotiable. Opt for a low-moisture, fresh mozzarella, or even better, part-skim mozzarella. Why? Because it melts beautifully without releasing excessive water, which could make your arancini soggy. Cut it into small, manageable cubes that will fit neatly into the center of your rice balls. As the arancini fry, this mozzarella will transform into a warm, gooey, stretchy heart that is pure bliss. Avoid pre-shredded mozzarella, as it often contains anti-caking agents that can affect its melt and texture.
Step-by-Step Guide with Pro Tips
Making the Creamy Risotto Base
Step 1: Begin by melting 2 tablespoons of butter in a large, heavy-bottomed pot or Dutch oven over medium heat. Add the finely diced onion and sauté until softened and translucent, about 5-7 minutes. Do not let it brown.
Step 2: Add the Arborio rice to the pot and stir constantly for about 1-2 minutes until the edges of the rice grains become translucent. This toasting process, known as ‘tostatura’, helps the rice absorb liquid evenly.
Step 3: Pour in the white wine, if using, and stir until it’s completely absorbed by the rice. This deglazes the pan and adds a layer of flavor.
Step 4: In a separate small bowl, dissolve the saffron threads in 1/2 cup of warm chicken or vegetable broth. Begin adding the remaining warm broth to the rice, one ladleful (about 1/2 cup) at a time, stirring frequently. Wait for each addition to be almost entirely absorbed before adding the next. When you’re about halfway through the broth, add the saffron-infused broth. Continue adding broth and stirring. This process will take about 20-25 minutes. The risotto should be creamy and al dente – tender but with a slight bite.
Step 5: Once the risotto is cooked, remove it from the heat. Stir in the remaining 2 tablespoons of butter and the grated Parmesan cheese until fully incorporated and melted. Season with salt and pepper to taste. Spread the risotto evenly onto a large baking sheet. This step is crucial for Italian Arancini Rice Balls: you need to cool the risotto completely and quickly. Placing it in the refrigerator for at least 2-3 hours, or even overnight, will make the rice firm enough to handle and prevent the arancini from falling apart during frying. For efficient cooling and storage, I often use Basics Glass Food Storage containers, which are great for chilling large batches of rice.
Forming and Breading the Arancini
Step 6: Set up your breading station. You’ll need three shallow dishes: one with all-purpose flour, one with beaten eggs (whisked with a splash of milk or water), and one with fine breadcrumbs (Panko breadcrumbs offer an extra crispy texture). Ensure all are well-seasoned with salt and pepper.
Step 7: To form the Italian Arancini Rice Balls, take about 2-3 tablespoons of cooled risotto in your hand. Flatten it into a disc. Place a cube of fresh mozzarella (or your chosen filling) in the center. Carefully mold the rice around the filling, pressing firmly to create a tightly sealed ball, about the size of a golf ball or small orange. Make sure there are no cracks, as the cheese will leak out during frying.
Step 8: Dredge each rice ball first in the flour, shaking off any excess. Then dip it into the beaten egg, allowing any extra to drip off. Finally, roll it thoroughly in the breadcrumbs, ensuring it’s completely coated. Gently press the breadcrumbs onto the surface to create a robust crust. Repeat with all the remaining Italian Arancini Rice Balls. At this point, you can refrigerate the breaded arancini for at least 30 minutes to help the coating adhere, or freeze them for later.
Frying to Golden Perfection
Step 9: Heat about 2-3 inches of vegetable oil, canola oil, or another neutral oil in a deep, heavy-bottomed pot or Dutch oven to 350-375°F (175-190°C). Use a candy thermometer or deep-fry thermometer to monitor the temperature; maintaining a consistent oil temperature is key to perfectly cooked Italian Arancini Rice Balls.
Step 10: Carefully lower 3-4 arancini into the hot oil, being careful not to overcrowd the pot, which would lower the oil temperature. Fry for 4-6 minutes, turning occasionally, until they are deep golden brown and crispy all over. The internal temperature of the rice balls should reach at least 165°F (74°C) to ensure the cheese is fully melted and hot.
Step 11: Using a slotted spoon or spider, transfer the fried Italian Arancini Rice Balls to a wire rack lined with paper towels to drain any excess oil. Season lightly with a pinch of sea salt immediately after frying.
Step 12: Serve hot with your favorite marinara sauce for dipping, or enjoy them simply on their own. These amazing Italian Arancini Rice Balls are truly best straight out of the fryer!
Variations & Serving Suggestions
While the classic mozzarella-filled Italian Arancini Rice Balls are undeniably delicious, part of their charm lies in their adaptability. Don’t be afraid to get creative with your fillings and serving accompaniments!
Filling Fantasies:
- Ragu Arancini: The most traditional Sicilian filling! Incorporate a spoonful of slow-cooked meat ragù (like a bolognese) along with the mozzarella. You can even add a few cooked peas for an authentic touch.
- Mushroom & Prosciutto: Sautéed wild mushrooms and finely diced prosciutto can add a sophisticated, earthy flavor.
- Spinach & Ricotta: A vegetarian-friendly option, combining blanched spinach with creamy ricotta and a hint of nutmeg.
- Spicy N’duja: For those who love a kick, a small amount of spicy spreadable N’duja sausage can provide a fiery core.
- Pesto & Pine Nuts: Mix pesto into a portion of your cooled risotto, then add toasted pine nuts and a small piece of mozzarella for a vibrant, herbaceous arancini.
For more crispy inspirations, you might enjoy trying these Crispy Rice Paper Egg Rolls You’ll Crave! or even experimenting with The Ultimate Waffle Maker Crispy Rice Toppers.
Serving Sensations:
- Classic Marinara: A warm, homemade marinara sauce is the quintessential dipping partner for Italian Arancini Rice Balls. Its tangy sweetness perfectly complements the rich, savory rice balls.
- Pesto Drizzle: A vibrant basil pesto adds a fresh, aromatic counterpoint.
- Spicy Aioli: Whisk together mayonnaise, minced garlic, a squeeze of lemon, and a pinch of cayenne or red pepper flakes for a creamy, zesty dip.
- Lemon Wedges: A simple squeeze of fresh lemon juice can cut through the richness and brighten the flavors of your Italian Arancini Rice Balls.
- As a Main Course: Serve 2-3 larger arancini alongside a fresh green salad for a delightful light meal.
- Party Appetizer: Arrange them beautifully on a platter with toothpicks for easy grabbing – they are always a crowd-pleaser!
Nutrition Information
| Nutrient | Amount |
|---|---|
| Calories | 350 kcal |
| Carbohydrate Content | 35 g |
| Cholesterol Content | 55 mg |
| Fat Content | 18 g |
| Fiber Content | 2 g |
| Protein Content | 12 g |
| Saturated Fat Content | 8 g |
| Serving Size | 1 Arancino (approx. 100g) |
| Sodium Content | 480 mg |
| Sugar Content | 1 g |
| Trans Fat Content | 0.5 g |
| Unsaturated Fat Content | 9 g |
(Note: Nutrition information is an estimate based on standard ingredients and preparation. Actual values may vary.)
Conclusion
From Nonna Emilia’s bustling kitchen to your very own, these Italian Arancini Rice Balls are more than just a recipe; they’re an experience. They embody comfort, tradition, and the pure joy of good food shared with loved ones. The journey from humble Arborio rice to those irresistible golden spheres is a rewarding one, filling your kitchen with incredible aromas and your table with an appetizer that always draws gasps of delight. So, roll up your sleeves, embrace the process, and get ready to savor the crispy, creamy, cheesy magic of authentic Italian Arancini Rice Balls. Buon appetito!
FAQs
What is the secret to getting crispy Italian Arancini Rice Balls?
The key to crispy Italian Arancini Rice Balls lies in three main factors: first, ensuring the risotto is completely cold and firm before forming; second, a thorough three-step breading process (flour, egg, breadcrumbs); and third, frying them in oil maintained at the correct temperature (350-375u00b0F or 175-190u00b0C) without overcrowding the pot.
Can Italian Arancini Rice Balls be made ahead of time?
Absolutely! You can prepare the risotto ahead of time and refrigerate it for up to 2 days. Once the Italian Arancini Rice Balls are formed and breaded, they can be refrigerated for up to 24 hours or frozen for up to 1 month. If frying from frozen, there’s no need to thaw; just add a few extra minutes to the frying time until golden and heated through.
What kind of cheese is best for the filling?
For the traditional gooey center of Italian Arancini Rice Balls, low-moisture fresh mozzarella or part-skim mozzarella is ideal. It melts beautifully without releasing too much water, which could make your arancini soggy. Avoid pre-shredded varieties, which contain anti-caking agents that can affect texture and melt.
What is Arborio rice and why is it important for Arancini?
Arborio rice is a specific type of short-grain Italian rice known for its high starch content. When cooked, it releases its starches, creating a wonderfully creamy and sticky risotto. This creaminess is vital for the interior texture of Italian Arancini Rice Balls, and its stickiness helps the balls hold their shape during frying. Substituting it with other rice types will not yield the same authentic results.
Authentic Italian Arancini Rice Balls
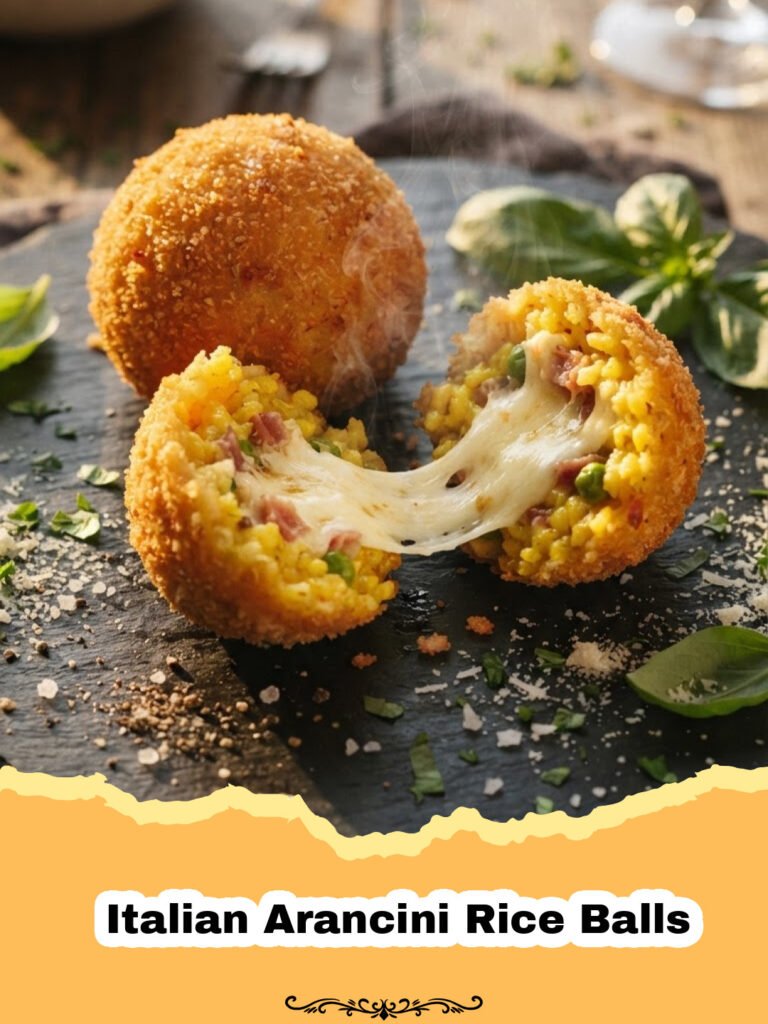
Master the art of making authentic Italian Arancini Rice Balls: crispy, golden fried risotto balls with a creamy interior and a gooey mozzarella center. A taste of Sicily in every bite!
- Total Time: 2 hours 10 minutes
- Yield: 12–15 arancini 1x
Ingredients
1 tbsp olive oil
4 tbsp unsalted butter, divided
1 medium yellow onion, finely diced
1 ½ cups (300g) Arborio rice
½ cup (120ml) dry white wine (optional)
5 cups (1.2L) chicken or vegetable broth, warm
¼ tsp saffron threads, steeped in ½ cup warm broth
½ cup (50g) grated Parmesan cheese
Salt and freshly ground black pepper to taste
8 oz (225g) fresh mozzarella, cut into ½-inch cubes
1 cup all-purpose flour
3 large eggs, beaten with 1 tbsp water or milk
2 cups fine breadcrumbs (Panko recommended)
4–6 cups vegetable oil, for deep frying
Instructions
Step 1: Melt 2 tablespoons of butter in a large, heavy-bottomed pot over medium heat. Add the diced onion and sauté until softened and translucent, about 5-7 minutes.
Step 2: Add the Arborio rice to the pot and stir constantly for 1-2 minutes until the edges of the grains become translucent.
Step 3: Pour in the white wine (if using) and stir until it is completely absorbed by the rice.
Step 4: Begin adding the warm broth to the rice, one ladleful (about 1/2 cup) at a time, stirring frequently. Wait for each addition to be almost entirely absorbed before adding the next. When about halfway through the broth, add the saffron-infused broth. Continue adding broth and stirring until the rice is creamy and al dente (about 20-25 minutes).
Step 5: Remove from heat. Stir in the remaining 2 tablespoons of butter and the grated Parmesan cheese. Season with salt and pepper. Spread the risotto onto a large baking sheet and cool completely in the refrigerator for at least 2-3 hours, or ideally overnight.
Step 6: Set up your breading station: one shallow dish with flour, one with beaten eggs, and one with breadcrumbs.
Step 7: Take about 2-3 tablespoons of cooled risotto, flatten it, place a mozzarella cube in the center, and mold the rice firmly around it to form a tightly sealed ball (about 1.5-2 inches in diameter).
Step 8: Dredge each rice ball first in flour (shake off excess), then dip in beaten egg, and finally roll thoroughly in breadcrumbs, pressing gently to adhere. Refrigerate for at least 30 minutes to set the coating.
Step 9: Heat 2-3 inches of vegetable oil in a deep pot to 350-375°F (175-190°C). Use a thermometer to maintain temperature.
Step 10: Carefully lower 3-4 arancini into the hot oil. Fry for 4-6 minutes, turning occasionally, until deep golden brown and crispy. The internal temperature should reach 165°F (74°C).
Step 11: Transfer fried arancini to a wire rack lined with paper towels to drain excess oil. Season lightly with sea salt.
Step 12: Serve hot with marinara sauce or your favorite dipping sauce. Enjoy your delicious Italian Arancini Rice Balls!
Notes
For best results, ensure your risotto is completely cold before forming the balls. This helps them hold their shape. Don’t overcrowd the frying pot to maintain oil temperature and achieve maximum crispiness. These arancini can be prepared ahead of time; breaded balls can be refrigerated for up to 24 hours or frozen for up to 1 month. If frying from frozen, do not thaw, just fry for a few extra minutes until golden and heated through.
- Prep Time: 1 hour 30 minutes
- Cook Time: 40 minutes
- Category: Appetizers & Snacks
- Cuisine: Italian
Nutrition
- Serving Size: 1 Arancino (approx. 100g)
- Calories: 350 kcal
- Sugar: 1 g
- Sodium: 480 mg
- Fat: 18 g
- Saturated Fat: 8 g
- Unsaturated Fat: 9 g
- Trans Fat: 0.5 g
- Carbohydrates: 35 g
- Fiber: 2 g
- Protein: 12 g
- Cholesterol: 55 mg
Keywords: Italian Arancini Rice Balls, arancini recipe, Sicilian rice balls, fried risotto balls, appetizer recipe, Italian street food, mozzarella arancini, crispy rice balls, homemade arancini, saffron risotto balls