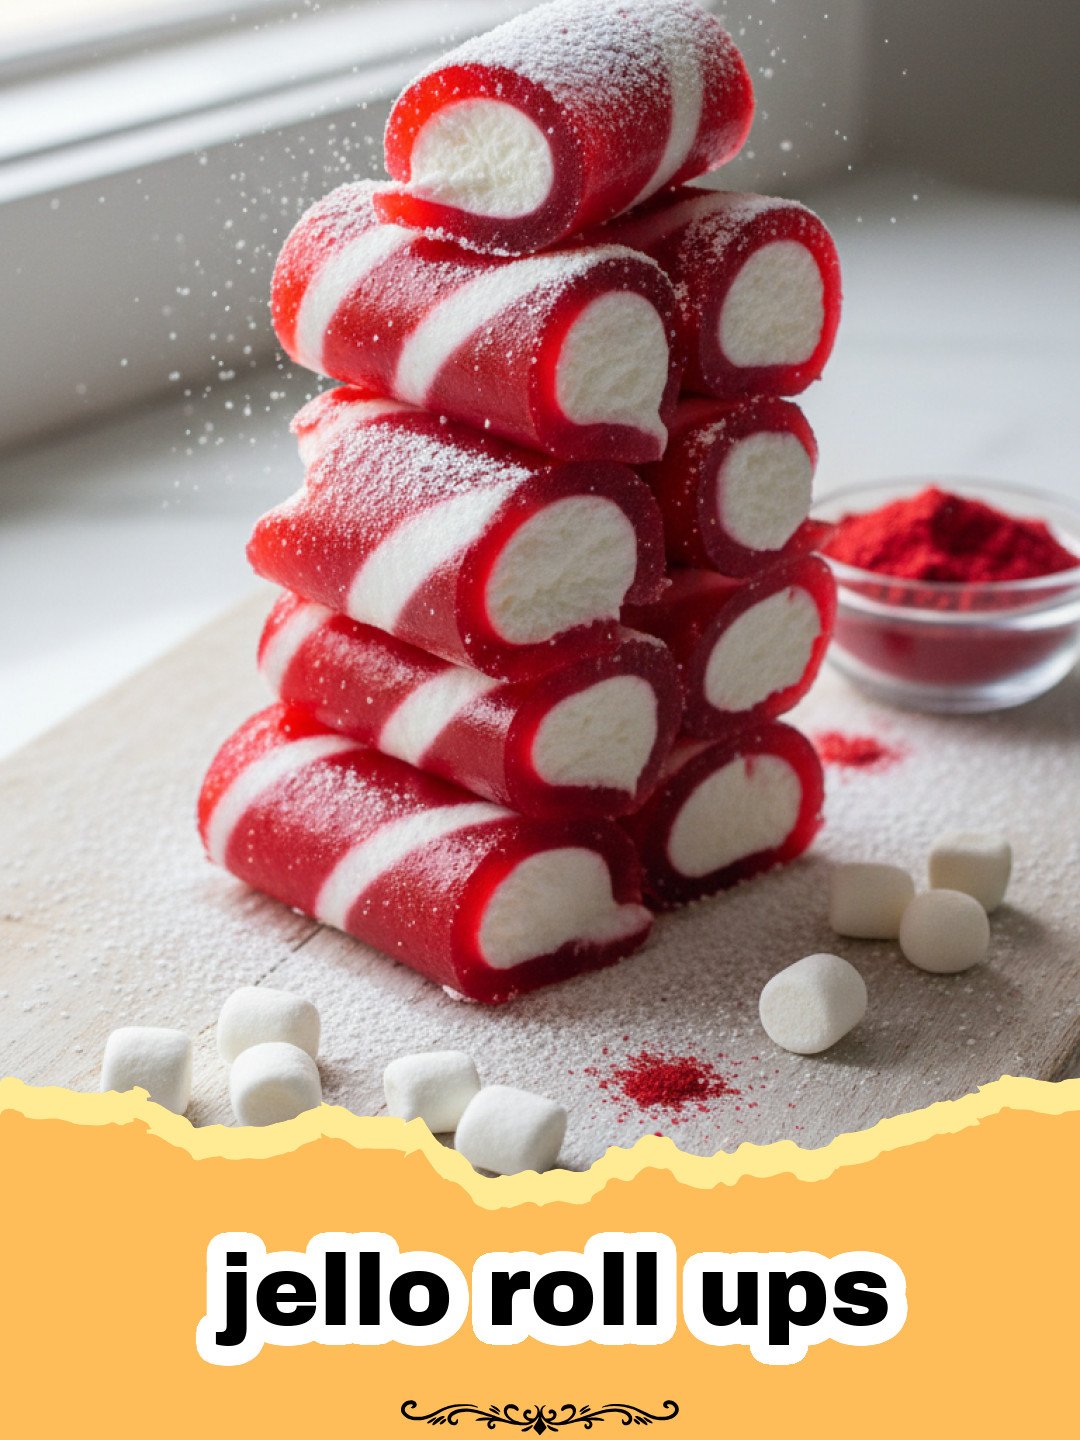
These vibrant jello roll ups are the ultimate nostalgic snack that brings back memories of lunchbox surprises and rainy day kitchen experiments. I remember the first time I saw these colorful ribbons of sweetness; I was at a neighborhood potluck, and a tray of what looked like magic spirals sat nestled between the potato salad and the fruit kebabs. I was fascinated by how a simple box of gelatin could transform into something so flexible, chewy, and undeniably fun to eat. Since that day, I’ve spent years perfecting the technique in my own kitchen, ensuring that every batch of jello roll ups comes out with that perfect dual-layered look—the bright, translucent jelly on one side and the creamy, marshmallow cloud on the other. It is a recipe that bridges the gap between generations, proving that you are never too old to play with your food.
Making jello roll ups isn’t just about the final product; it is about the joy of the process. There is something incredibly satisfying about watching the marshmallows melt into a frothy white layer that magically separates as it sets. It feels like a science experiment that you actually get to eat. If you enjoy making fun handheld treats, you might also want to try these Nutella French Toast Roll Ups for a decadent breakfast twist. Whether you are prepping for a birthday party, a school snack, or just a treat for yourself on a Tuesday afternoon, these jello roll ups are guaranteed to put a smile on everyone’s face.
Why This Recipe is a Must-Try
- Minimal Ingredients: You only need three basic pantry staples to create a snack that looks like it came from a specialty candy shop.
- Kid-Friendly Activity: This is a fantastic recipe to get the little ones involved in the kitchen, especially when it comes to rolling and slicing the final product.
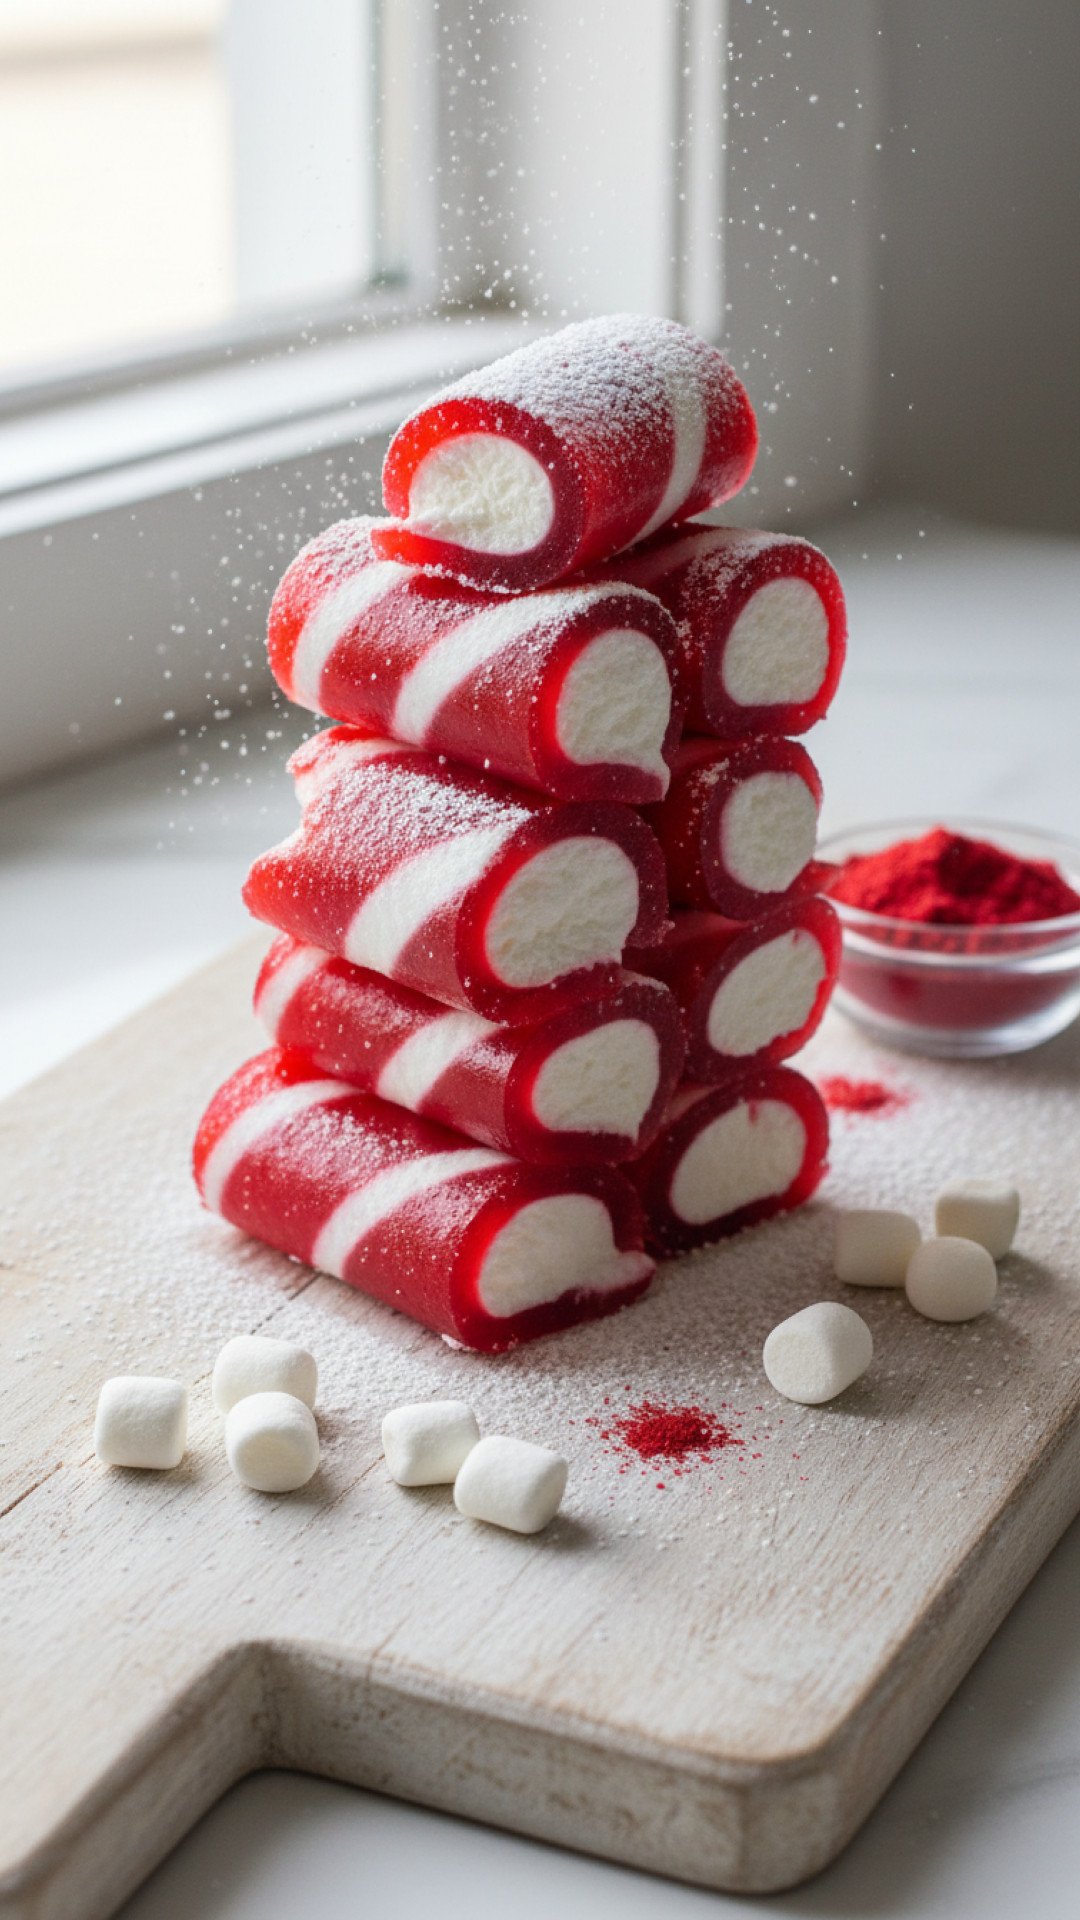
- Visually Stunning: The natural separation of the gelatin and marshmallows creates a beautiful two-tone spiral that pops on any serving platter.
- Better Than Store-Bought: Unlike the commercial versions, these jello roll ups have no mysterious preservatives and you can control the intensity of the flavor.
Key Ingredient Notes
The Gelatin Base
The foundation of all jello roll ups is, of course, the flavored gelatin. You can use any brand or flavor you prefer, but I find that strawberry, raspberry, and lime offer the most vibrant colors. The key is to use the standard 3-ounce boxes. If you use sugar-free gelatin, be aware that the texture may be slightly different and the marshmallow layer might not separate as distinctly, though it will still taste delicious. For another colorful dessert idea, check out our Cookie Monster Cake Jars.
The Magic of Marshmallows
The marshmallows are what truly make these jello roll ups special. When heated with the gelatin, they don’t just disappear; they float to the top and create a soft, foam-like layer. As the mixture cools in the pan, this foam sets into a creamy white backing. It is essential to use fresh mini marshmallows rather than large ones, as they melt more evenly and quickly in the microwave. I highly recommend using quality containers like the Basics Glass Food Storage set to keep your marshmallows fresh before use.
Step-by-Step Guide with Pro Tips
Preparation and Mixing
Start by dissolving your gelatin in exactly one-half cup of boiling water. This high concentration is what allows the jello roll ups to be flexible enough to roll without breaking. Use a whisk to ensure every single crystal is dissolved. If the water isn’t hot enough, you’ll end up with a grainy texture that ruins the smooth finish of your jello roll ups.
The Secret Microwave Trick
Once the gelatin is dissolved, fold in the mini marshmallows. Pop the bowl into the microwave for about 30 to 45 seconds. You aren’t trying to boil the mixture again; you just want the marshmallows to puff up. Once they are puffed, whisk gently until the mixture is smooth and opaque. This is the crucial moment where the air in the marshmallows starts to prepare for the separation process that defines classic jello roll ups.
Rolling and Slicing
Pour the mixture into a greased 8×8 or 9×9 inch glass pan. Let it set in the refrigerator for at least 45 minutes. Once firm, use a spatula to gently lift the edges. Carefully roll the entire sheet into a tight log. To get clean, beautiful cuts for your jello roll ups, use a piece of unflavored dental floss. Slide the floss under the log, cross it over the top, and pull quickly. This prevents the rolls from being squashed by a knife blade.
Variations & Serving Suggestions
The beauty of jello roll ups lies in their versatility. You can create “Rainbow Rolls” by making several small batches in different colors and stacking the set layers before rolling them together. For a sour twist, you can lightly dust the inside of the gelatin layer with citric acid or a sprinkle of sugar before rolling. If you want a more adult version, try using a sophisticated flavor like black cherry or even mixing in a drop of lemon extract to brighten the fruitiness.
When serving jello roll ups, they look best on a white ceramic platter where the colors can truly shine. They are perfect for summer picnics because they hold their shape relatively well at room temperature, though they are most refreshing when served chilled. If you are hosting a large gathering, pair them with other easy-to-grab snacks for a full dessert spread that requires minimal clean-up.
Nutrition Information
While jello roll ups are primarily a fun treat, it’s helpful to know the nutritional breakdown for planning purposes. Below is an estimate per serving (approximately 2 rolls).
| Nutrient | Amount per Serving |
|---|---|
| Calories | 85 kcal |
| Carbohydrates | 20g |
| Protein | 2g |
| Fat | 0g |
| Sugar | 18g |
| Sodium | 55mg |
Conclusion
Homemade jello roll ups are a testament to the fact that the simplest ingredients often yield the most delightful results. They are whimsical, tasty, and offer a unique texture that store-bought snacks simply cannot replicate. By following these steps and using the marshmallow-flotation trick, you’ll be able to master this recipe in no time. So, grab a box of your favorite gelatin and start rolling—your inner child (and your actual children) will thank you!
FAQs
Why are my jello roll ups sticking to the pan?
The most common reason for sticking is not greasing the pan sufficiently. Use a light spray of oil and then wipe it with a paper towel to leave a very thin film. Also, ensure the jello is fully set before trying to lift it.
Can I use sugar-free gelatin for this recipe?
Yes, you can use sugar-free gelatin, but the texture may be slightly more brittle and the marshmallow layer may not separate as cleanly as it does with regular gelatin.
How long do jello roll ups stay fresh?
Stored in an airtight container in the refrigerator, these roll ups will stay fresh and chewy for up to 3-5 days.
Why didn’t my marshmallows form a white layer?
This usually happens if the marshmallows aren’t melted enough or if the mixture is stirred too much after the marshmallows have puffed. The air in the marshmallows needs to be intact to float to the top and create that distinct layer.
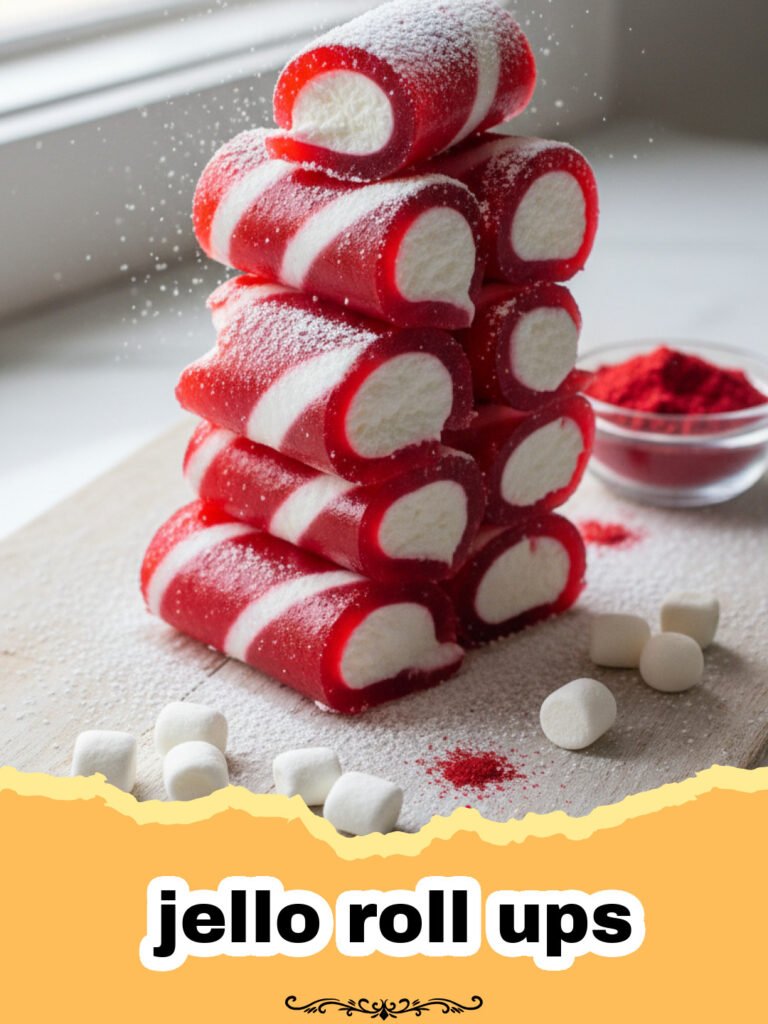
Homemade Jello Roll Ups
A fun, two-layered chewy snack made with flavored gelatin and marshmallows. Perfect for kids’ parties and lunchboxes!
- Total Time: 1 hour 11 minutes
- Yield: 12 rolls 1x
Ingredients
1 package (3 oz) flavored gelatin (any flavor)
1/2 cup boiling water
1 1/2 cups mini marshmallows
Non-stick cooking spray (for the pan)
Instructions
Step 1: Lightly grease an 8×8 or 9×9 inch glass baking dish with non-stick spray and wipe away any excess with a paper towel.
Step 2: In a medium microwave-safe bowl, combine the flavored gelatin and boiling water. Whisk vigorously until the gelatin is completely dissolved.
Step 3: Add the mini marshmallows to the gelatin mixture. Do not stir yet.
Step 4: Place the bowl in the microwave and heat on high for 30-45 seconds, or until the marshmallows have puffed up significantly.
Step 5: Whisk the mixture until the marshmallows are completely melted and the liquid is smooth and frothy.
Step 6: Pour the mixture into the prepared baking dish. Place it on a level surface in the refrigerator for 45 to 60 minutes until fully set.
Step 7: Once set, use a spatula to loosen the edges of the gelatin. Carefully roll the gelatin sheet into a tight log.
Step 8: Use unflavored dental floss or a very sharp knife to slice the log into 1-inch thick jello roll ups.
Notes
Ensure the boiling water is truly boiling to dissolve the gelatin properly. Using dental floss to cut the rolls ensures they don’t get squished.
- Prep Time: 10 minutes
- Cook Time: 1 minute
- Category: Appetizers & Snacks
- Cuisine: American
Nutrition
- Serving Size: 2 rolls
- Calories: 85 kcal
- Sugar: 18g
- Sodium: 55mg
- Fat: 0g
- Saturated Fat: 0g
- Unsaturated Fat: 0g
- Trans Fat: 0g
- Carbohydrates: 20g
- Fiber: 0g
- Protein: 2g
- Cholesterol: 0mg
Keywords: jello roll ups, gelatin snacks, kids treats, marshmallow jello, 3 ingredient snack