Introduction: My Journey to Perfect Chicken Breast
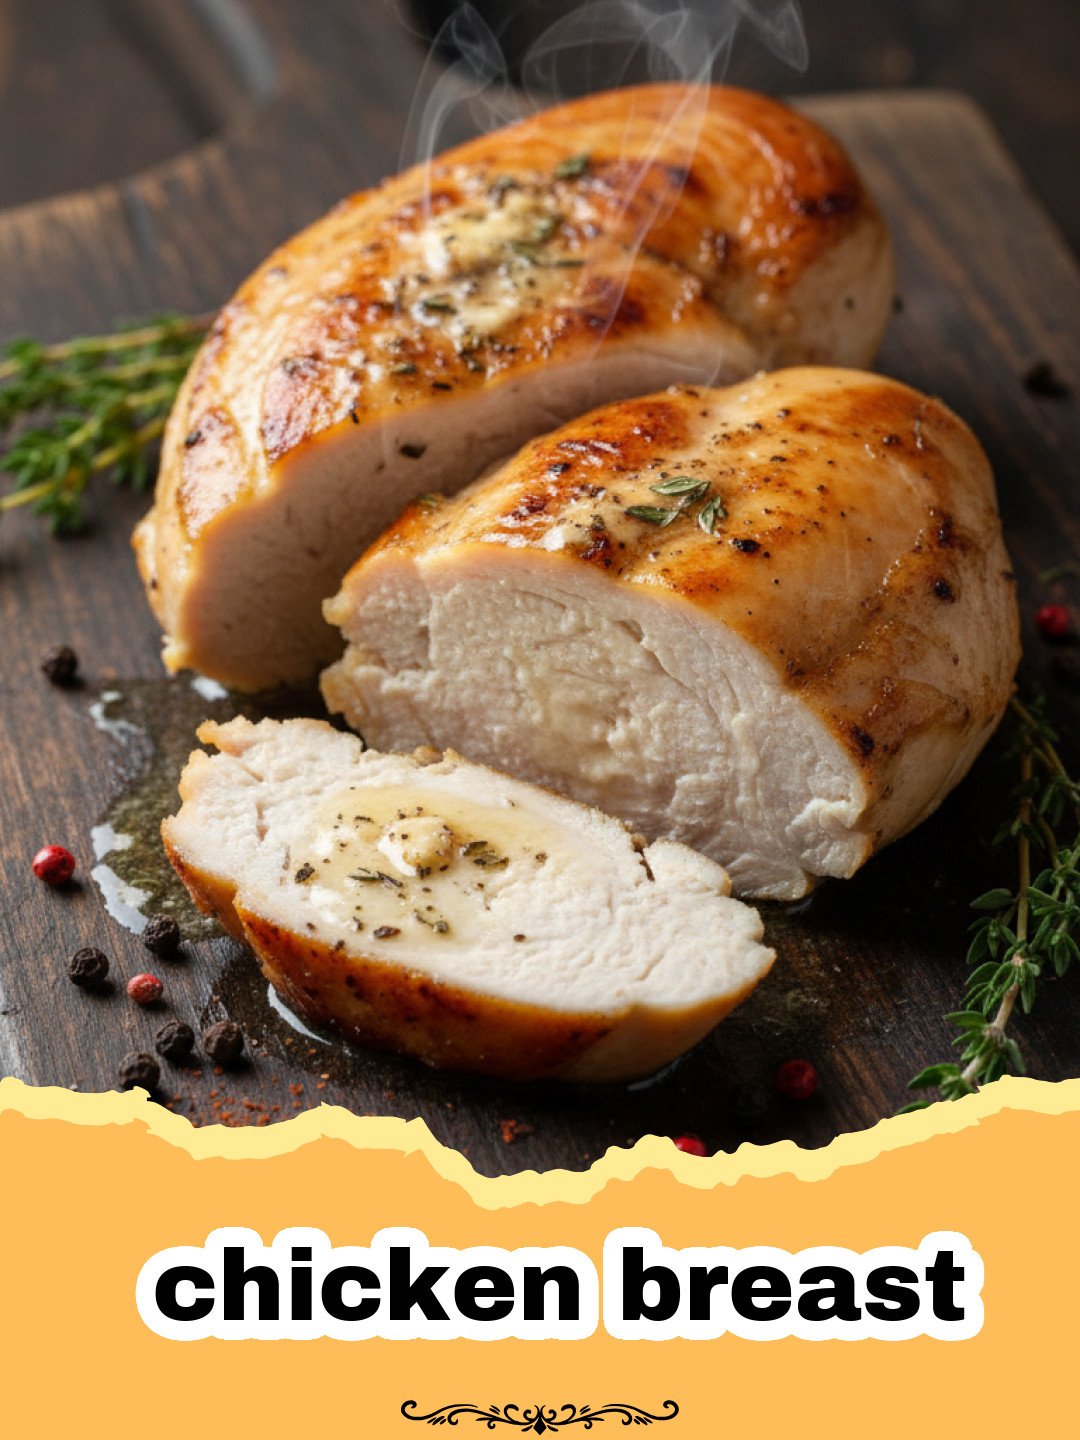
The humble chicken breast used to be my culinary nemesis. For years, I approached it with a mix of dread and resignation, convinced that no matter what I did, it would end up dry, tough, and utterly flavorless. Family dinners often involved a silent plea for someone else to tackle the chicken, or a quiet acceptance that tonight’s protein would serve merely as a vehicle for a more exciting sauce. I tried everything – brining, marinating for hours, pounding it thin, thick, you name it. Each attempt resulted in the same disappointing, chalky texture. My grandmother, a true wizard in the kitchen, would always tease me gently, saying, ‘Darling, a good chicken breast should sing on your plate, not whisper an apology.’ Her words, while encouraging, only amplified my frustration. I remember one particularly disastrous attempt where I was trying to impress a new date. The chicken was so dry it could have doubled as a doorstop, and despite my best efforts to drench it in a mushroom sauce, the damage was irreversible. We ended up ordering pizza, laughing it off, but my internal chef was in crisis. I was determined to crack the code. It became a personal mission, a culinary quest fueled by countless online articles, cookbooks, and a stubborn refusal to be defeated by a simple cut of poultry. I experimented with temperatures, cooking methods, rest times, and different seasoning blends. There were many failures, many more dry pieces of chicken breast, but then, a breakthrough. It wasn’t one magical trick, but a combination of techniques that, when put together, transformed the ordinary chicken breast into a consistently succulent, tender, and incredibly flavorful centerpiece. This recipe is the culmination of that journey, a testament to persistence, and a promise that you, too, can master the art of the perfect chicken breast. Get ready to say goodbye to dry chicken forever and hello to a culinary triumph that will make your taste buds sing!
Why This Recipe is a Must-Try
- Unbelievably Juicy: This isn’t just a promise; it’s a guarantee. Years of battling dry, stringy chicken ends now. Our simple yet effective technique, involving a quick brine and precise cooking, ensures that every single piece of your chicken breast is infused with moisture from within. You’ll be amazed at how succulent and tender each bite is, making you rethink everything you thought you knew about cooking chicken breast.
- Flavorful from Edge to Edge: Bland chicken breast is a culinary crime we aim to prevent. This recipe leverages smart seasoning strategies that don’t just coat the surface but truly penetrate the meat. From the initial brine to the generous rub of aromatics and spices, your chicken breast will boast a depth of flavor that’s both satisfying and utterly delicious, making it a star on its own or a perfect canvas for sauces.
- Versatile & Quick: Life is busy, but good food shouldn’t be complicated. This method for cooking chicken breast is incredibly efficient, making it ideal for busy weeknights when time is of the essence. Yet, its elegant results also make it suitable for impressing guests. Whether you’re meal prepping for the week, throwing together a quick lunch, or planning a sit-down dinner, this adaptable chicken breast fits seamlessly into any menu.
- Simple Techniques, Big Results: Forget complicated culinary jargon or expensive equipment. Our guide breaks down the process of cooking perfect chicken breast into easy-to-follow steps. With just a few fundamental techniques – like understanding the importance of heat and resting – you’ll consistently achieve restaurant-quality results in your own kitchen, turning every chicken breast into a triumph.
Key Ingredient Notes
Boneless, Skinless Chicken Breast
As the centerpiece, the quality of your chicken breast matters. Look for plump, well-shaped pieces. If possible, avoid those that look overly processed or injected with solutions, as they might have a different texture. Fresh is always best, but if using frozen, ensure a slow thaw in the refrigerator overnight. The goal here is uniformity; thicker breasts can be gently pounded to an even 1-inch thickness. This small act of culinary foresight prevents the thinner edges from turning into dry, leathery strips while the middle of the chicken breast catches up, guaranteeing a tender result throughout.
Salt (for Brining)
Our unsung hero! The quick brine isn’t just a suggestion; it’s the secret sauce for an astonishingly juicy chicken breast. Salt, when dissolved in water, works its magic by dissolving some of the muscle proteins in the chicken. This allows the muscle fibers to absorb more water and relax, reducing shrinkage during cooking. The result? A remarkably tender and moist chicken breast that resists drying out even if slightly overcooked. Kosher salt is preferred for its pure flavor and larger crystals, making it easier to control the salinity. If using fine table salt, use about two-thirds of the amount.
High-Smoke Point Oil
To achieve that gorgeous, flavor-packed golden crust on your chicken breast, you need an oil that can handle the heat. Oils with a high smoke point, such as avocado, grapeseed, canola, or even refined coconut oil, are your best friends here. These oils can get very hot without burning and imparting off-flavors. Extra virgin olive oil, while delicious for finishing, has a lower smoke point and is best avoided for high-heat searing. A good quality oil helps conduct heat evenly, ensuring your chicken breast gets that perfect Maillard reaction – the scientific name for the browning that creates incredible savory flavors.
Step-by-Step Guide with Pro Tips
Mastering the perfect chicken breast involves a few key steps. Follow these instructions carefully, and you’ll be rewarded with a tender, juicy meal.
Preparation is Key
- Brine for Juiciness: This step is non-negotiable for a truly juicy chicken breast. The salt solution helps the chicken retain moisture. Don’t worry about it being too salty; the short brine is designed for moisture retention, not for making it overly salty. After brining, a quick rinse isn’t necessary, but thorough drying is! This quick brine is a game-changer for moist **chicken breast**.
- Pat Dry Thoroughly: This is where many home cooks go wrong. Moisture on the surface of your chicken breast will cause it to steam instead of sear. Steaming prevents the Maillard reaction, meaning no delicious golden crust and a less flavorful exterior. Use plenty of paper towels and press firmly until the surface of each chicken breast is completely dry. Think of it as preparing a canvas for that beautiful sear.
- Even Thickness: Uneven thickness is the enemy of a perfectly cooked chicken breast. By gently pounding the thicker parts, you ensure that the entire piece cooks at the same rate. This means no more dry, stringy ends while the center is still undercooked. Place the chicken between plastic wrap to keep things clean and prevent tearing the delicate meat. A flat meat mallet or even a heavy-bottomed pan works wonders.
- Season Generously: Don’t skimp on the seasoning for your chicken breast! The olive oil acts as a binder for the spices, helping them adhere and infuse the surface. The combination of garlic powder, onion powder, paprika, salt, and pepper creates a balanced, savory base that complements the natural flavor of the chicken. Feel free to adjust these to your taste or add other favorites like dried oregano, thyme, or a touch of smoked paprika for extra depth. This robust seasoning is vital for a flavorful chicken breast.
Cooking the Perfect Chicken Breast
The cooking method here is crucial for achieving that juicy interior and beautiful exterior.
- Preheat Skillet: A screaming hot pan is critical for a good sear on your chicken breast. Allow your heavy-bottomed skillet – cast iron is king here for its even heat distribution and retention – to preheat for several minutes over medium-high heat. You should see wisps of smoke from the oil, indicating it’s ready. A hot pan immediately creates a crust, locking in juices.
- Sear the Chicken: Place the seasoned chicken breast carefully into the hot oil. You should hear a satisfying sizzle immediately. Resist the urge to move or peek at the chicken for the first 5-7 minutes. This undisturbed searing time is crucial for developing that rich, golden-brown crust, which adds immense flavor and texture to your chicken breast. Overcrowding the pan will drop the temperature, leading to steaming instead of searing, so cook in batches if needed.
- Flip and Finish: Once you have a beautiful crust on the first side, flip the chicken breast. Continue cooking for another 5-7 minutes. The precise cooking time will depend on the thickness of your chicken. The only way to truly know if your chicken breast is done is to use an instant-read thermometer. Insert it into the thickest part; when it reads 165°F (74°C), your chicken is perfectly cooked and safe to eat. Anything higher risks drying it out.
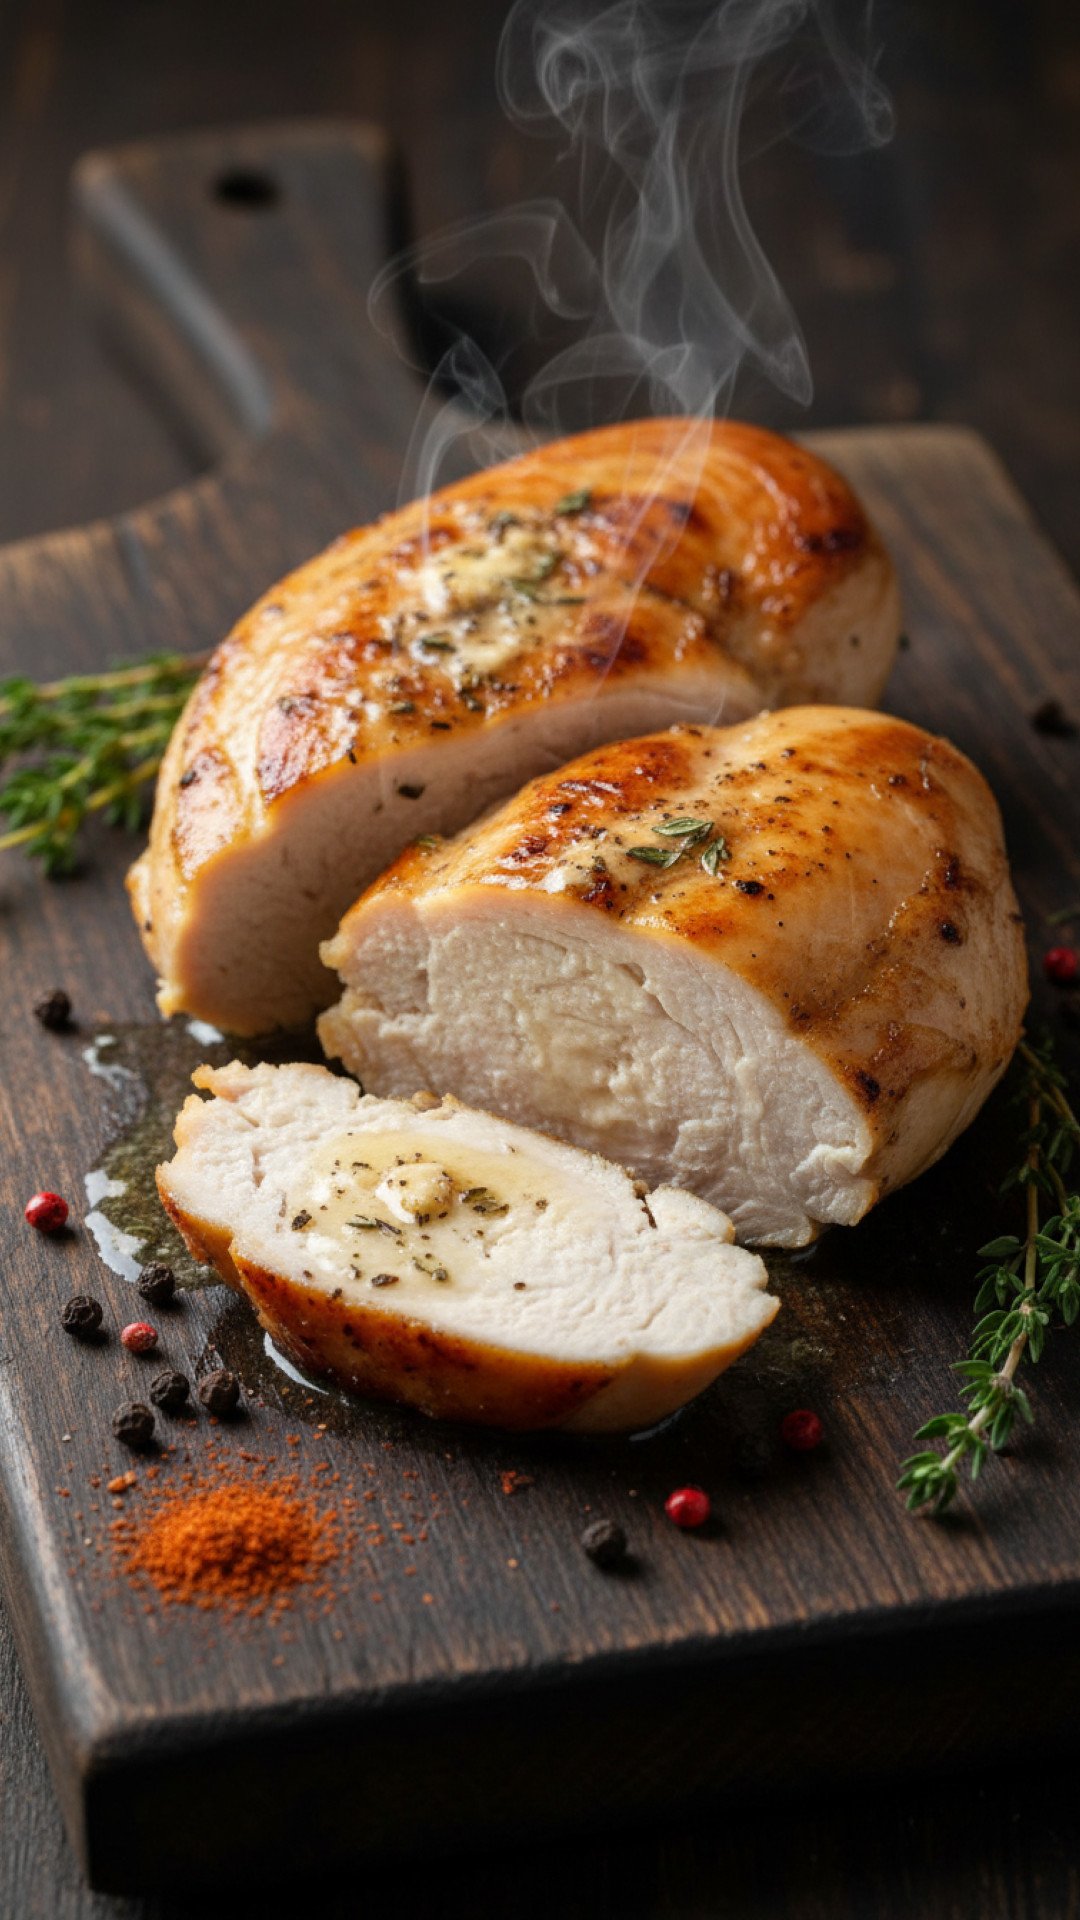
- The Crucial Rest: I cannot emphasize this step enough! Once your chicken breast reaches 165°F, immediately transfer it to a cutting board. Tent it loosely with foil. As the chicken cooks, the muscle fibers contract, pushing juices to the center. Resting allows these juices to redistribute throughout the entire piece of chicken breast. If you cut it too soon, all that precious moisture will simply run out onto your board, leaving you with dry meat. Give it a full 5-10 minutes, and you’ll be rewarded with the juiciest chicken breast imaginable.
Variations & Serving Suggestions
This perfectly cooked chicken breast is a blank canvas for countless meal possibilities. Here are a few ideas to get you started:
- Lemon-Herb Chicken: For a bright and zesty twist, infuse your chicken breast with the vibrant flavors of the Mediterranean. Before cooking, rub the chicken with olive oil, finely grated lemon zest, and a generous mix of chopped fresh parsley, thyme, and rosemary. A final squeeze of fresh lemon juice over the rested chicken breast enhances its fresh appeal. This variation pairs beautifully with light salads or a side of fluffy couscous.
- Spicy Garlic Chicken: Craving a kick? Add a pinch of cayenne pepper, red pepper flakes, or a dash of smoked paprika to your seasoning blend for a fiery chicken breast. Increase the garlic powder for a bolder flavor profile. Serve this zesty chicken with a cooling Greek yogurt sauce, a fresh pico de gallo, or alongside black beans and rice for a complete meal.
- Mediterranean Style: Elevate your chicken breast with a sun-kissed Mediterranean marinade. Combine olive oil, lemon juice, dried oregano, finely minced garlic, and a pinch of red pepper flakes. Marinate the chicken for at least 30 minutes before searing. This flavorful chicken breast is exceptional when served with a fresh Greek salad, warm pita bread, and a side of hummus, or integrated into a Mediterranean Grilled Veggie & Quinoa Bowl for a truly wholesome and satisfying meal.
- Creamy Pan Sauce: Transform leftover pan drippings into a luxurious sauce for your chicken breast. After removing the cooked chicken, add a splash of white wine or chicken broth to the hot pan, scraping up all the flavorful browned bits (fond) from the bottom. Stir in a touch of heavy cream, a tablespoon of Dijon mustard, and a handful of fresh chopped chives or tarragon. Simmer until slightly thickened, then spoon generously over your rested chicken breast. This quick sauce adds an incredible layer of richness.
Serving Suggestions:
- Classic Pairing: Slice your perfectly cooked chicken breast and serve it alongside creamy mashed potatoes or a delicate pasta with a simple butter sauce. The tender chicken complements these comforting staples beautifully.
- Healthy & Fresh: For a lighter meal, pair the chicken breast with a medley of roasted seasonal vegetables like asparagus, bell peppers, or zucchini. It’s also exquisite next to perfectly grilled asparagus, adding a fresh, green element to your plate.
- Salad & Wraps: Cold, sliced chicken breast is fantastic for meal prep. Add it to fresh garden salads, assemble hearty sandwiches, or roll it into whole-wheat wraps with your favorite veggies and dressing for a quick and nutritious lunch.
- Bowl Meals: Create vibrant power bowls by combining sliced chicken breast with quinoa or brown rice, roasted sweet potatoes, avocado, and a drizzle of a light vinaigrette. The versatility of a well-cooked chicken breast makes it an ideal component for healthy and customizable bowl meals.
Nutrition Information
| Nutrient | Amount per Serving |
|---|---|
| Calories | 230 |
| Carbohydrates | 2g |
| Cholesterol | 100mg |
| Total Fat | 10g |
| Fiber | 0.5g |
| Protein | 32g |
| Saturated Fat | 2g |
| Serving Size | 4 oz |
| Sodium | 320mg |
| Sugar | 0g |
| Trans Fat | 0g |
| Unsaturated Fat | 8g |
Conclusion
There you have it – the ultimate guide to cooking the most incredibly juicy and flavorful chicken breast you’ll ever make. No more dry, bland disappointments! With these simple techniques and a little attention to detail, you’ll be a chicken breast master in no time. This recipe has transformed my weeknight dinners and I hope it does the same for yours. Experiment with different seasonings and serving suggestions, and make this versatile protein a delicious staple in your kitchen. Happy cooking!
FAQs
How do you keep chicken breast from drying out?
The key to preventing dry chicken breast is a short brine (15-30 minutes), proper searing at medium-high heat, cooking to the correct internal temperature (165u00b0F or 74u00b0C) without overshooting, and most importantly, allowing the chicken to rest for 5-10 minutes after cooking. Pounding chicken breast to an even thickness also helps ensure uniform cooking and juiciness.
Should I pound chicken breast flat?
Yes, pounding chicken breast to an even thickness (around 1 inch) is highly recommended. This ensures that the entire chicken breast cooks uniformly, preventing thinner parts from overcooking and drying out while thicker parts are still cooking. It also helps achieve a consistent sear.
What is the best internal temperature for cooked chicken breast?
The safe and recommended internal temperature for cooked chicken breast is 165u00b0F (74u00b0C). Always use an instant-read thermometer inserted into the thickest part of the chicken to verify doneness. Remove the chicken from heat immediately once it reaches this temperature.
How long should I brine chicken breast for maximum juiciness?
For this recipe, a quick brine of 15-30 minutes in a solution of salt and cold water is sufficient to significantly improve the juiciness and flavor of the chicken breast. This short duration is enough to allow the muscle fibers to absorb moisture and relax without making the chicken overly salty. Remember to pat it completely dry afterward.
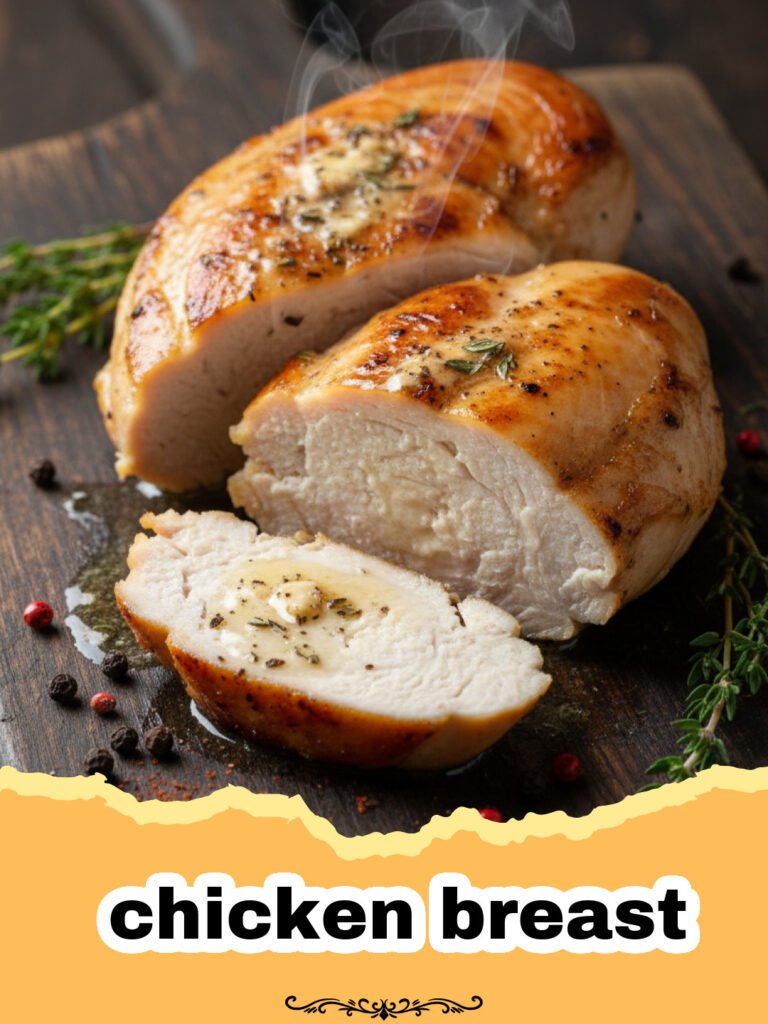
Perfectly Juicy Pan-Seared Chicken Breast
Unlock the secret to consistently moist and tender pan-seared chicken breast every single time, with a simple brine and pro tips for maximum flavor and a golden crust.
- Total Time: 25 minutes
- Yield: 4 servings 1x
Ingredients
4 boneless, skinless chicken breasts (about 6–8 oz each)
1 tablespoon kosher salt (for brine) + more for seasoning
4 cups cold water (for brine)
1 tablespoon olive oil (for seasoning)
1 tablespoon high-smoke point oil (e.g., avocado, grapeseed) for searing
1 teaspoon garlic powder
1 teaspoon onion powder
1 teaspoon paprika
1/2 teaspoon black pepper
Instructions
Step 1: Prepare the Brine: In a medium bowl, dissolve 1 tablespoon of kosher salt in 4 cups of cold water. Add the chicken breasts to the brine, ensuring they are fully submerged. Let them sit for at least 15 minutes, or up to 30 minutes, at room temperature or in the refrigerator.
Step 2: Pat Chicken Dry and Even Out Thickness: Remove the chicken breasts from the brine and pat them extremely dry with paper towels. If chicken breasts are uneven in thickness, place them between two sheets of plastic wrap and gently pound the thicker parts with a meat mallet or rolling pin until they are about 1-inch thick for uniform cooking.
Step 3: Season the Chicken: Rub both sides of each chicken breast with 1 tablespoon of olive oil. Season generously with additional salt, black pepper, garlic powder, onion powder, and paprika, ensuring all surfaces are well-coated for maximum flavor.
Step 4: Preheat Skillet: Heat 1 tablespoon of high-smoke point oil in a heavy-bottomed skillet (cast iron or stainless steel recommended) over medium-high heat until the oil is shimmering and just beginning to smoke. The pan needs to be very hot for a proper sear.
Step 5: Sear the Chicken: Carefully place the seasoned chicken breasts into the hot skillet. Do not overcrowd the pan; cook in batches if necessary to maintain pan temperature. Sear undisturbed for 5-7 minutes, or until a deep golden-brown crust forms on the bottom.
Step 6: Flip and Finish Cooking: Flip the chicken breasts and cook for another 5-7 minutes on the second side, or until the internal temperature reaches 165°F (74°C) when measured with an instant-read thermometer inserted into the thickest part of the chicken. Avoid overcooking to maintain juiciness.
Step 7: Rest the Chicken: Transfer the cooked chicken breasts to a clean cutting board. Tent loosely with aluminum foil and let them rest for at least 5-10 minutes. This crucial step allows the juices to redistribute throughout the meat, resulting in incredibly tender and moist chicken.
Notes
For best results, use a heavy-bottomed skillet like cast iron. Don’t rush the searing process; allow a good crust to form. The resting period is non-negotiable for juicy chicken! Always use an instant-read thermometer for accurate doneness.
- Prep Time: 10 minutes
- Cook Time: 15 minutes
- Category: Main Dish
- Cuisine: American
Nutrition
- Serving Size: 4 oz
- Calories: 230
- Sugar: 0g
- Sodium: 320mg
- Fat: 10g
- Saturated Fat: 2g
- Unsaturated Fat: 8g
- Trans Fat: 0g
- Carbohydrates: 2g
- Fiber: 0.5g
- Protein: 32g
- Cholesterol: 100mg
Keywords: chicken breast, pan-seared chicken, juicy chicken, easy chicken recipe, weeknight chicken, healthy chicken, brined chicken, perfect chicken, chicken dinner