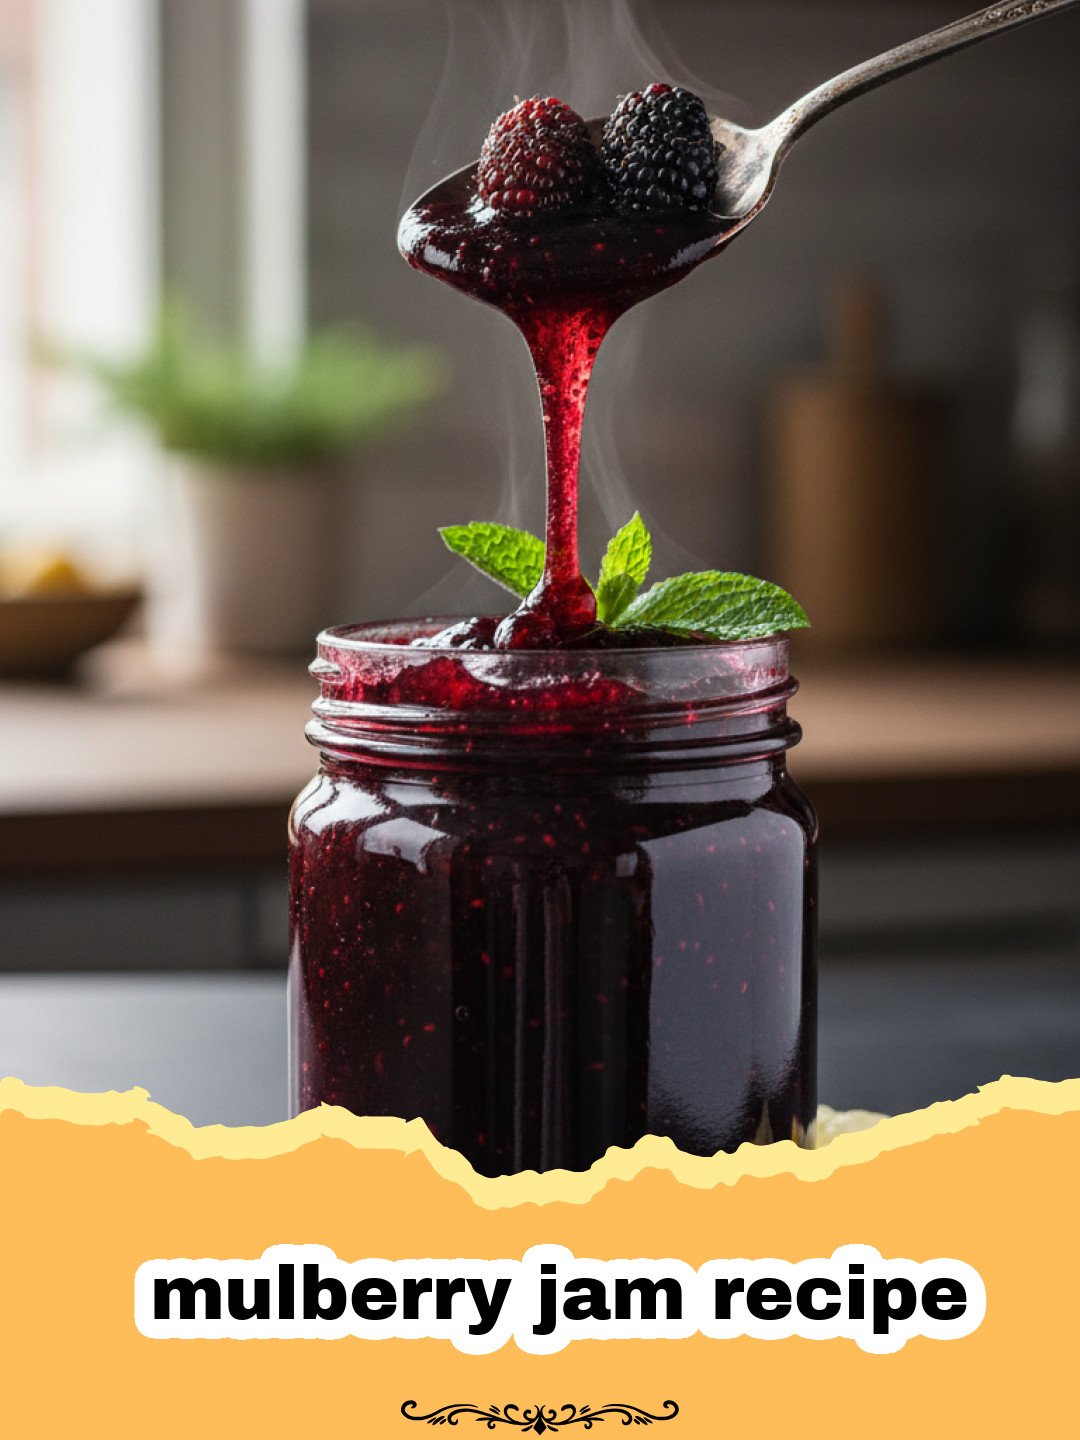
There’s something truly magical about summer, isn’t there? For me, the sight of a vibrant red-purple stain on a child’s fingers immediately transports me back to my grandmother’s backyard, under the sprawling mulberry tree. That tree was a beacon of pure joy, a sticky, sweet sanctuary where my cousins and I would spend hours, plucking the ripened berries directly from the branches, our hands and faces quickly turning a deep, tell-tale shade of purple. We’d come inside, flushed with sun and berry juice, ready for Grandma to turn our bounty into something even more special. That ‘something’ was always her legendary homemade mulberry jam recipe. It wasn’t just food; it was liquid sunshine, bottled memories, and the essence of summer itself. The aroma of simmering mulberries, sugar, and a hint of lemon zest filling her kitchen is a scent I can recall instantly, even decades later. It was simple, unpretentious, and utterly divine. Each spoonful was a reminder of sticky fingers, laughter, and the generous spirit of a garden that gave so freely.
As an adult, that tradition lives on. Finding a wild mulberry tree or spotting fresh mulberries at a farmer’s market still fills me with that same childhood excitement. And just like Grandma, I can’t resist turning those precious berries into a delicious batch of this incredible mulberry jam recipe. It’s a labor of love, a connection to the past, and a way to preserve the fleeting sweetness of summer in a jar. If you’ve never experienced the joy of making your own mulberry jam, you’re in for a real treat. This recipe is straightforward, forgiving, and yields the most beautiful, flavorful jam you can imagine. Get ready to create your own cherished memories, one spoonful of homemade mulberry jam at a time.
Why This Mulberry Jam Recipe Is a Must-Try
- Unforgettable Flavor Profile: Mulberries offer a unique, complex sweetness with a subtle tartness that is simply divine. It’s distinct from strawberry or raspberry, offering a richer, almost wine-like note that shines in this mulberry jam recipe.
- Simple Ingredients, Stunning Results: You don’t need a pantry full of exotic items for this jam. Just fresh mulberries, sugar, lemon juice, and a touch of pectin (optional, but recommended for a perfect set). This minimalist approach truly lets the mulberries be the star of the show.
- Preserve the Season: Mulberries have a relatively short season, and making jam is the absolute best way to capture their delicate flavor and enjoy it long after the last berry has fallen from the tree. Every jar is a little taste of summer, ready for a rainy day.
- Versatile & Delicious: This mulberry jam isn’t just for toast! It’s fantastic on pancakes, waffles, stirred into yogurt, as a filling for tarts, or even paired with savory cheeses. The possibilities are endless for this amazing mulberry jam recipe.
Key Ingredient Notes for the Perfect Mulberry Jam Recipe
Crafting the best homemade mulberry jam recipe starts with understanding your star ingredients. While the list is short, quality makes all the difference.
Fresh Mulberries
The star of our show! Look for ripe mulberries that are dark purple, plump, and yield slightly to a gentle squeeze. Avoid any that are bruised, moldy, or still red (they won’t have developed their full sweetness). Mulberries don’t keep well, so plan to make your jam shortly after picking or purchasing them. You don’t need to hull them like strawberries, but a quick rinse and careful inspection for any tiny stems or leaves are recommended. Remember, the natural pectin content in mulberries can vary, which affects the set of your mulberry jam recipe.
Granulated Sugar
Sugar is more than just a sweetener in jam making; it’s a preservative and helps with the gelling process. The ratio of sugar to fruit is crucial for both flavor and set. While some recipes call for equal parts fruit and sugar, I find a slightly lower ratio lets the mulberry flavor truly shine without being overly sweet. Adjust to your taste, but don’t reduce it too drastically, as it affects the jam’s shelf life and consistency. For this mulberry jam recipe, I’ve found a good balance.
Lemon Juice
Don’t skip the lemon juice! It plays two vital roles in this mulberry jam recipe. First, the acidity helps to extract pectin from the fruit, which is essential for a good gel. Without enough acid, your jam might be runny. Second, it brightens the flavor of the mulberries, providing a lovely tart counterpoint to their sweetness. Freshly squeezed lemon juice is always best for the most vibrant flavor.
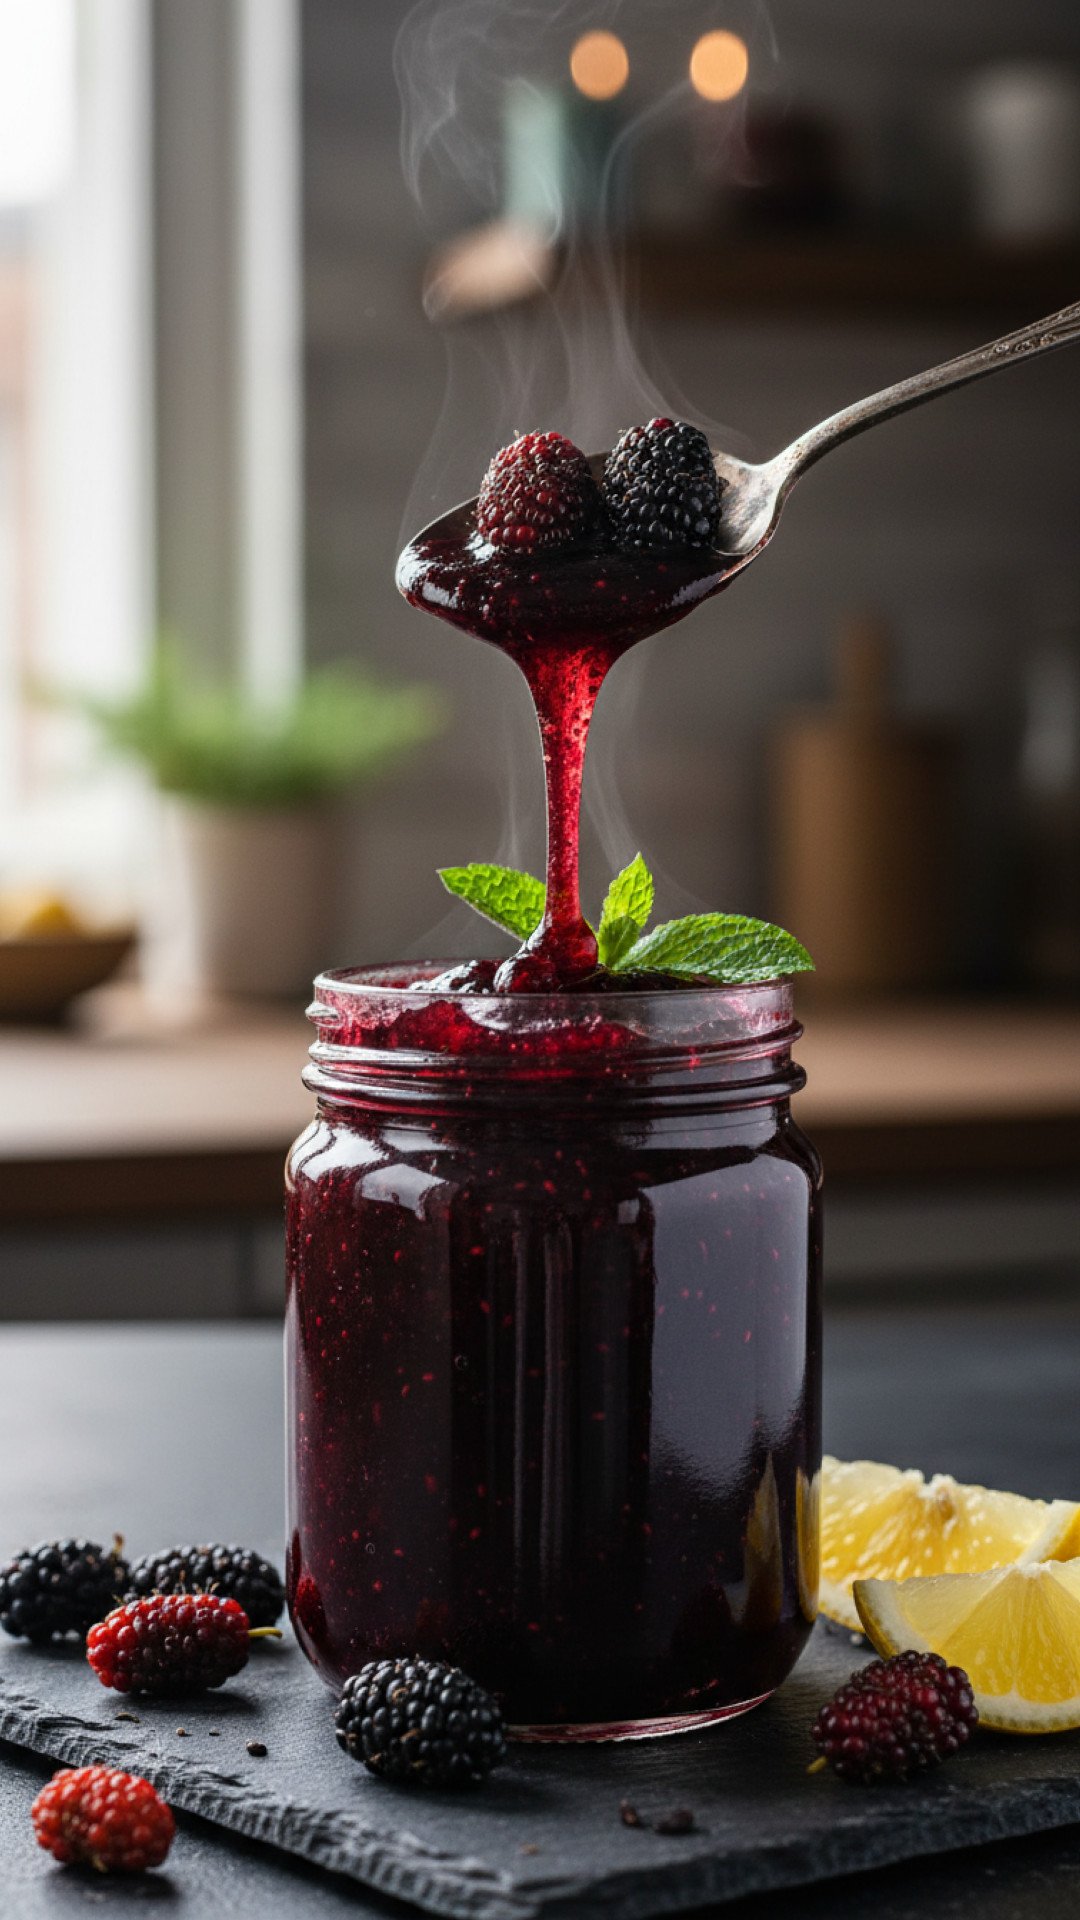
Step-by-Step Guide with Pro Tips for this Mulberry Jam Recipe
Ready to transform those beautiful berries into a jar of pure joy? Follow these steps closely, and you’ll have a delightful mulberry jam recipe ready in no time!
Before you begin, ensure your canning jars are clean and sterilized. You can do this by washing them in hot soapy water, rinsing well, and then either running them through a dishwasher on a hot cycle or boiling them in a large pot of water for 10 minutes. Keep them hot until ready to fill.
- Step 1: Gather your mulberries. Carefully sort through your mulberries, removing any stems, leaves, or unripe berries. Rinse them gently under cool running water, then drain thoroughly.
- Step 2: In a large, heavy-bottomed pot or Dutch oven, combine the cleaned mulberries and fresh lemon juice.
- Step 3: Place the pot over medium heat and bring the mixture to a gentle simmer. Cook for about 10-15 minutes, stirring occasionally, until the mulberries soften and release their juices. You can use a potato masher to gently crush some of the berries if you prefer a less chunky jam.
- Step 4: Add the granulated sugar to the pot. Stir constantly until the sugar has completely dissolved. If using powdered pectin, now is the time to slowly whisk it in. Bring the mixture to a rolling boil over high heat, stirring frequently to prevent scorching.
- Step 5: Maintain a vigorous, rolling boil for 8-12 minutes, or until the jam reaches its setting point. To test for the setting point, you can use a few methods:
- Cold Plate Test: Place a small dollop of hot jam on a chilled plate. Let it sit for 30 seconds, then push it with your finger. If it wrinkles, it’s ready.
- Temperature Test: Use a candy thermometer. The jam is ready when it reaches 220°F (104°C) at sea level.
- Step 6: Once the jam has reached its setting point, remove the pot from the heat. Skim off any foam that has risen to the surface using a spoon.
- Step 7: Carefully ladle the hot mulberry jam into your prepared hot, sterilized jars, leaving about 1/4 inch of headspace. Wipe the rims of the jars clean with a damp cloth.
- Step 8: Place the lids and screw bands on the jars, tightening them to fingertip-tight.
- Step 9: Process the filled jars in a boiling water canner for 10 minutes (adjusting for altitude if necessary). This step ensures a proper seal and long-term storage.
- Step 10: Carefully remove the jars from the canner and place them on a towel-lined counter, allowing them to cool completely undisturbed for 12-24 hours. You should hear popping sounds as the lids seal.
- Step 11: Check the seals. The center of the lid should be concave and not flex when pressed. Store properly sealed jars in a cool, dark place. Unsealed jars should be refrigerated and consumed within a few weeks. Enjoy your homemade mulberry jam recipe!
Variations & Serving Suggestions for Your Mulberry Jam Recipe
While this classic mulberry jam recipe is perfect as is, a little creativity can make it even more exciting! Here are some ideas to inspire you:
Flavor Variations:
- Vanilla Bean: Add a split vanilla bean to the jam during cooking for a warm, aromatic note. Remove before jarring.
- Spice It Up: A pinch of cinnamon, nutmeg, or a star anise pod can add depth, especially if you enjoy spiced fruit spreads. Just remember, a little goes a long way.
- Lemon-Lime Zest: Enhance the citrus kick by adding a teaspoon of finely grated lemon or lime zest during the last few minutes of cooking.
- Ginger Infusion: A few slices of fresh ginger added to the pot with the mulberries can give a subtle, spicy warmth. Remove before jarring.
- Herbal Twist: Consider a sprig of fresh thyme or rosemary during the simmer for an unexpected savory-sweet element.
Serving Suggestions:
- Classic Toast & Scones: The ultimate pairing! Slather your homemade mulberry jam generously on warm toast, biscuits, or freshly baked scones.
- Yogurt & Granola: Stir a spoonful into your morning Greek yogurt with a sprinkle of granola for a delicious and healthy breakfast.
- Pancakes & Waffles: Drizzle warm mulberry jam over a stack of fluffy pancakes or crispy waffles instead of syrup.
- Cheese Board Companion: This rich, fruity jam pairs beautifully with soft cheeses like brie, goat cheese, or a sharp cheddar. It’s a wonderful addition to any charcuterie board.
- Dessert Enhancer: Use it as a filling for thumbprint cookies, tarts, or crepes. You can even warm it slightly and serve it over vanilla ice cream or Grandma’s Favorite Rhubarb Crumb Cake for an easy dessert topping.
- Cocktail Mixer: A spoonful of mulberry jam can add a unique fruitiness to cocktails. Try it in a gin smash or a bourbon cocktail for a sophisticated twist.
- Savory Pairings: Don’t limit it to sweet! This mulberry jam recipe can be a fantastic glaze for roasted pork or chicken, adding a sweet and tangy element. Try it alongside some savory Peach Salsa for an interesting flavor contrast.
And speaking of storage, once you’ve perfected this mulberry jam recipe, you’ll want to keep it fresh. I highly recommend investing in good quality Basics Glass Food Storage containers, not just for jam, but for all your kitchen needs. They’re excellent for keeping homemade goodies fresh and organized.
Nutrition Information
| Nutrient | Amount (per serving) |
|---|---|
| Calories | 55 kcal |
| Carbohydrate Content | 14 g |
| Cholesterol Content | 0 mg |
| Fat Content | 0.1 g |
| Fiber Content | 0.5 g |
| Protein Content | 0.1 g |
| Saturated Fat Content | 0 g |
| Serving Size | 1 tbsp (15g) |
| Sodium Content | 1 mg |
| Sugar Content | 13 g |
| Trans Fat Content | 0 g |
| Unsaturated Fat Content | 0.1 g |
Conclusion
Making your own mulberry jam recipe is more than just cooking; it’s an experience. It’s connecting with nature, embracing the seasons, and creating something truly special with your own hands. The vibrant color, the intoxicating aroma, and the rich, sweet-tart flavor of this homemade mulberry jam will bring a smile to your face with every spoonful. Whether you grew up picking mulberries or are discovering them for the first time, this recipe offers a delicious way to capture the essence of summer and share a taste of pure joy with your loved ones. So gather your berries, prepare your jars, and embark on this delightful journey. You won’t regret it. Happy jamming!
FAQs
Do I need to add pectin to mulberry jam?
Mulberries contain some natural pectin, but the amount can vary. For a consistent, firmer set, especially if you’re new to jam making or prefer a thicker jam, adding powdered fruit pectin (as suggested in this mulberry jam recipe) is highly recommended. If you prefer a looser, more spreadable jam, you can omit it, but be prepared for a longer cooking time to reach a suitable consistency.
How do I know when my mulberry jam is set?
The most reliable methods are the cold plate test or a candy thermometer. For the cold plate test, place a small dollop of hot jam on a chilled plate, let it cool for 30 seconds, then push it with your finger. If it wrinkles, itu2019s ready. Alternatively, use a candy thermometer; jam is set when it reaches 220u00b0F (104u00b0C) at sea level. This temperature indicates sufficient water evaporation and pectin activation in your mulberry jam recipe.
Can I make mulberry jam without a canner?
Yes, you can make mulberry jam without a dedicated canner if you plan to consume it quickly. For short-term storage (a few weeks), simply pour the hot jam into clean jars and refrigerate once cooled. However, for safe, long-term pantry storage, processing the jars in a boiling water bath (as described in this mulberry jam recipe) is essential to create a vacuum seal and prevent spoilage. A large stockpot with a rack at the bottom can serve as a makeshift canner.
How long will homemade mulberry jam last?
Properly canned and sealed mulberry jam, stored in a cool, dark place, can last for up to 1 year. Once a jar is opened, it should be refrigerated and consumed within 2-3 weeks. Unsealed jars that were not processed in a boiling water bath must be stored in the refrigerator and are best consumed within a similar timeframe.
Homemade Mulberry Jam
A delightful and easy-to-make homemade mulberry jam recipe, capturing the unique sweet-tart flavor of fresh mulberries. Perfect for toast, pastries, or a gourmet cheese board.
- Total Time: 50 minutes
- Yield: 4 half-pint jars 1x
Ingredients
4 cups fresh mulberries, cleaned and stemmed
4 cups granulated sugar
1/4 cup fresh lemon juice
1 packet (1.75 oz) powdered fruit pectin (optional, for a firmer set)
Instructions
Step 1: Prepare your canning jars and lids by washing them in hot soapy water, rinsing well, and sterilizing. Keep them hot until ready to fill.
Step 2: In a large, heavy-bottomed pot or Dutch oven, combine the cleaned mulberries and fresh lemon juice.
Step 3: Place the pot over medium heat and bring to a gentle simmer. Cook for 10-15 minutes, stirring occasionally, until the mulberries soften and release their juices. Gently mash some of the berries if you prefer a less chunky jam.
Step 4: If using powdered pectin, whisk it into the fruit mixture until fully dissolved. Add the granulated sugar to the pot and stir constantly until the sugar has completely dissolved.
Step 5: Increase the heat to high and bring the mixture to a vigorous, rolling boil that cannot be stirred down. Continue to boil for 8-12 minutes, stirring frequently to prevent scorching, until the jam reaches its setting point (220°F/104°C on a candy thermometer, or passes the cold plate test).
Step 6: Remove the pot from the heat. Skim off any foam that rises to the surface using a clean spoon.
Step 7: Carefully ladle the hot jam into your prepared hot, sterilized jars, leaving 1/4 inch of headspace. Wipe the rims of the jars clean with a damp cloth.
Step 8: Place the lids and screw bands on the jars, tightening them to fingertip-tight.
Step 9: Process the filled jars in a boiling water canner for 10 minutes (adjust time for altitude if necessary).
Step 10: Carefully remove the jars from the canner and place them on a towel-lined counter. Allow them to cool completely undisturbed for 12-24 hours. Do not disturb the lids during this time.
Step 11: After cooling, check the seals. The center of the lid should be concave and not flex when pressed. Store properly sealed jars in a cool, dark place for up to 1 year. Refrigerate any unsealed jars and consume within a few weeks.
Notes
For best results, use fresh, ripe mulberries. If mulberries are very sweet, you can slightly reduce the sugar, but be aware this may affect the set and shelf life. Always ensure jars are properly sealed for safe long-term storage.
- Prep Time: 30 minutes
- Cook Time: 20 minutes
- Category: Sweet Breakfasts
- Cuisine: American
Nutrition
- Serving Size: 1 tbsp (15g)
- Calories: 55 kcal
- Sugar: 13 g
- Sodium: 1 mg
- Fat: 0.1 g
- Saturated Fat: 0 g
- Unsaturated Fat: 0.1 g
- Trans Fat: 0 g
- Carbohydrates: 14 g
- Fiber: 0.5 g
- Protein: 0.1 g
- Cholesterol: 0 mg
Keywords: mulberry jam recipe, homemade jam, fruit preserve, mulberry preserve, summer berries, canning, sweet breakfast, mulberry, easy jam recipe, berry jam