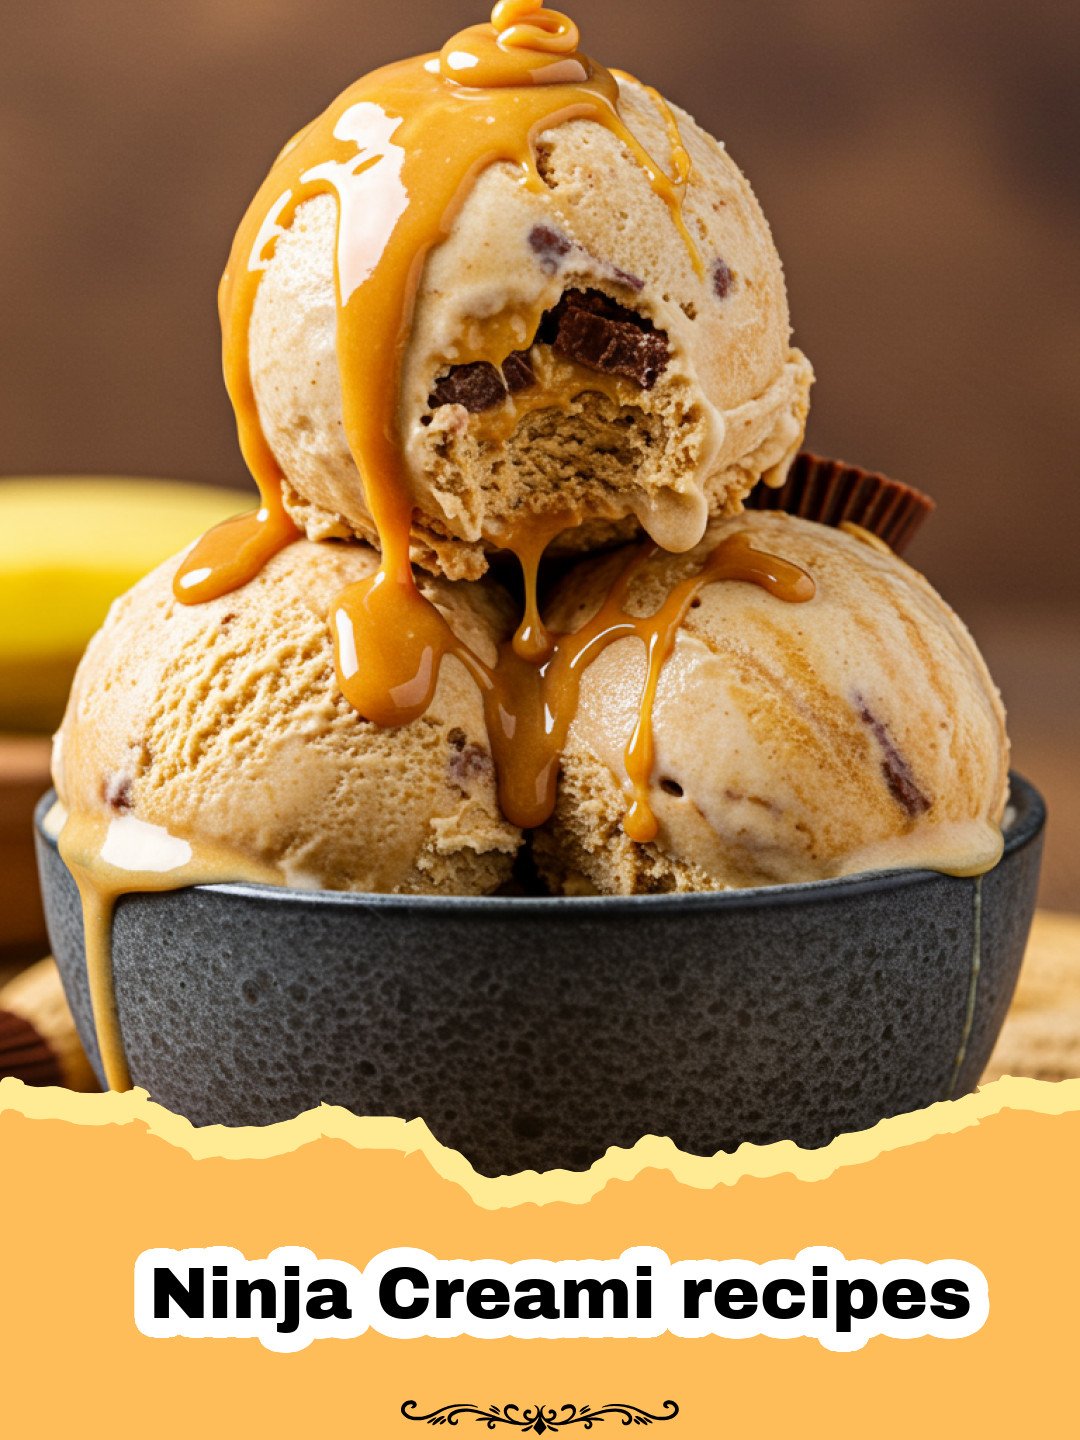
Exploring Ninja Creami recipes has completely transformed my kitchen routine and redefined how my family enjoys dessert. I still remember the first time I unboxed that sleek machine; I was skeptical that a device could actually turn a frozen block of liquid into something resembling high-end gelato. My journey with Ninja Creami recipes began out of a desperate need to find healthier alternatives to store-bought pints that were often loaded with hidden sugars and artificial thickeners. After weeks of trial and error, freezing everything from canned fruit to coffee, I finally perfected the ultimate vanilla bean protein base. It was a revelation. Sitting on my porch on a humid Tuesday evening, spooning through a pint that tasted like a gourmet treat but felt like a nutritional win, I realized that the art of perfecting Ninja Creami recipes is about more than just convenience—it is about taking control of your ingredients without sacrificing that indulgent, silky mouthfeel we all crave. This specific recipe has become a staple in our household, providing a canvas for endless toppings and a reliable, high-protein snack that keeps us satisfied through the long summer afternoons.
Why This Recipe is a Must-Try
If you are new to the world of Ninja Creami recipes, this vanilla bean protein ice cream is the perfect starting point. Here is why you need to add it to your rotation:
- Unmatched Texture: Unlike traditional home-made ice cream that can get icy, Ninja Creami recipes utilize micro-creaming technology to shave the frozen block into a texture that rivals professional creameries.
- High Protein, Low Calorie: This base is designed to be macro-friendly, making it an ideal post-workout snack or a guilt-free late-night indulgence.
- Perfectly Customizable: While vanilla might seem simple, it serves as the ultimate foundation for any mix-in you can imagine, from fresh berries to crushed cookies.
- Consistent Results: By following these specific ratios, you avoid the common ‘crumbly’ texture that many beginners encounter when first experimenting with Ninja Creami recipes.
Key Ingredient Notes
To ensure your success with Ninja Creami recipes, selecting the right ingredients is paramount. Here are the three heavy hitters in this recipe:
1. Fairlife Core Power or Ultra-Filtered Milk: This is a secret weapon in the community of Ninja Creami recipes enthusiasts. Because ultra-filtered milk has more protein and less sugar than standard milk, it freezes differently and results in a much creamier final product. If you use regular milk, you may find the texture a bit more ‘icy’ and less ‘custard-like’.
2. Sugar-Free Instant Pudding Mix: A small amount of pudding mix (specifically the instant kind) acts as a stabilizer. In the science of Ninja Creami recipes, stabilizers are essential because we aren’t churning air into the mixture as it freezes. The pudding mix helps hold the structure together after the blade has processed the frozen block.
3. High-Quality Vanilla Bean Paste: While extract works, vanilla bean paste provides those beautiful little black specks and a much deeper, more complex floral flavor. When you are making Ninja Creami recipes with a limited number of ingredients, the quality of your flavorings will truly shine through.
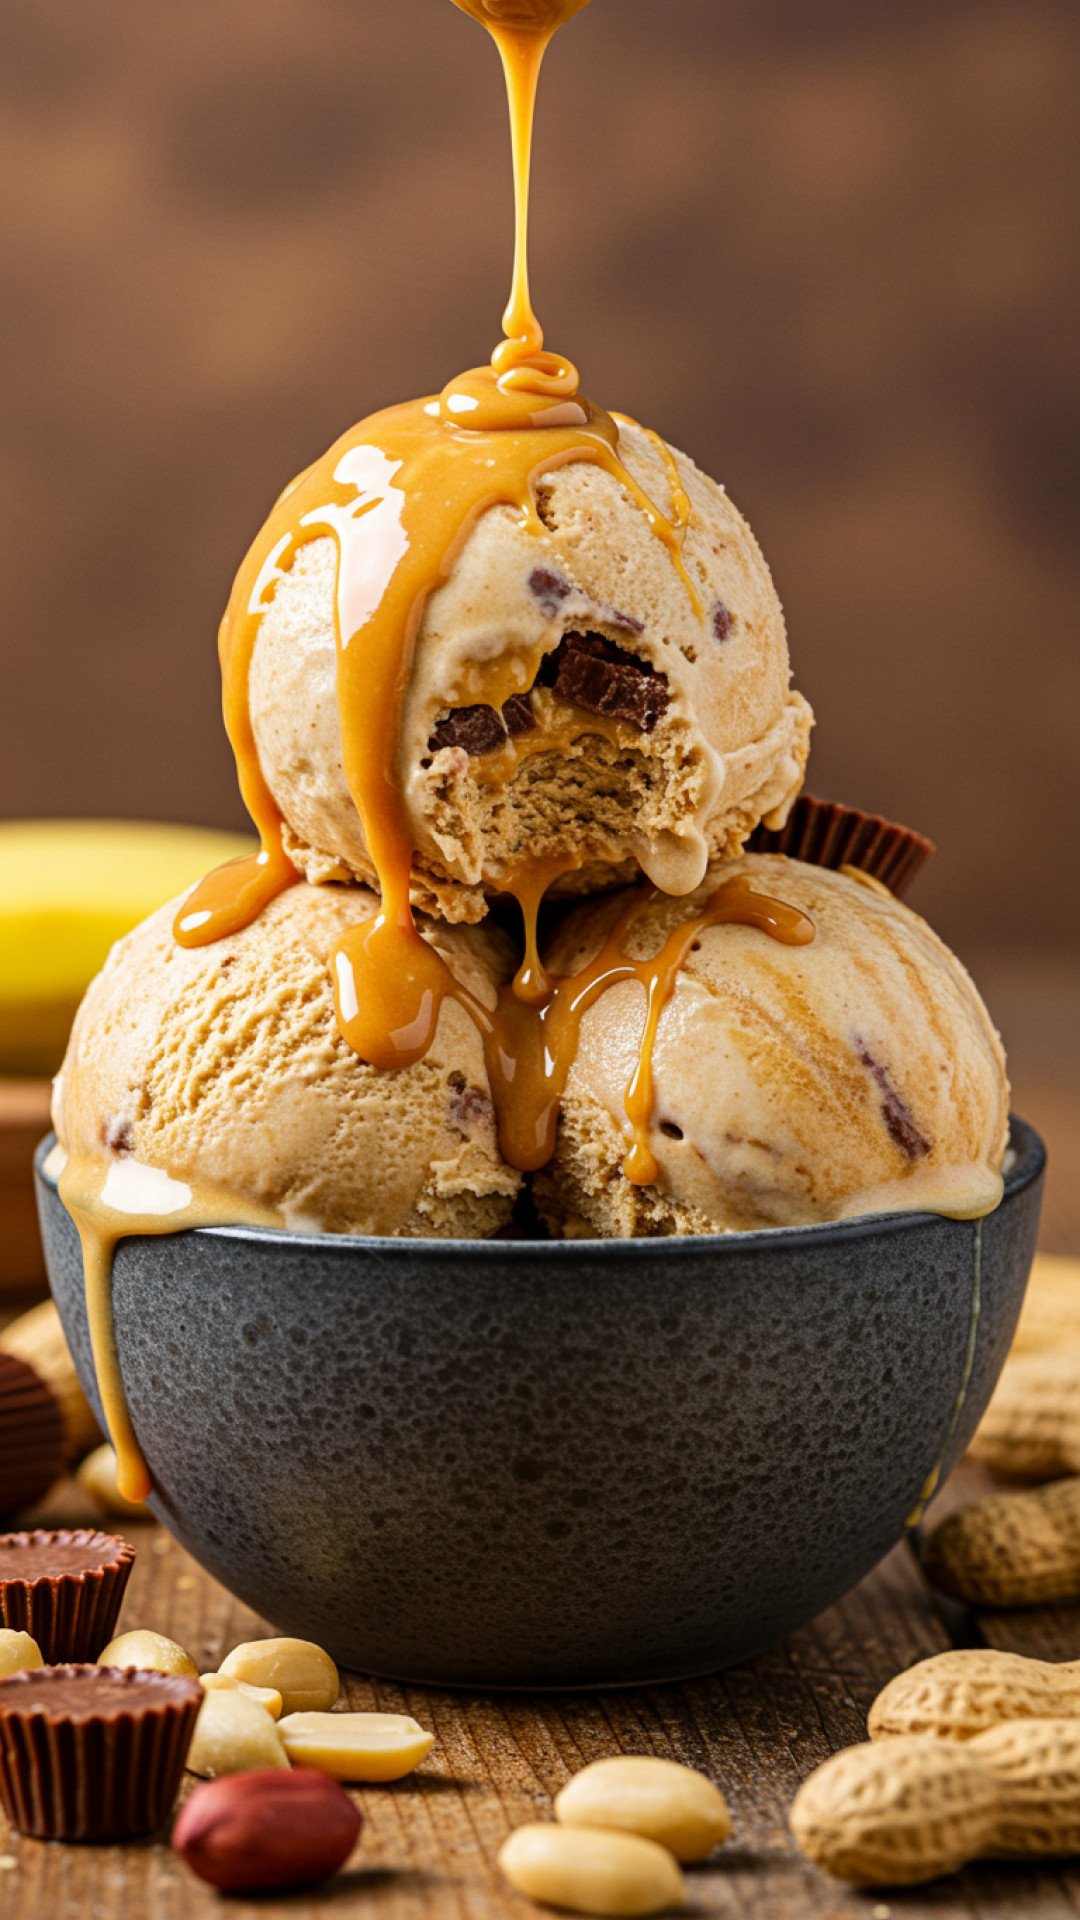
Step-by-Step Guide with Pro Tips
The process of mastering Ninja Creami recipes is straightforward, but it requires patience and a few insider tricks to get that ‘soft serve’ perfection every single time.
Preparation and Mixing
Start by whisking your milk, protein powder, pudding mix, and vanilla bean paste in a large bowl. You want to ensure there are no clumps of powder left, as these can create ‘cold spots’ in the pint. Once smooth, pour the mixture into your Ninja Creami pint container, ensuring you do not exceed the ‘max fill’ line. This is a critical rule for all Ninja Creami recipes; overfilling can damage the machine’s motor as the blade descends.
The 24-Hour Freeze
Place your pint on a level surface in your freezer. It must freeze for a full 24 hours at a temperature between -7°F and 9°F. I know it is tempting to pull it out early, but for Ninja Creami recipes to work correctly, the block must be completely solid to be shaved into those microscopic cream particles. While waiting for your base to freeze, you might want to prep a real meal; I highly recommend trying these ground chicken recipes for a quick and healthy dinner before your dessert is ready.
The Processing Phase
Once frozen, remove the lid and place the pint into the outer bowl. For this protein-heavy base, use the ‘Lite Ice Cream’ function. If the top comes out looking crumbly or like ‘dippin dots’ after the first spin—don’t panic! This is common with high-protein Ninja Creami recipes. Simply add a tablespoon of milk to the center and run the ‘Re-spin’ cycle. This usually solves the issue, turning the crumbles into a smooth, velvety consistency.
Pro-Tip: The ‘Hole’ Method
If you plan on adding mix-ins like chocolate chips or nuts, use a spoon to dig a hole down the center of your processed ice cream (about an inch wide). Drop your mix-ins into the hole and use the ‘Mix-In’ function. This ensures the toppings are distributed evenly from top to bottom rather than just sitting on the surface.
Variations & Serving Suggestions
One of the best things about Ninja Creami recipes is their versatility. You can take this basic vanilla bean pint and turn it into something entirely different with just one or two tweaks. For a ‘Cookies and Cream’ version, add two crushed chocolate sandwich cookies during the mix-in phase. For a fruity twist, swirl in a tablespoon of strawberry preserves after the final spin.
If you are hosting a dinner party, consider serving a scoop of this vanilla bean cream alongside some spring cookie recipes. A warm lemon lavender shortbread cookie paired with this cold, creamy ice cream creates a sophisticated dessert experience. If you happen to have leftovers (which is rare!), store your pint in Basics Glass Food Storage containers. These airtight containers are excellent for maintaining the texture of your Ninja Creami recipes in the freezer for a few extra days, preventing that dreaded freezer burn.
Nutrition Information
Understanding the macros of your Ninja Creami recipes helps you stay on track with your health goals. Below is the nutritional breakdown for one full pint of this vanilla bean protein ice cream.
| Nutrient | Amount Per Serving |
|---|---|
| Calories | 290 kcal |
| Total Fat | 6g |
| Saturated Fat | 3.5g |
| Cholesterol | 25mg |
| Sodium | 380mg |
| Total Carbohydrates | 12g |
| Dietary Fiber | 1g |
| Sugars | 6g |
| Protein | 42g |
Conclusion
Mastering Ninja Creami recipes is a rewarding journey that blends kitchen science with pure culinary joy. This vanilla bean protein ice cream is more than just a recipe; it is a gateway to a world where you can enjoy your favorite treats while feeling energized and nourished. Whether you are a fitness enthusiast looking for a better protein shake or a parent trying to sneak more nutrition into your kids’ snacks, the Ninja Creami is a game-changer. I hope this guide helps you feel confident in starting your own collection of Ninja Creami recipes. Happy spinning!
FAQs
Why are Ninja Creami recipes sometimes crumbly after the first spin?
Crumbly texture usually happens if the base is too cold or lacks enough fat/sugar. Simply add a tablespoon of milk and use the ‘Re-spin’ function to make it creamy.
Can I use plant-based milk for these Ninja Creami recipes?
Yes, but use a creamy option like cashew milk or full-fat coconut milk. Almond milk tends to be icier due to its high water content.
Do I really need to freeze the pint for 24 hours?
Yes. For the Ninja Creami to safely and effectively shave the ice crystals into a smooth texture, the pint needs to be frozen solid at a consistent temperature.
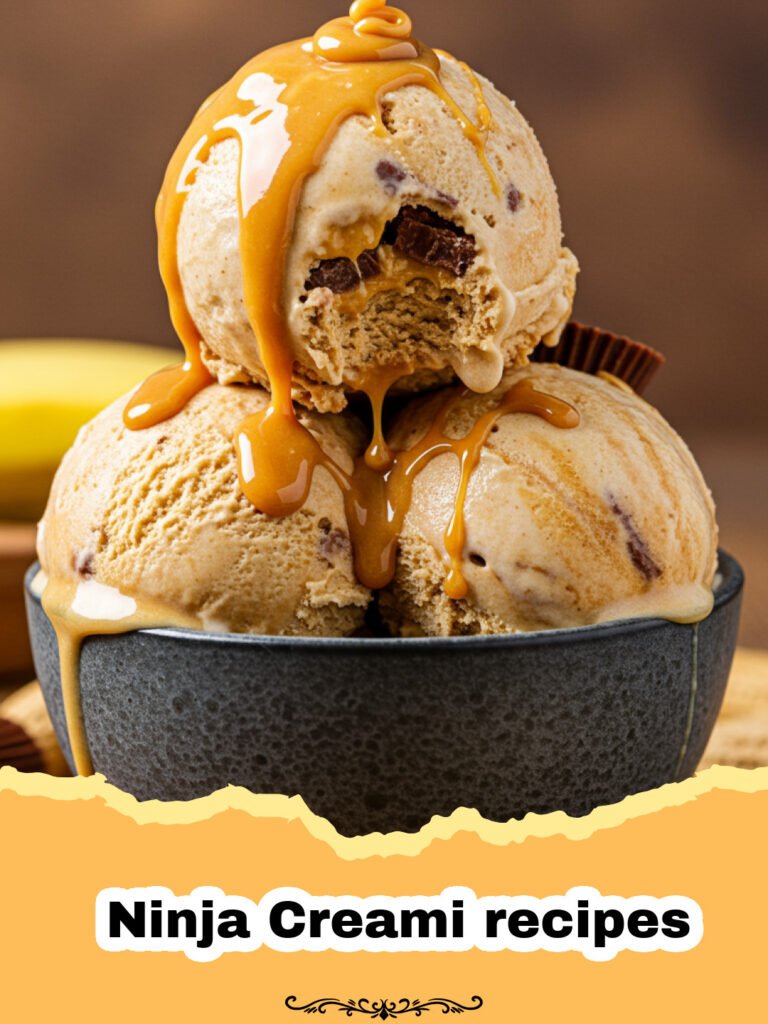
The Ultimate Vanilla Bean Ninja Creami Protein Ice Cream
A silky, high-protein vanilla ice cream base made perfectly for the Ninja Creami. Low in sugar and incredibly creamy.
- Total Time: 24 hours 5 minutes
- Yield: 1 Pint (2 Servings) 1x
Ingredients
2 cups Fairlife 2% or skim milk (ultra-filtered milk)
1 scoop (approx 30g) Vanilla Whey or Casein protein powder
1 tablespoon Sugar-free instant vanilla pudding mix
1 teaspoon Vanilla bean paste
Optional: 1-2 tablespoons liquid stevia or monk fruit sweetener (to taste)
Instructions
Step 1: Combine the ultra-filtered milk, protein powder, sugar-free pudding mix, vanilla bean paste, and sweetener in a blender or large mixing bowl.
Step 2: Whisk or blend until the mixture is completely smooth and no lumps of protein powder remain.
Step 3: Pour the liquid into the Ninja Creami pint container, ensuring you stay below the max fill line.
Step 4: Place the lid on the pint and freeze on a level surface for at least 24 hours.
Step 5: Remove the pint from the freezer and take off the lid. Insert the pint into the Ninja Creami outer bowl and lock it into the machine.
Step 6: Select the ‘Lite Ice Cream’ program and allow the cycle to finish.
Step 7: Check the consistency. If it looks crumbly, add 1 tablespoon of milk and select the ‘Re-spin’ button.
Step 8: If using mix-ins, create a hole in the center, add your toppings, and select the ‘Mix-In’ program.
Notes
Using ultra-filtered milk like Fairlife is essential for the creamiest texture. If using regular milk, the results may be slightly more icy.
- Prep Time: 5 minutes
- Cook Time: 24 hours
- Category: Appetizers & Snacks
- Cuisine: American
Nutrition
- Serving Size: 1 pint
- Calories: 290
- Sugar: 6g
- Sodium: 380mg
- Fat: 6g
- Saturated Fat: 3.5g
- Unsaturated Fat: 2.5g
- Trans Fat: 0g
- Carbohydrates: 12g
- Fiber: 1g
- Protein: 42g
- Cholesterol: 25mg
Keywords: Ninja Creami recipes, Protein Ice Cream, Low Calorie Dessert, Vanilla Bean Ice Cream, Healthy Ninja Creami