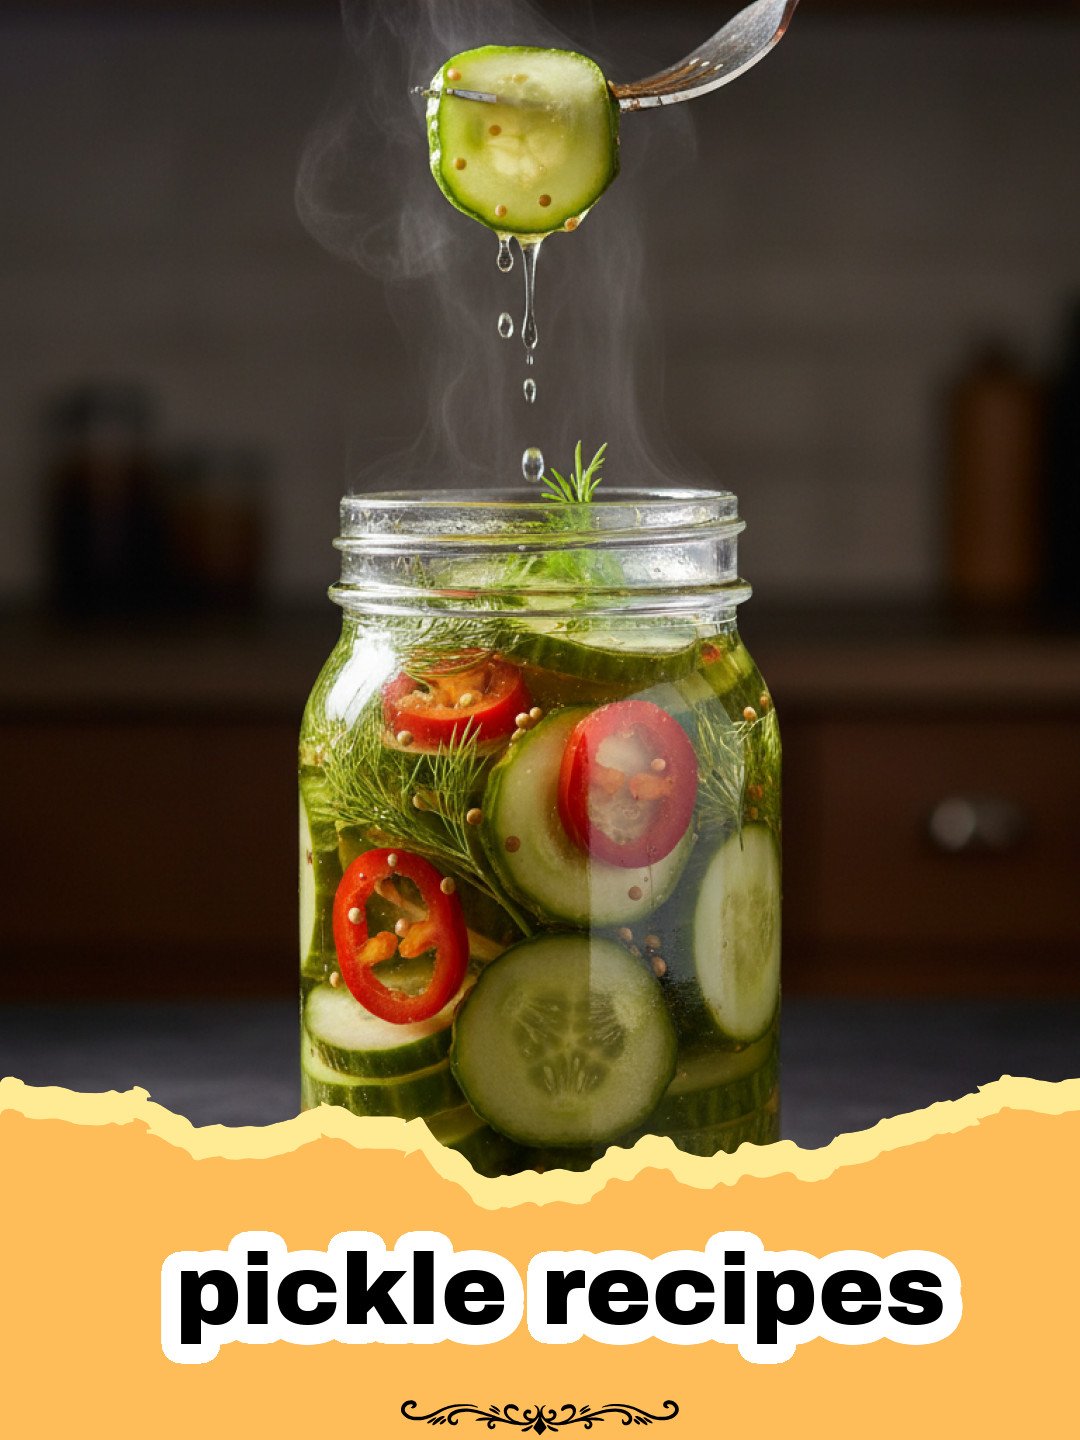
I remember my grandma’s kitchen in the summer, filled with the intoxicating scent of vinegar, fresh dill, and pungent garlic. It wasn’t just cooking; it was an annual family event. Every year, she’d gather a bounty of crisp cucumbers from her sprawling garden, and the entire family would eagerly participate in crafting her legendary dill pickle recipes. The satisfying crunch, the perfect balance of tang and savory, the burst of flavor with every bite – absolutely nothing compared to those homemade jars. Store-bought versions simply couldn’t replicate the love, tradition, and meticulous care that went into each precious batch. As I grew older, I realized that mastering these simple pickle recipes wasn’t merely about preserving food; it was about preserving cherished memories, fostering a tangible connection to simpler times, and experiencing the pure, unadulterated joy of creating something truly extraordinary from scratch. That’s precisely why I am beyond thrilled to share my absolute favorite quick dill pickle recipes with you today. They promise to bring a little bit of that sun-drenched summer magic right into your home, enriching your meals and snacks no matter the season. Get ready to fall in love with homemade pickles!
Why These Quick Dill Pickle Recipes are a Must-Try
- Unbeatable Freshness & Flavor: Forget the dull, often overly salty store-bought options. These quick dill pickle recipes yield pickles bursting with vibrant, fresh dill, potent garlic, and a perfectly balanced tangy brine that will elevate any dish.
- Incredibly Easy & Fast: Don’t be intimidated by “pickling”! These are quick pickle recipes, meaning no complex canning equipment or lengthy processing is required. From start to snack, you can have delicious homemade pickles in under an hour, ready to enjoy after just a few days of chilling.
- Versatile & Customizable: This recipe is a fantastic base. You can easily adjust the spice, add other aromatics, or experiment with different types of vinegar to suit your personal taste. They’re perfect for sandwiches, charcuterie boards, or simply snacking straight from the jar.
- A Healthier Choice: Making your own pickles means you control the ingredients. You can reduce sodium if desired and avoid artificial preservatives often found in commercial pickle recipes.
Key Ingredient Notes for Perfect Pickle Recipes
Success with homemade pickle recipes starts with quality ingredients. Here’s what to look for:
- Pickling Cucumbers: These are crucial for the best crunch. Look for small, firm, unblemished cucumbers like Kirby or Persian varieties. Their thin skins and crisp flesh are ideal for absorbing the brine without becoming soggy. Avoid larger slicing cucumbers, as they tend to be watery and have larger seeds, leading to a less desirable texture in your finished pickles.
- Fresh Dill: Don’t skimp on the fresh dill! While dried dill can be used in a pinch, fresh dill sprigs infuse a far superior, brighter, and more authentic flavor into your pickle recipes. The feathery fronds and robust stems both contribute to that classic dill pickle taste.
- Pickling Salt (Non-Iodized): This isn’t just any salt. Pickling salt is a fine-grain, pure granulated salt free from anti-caking agents and iodine. Regular table salt with iodine can turn your pickles dark and make the brine cloudy. Stick to pickling salt for clear, crisp results in all your pickle recipes.
- White Vinegar (5% Acidity): The acidity of white vinegar is vital for both flavor and preservation. A 5% acidity is standard and ensures a safe and tangy product. While other vinegars (like apple cider vinegar) can be used for different flavor profiles, white vinegar provides that classic, clean tang found in the best dill pickle recipes.
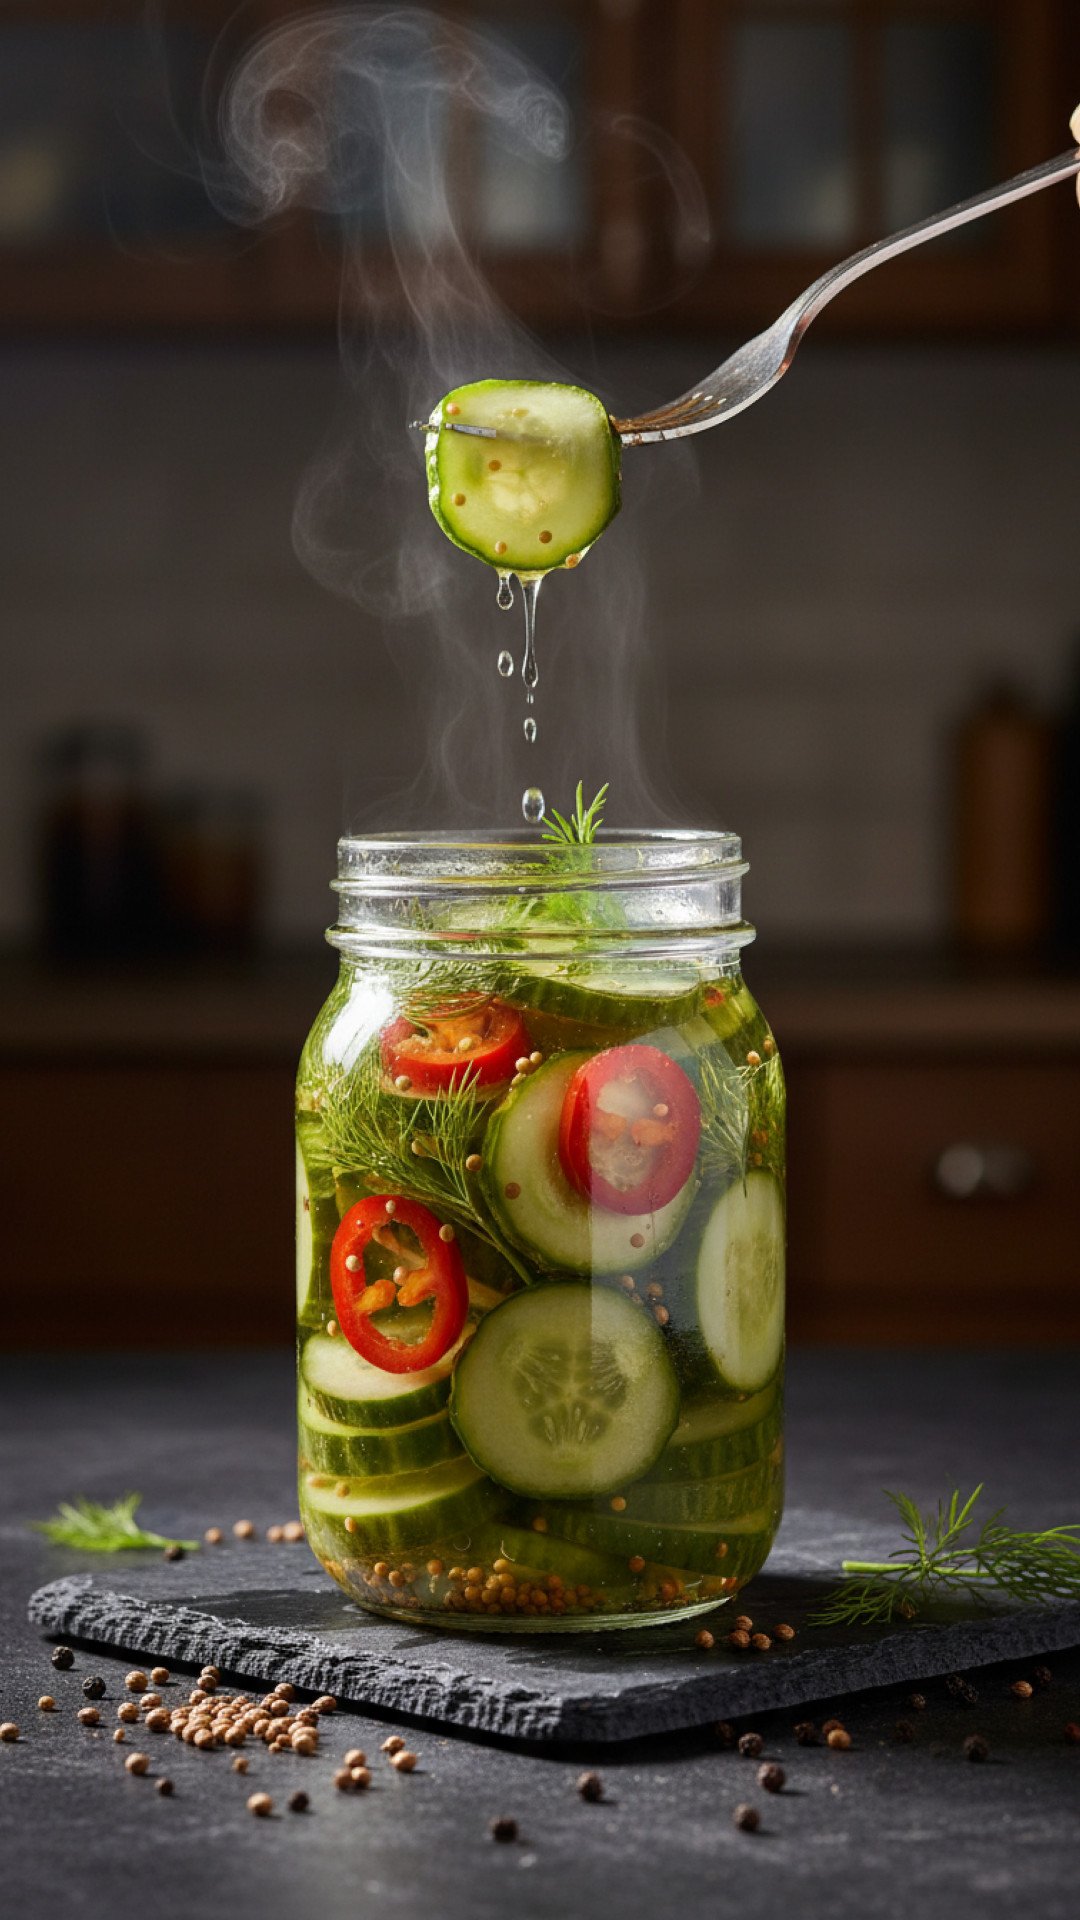
Step-by-Step Guide: Crafting Your Own Delicious Dill Pickle Recipes
Ready to dive into the wonderful world of homemade pickle recipes? Follow these steps for crisp, flavorful pickles every time:
- Step 1: Prepare Your Cucumbers. Wash your pickling cucumbers thoroughly. Trim off both ends – a small slice at the blossom end is said to help prevent mushiness. You can slice them into rounds, spears, or leave them whole if they’re very small. For extra crispness, soak the sliced cucumbers in a bowl of ice water for 30 minutes while you prepare the brine. This simple trick makes a huge difference in many quick pickle recipes!
- Step 2: Sterilize Your Jars. While quick pickle recipes don’t require full canning procedures for long-term storage, sterilizing your jars is still good practice for hygiene and ensures the best flavor. Wash two pint-sized glass jars and lids in hot, soapy water. Rinse well and place the jars in a pot of boiling water for 10 minutes. Alternatively, run them through a dishwasher on a hot cycle. Let them air dry or dry them quickly in a warm oven. Using clean, good quality jars is key for all successful pickle recipes. You can find excellent Basics Glass Food Storage options that double as pickling jars.
- Step 3: Pack the Jars. Into each sterilized pint jar, add 2 sprigs of fresh dill, 2 smashed garlic cloves, ½ tablespoon of black peppercorns, and ½ teaspoon of mustard seeds. Then, tightly pack the prepared cucumber slices or spears into the jars. The tighter, the better, but don’t bruise them. These aromatics are what make these specific pickle recipes so special.
- Step 4: Prepare the Brine. In a medium saucepan, combine 2 cups of white vinegar, 2 cups of water, 2 tablespoons of pickling salt, and 1 tablespoon of granulated sugar (if using). Bring the mixture to a rolling boil over medium-high heat, stirring until the salt and sugar are completely dissolved. This brine is the heart of all good pickle recipes!
- Step 5: Pour the Brine. Carefully pour the hot brine over the cucumbers in each jar, ensuring the cucumbers are completely submerged. Leave about ½ inch of headspace from the rim of the jar. Tap the jars gently on the counter to release any trapped air bubbles.
- Step 6: Seal and Cool. Place the lids firmly on the jars. Allow the jars to cool to room temperature on your counter. Once cooled, transfer them to the refrigerator. These quick dill pickle recipes are best enjoyed after chilling for at least 24-48 hours, allowing the flavors to meld beautifully. They will continue to develop flavor over a week.
And just like that, you’ve mastered another one of our favorite pickle recipes!
Variations & Serving Suggestions for Your Favorite Pickle Recipes
One of the best things about these quick dill pickle recipes is their adaptability. Once you have the basic technique down, the possibilities are endless!
Creative Variations:
- Spicy Pickles: Add a few slices of fresh jalapeño or a pinch of red pepper flakes to each jar for a fiery kick. These spicy pickle recipes are fantastic with tacos or grilled cheese.
- Sweet & Sour Pickles: Increase the sugar to 2-3 tablespoons in the brine, and consider adding a few whole cloves or a cinnamon stick for a sweeter, more complex flavor profile.
- Garlic Lover’s Pickles: Double the garlic! Seriously, if you love garlic, you won’t regret it. You can even roast the garlic first for a milder, sweeter garlic note in your pickles.
- Herbaceous Pickles: Experiment with other fresh herbs like bay leaves, coriander seeds, or even a sprig of fresh thyme alongside the dill.
- Pickled Red Onions: While this post focuses on cucumbers, you can use a similar brine to make other amazing pickled vegetables. For a vibrant side, check out our quick and easy pickled onions recipe.
Serving Suggestions:
- Sandwich & Burger Buddy: A classic for a reason! A few slices of these homemade pickles cut through the richness of any sandwich or burger. They’re an absolute essential for The Ultimate Chopped Sandwich.
- Snack Attack: Forget chips! A cold, crisp pickle spear is a refreshing and satisfying snack on its own.
- Charcuterie & Cheese Boards: The tanginess of pickles provides a wonderful contrast to rich cheeses and cured meats. They add color and zest to any platter.
- Salad Booster: Chop up your pickles and add them to potato salad, tuna salad, or even a simple green salad for an extra burst of flavor and crunch.
- Garnish for Everything: From Bloody Marys to deviled eggs, a pickle garnish instantly elevates the presentation and taste.
These pickle recipes are truly versatile – don’t be afraid to get creative!
Nutrition Information
Here’s a breakdown of the nutritional content for one serving (approximately 1/2 cup or 4 slices) of these delicious quick dill pickle recipes:
| Nutrient | Amount |
|---|---|
| Calories | 15 kcal |
| Carbohydrate Content | 3 g |
| Cholesterol Content | 0 mg |
| Fat Content | 0 g |
| Fiber Content | 1 g |
| Protein Content | 1 g |
| Saturated Fat Content | 0 g |
| Serving Size | 1/2 cup (approx. 4 slices) |
| Sodium Content | 250 mg |
| Sugar Content | 1 g |
| Trans Fat Content | 0 g |
| Unsaturated Fat Content | 0 g |
Note: Nutritional values are estimates and may vary based on specific ingredients and preparation methods for these pickle recipes.
Conclusion
There’s something incredibly rewarding about making your own food from scratch, and these quick dill pickle recipes are a perfect example. They’re simple, satisfying, and yield a product far superior to anything you’ll find in a store. Whether you’re new to preserving or a seasoned pro, these pickle recipes offer a delightful journey into the world of tangy, crunchy goodness. So gather your cucumbers, your dill, and your garlic, and get ready to transform simple ingredients into a jar of pure joy. Happy pickling!
FAQs
How long do quick dill pickles last in the refrigerator?
Quick dill pickle recipes, once prepared and refrigerated, will typically last for 3-4 weeks. Unlike traditional canned pickles, they are not shelf-stable and must be kept cold.
Can I reuse the brine for another batch of pickle recipes?
It is generally not recommended to reuse the brine from quick pickle recipes. The acidity and salt content can diminish, and it may not be safe for subsequent batches. It’s best to prepare fresh brine each time.
What kind of cucumbers are best for these pickle recipes?
For the crispiest and best results with these dill pickle recipes, use pickling cucumbers such as Kirby or Persian varieties. They are small, firm, and have thin skins that absorb the brine well without becoming soft.
Why did my homemade pickles turn soft?
Soft pickles can be caused by several factors, including using cucumbers that are too old or not fresh, not trimming the blossom end, or using regular iodized salt which can affect cucumber texture. Soaking fresh cucumbers in ice water before pickling can also help maintain crispness in your pickle recipes.
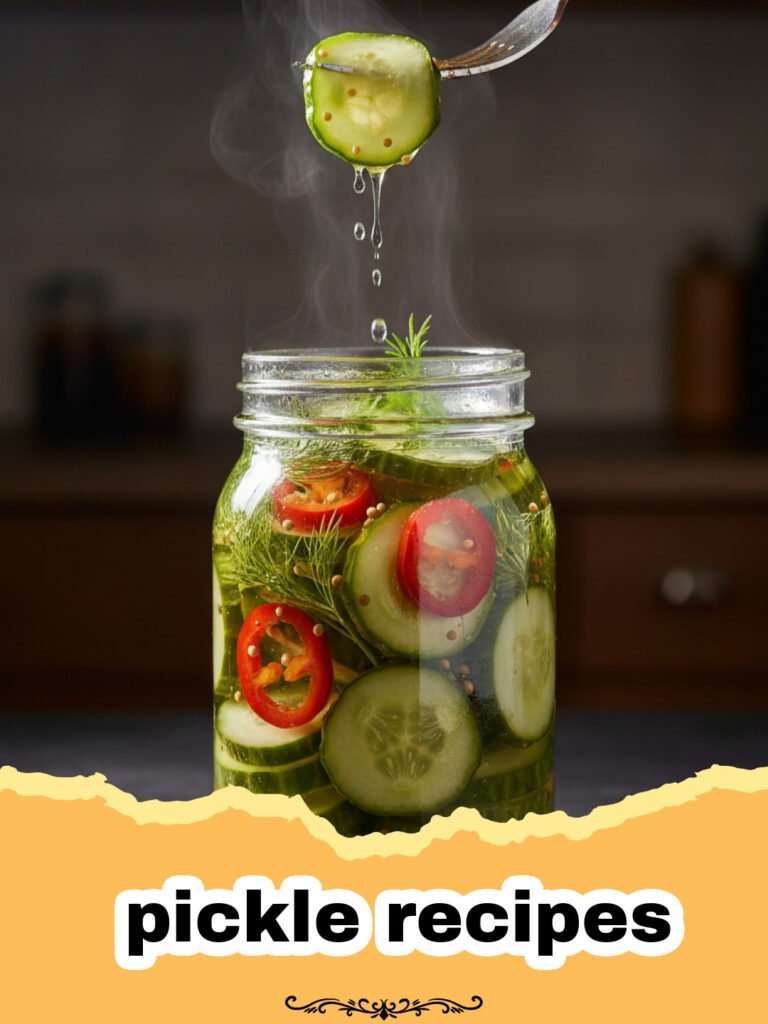
Quick & Easy Classic Dill Pickles
These quick and easy classic dill pickle recipes deliver that satisfying crunch and tangy, garlicky flavor you crave, perfect for any meal or snack.
- Total Time: 30 minutes
- Yield: 2 pints 1x
Ingredients
2 lbs pickling cucumbers, washed and trimmed (kirby or persian work best)
4 sprigs fresh dill, plus extra for jars
4 cloves garlic, peeled and smashed
1 tablespoon black peppercorns
1 teaspoon mustard seeds
2 cups white vinegar (5% acidity)
2 cups water
2 tablespoons pickling salt (non-iodized)
1 tablespoon granulated sugar (optional, for a slight sweetness)
Instructions
Step 1: Prepare Your Cucumbers. Wash your pickling cucumbers thoroughly. Trim off both ends – a small slice at the blossom end is said to help prevent mushiness. You can slice them into rounds, spears, or leave them whole if they’re very small. For extra crispness, soak the sliced cucumbers in a bowl of ice water for 30 minutes while you prepare the brine.
Step 2: Sterilize Your Jars. Wash two pint-sized glass jars and lids in hot, soapy water. Rinse well and place the jars in a pot of boiling water for 10 minutes. Alternatively, run them through a dishwasher on a hot cycle. Let them air dry or dry them quickly in a warm oven.
Step 3: Pack the Jars. Into each sterilized pint jar, add 2 sprigs of fresh dill, 2 smashed garlic cloves, ½ tablespoon of black peppercorns, and ½ teaspoon of mustard seeds. Then, tightly pack the prepared cucumber slices or spears into the jars. The tighter, the better, but don’t bruise them.
Step 4: Prepare the Brine. In a medium saucepan, combine 2 cups of white vinegar, 2 cups of water, 2 tablespoons of pickling salt, and 1 tablespoon of granulated sugar (if using). Bring the mixture to a rolling boil over medium-high heat, stirring until the salt and sugar are completely dissolved.
Step 5: Pour the Brine. Carefully pour the hot brine over the cucumbers in each jar, ensuring the cucumbers are completely submerged. Leave about ½ inch of headspace from the rim of the jar. Tap the jars gently on the counter to release any trapped air bubbles.
Step 6: Seal and Cool. Place the lids firmly on the jars. Allow the jars to cool to room temperature on your counter. Once cooled, transfer them to the refrigerator. These quick dill pickles are best enjoyed after chilling for at least 24-48 hours, allowing the flavors to meld beautifully. They will continue to develop flavor over a week.
Notes
For extra crispness, you can soak your cucumbers in ice water for 30 minutes before slicing. Ensure your jars are sterilized for the best results, even for quick pickling. Store in the refrigerator for up to 3-4 weeks.
- Prep Time: 20 minutes
- Cook Time: 10 minutes
- Category: Side Dishes
- Cuisine: American
Nutrition
- Serving Size: 1/2 cup (approx. 4 slices)
- Calories: 15 kcal
- Sugar: 1 g
- Sodium: 250 mg
- Fat: 0 g
- Saturated Fat: 0 g
- Unsaturated Fat: 0 g
- Trans Fat: 0 g
- Carbohydrates: 3 g
- Fiber: 1 g
- Protein: 1 g
- Cholesterol: 0 mg
Keywords: dill pickles, quick pickles, homemade pickles, pickle recipes, cucumber pickles, easy pickling, canning, side dishes