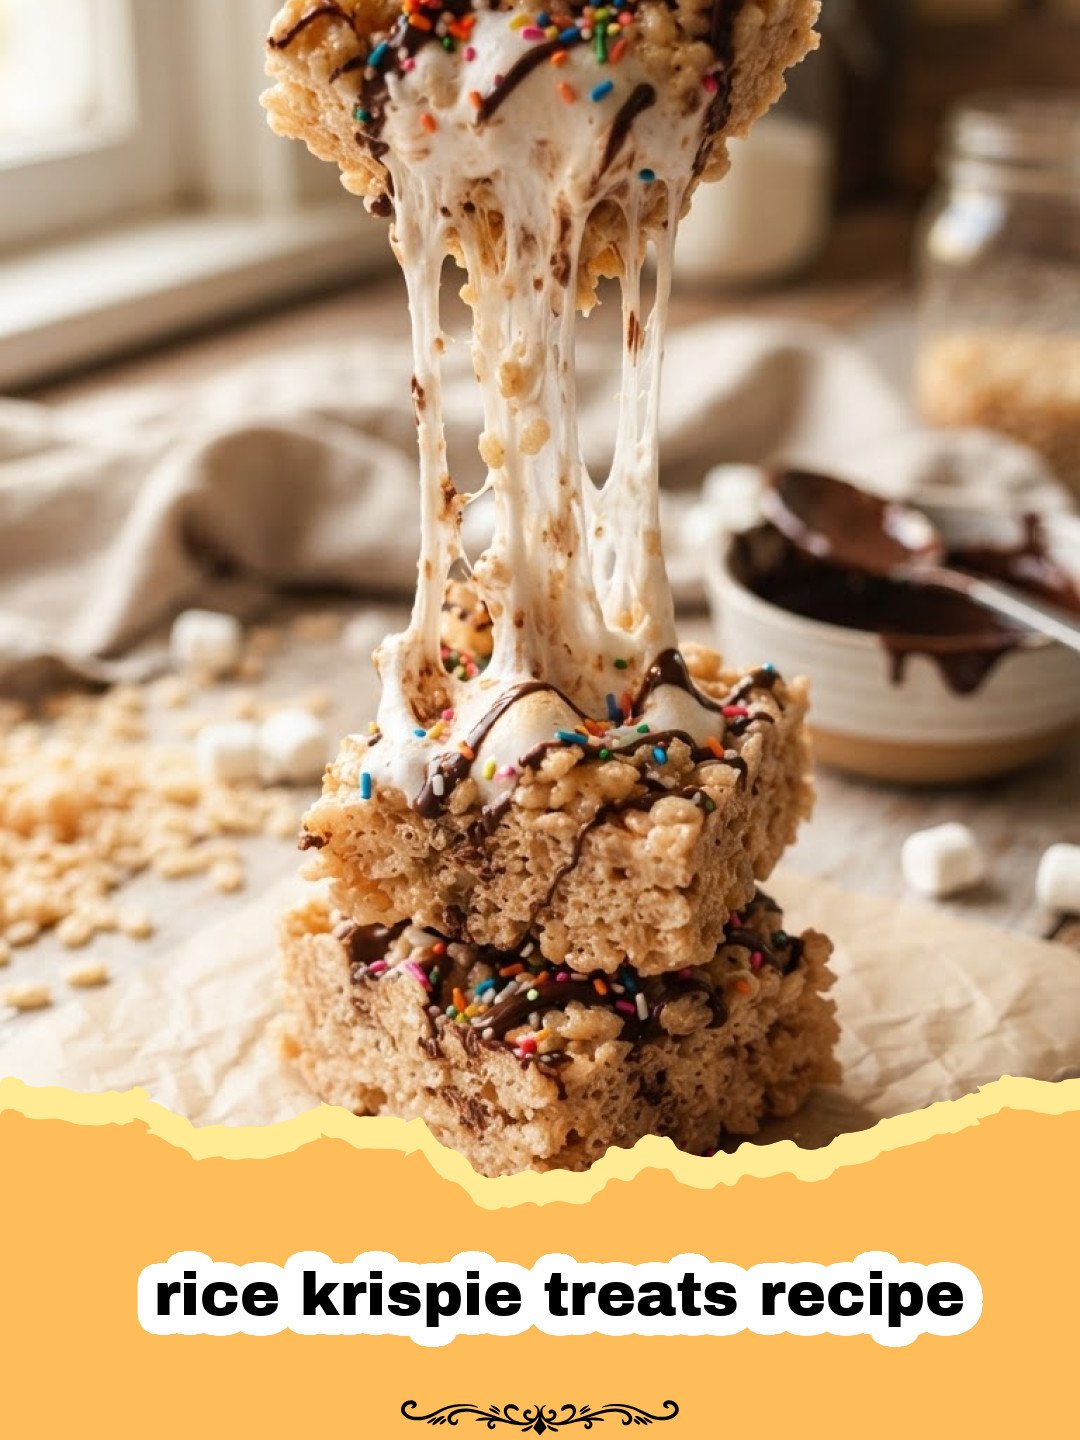
Growing up, some of my fondest childhood memories revolve around the kitchen, and surprisingly, not always about elaborate baking projects. Sometimes, it was the simplest things that left the biggest impression, like the magic of creating a batch of homemade rice krispie treats recipe. I can still vividly recall the sweet, buttery aroma filling our home, signaling that a batch of these glorious, sticky squares was being born. My grandma, with her perpetually flour-dusted hands and a twinkle in her eye, would often whip these up on a whim. There was no special occasion needed; just the joy of making something sweet together. We’d stand on tiptoes, peering into the large pot as the marshmallows melted into a gooey, shimmering cloud, then watch in awe as the crispy rice cereal disappeared into the sticky mass. The hardest part was always waiting for them to cool, but even then, a sneaky finger would often find its way to a warm, delicious corner. This wasn’t just a dessert; it was an experience, a moment of pure, unadulterated happiness. That feeling of nostalgia and simple pleasure is precisely what this perfect rice krispie treats recipe aims to bring back to your kitchen. It’s a timeless classic that transcends generations, promising a little bite of childhood in every perfectly chewy square. Today, I’m thrilled to share my tried-and-true version of this iconic dessert, ensuring you can recreate those cherished moments and flavors right in your own home with this easy rice krispie treats recipe.
Why This Recipe is a Must-Try
- Effortless & Quick: This is a true no-bake wonder! With just a few simple ingredients and minimal hands-on time, you can have a batch of delicious rice krispie treats ready in under 20 minutes from start to finish. Perfect for last-minute cravings or unexpected guests.
- Timeless Crowd-Pleaser: From picky toddlers to seasoned adults, almost everyone has a soft spot for the classic rice krispie treats recipe. It’s a nostalgic treat that always disappears fast at potlucks, parties, and family gatherings.
- Perfect Texture Every Time: Say goodbye to rock-hard or overly sticky treats! Our recipe focuses on the ideal balance of crispy cereal and gooey marshmallow, resulting in squares that are perfectly chewy, light, and satisfyingly soft without being too firm. This rice krispie treats recipe guarantees success.
- Budget-Friendly Ingredients: Made with pantry staples you likely already have, this rice krispie treats recipe is incredibly economical. You don’t need any fancy equipment or expensive components to create something truly delicious.
Key Ingredient Notes
While the rice krispie treats recipe relies on just a few basic ingredients, understanding each one’s role can elevate your treats from good to absolutely phenomenal.
Marshmallows: The Heart of the Gooeyness
The type and freshness of your marshmallows are paramount. We highly recommend using fresh mini marshmallows. Why mini? They melt much faster and more evenly than large ones, leading to a smoother, more consistent marshmallow coating. Stale marshmallows can result in a tougher, less pleasant texture. If you only have large marshmallows, cut them into smaller pieces before melting. For a truly authentic rice krispie treats recipe, don’t skimp on the marshmallow quality – it makes all the difference in achieving that signature chew.
Butter: Flavor and Flexibility
Real unsalted butter is non-negotiable for the best flavor in this rice krispie treats recipe. It adds a rich, creamy depth that margarine simply can’t replicate. The butter also helps prevent the marshmallows from sticking to the pot and aids in creating that perfect, pliable texture. While salted butter can be used, unsalted allows you to control the salt content precisely. A pinch of salt, as we’ll discuss, actually enhances the sweet flavor, making your rice krispie treats pop.
Crispy Rice Cereal: The Crunch Factor
Of course, you can’t have a rice krispie treats recipe without crispy rice cereal! While any brand will work, we find that name-brand cereals tend to hold their crispness a little better when mixed with the warm marshmallow mixture. Ensure your cereal is fresh and not stale, as this will directly impact the final texture of your treats. Avoid pouring the hot marshmallow mixture directly onto the cereal in a thin stream; instead, pour it evenly to prevent clumping and ensure every piece gets coated.
Step-by-Step Guide with Pro Tips
Ready to make the best rice krispie treats recipe you’ve ever tasted? Follow these steps for perfect results every time.
- Step 1: Prepare Your Pan. Lightly grease a 9×13-inch baking pan with butter or non-stick cooking spray. You can also line it with parchment paper, leaving an overhang on the sides, for easy lifting and cutting later. This is a crucial step to ensure your rice krispie treats recipe doesn’t become a sticky mess in the pan.
- Step 2: Melt the Butter and Marshmallows. In a large, heavy-bottomed pot or Dutch oven, melt 1/2 cup (1 stick) of unsalted butter over low heat. Add 10 ounces (about 6 cups) of mini marshmallows. Continue to stir constantly until the marshmallows are completely melted and smooth. The key here is low heat and constant stirring to prevent burning and achieve a perfectly smooth, gooey base for your rice krispie treats recipe. Remove from heat immediately once melted.
- Step 3: Add Vanilla and Salt. Stir in 1 teaspoon of pure vanilla extract and a tiny pinch of salt (about 1/4 teaspoon). The vanilla adds depth of flavor, while the salt, though subtle, beautifully balances the sweetness, enhancing the overall taste of your rice krispie treats recipe.
- Step 4: Incorporate the Cereal. Gently pour 6 cups of crispy rice cereal into the melted marshmallow mixture. Using a buttered spatula or spoon, carefully fold the cereal into the marshmallow until it’s evenly coated. Work quickly but gently to avoid crushing the cereal. This ensures every bite of your rice krispie treats recipe has that wonderful crisp-chewy combination.
- Step 5: Press into Pan. Transfer the mixture to your prepared 9×13-inch pan. Lightly butter your hands or a piece of parchment paper, or spray your spatula with non-stick spray, and gently press the mixture evenly into the pan. Do NOT pack it down too firmly, as this can make your rice krispie treats recipe dense and hard instead of chewy and airy.
- Step 6: Cool and Cut. Allow the treats to cool completely at room temperature for about 1-2 hours before cutting into squares. For faster cooling, you can place them in the refrigerator for 30 minutes, but be careful not to over-chill, which can make them too firm. Once cooled, use the parchment paper overhang to lift the entire slab out of the pan, then cut into 16 squares.
Variations & Serving Suggestions
While the classic rice krispie treats recipe is perfect as is, it’s also a fantastic canvas for creativity! Here are some ideas to make them your own:
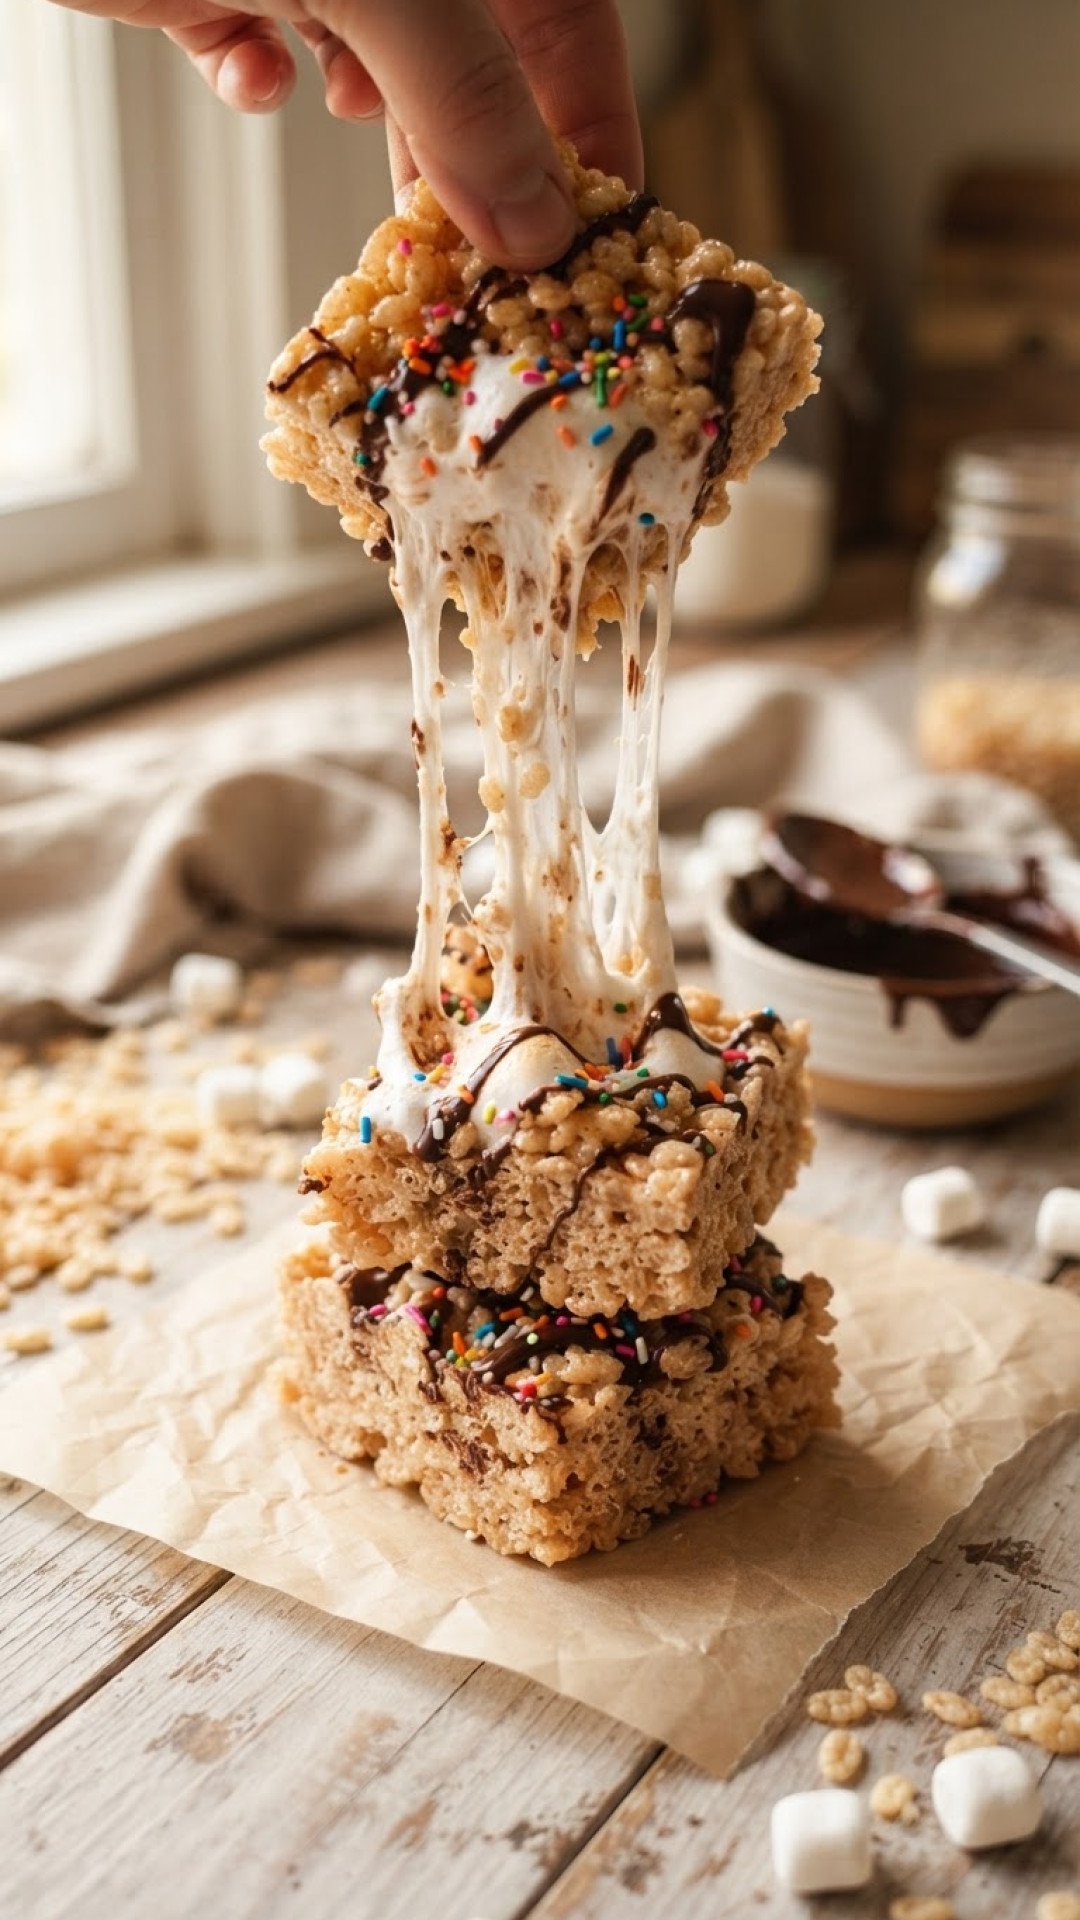
- Chocolate Drizzle: Melt some chocolate chips (milk, dark, or white) and drizzle it over the cooled treats. A sprinkle of sea salt on top of the chocolate can be divine!
- Sprinkles Galore: Mix colorful sprinkles into the cereal mixture before pressing into the pan, or scatter them on top while the treats are still warm.
- Nut Butter Swirl: Swirl a couple of tablespoons of peanut butter or almond butter into the melted marshmallow mixture before adding the cereal for a nutty twist.
- Add-Ins: Fold in miniature chocolate chips, M&M’s, chopped nuts, or even crushed Oreos along with the cereal. Just ensure they are added at the very end to prevent them from melting too much.
- Flavored Extracts: Experiment with different extracts instead of or in addition to vanilla. Almond, peppermint (especially around the holidays), or even a touch of orange extract can create unique flavor profiles for your rice krispie treats recipe.
- Serving Suggestions: These treats are best served at room temperature. They make a fantastic addition to school lunchboxes, party dessert tables, or as a simple, comforting snack with a glass of milk. For another fun, snackable recipe, check out our Ultimate Crispy Garlic Parmesan Kale Chips!
Nutrition Information
| Nutrient | Amount per Serving |
|---|---|
| Calories | 155 kcal |
| Carbohydrates | 30g |
| Cholesterol | 15mg |
| Total Fat | 4.5g |
| Fiber | 0.5g |
| Protein | 1g |
| Saturated Fat | 2.5g |
| Serving Size | 1 square |
| Sodium | 100mg |
| Sugar | 20g |
| Trans Fat | 0.1g |
| Unsaturated Fat | 1.5g |
Conclusion
There you have it – the ultimate guide to creating a truly spectacular rice krispie treats recipe. It’s more than just a simple dessert; it’s a taste of nostalgia, a moment of joy, and a super easy win in the kitchen. Whether you’re making them for a party, a school lunch, or just a quiet evening at home, these perfectly chewy and crispy squares are guaranteed to bring smiles. Don’t be afraid to experiment with variations, but always remember that the classic rice krispie treats recipe stands strong as a beloved favorite. So go ahead, gather your ingredients, and whip up a batch. Relive those childhood memories and create new ones with this timeless treat. And if you’re looking for another comforting classic that reminds you of home, don’t miss our Grandma’s Best Moist Zucchini Bread. Happy treating!
FAQs
What makes Rice Krispie treats chewy and not hard?
The key to chewy rice krispie treats is using fresh marshmallows and not overcooking them. Melt them over low heat until just smooth, then remove from heat immediately. Also, avoid packing the mixture too tightly into the pan; press it down gently.
Can I use different types of marshmallows for this rice krispie treats recipe?
Yes, mini marshmallows are recommended as they melt faster and more evenly, resulting in a smoother mixture. Large marshmallows can also be used but may require a bit more time to melt. Ensure your marshmallows are fresh, as stale ones can lead to tough treats.
How do you prevent rice krispie treats from sticking to your hands or the pan?
To prevent sticking, lightly grease your baking pan with butter or non-stick spray, or line it with parchment paper. When pressing the mixture into the pan, lightly butter your hands, spray your spatula with cooking spray, or dampen your hands with a little water.
How long do homemade rice krispie treats last and how should they be stored?
Homemade rice krispie treats are best enjoyed within 2-3 days for optimal freshness and chewiness. Store them in an airtight container at room temperature. Refrigerating them can make them harder, so it’s generally not recommended unless you prefer a firmer texture.
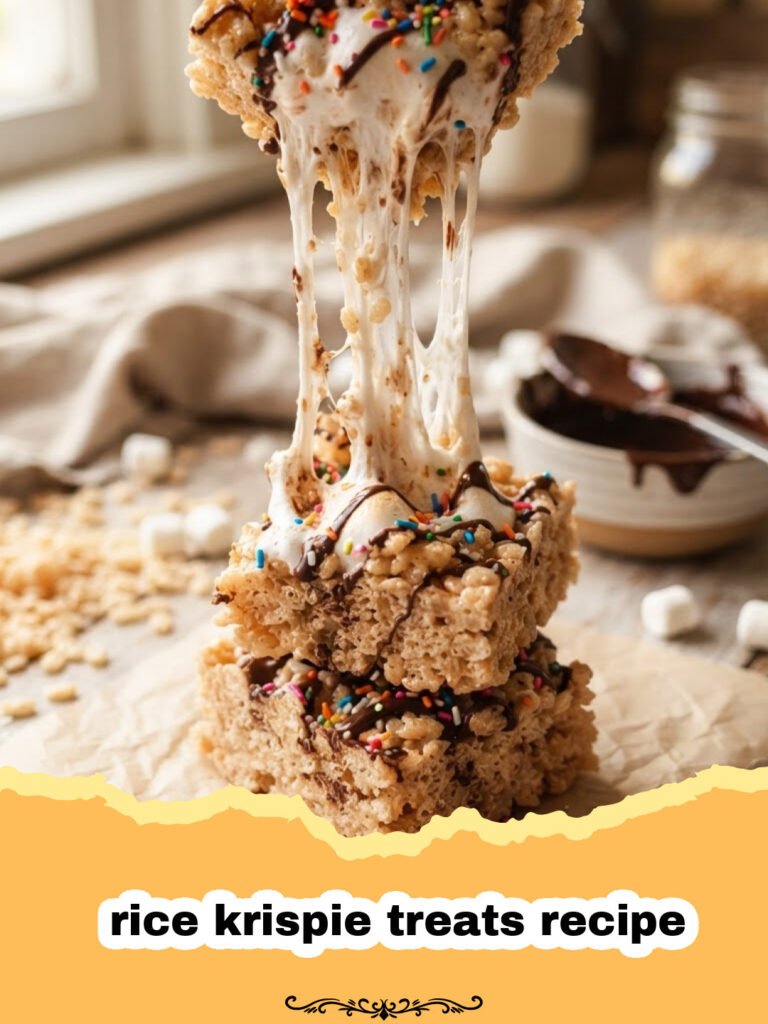
Classic No-Bake Rice Krispie Treats
A nostalgic, easy-to-make, and utterly delicious classic treat. This rice krispie treats recipe promises perfectly crispy, chewy, and gooey squares every time.
- Total Time: 15 minutes
- Yield: 16 squares 1x
Ingredients
1/2 cup (1 stick) unsalted butter
10 ounces (about 6 cups) mini marshmallows
1 teaspoon pure vanilla extract
1/4 teaspoon salt (optional, but recommended)
6 cups crispy rice cereal
Instructions
Step 1: Prepare a 9×13-inch baking pan by lightly greasing it with butter or non-stick cooking spray, or by lining it with parchment paper, leaving an overhang on the sides for easy lifting.
Step 2: In a large, heavy-bottomed pot or Dutch oven, melt the unsalted butter over low heat. Once melted, add the mini marshmallows. Stir constantly until the marshmallows are completely melted and smooth. Immediately remove the pot from the heat.
Step 3: Stir in the pure vanilla extract and the optional salt into the melted marshmallow mixture until well combined.
Step 4: Gently pour the crispy rice cereal into the marshmallow mixture. Using a buttered spatula or spoon, carefully fold the cereal into the marshmallow until it is evenly coated. Work quickly but gently to avoid crushing the cereal.
Step 5: Transfer the mixture to your prepared 9×13-inch pan. Lightly butter your hands or a piece of parchment paper, or spray your spatula with non-stick spray, and gently press the mixture evenly into the pan. Do not pack it down too firmly.
Step 6: Allow the rice krispie treats to cool completely at room temperature for about 1-2 hours. Once cooled, use the parchment paper overhang to lift the entire slab out of the pan, then cut into 16 squares. Store in an airtight container at room temperature.
Notes
For the best chewiness, always use fresh mini marshmallows. Do not overcook the marshmallows, and avoid pressing the mixture too firmly into the pan to ensure a soft, airy texture. Once cooled and cut, you can store your delightful rice krispie treats recipe squares in an airtight container. We love using durable Basics Glass Food Storage for freshness!
- Prep Time: 10 minutes
- Cook Time: 5 minutes
- Category: Baked Goods
- Cuisine: American
Nutrition
- Serving Size: 1 square
- Calories: 155 kcal
- Sugar: 20g
- Sodium: 100mg
- Fat: 4.5g
- Saturated Fat: 2.5g
- Unsaturated Fat: 1.5g
- Trans Fat: 0.1g
- Carbohydrates: 30g
- Fiber: 0.5g
- Protein: 1g
- Cholesterol: 15mg
Keywords: rice krispie treats, no bake dessert, marshmallow treats, easy dessert, classic snack, kid-friendly dessert, crispy treats, homemade treats, dessert recipe