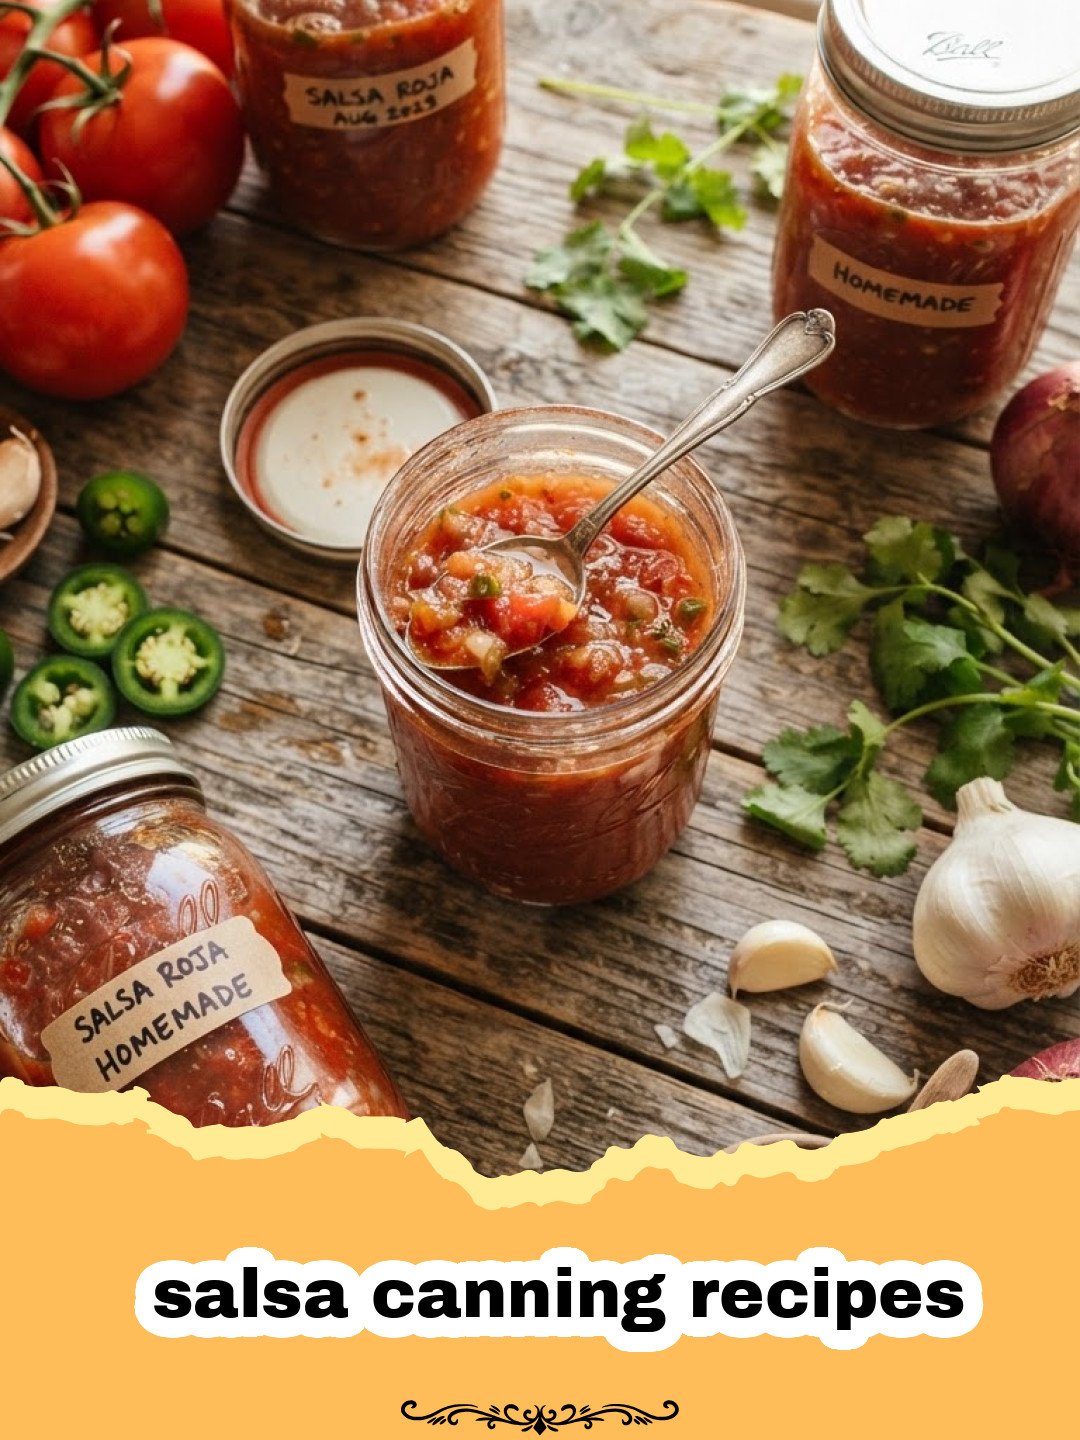
Searching for the perfect salsa canning recipes is a journey that every home gardener eventually embarks upon, usually right around the time the tomato plants start sagging under the weight of their own bounty. I remember my first year of serious gardening; I was practically drowning in red, ripe fruit. My kitchen counters were hidden beneath layers of Roma tomatoes and piles of peppers. That was the year I discovered the magic of salsa canning recipes, transforming a fleeting summer harvest into a year-long celebration of flavor. There is something profoundly satisfying about hearing that rhythmic ‘pop’ of a sealing jar, knowing that you’ve captured the very essence of sunshine to enjoy on a snowy January afternoon with a bowl of chips. This recipe is the culmination of years of tweaking, tasting, and testing to ensure it is the perfect balance of heat, tang, and sweetness.
Why This Recipe is a Must-Try
- Safety First: These salsa canning recipes are designed with the correct acidity levels for safe water bath canning, ensuring your pantry stays stocked and safe.
- Unbeatable Freshness: Unlike store-bought versions, you control the quality of every single vegetable that goes into the jar.
- Perfect Texture: By following our specific prep methods, you avoid the ‘watery’ salsa mistake that plagues many beginners.
- Versatility: This base recipe works beautifully as a dip, a taco topping, or a flavor booster for soups and stews.
Key Ingredient Notes
When it comes to salsa canning recipes, the quality of your produce is everything. You cannot hide subpar ingredients in a jar; the canning process actually intensifies the flavors. First, let’s talk about the tomatoes. For a thick, hearty salsa, I highly recommend using Roma or plum tomatoes. They have more flesh and less water than slicing tomatoes. If you find yourself with an abundance of tomatoes, you might also want to check out The Ultimate Slow-Roasted Herb Garlic Roma Tomatoes for a different way to preserve them. Second, the acid component is non-negotiable. Because tomatoes are often on the edge of the pH scale required for safe canning, we add vinegar or bottled lime juice to ensure the environment is acidic enough to prevent spoilage. Finally, the peppers. You can mix and match jalapeños, bell peppers, and even habaneros for heat, but always maintain the total volume required by the recipe to keep the chemistry balanced.
Step-by-Step Guide with Pro Tips
Mastering salsa canning recipes requires a bit of patience and attention to detail. Start by washing all your produce thoroughly. I find that prepping all my vegetables at once—the ‘mise en place’—makes the process much smoother. Before you begin the heavy chopping, you might want to organize your workspace using Basics Glass Food Storage containers to keep your diced onions, peppers, and garlic separate until it’s time to hit the pot. For the tomatoes, a quick blanch in boiling water followed by an ice bath makes peeling a breeze. Once peeled, core and seed them to prevent a watery consistency. Combine your vegetables in a large, non-reactive pot. Stainless steel is best here; avoid aluminum, as the acid in the salsa can react with it and create a metallic taste.
Simmer the mixture slowly. This allows the flavors to meld and the liquid to reduce slightly. While the salsa simmers, prepare your canning jars. Sterilize them in boiling water and keep them warm until ready to fill. When filling, leave exactly 1/2 inch of headspace at the top of the jar. This space is crucial for creating a vacuum seal during the cooling process. Wipe the rims of the jars with a clean, damp cloth to ensure no food residue interferes with the seal. Place the lids on and screw the bands to finger-tight. Process the jars in a boiling water bath for the duration specified in the recipe. Once finished, let the jars sit undisturbed for 24 hours. If you have extra tomatoes that didn’t make the cut for canning, you can use them up in The Irresistible Joy of Tomato Smash Pasta for a quick and delicious dinner.
Variations & Serving Suggestions
Once you have mastered the basics of salsa canning recipes, you can start experimenting with flavor profiles. For a ‘Salsa Verde’ twist, substitute tomatillos for half of the tomatoes. If you prefer a smokier flavor, try roasting your peppers and onions on the grill before dicing them. For a sweeter version, some canners like to add finely diced mango or pineapple, though you must ensure the acidity remains high. When it comes to serving, this salsa is a superstar. Beyond the standard tortilla chip, try it over grilled chicken, mixed into scrambled eggs, or as a base for a spicy vinaigrette. It also makes a fantastic hostess gift—just add a cute ribbon and a custom label!
Nutrition Information
| Metric | Value |
|---|---|
| Calories | 25 kcal |
| CarbohydrateContent | 5g |
| CholesterolContent | 0mg |
| FatContent | 0.2g |
| FiberContent | 1.5g |
| ProteinContent | 1g |
| SaturatedFatContent | 0g |
| ServingSize | 2 tbsp |
| SodiumContent | 150mg |
| SugarContent | 3g |
| TransFatContent | 0g |
| UnsaturatedFatContent | 0.1g |
In conclusion, diving into the world of salsa canning recipes is one of the most rewarding ways to spend a summer afternoon. Not only do you save money and reduce food waste, but you also create a product that is vastly superior to anything you can find on a supermarket shelf. Every time you open a jar, you’ll be transported back to the warmth of the garden. Happy canning!
FAQs
Can I use any type of tomato for salsa canning recipes?
While you can use any variety, Roma or paste tomatoes are preferred for salsa canning recipes because they have more flesh and less water, resulting in a thicker, less watery salsa.
Is it safe to reduce the amount of vinegar or lime juice?
No, the acid is essential for safety in water bath canning. It ensures the pH level is low enough to prevent the growth of harmful bacteria like botulism.
How long does canned salsa last in the pantry?
When stored in a cool, dark place, properly sealed jars of salsa are best used within 12 to 18 months for peak flavor and quality.
Can I add extra onions or peppers to the recipe?
For canning safety, you should not increase the total volume of low-acid vegetables (like onions and peppers) relative to the tomatoes and acid, as this could raise the pH level above the safety threshold.
Classic Garden Zesty Salsa for Canning
A perfectly balanced, safe, and delicious salsa recipe specifically designed for water bath canning. Captures the fresh taste of summer in every jar.
- Total Time: 1 hour 45 minutes
- Yield: 6 pints 1x
Ingredients
7 lbs Roma tomatoes, peeled, cored, and chopped
2 lbs onions, finely diced
1 lb bell peppers, seeded and diced
1/2 lb jalapeño peppers, seeded and finely minced
1 cup bottled lime juice or vinegar (5% acidity)
3 cloves garlic, minced
2 tbsp salt
1/2 cup fresh cilantro, chopped
1 tsp ground cumin
1 tsp sugar (optional)
Instructions
Step 1: Prepare the tomatoes by blanching them in boiling water for 30-60 seconds until skins crack, then immediately dipping them into an ice bath. Peel, core, and chop the tomatoes, placing them in a large stainless steel pot.
Step 2: Add the diced onions, bell peppers, jalapeños, and minced garlic to the pot with the tomatoes.
Step 3: Stir in the lime juice (or vinegar), salt, cumin, and sugar. The acid is crucial for safe canning.
Step 4: Bring the mixture to a boil over medium-high heat, stirring frequently to prevent scorching.
Step 5: Reduce heat and simmer for 20-30 minutes until the salsa reaches your desired consistency. Stir in the fresh cilantro during the last 5 minutes of cooking.
Step 6: While the salsa simmers, sterilize your pint jars and lids in boiling water.
Step 7: Ladle the hot salsa into the warm jars, leaving 1/2 inch of headspace at the top.
Step 8: Remove air bubbles by sliding a non-metallic spatula around the inside of the jar. Wipe the rims clean with a damp cloth.
Step 9: Center the lids on the jars and screw on the bands until finger-tight.
Step 10: Process the jars in a boiling water bath canner for 15 minutes (adjusting for altitude if necessary).
Step 11: Remove jars from the canner and place them on a towel-lined surface. Let them sit undisturbed for 24 hours before checking the seals.
Notes
Always use bottled lime juice or vinegar with at least 5% acidity for canning safety. Do not reduce the amount of acid in the recipe.
- Prep Time: 1 hour
- Cook Time: 30 minutes
- Category: Appetizers & Snacks
- Cuisine: Mexican-American
Nutrition
- Serving Size: 2 tbsp
- Calories: 25 kcal
- Sugar: 3g
- Sodium: 150mg
- Fat: 0.2g
- Saturated Fat: 0g
- Unsaturated Fat: 0.1g
- Trans Fat: 0g
- Carbohydrates: 5g
- Fiber: 1.5g
- Protein: 1g
- Cholesterol: 0mg
Keywords: salsa canning recipes, homemade salsa, water bath canning, preserving tomatoes, garden fresh salsa