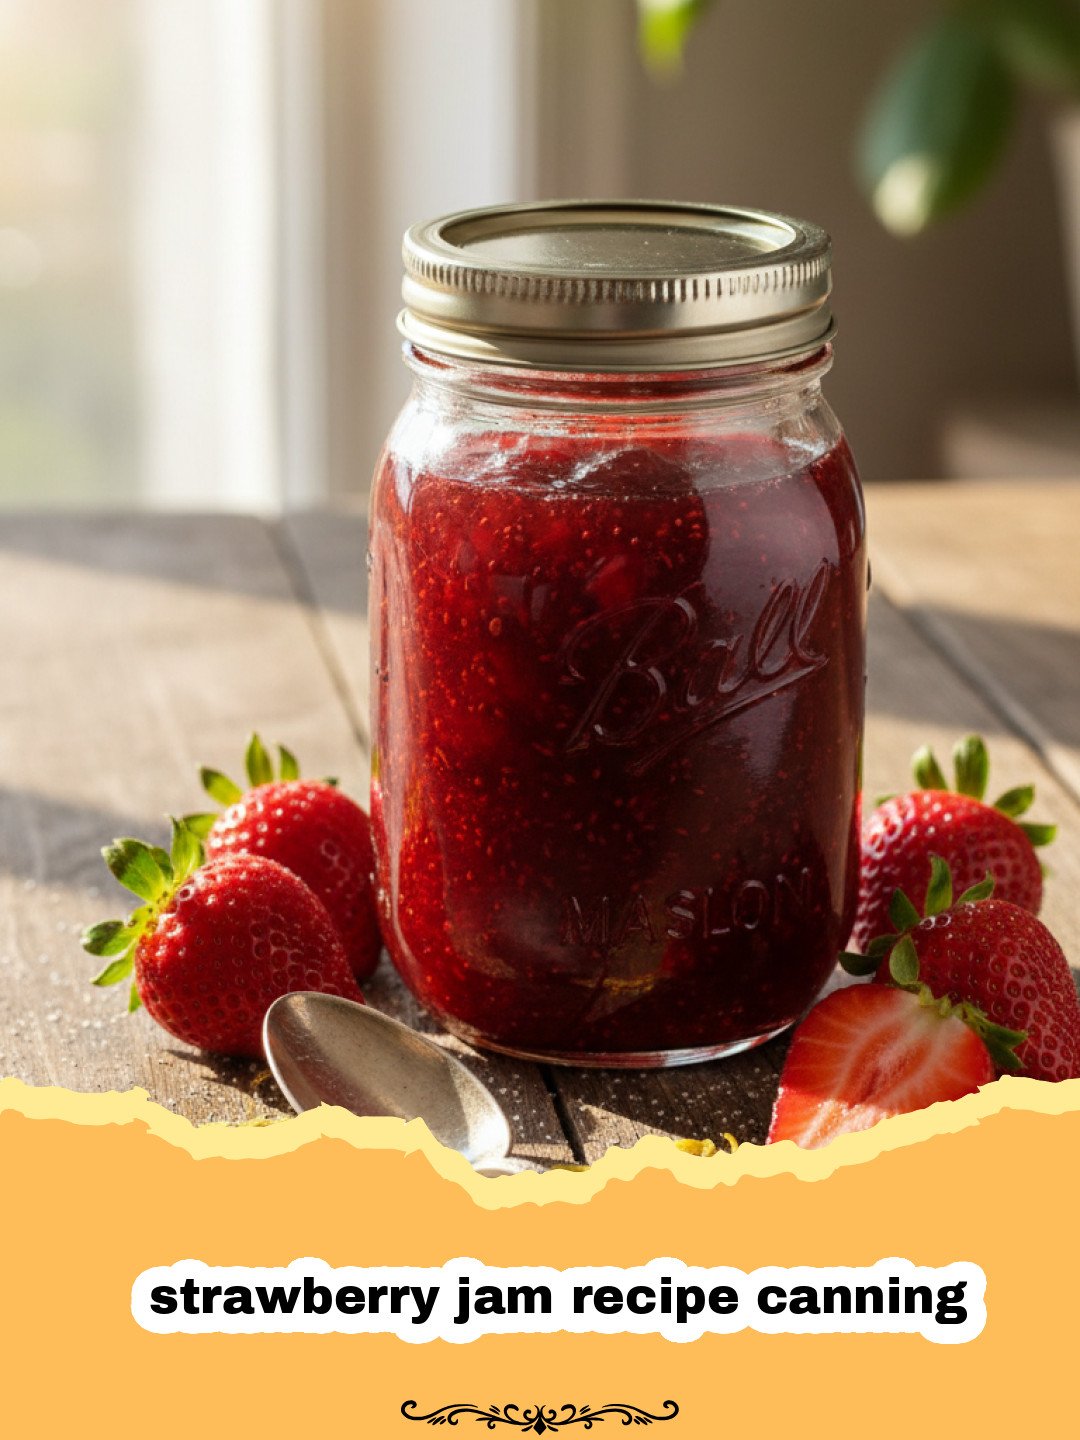
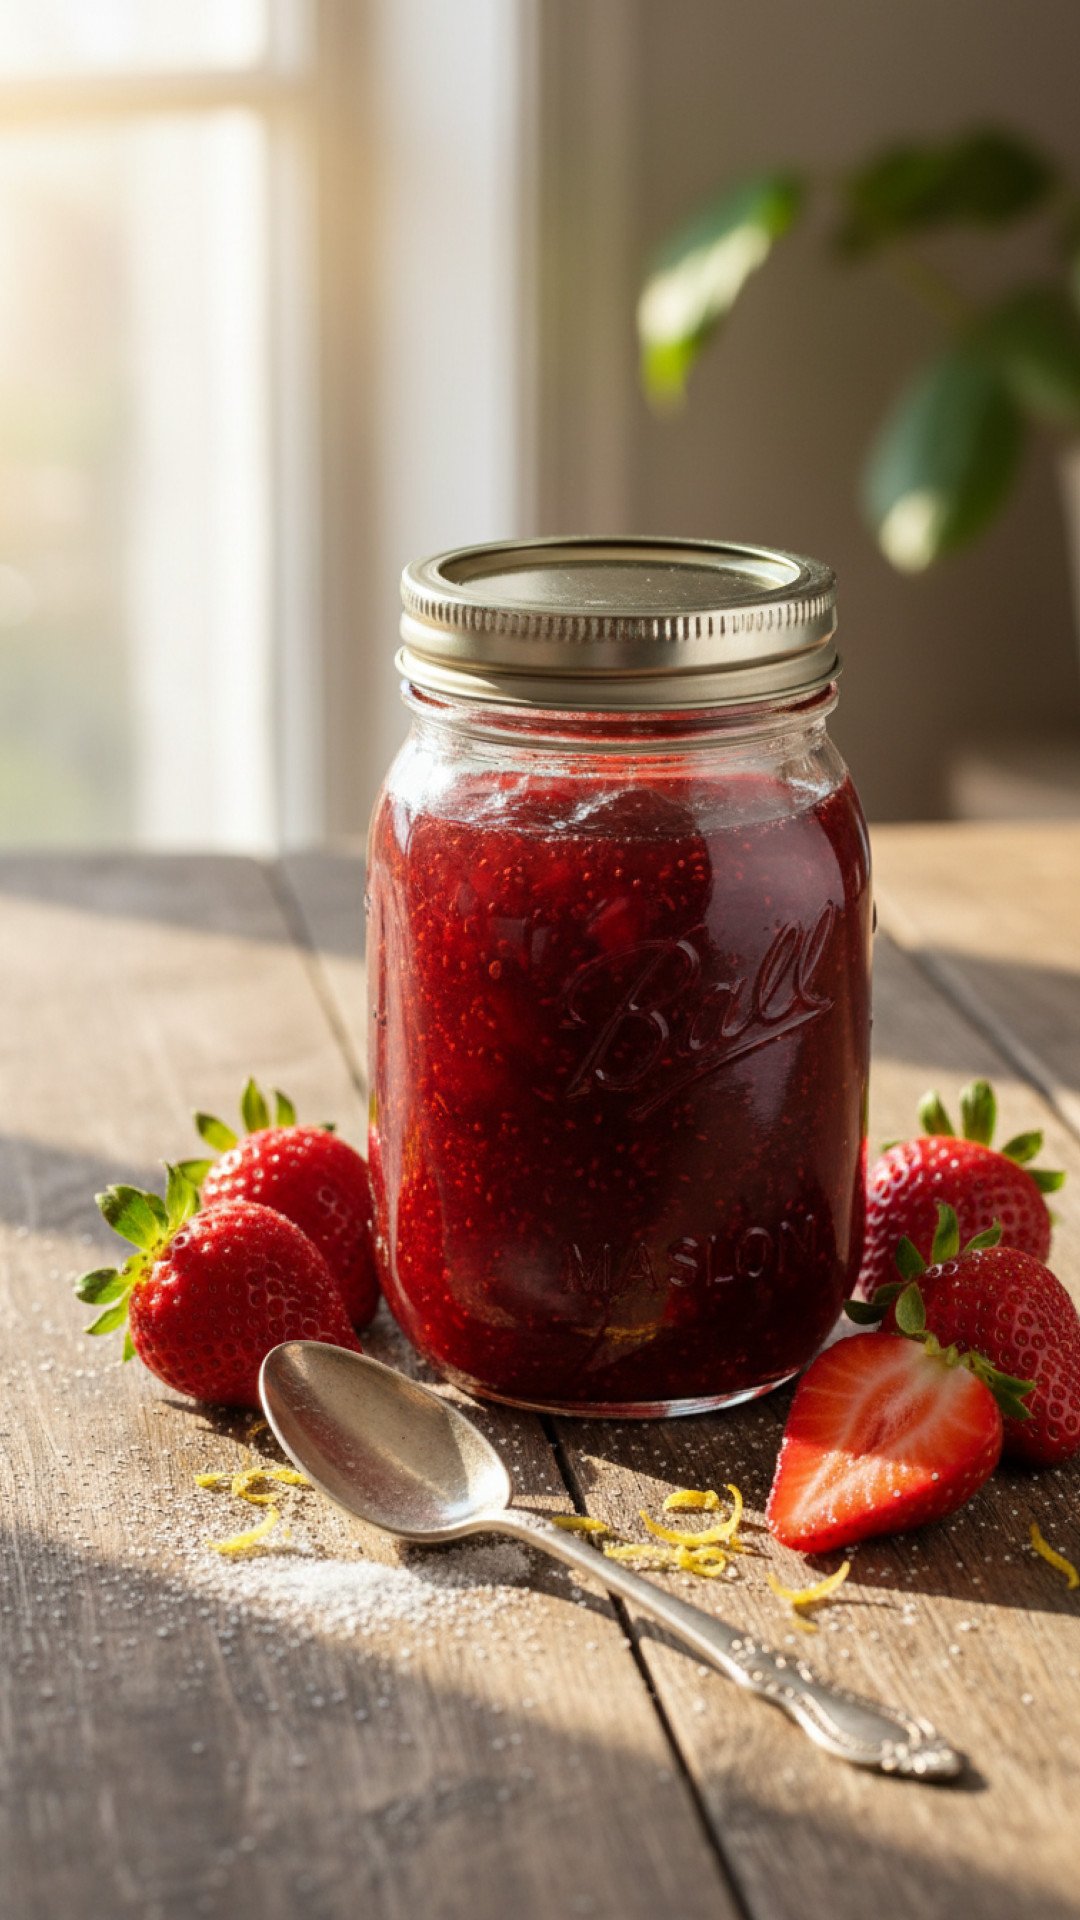
This strawberry jam recipe canning process is a beloved tradition that captures the fleeting essence of summer in every vibrant, ruby-red jar. There is something deeply satisfying about standing in a sun-drenched kitchen, the air thick with the aroma of simmering berries and sugar, knowing that you are preserving a piece of the season to enjoy months later. My grandmother used to say that making jam was like bottling sunshine, and every time I hear the satisfying ‘ping’ of a jar sealing, I can’t help but agree. This strawberry jam recipe canning method is time-tested and results in a preserve that is infinitely superior to anything you can find on a grocery store shelf. Whether you are an experienced canner or a curious beginner, this strawberry jam recipe canning guide will walk you through every detail to ensure success.
Why This Recipe is a Must-Try
- Pure Flavor: Unlike store-bought versions that are often diluted with corn syrup, this strawberry jam recipe canning favorite focuses on the natural sweetness of peak-season fruit.
- No Artificial Preservatives: You control exactly what goes into your jars, making this strawberry jam recipe canning option a healthier choice for your family.
- Gifts from the Heart: A jar of homemade jam is a thoughtful, handmade gift that friends and neighbors will actually use and cherish.
- Perfect Texture: Following this strawberry jam recipe canning approach ensures a spreadable, glossy consistency that isn’t overly rubbery.
Key Ingredient Notes
The success of your strawberry jam recipe canning project depends heavily on the quality of your ingredients. First and foremost, you need the freshest strawberries possible. Look for berries that are fully red, fragrant, and firm. Avoid any that are mushy or have signs of mold, as one bad berry can affect the flavor of the entire batch. Interestingly, slightly under-ripe berries contain more natural pectin, which helps the jam set, but fully ripe berries provide the best flavor. We recommend a mix of mostly ripe berries with a handful of slightly firmer ones for the ideal strawberry jam recipe canning balance.
Sugar is another critical component in this strawberry jam recipe canning guide. It does more than just sweeten the jam; it acts as a preservative and helps the pectin form a gel. While it might be tempting to reduce the sugar, doing so can lead to a runny jam that doesn’t shelf-stable safely. For those looking for different techniques, you might compare this to The Easiest Strawberry Freezer Jam Recipe, which uses a different preservation method. Finally, lemon juice is essential. It provides the acidity needed for the pectin to work its magic and helps prevent the growth of bacteria during the strawberry jam recipe canning process.
Step-by-Step Guide with Pro Tips
Preparing for your strawberry jam recipe canning adventure requires a bit of organization. Before you even touch the fruit, ensure your jars are sterilized and your canning pot is ready. If you are looking for high-quality containers for the finished product, these Basics Glass Food Storage jars are excellent for short-term use, though traditional canning jars are required for the actual water bath process. When mashing your berries, decide if you like a smooth jam or a chunky one. I prefer a bit of texture, so I use a potato masher rather than a food processor for this strawberry jam recipe canning method.
The cooking phase is where the strawberry jam recipe canning magic happens. You must bring the mixture to a full rolling boil—a boil that doesn’t stop when you stir it. This high heat is what activates the pectin. If you find a lot of foam rising to the top, don’t worry. You can skim it off with a spoon or add a tiny half-teaspoon of butter to the pot to reduce foaming. This is a classic pro tip for any strawberry jam recipe canning enthusiast. Once the jam reaches its setting point, you must work quickly to fill the jars, leaving exactly 1/4 inch of headspace. This headspace is vital for creating a vacuum seal during the strawberry jam recipe canning water bath processing.
Variations & Serving Suggestions
Once you have mastered the basic strawberry jam recipe canning technique, you can get creative. For a sophisticated twist, add a splash of balsamic vinegar and a crack of black pepper during the final minutes of boiling. This enhances the berry flavor beautifully. Another popular variation in the strawberry jam recipe canning community is adding a scraped vanilla bean or a teaspoon of high-quality vanilla extract. If you find yourself with extra berries that didn’t make it into the jam pot, consider using them for The Ultimate Fresh Strawberry Pie Recipe.
As for serving, this jam is a star on warm biscuits, crusty sourdough, or stirred into Greek yogurt. It also makes a fantastic filling for thumbprint cookies or a glaze for roasted pork. The versatility of this strawberry jam recipe canning result is truly endless. Because this strawberry jam recipe canning method is shelf-stable, you can stock your pantry for the winter, ensuring that the taste of June is never more than a jar-opening away.
Nutrition Information
| Nutrient | Amount per Serving |
|---|---|
| Calories | 50 kcal |
| Carbohydrate Content | 13 g |
| Cholesterol Content | 0 mg |
| Fat Content | 0 g |
| Fiber Content | 0.5 g |
| Protein Content | 0.1 g |
| Saturated Fat Content | 0 g |
| Serving Size | 1 tablespoon |
| Sodium Content | 1 mg |
| Sugar Content | 12 g |
| Trans Fat Content | 0 g |
| Unsaturated Fat Content | 0 g |
Conclusion
In conclusion, taking the time to complete this strawberry jam recipe canning process is a gift to your future self. There is a profound sense of accomplishment in seeing those beautiful jars lined up on the counter. We hope this strawberry jam recipe canning guide inspires you to head to the berry patch and start your own preserving tradition. Happy canning!
FAQs
How long does strawberry jam last after canning?
When processed correctly in a water bath and stored in a cool, dark place, canned strawberry jam will maintain peak quality for about 12 to 18 months. Once opened, it should be stored in the refrigerator and consumed within 3-4 weeks.
Why didn’t my strawberry jam set?
Jam might not set if the sugar-to-fruit ratio was incorrect, if the mixture wasn’t boiled hard enough, or if the lemon juice was omitted. If your jam is runny, you can often re-cook it with a bit more pectin and sugar to achieve the desired consistency.
Do I have to use a water bath for strawberry jam recipe canning?
Yes, for shelf-stable results, a boiling water bath is necessary to kill potential pathogens and create a vacuum seal. If you skip this step, the jam must be stored in the refrigerator or freezer.
Classic Homemade Strawberry Jam
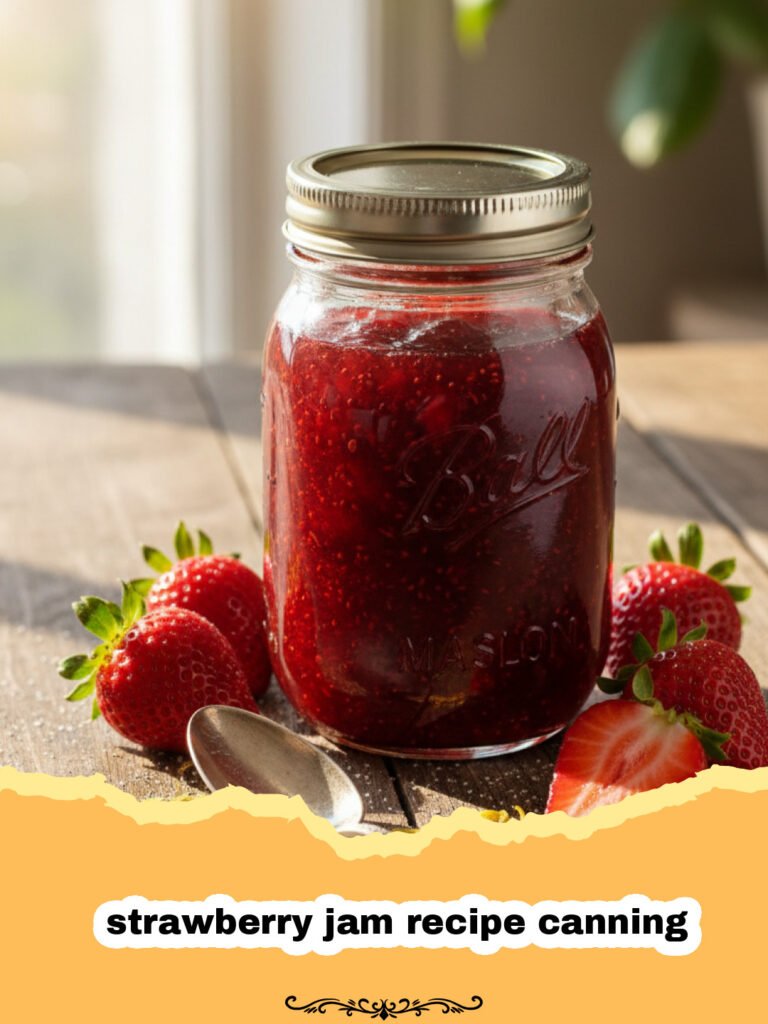
A traditional, full-sugar strawberry jam recipe for canning that results in a perfect set and vibrant flavor every time.
- Total Time: 1 hour
- Yield: 8 half-pint jars 1x
Ingredients
5 cups crushed strawberries (about 5 lbs of fresh berries)
7 cups granulated sugar
1/4 cup lemon juice
1 box (1.75 oz) powdered fruit pectin
1/2 tsp butter (optional, to reduce foaming)
Instructions
Step 1: Prepare your canning equipment by washing jars, lids, and rings in hot, soapy water. Keep the jars warm in a large pot of simmering water (the canner) until ready to use.
Step 2: Wash, hull, and crush the strawberries one layer at a time using a potato masher until you have exactly 5 cups of crushed fruit.
Step 3: In a large, heavy-bottomed pot, combine the crushed strawberries, lemon juice, and the powdered pectin. Stir well until the pectin is fully dissolved.
Step 4: Bring the mixture to a full rolling boil over high heat, stirring constantly to prevent burning.
Step 5: Stir in the sugar all at once. Add the butter if using to minimize foam. Return the mixture to a full rolling boil and boil hard for exactly 1 minute, stirring constantly.
Step 6: Remove the pot from the heat and skim off any remaining foam with a metal spoon. Quickly ladle the hot jam into the warm jars, leaving 1/4 inch of headspace at the top.
Step 7: Wipe the rims of the jars with a clean, damp cloth. Center the lids on the jars and screw the bands on until fingertip tight. Process in a boiling water canner for 10 minutes (adjust for altitude).
Step 8: Remove jars from the canner and place them on a towel-lined counter to cool for 24 hours without moving. Check the seals by pressing the center of the lid; it should not pop back.
Notes
Ensure you use a large enough pot as the mixture will foam up significantly during the hard boil phase.
- Prep Time: 30 minutes
- Cook Time: 30 minutes
- Category: How To
- Cuisine: American
Nutrition
- Serving Size: 1 tablespoon
- Calories: 50 kcal
- Sugar: 12 g
- Sodium: 1 mg
- Fat: 0 g
- Saturated Fat: 0 g
- Unsaturated Fat: 0 g
- Trans Fat: 0 g
- Carbohydrates: 13 g
- Fiber: 0.5 g
- Protein: 0.1 g
- Cholesterol: 0 mg
Keywords: strawberry jam recipe canning, homemade jam, canning strawberries, preserve recipes, fruit preserves