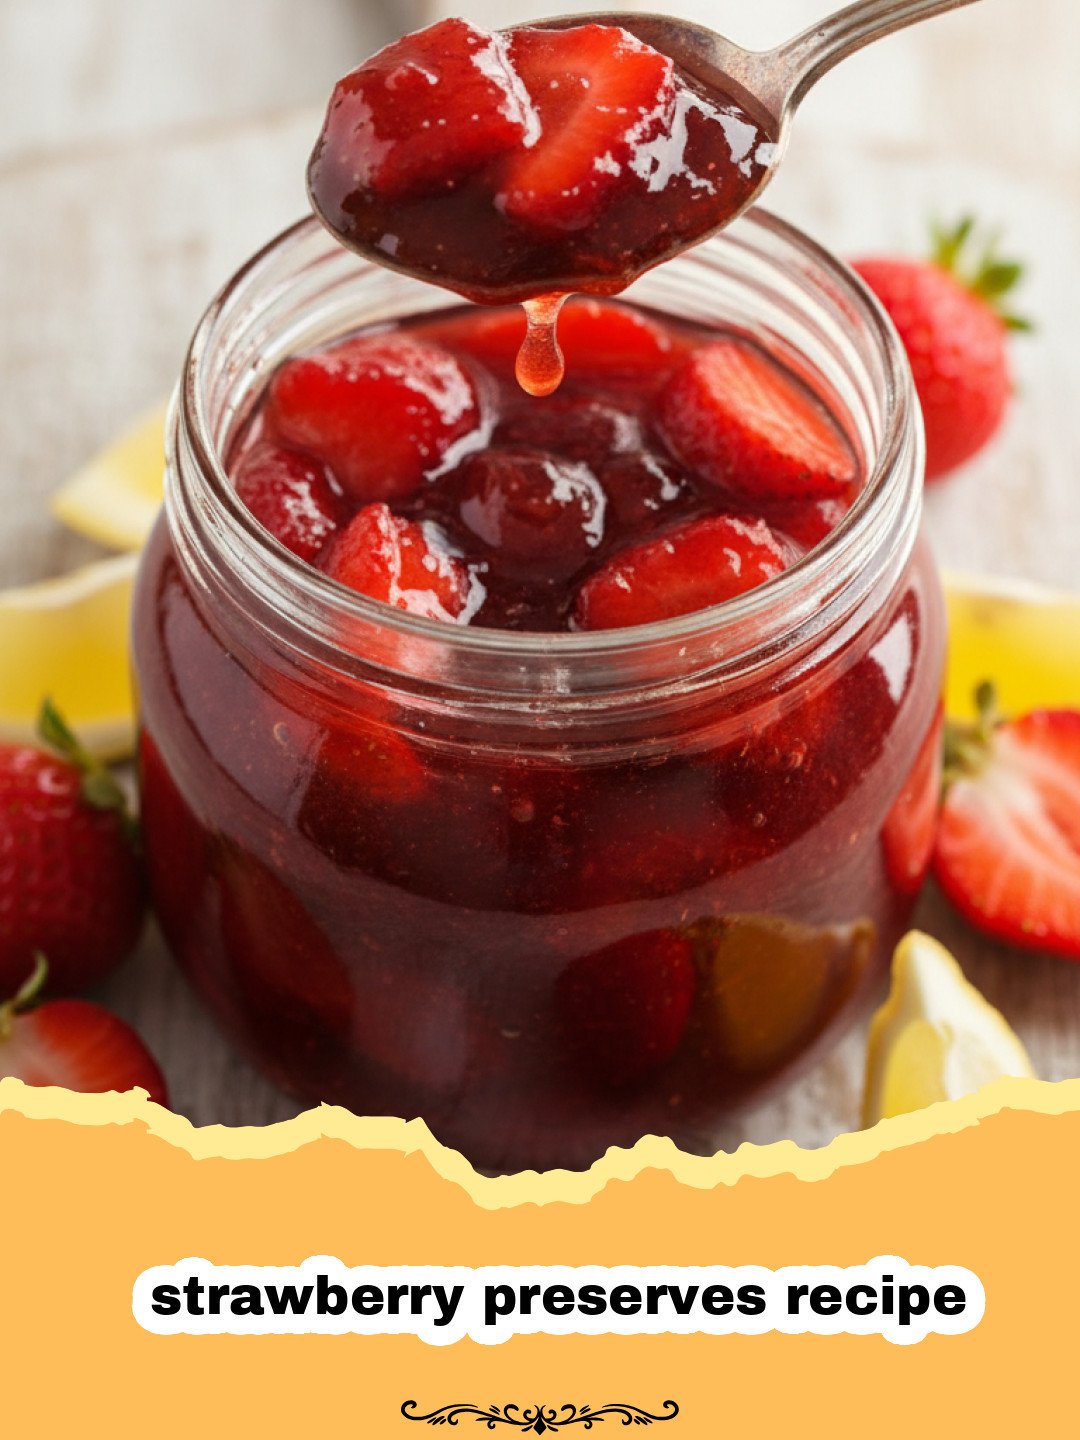
There’s something truly magical about a homemade strawberry preserves recipe. For me, it transports me straight back to my grandmother’s sun-drenched kitchen. I can still close my eyes and smell the sweet, simmering fruit, hear the gentle pop of canning jars, and feel the sticky warmth of a freshly made batch on a piece of toasted bread. Grandma wasn’t just making jam; she was bottling sunshine, preserving memories, and sharing her love. As a child, I’d eagerly help hull the berries, my fingers stained crimson, waiting patiently for that first taste. This isn’t just about cooking; it’s about connecting to a legacy, a simpler time, and the pure joy of creating something delicious from scratch. That’s why I’m so excited to share my go-to strawberry preserves recipe with you today. It’s a culinary journey that’s surprisingly easy and incredibly rewarding.
Making your own strawberry preserves recipe from scratch allows you to capture the peak freshness of summer berries and enjoy them long after the season ends. Forget the bland, overly sweet store-bought versions; this homemade strawberry preserves recipe bursts with pure, unadulterated strawberry flavor, a perfect balance of sweetness and tang. It’s a versatile staple that elevates everything from your morning toast to elegant desserts, and once you try it, you’ll never go back.
Why This Strawberry Preserves Recipe is a Must-Try
- Unbeatable Fresh Flavor: Store-bought preserves simply can’t compare to the vibrant, intense taste of homemade. Our strawberry preserves recipe uses fresh, ripe berries, ensuring maximum flavor.
- Simple, Wholesome Ingredients: You only need a few basic items – primarily fresh strawberries, sugar, and lemon juice. No artificial additives or high-fructose corn syrup here, just pure goodness. This particular strawberry preserves recipe keeps things beautifully straightforward.
- Customizable Sweetness: While our recipe provides a perfect balance, making it yourself means you have control over the sugar content. Adjust slightly to your preference, though remember sugar is crucial for setting and preserving.
- Perfect Gift Idea: Jarred homemade strawberry preserves make thoughtful, delicious, and deeply personal presents for any occasion. Wrap a pretty ribbon around a jar of this delightful strawberry preserves recipe, and you’ve got a gift from the heart.
- Sense of Accomplishment: There’s immense satisfaction in creating something so delicious and beautiful from scratch. Master this easy strawberry preserves recipe, and you’ll feel like a kitchen wizard!
Key Ingredient Notes for Your Strawberry Preserves Recipe
The success of any great strawberry preserves recipe hinges on the quality and understanding of its core ingredients. Here’s what you need to know:
- Strawberries: This is the star of our strawberry preserves recipe, so choose wisely! Look for ripe, firm, and deeply red berries. They should be fragrant and free of mold or bruises. Organic berries often have a more intense flavor. Avoid under-ripe berries, as they lack pectin and flavor, and overripe ones, which can lead to a mushy texture. If you can pick them yourself, even better – nothing beats fresh-from-the-farm berries for this strawberry preserves recipe.
- Granulated Sugar: More than just a sweetener, sugar plays several critical roles in making a successful strawberry preserves recipe. It helps to extract moisture from the fruit, creates the lovely glossy texture, and acts as a natural preservative. The ratio of sugar to fruit is important for achieving the right set and ensuring the preserves last. While it might seem like a lot, it’s essential for both flavor and shelf stability.
- Lemon Juice: Do not skip the lemon juice in this strawberry preserves recipe! It’s not just for brightening the flavor (though it certainly does that beautifully). Lemon juice provides the necessary acidity to activate the natural pectin present in strawberries. Pectin is what helps your preserves gel and set properly. Without it, you’d end up with strawberry syrup, not preserves. Freshly squeezed lemon juice is always best.
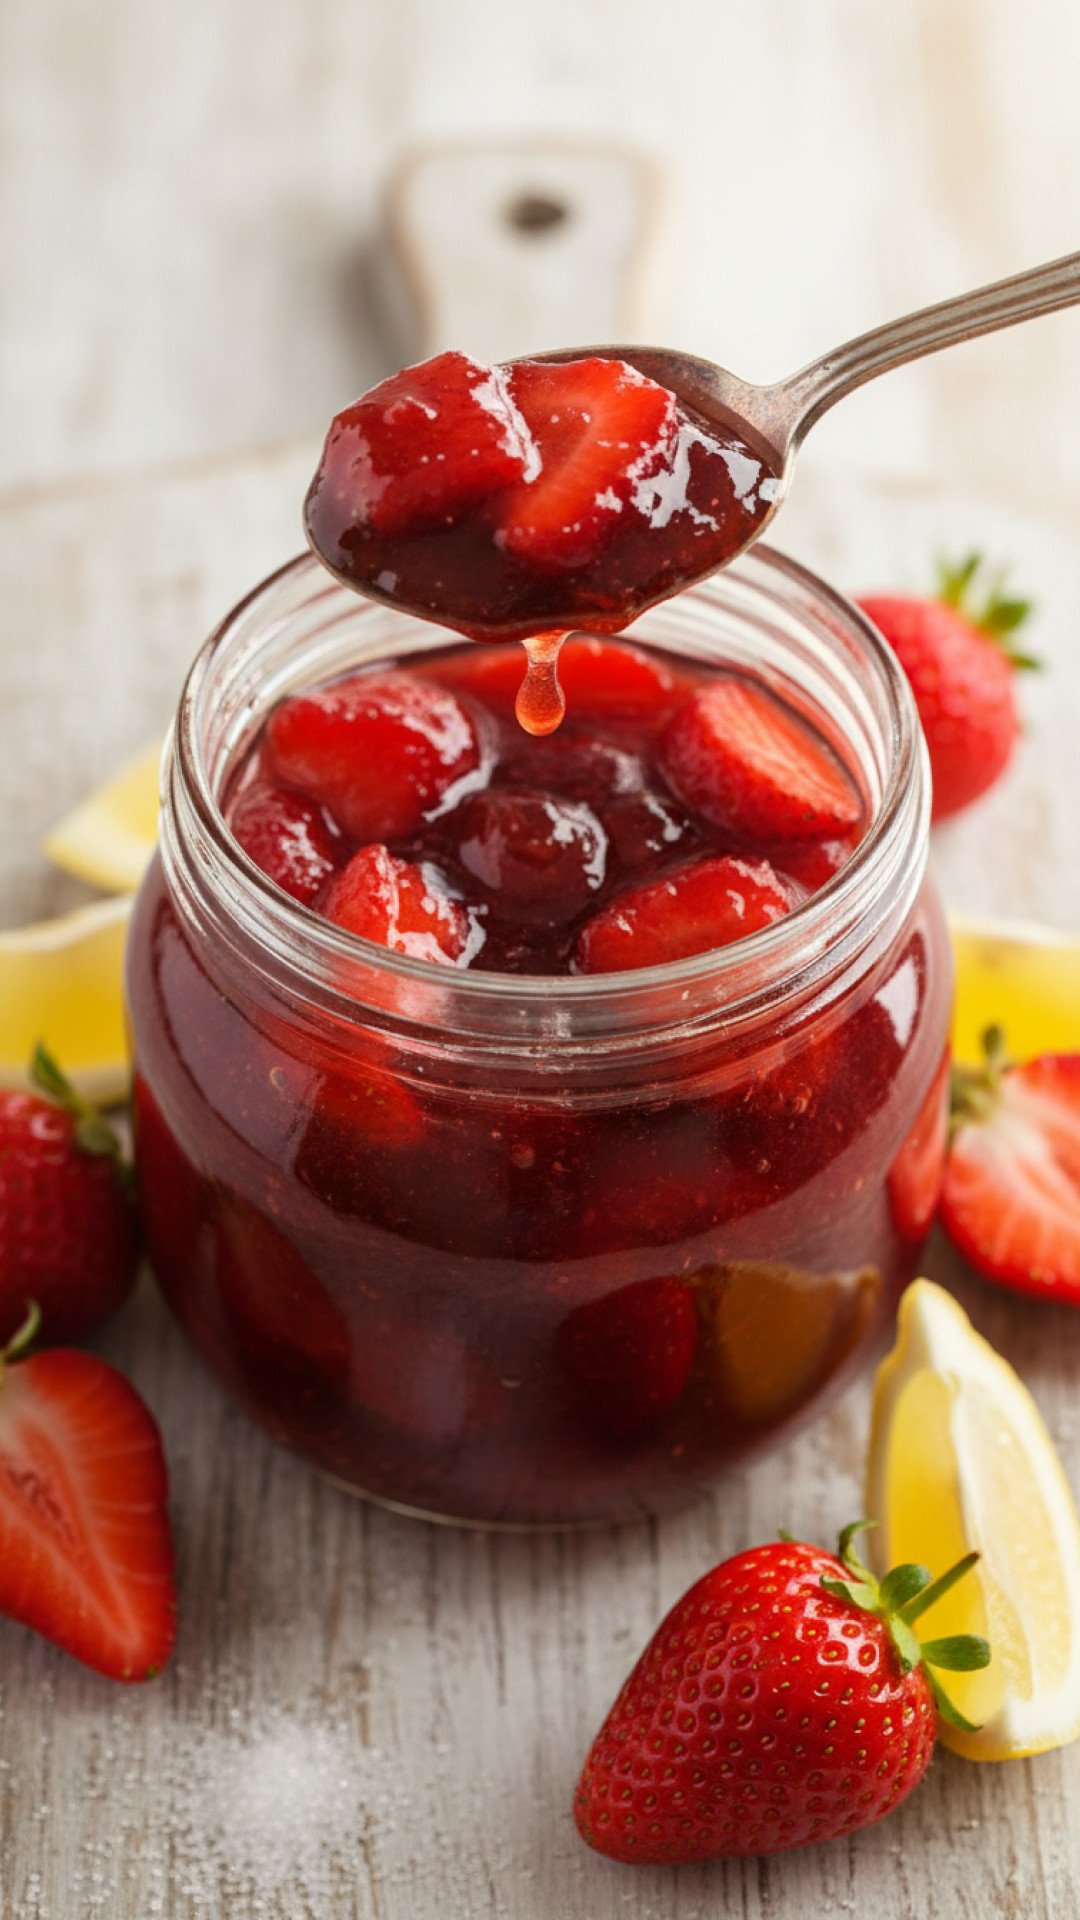
Step-by-Step Guide to the Best Strawberry Preserves Recipe with Pro Tips
Making your own strawberry preserves recipe might sound intimidating, but with these detailed steps and pro tips, you’ll be a preserves pro in no time!
Preparation is Key
- Step 1: Prepare the Strawberries. Wash and hull your 4 lbs of fresh strawberries. Hulling means removing the green leafy tops and the small white core. If your strawberries are large, quarter them; if smaller, you can simply halve them or even leave some very small ones whole for texture. This ensures consistent cooking and creates lovely chunks in your strawberry preserves recipe. Place the prepared strawberries in a large, heavy-bottomed pot or Dutch oven.
- Step 2: Macerate with Sugar. Add the 4 cups of granulated sugar to the pot with the strawberries. Stir gently but thoroughly to combine, ensuring the sugar coats all the berries. This initial step, called maceration, is crucial for drawing out the juices from the strawberries, creating a syrupy base before cooking even begins. Let the mixture sit at room temperature for at least 1-2 hours, or ideally, cover it and refrigerate overnight. You’ll notice a significant amount of liquid pooled at the bottom – this is exactly what you want for this strawberry preserves recipe.
Cooking and Setting
- Step 3: Start Cooking. Add the 1/4 cup of fresh lemon juice to the strawberry and sugar mixture in the pot. Place the pot over medium-high heat. Bring the mixture to a rolling boil, stirring frequently to prevent the fruit from sticking to the bottom and to help fully dissolve the sugar. Be patient and watch it carefully; a rolling boil is when the bubbles cannot be stirred down.
- Step 4: Skim and Simmer. Once the preserves reach a rolling boil, reduce the heat to medium-low to maintain a strong, steady simmer. During the initial simmering, foam will likely rise to the surface. Use a clean spoon or ladle to skim off this foam. Skimming helps to clarify the preserves, making for a prettier, clearer final product in your strawberry preserves recipe. Continue to simmer, stirring occasionally to prevent sticking, for 30-40 minutes. The preserves will thicken as they cook. The goal is to evaporate enough water for the pectin to work its magic.
- Step 5: Test for Doneness. This is perhaps the most critical step to ensure your strawberry preserves recipe sets perfectly. There are a few reliable methods:
a) Cold Plate Test: Before you start cooking, place a few small ceramic plates in the freezer. When you think the preserves are ready, drop a teaspoon of hot preserves onto one of the cold plates. Let it sit for 30 seconds, then push it gently with your finger. If the surface wrinkles, it’s done.
b) Temperature Test: Use a candy thermometer. The preserves should reach 220°F (104°C) at sea level. This temperature indicates that enough water has evaporated for the sugar-pectin mixture to gel.
c) Spoon Test (Sheeting Test): Dip a cold metal spoon into the preserves and lift it out horizontally. Tilt the spoon. If the preserves form a ‘sheet’ or two large, syrupy drops that run together off the side of the spoon rather than dripping off individually, it’s ready. Don’t overcook, or your strawberry preserves recipe will become too stiff.
Jarring and Storage
- Step 6: Ladle into Jars. Carefully remove the pot from the heat. Ladle the hot strawberry preserves into sterilized jars, leaving about 1/4 inch headspace (the space between the top of the preserves and the rim of the jar). Using a canning funnel can make this much easier and cleaner. Wipe the rims of the jars clean with a damp cloth – any residue can prevent a proper seal. This is a crucial step for the longevity of your strawberry preserves recipe.
- Step 7: Seal and Store. Place new, sterilized lids and bands on the jars, tightening to fingertip-tight. If you are planning for long-term shelf stable storage, process the jars in a boiling water bath for 10 minutes (adjust for altitude). If you’re not canning, allow the jars to cool completely at room temperature, then refrigerate. Uncanned preserves will last several weeks in the refrigerator. Properly canned preserves, made from this amazing strawberry preserves recipe, will last up to a year or more in a cool, dark place. For convenient and beautiful storage, consider using durable Basics Glass Food Storage containers for any immediate use batches.
Variations & Serving Suggestions for Your Strawberry Preserves Recipe
This classic strawberry preserves recipe is fantastic on its own, but there are countless ways to get creative!
Flavor Variations:
- Vanilla Bean: Add a split vanilla bean during simmering for a subtle, aromatic warmth. Remove it before jarring.
- Balsamic Boost: A tablespoon of good quality balsamic vinegar added during the last 10 minutes of cooking can add a sophisticated depth to your strawberry preserves recipe.
- Herbal Infusion: Try a sprig of fresh mint or basil during simmering. Remove it before jarring for a fresh, unexpected twist.
- Spicy Kick: For adventurous palates, a tiny pinch of finely diced jalapeño (seeds and membranes removed) can add a lovely heat that complements the sweet berries.
- Rhubarb Pairing: Strawberries pair beautifully with rhubarb! If you enjoy the process of transforming fresh fruit into something spectacular, you might also love our Sweet & Tangy Rhubarb Compote – another fantastic way to capture seasonal flavors that would complement this strawberry preserves recipe.
Serving Suggestions:
- Classic Spreads: The most obvious, yet most satisfying. Spread generously on hot buttered toast, fluffy biscuits, croissants, or homemade scones. This strawberry preserves recipe is a breakfast champion.
- Yogurt and Oatmeal: Swirl a spoonful into your morning Greek yogurt or warm oatmeal for a burst of fruity sweetness.
- Dessert Topping: Spoon over vanilla ice cream, panna cotta, or cheesecake. It’s also a delightful filling for crepes or as a topping for pancakes and waffles.
- Baking Ingredient: Use it as a filling for tarts, thumbprint cookies, or as a glaze for cakes.
- Savory Pairings: Don’t underestimate its savory side! Serve alongside a cheese board with creamy brie or sharp cheddar, or use it to glaze roasted chicken or pork.
- Pie Filling: If you’re feeling ambitious, this strawberry preserves recipe can be the base for an incredible strawberry rhubarb pie recipe – just add fresh rhubarb!
Nutrition Information for Homemade Strawberry Preserves
Here’s an estimated nutritional breakdown for a serving of this delightful strawberry preserves recipe:
| Nutrient | Amount per Serving |
|---|---|
| Calories | 100 kcal |
| Carbohydrate Content | 25 g |
| Cholesterol Content | 0 mg |
| Fat Content | 0.2 g |
| Fiber Content | 1 g |
| Protein Content | 0.5 g |
| Saturated Fat Content | 0 g |
| Serving Size | 1 tbsp (15g) |
| Sodium Content | 1 mg |
| Sugar Content | 24 g |
| Trans Fat Content | 0 g |
| Unsaturated Fat Content | 0.1 g |
*Nutrition facts are estimates and may vary based on specific ingredients and preparation methods.
Conclusion
There you have it – a truly foolproof and incredibly delicious strawberry preserves recipe that will fill your home with the scent of summer and your pantry with jars of pure joy. Making your own preserves is a simple pleasure that yields impressive results, far surpassing anything you can buy in a store. This strawberry preserves recipe isn’t just about canning; it’s about connecting with tradition, savoring the seasons, and sharing homemade goodness with those you love. So gather your berries, roll up your sleeves, and get ready to create something truly special. Happy preserving!
FAQs
How do I know my strawberry preserves are set?
The most reliable methods are the cold plate test (drop a teaspoon on a frozen plate; if it wrinkles when pushed, it’s set) or a candy thermometer test (preserves should reach 220u00b0F / 104u00b0C at sea level). The sheeting test, where preserves form a sheet or two large drops off a cold spoon, also works. Don’t overcook, or your strawberry preserves recipe will become too stiff.
Why is lemon juice important in this strawberry preserves recipe?
Lemon juice is crucial because it provides the necessary acidity to activate the natural pectin in the strawberries. Pectin is a natural gelling agent that helps the preserves set and achieve that desired jammy consistency. It also brightens and enhances the natural strawberry flavor.
Can I reduce the sugar in this strawberry preserves recipe?
While you can slightly adjust sugar to taste, reducing it significantly can affect the set and shelf stability of the preserves. Sugar acts as both a gelling aid and a preservative. If you drastically reduce sugar, you might need to add commercial pectin or plan to store the preserves in the refrigerator for a shorter period, as the preserving qualities will be diminished.
How should I store homemade strawberry preserves?
For long-term, shelf-stable storage, properly process the hot preserves in sterilized jars in a boiling water bath. These can last up to a year in a cool, dark pantry. If you skip the water bath canning, the preserves must be refrigerated and will last several weeks. Always ensure jars are clean and sealed tightly, whether canned or refrigerated.
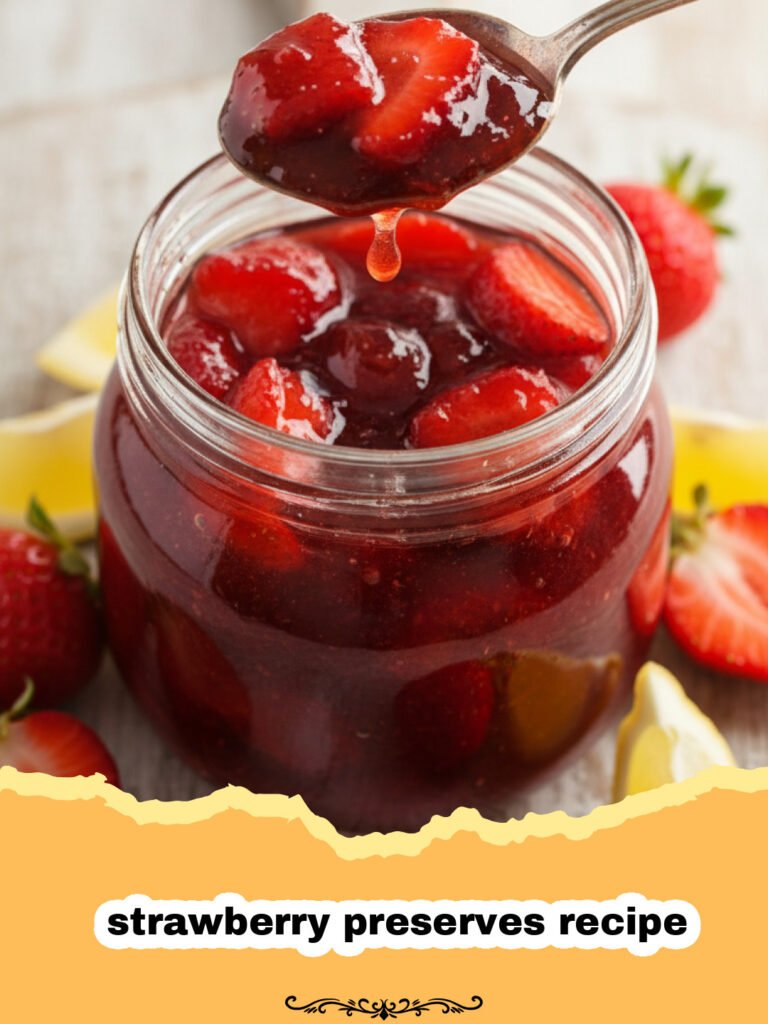
Classic Homemade Strawberry Preserves
A timeless and utterly delicious homemade strawberry preserves recipe that captures the vibrant flavor of fresh summer berries. Perfect for spreading on toast, stirring into yogurt, or gifting to loved ones. This easy-to-follow strawberry preserves recipe ensures a perfect set and irresistible taste.
- Total Time: 1 hour
- Yield: Approximately 4–5 half-pint jars 1x
Ingredients
4 lbs fresh strawberries, hulled and quartered (or roughly chopped)
4 cups granulated sugar
1/4 cup fresh lemon juice
Instructions
Step 1: Prepare the Strawberries. Wash and hull the strawberries. If they are large, quarter them; if smaller, you can simply halve them or leave them whole. Place the prepared strawberries in a large, heavy-bottomed pot or Dutch oven.
Step 2: Macerate with Sugar. Add the granulated sugar to the pot with the strawberries. Stir gently to combine, ensuring the sugar coats the berries. Let the mixture sit at room temperature for at least 1-2 hours, or ideally overnight in the refrigerator. This step draws out the juices, creating a syrupy base.
Step 3: Start Cooking. Add the lemon juice to the strawberry and sugar mixture. Place the pot over medium-high heat. Bring the mixture to a rolling boil, stirring frequently to prevent scorching and to help dissolve the sugar.
Step 4: Skim and Simmer. Once boiling, reduce the heat to medium-low to maintain a strong simmer. Skim off any foam that rises to the surface using a spoon or ladle. Continue to simmer, stirring occasionally, for 30-40 minutes, or until the preserves thicken. The strawberry preserves recipe will thicken further as it cools.
Step 5: Test for Doneness. To test for doneness, you can use a few methods:
a) Cold Plate Test: Place a small plate in the freezer before you start cooking. Drop a teaspoon of hot preserves onto the cold plate. Let it sit for 30 seconds, then push it with your finger. If it wrinkles, it’s done.
b) Temperature Test: Use a candy thermometer. The preserves should reach 220°F (104°C) at sea level.
c) Spoon Test: Dip a cold metal spoon into the preserves and lift it out horizontally. If the preserves form a sheet or two large drops rather than running off individually, it’s ready.
Step 6: Ladle into Jars. Carefully ladle the hot strawberry preserves into sterilized jars, leaving about 1/4 inch headspace. Wipe the rims clean.
Step 7: Seal and Store. Place lids and bands on the jars. If canning, process in a boiling water bath for 10 minutes (adjust for altitude). If not canning, allow to cool completely, then refrigerate. Uncanned preserves will last several weeks in the refrigerator; properly canned preserves will last up to a year in a cool, dark place.
Notes
For best results, use a heavy-bottomed pot to prevent scorching. Always test for doneness to ensure a good set. Sterilize your jars and lids thoroughly if you plan to can the preserves. This strawberry preserves recipe is designed for maximum flavor and ease.
- Prep Time: 20 minutes
- Cook Time: 40 minutes
- Category: Sweet Breakfasts
- Cuisine: American
Nutrition
- Serving Size: 1 tbsp (15g)
- Calories: 100 kcal
- Sugar: 24 g
- Sodium: 1 mg
- Fat: 0.2 g
- Saturated Fat: 0 g
- Unsaturated Fat: 0.1 g
- Trans Fat: 0 g
- Carbohydrates: 25 g
- Fiber: 1 g
- Protein: 0.5 g
- Cholesterol: 0 mg
Keywords: strawberry preserves recipe, homemade jam, strawberry jam, fruit preserves, canning strawberries, easy preserves, summer berries, sweet breakfast, preserving fruit, fruit spread