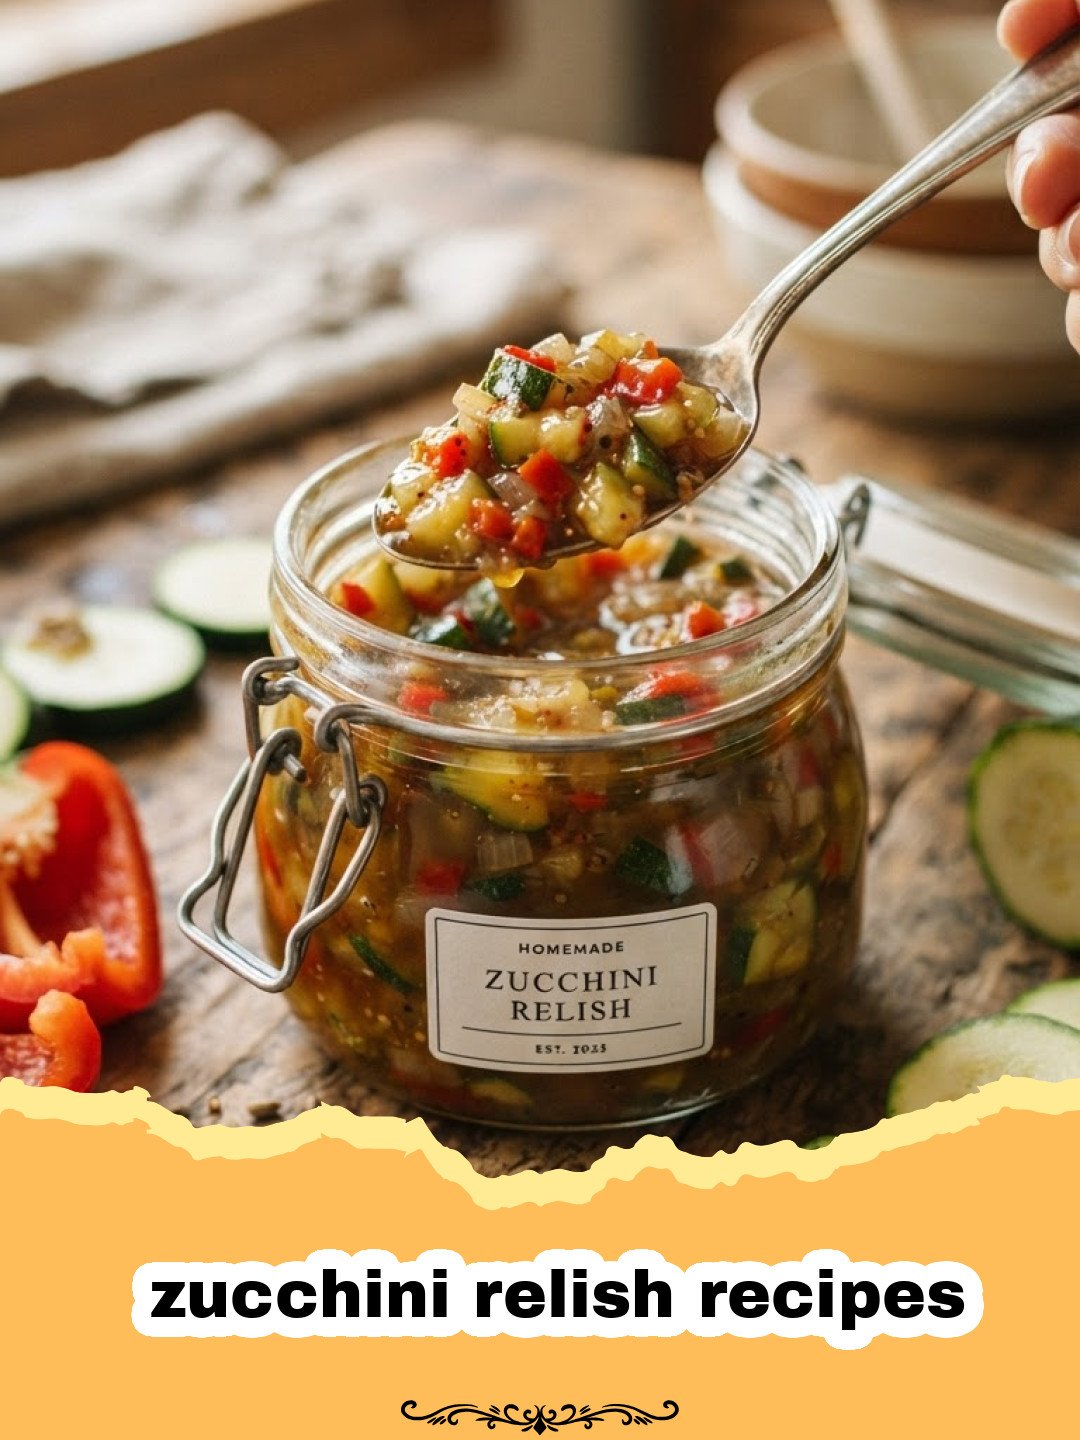
Summer in my grandmother’s kitchen was always a symphony of sounds and smells: the gentle hum of the refrigerator, the rhythmic chop of vegetables, and the sweet, vinegary aroma of pickling spices simmering on the stove. One of my fondest memories is of her making her famous zucchini relish. Every August, after the garden had surrendered an abundance of plump, green zucchini, she’d gather us kids to help. Our little hands, though not always the most efficient, would assist in grating the squash, and the anticipation of that first spoonful of homemade goodness was palpable. She taught me that mastering zucchini relish recipes isn’t just about preserving vegetables; it’s about preserving memories, a taste of summer that you can open and enjoy all year round. This particular recipe, passed down through generations, has the perfect balance of sweet and tangy, with a delightful crunch that brightens any dish.
Why This Zucchini Relish Recipe is a Must-Try
- Bursting with Summer Flavor: It captures the essence of fresh zucchini, bell peppers, and onions, all enhanced by a sweet and tangy brine, making it a fantastic way to enjoy garden produce long after the growing season.
- Incredibly Versatile: This relish isn’t just for hot dogs! It’s a fantastic condiment for burgers, grilled chicken, tuna salad, or even stirred into cream cheese for a quick dip. You’ll find yourself reaching for it again and again.
- Easy to Make & Beginner-Friendly Canning: While it involves a few steps, each one is straightforward. We’ll guide you through the process, making it approachable even for those new to canning or preserving.
- A Homemade Gift from the Heart: Jarred zucchini relish makes a thoughtful and delicious gift for friends and family during the holidays or as a thank-you.
Key Ingredient Notes
The beauty of this classic zucchini relish recipe lies in its simple, fresh ingredients. Here are a few to pay special attention to:
Zucchini
Of course, the star of our zucchini relish recipes! Use medium-sized zucchini, about 6-8 inches long. These tend to have fewer seeds and more tender flesh than very large ones. If your zucchini are quite large and seedy, you might want to scoop out some of the larger seeds before grating. Don’t peel them; the skin adds color, nutrients, and a bit of texture.
Bell Peppers
We use a combination of red and green bell peppers not just for their flavor, but for their vibrant colors, which make the relish visually appealing. Make sure they are fresh and firm. You can experiment with other colors like yellow or orange for a different look, but the flavor profile will remain largely similar. Dicing them finely ensures they blend well with the grated zucchini.
Vinegar
White vinegar is crucial for achieving the classic tangy flavor and ensuring the relish is safe for canning. Do not substitute with apple cider vinegar or other less acidic vinegars, as this can affect the pH and safety of the canned product. The 5% acidity of white vinegar is standard for canning. This acidity is what creates the perfect balance in our zucchini relish recipes.
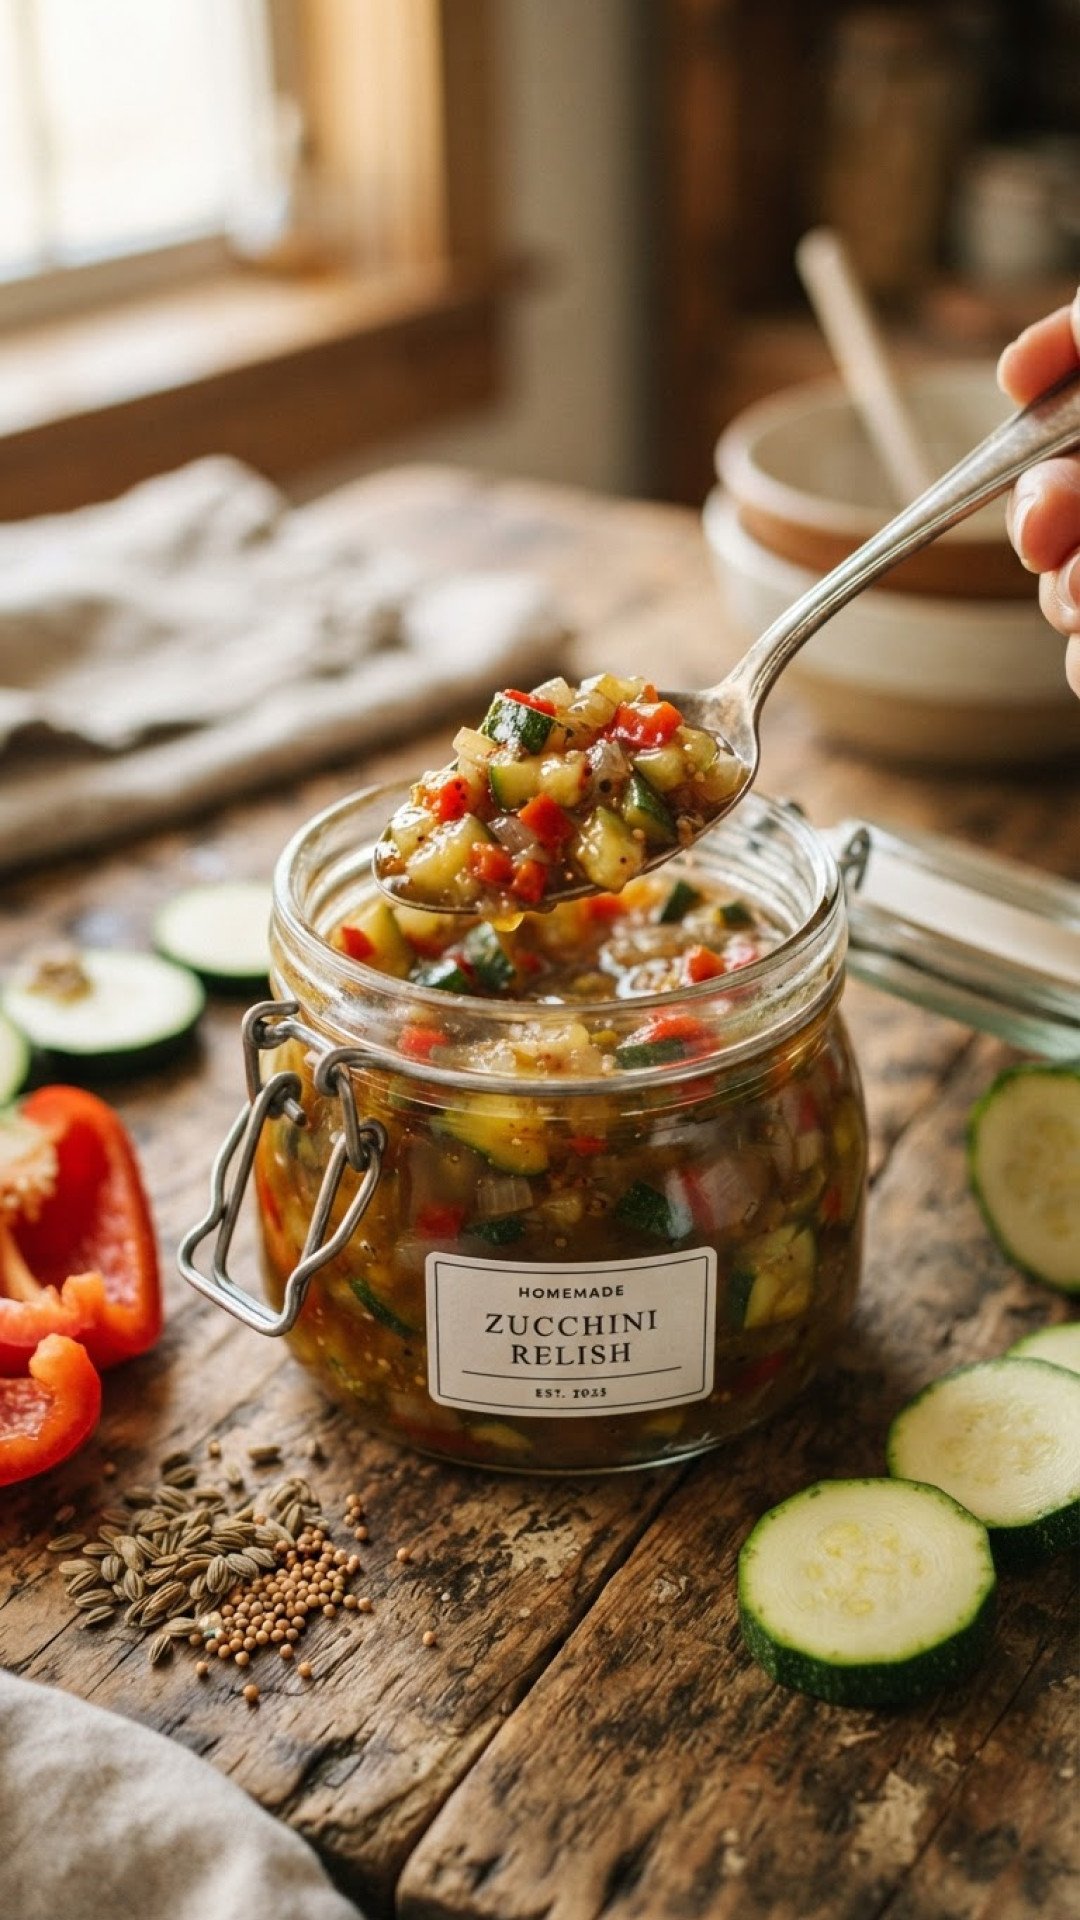
Step-by-Step Guide with Pro Tips
Creating delicious zucchini relish recipes is a rewarding process. Follow these steps carefully for the best results!
Step 1: Prepare the Vegetables. Wash and trim the ends of the zucchini. Using a food processor with a grating attachment or a box grater, grate the zucchini. Finely dice the onions and bell peppers. Place all grated and diced vegetables in a large non-reactive bowl.
Step 2: Salt and Drain. Sprinkle the salt over the vegetables and toss to combine. Let this mixture stand for at least 3-4 hours, or preferably overnight, in the refrigerator. This step draws out excess moisture, which is key for preventing watery relish and achieving that perfect texture. After soaking, thoroughly drain the vegetables in a colander, pressing out as much liquid as possible with your hands or the back of a spoon. Rinsing is not typically necessary unless you prefer a less salty relish, but if you do, ensure you drain and press out water exceptionally well.
Step 3: Prepare the Brine. In a large non-reactive pot (stainless steel is ideal), combine the white vinegar, granulated sugar, celery seeds, turmeric, mustard seeds, and black pepper. Bring the mixture to a boil over medium-high heat, stirring until the sugar is completely dissolved. Reduce heat and let it simmer for 5 minutes to allow the flavors to meld, creating a fragrant base for your zucchini relish recipes.
Step 4: Cook the Relish. Add the drained vegetable mixture to the simmering brine. Bring the entire mixture back to a gentle boil, then reduce the heat to a simmer. Cook for 20-25 minutes, stirring occasionally, until the vegetables are tender-crisp and the relish has thickened slightly.
Step 5: Prepare Jars for Canning (Optional but Recommended). While the relish is cooking, sterilize your canning jars and lids according to standard canning procedures. This typically involves washing jars in hot, soapy water, rinsing, and then sterilizing in boiling water or a dishwasher’s sanitizing cycle. Keep them hot until filling. For safe storage, especially for these types of zucchini relish recipes, proper sterilization is critical.
Step 6: Fill Jars. Carefully ladle the hot relish into the hot, sterilized jars, leaving 1/2 inch of headspace (the space between the top of the relish and the rim of the jar). Remove any air bubbles by gently tapping the jars or using a non-metallic spatula to push down the relish. Wipe the jar rims clean with a damp cloth.
Step 7: Seal Jars. Center the lids on the jars and apply the bands, tightening them to fingertip-tight. Do not overtighten, as air needs to escape during processing.
Step 8: Process in a Water Bath. Place the filled jars into a boiling water canner, ensuring they are fully submerged by at least 1 inch of water. Bring the water to a rolling boil and process pint jars for 10 minutes (adjust for altitude if necessary). After processing, turn off the heat, remove the canner lid, and let the jars sit in the hot water for 5 minutes before carefully removing them to a wire rack to cool. Allow jars to cool undisturbed for 12-24 hours. Check seals; lids should be concave and not flex when pressed. Any unsealed jars should be refrigerated and consumed within a few weeks. Store sealed jars in a cool, dark place. These Basics Glass Food Storage jars are perfect for keeping your relish fresh.
Variations & Serving Suggestions
The beauty of homemade zucchini relish recipes is how easily you can adapt them and how many ways you can enjoy them!
Flavor Variations:
- Spicy Kick: Add 1-2 finely minced jalapeños or a pinch of red pepper flakes to the relish mixture for a bit of heat.
- Garlic Lover’s Relish: Incorporate 2-3 cloves of minced garlic along with the onions and bell peppers for a bolder flavor.
- Herby Delight: Stir in a tablespoon of fresh dill or parsley during the last few minutes of cooking for a fresh, aromatic twist.
- Mustard Relish: Increase the mustard seeds or add a teaspoon of dry mustard powder for a more pronounced mustard flavor, reminiscent of classic hot dog relish.
Serving Suggestions:
- Classic Pairing: The absolute best way to enjoy it is on hot dogs, brats, or grilled sausages. It’s truly a game-changer!
- Burger Topper: Elevate your burgers, whether beef, turkey, or veggie, with a generous spoonful of this tangy relish.
- Sandwich & Wrap Enhancer: Spread it on deli sandwiches, wraps, or even grilled cheese for an extra layer of flavor.
- Tuna or Chicken Salad: Stir a few spoonfuls into your favorite tuna or chicken salad recipe for a zesty, crunchy element.
- Deviled Eggs: A secret ingredient! Mix a small amount into the yolk mixture for deviled eggs to add a burst of flavor.
- Cheese & Cracker Board: Serve it alongside sharp cheddar or goat cheese with crackers for a sophisticated appetizer.
- With Grilled Meats & Fish: It pairs wonderfully with grilled pork chops, chicken, or even flaky white fish, cutting through the richness with its acidity.
- Egg Dishes: A fantastic addition to scrambled eggs, omelets, or frittatas.
- Don’t Forget Zucchini Bread: If you have leftover zucchini, consider making The Ultimate Spiced Zucchini Bread!
Nutrition Information
Here’s an estimated nutritional breakdown for one serving of this delightful zucchini relish. Please remember these are estimates and can vary based on exact ingredients and portion sizes. Enjoying homemade zucchini relish recipes adds a flavorful, low-calorie boost to your meals.
| Nutrient | Amount Per Serving |
|---|---|
| Calories | 35 kcal |
| Carbohydrates | 8g |
| Cholesterol | 0mg |
| Fat | 0.1g |
| Fiber | 0.5g |
| Protein | 0.5g |
| Saturated Fat | 0g |
| Serving Size | 2 tbsp (approx 30g) |
| Sodium | 150mg |
| Sugar | 7g |
| Trans Fat | 0g |
| Unsaturated Fat | 0.1g |
Please note that the sodium content can vary significantly based on how thoroughly you rinse and drain the vegetables after salting. The estimates above assume a moderate level of rinsing.
Conclusion
Making your own zucchini relish is more than just a recipe; it’s a delightful culinary adventure that rewards you with jars of vibrant, tangy, and sweet goodness. This classic zucchini relish recipe is a testament to the simple pleasures of preserving nature’s bounty. Whether you’re a seasoned canner or just starting, I hope this guide inspires you to create your own batches of this incredible condiment. It’s a fantastic way to utilize that summer squash harvest and enjoy a taste of sunshine long after the garden sleeps. So go ahead, gather your ingredients, and let’s make some delicious memories!
FAQs
What is the best way to grate zucchini for relish?
For zucchini relish recipes, a food processor with a grating attachment is the most efficient way to grate a large quantity of zucchini. If you don’t have one, a box grater on the large hole side works perfectly. The key is consistent grating for even texture.
Why do I need to salt and drain the zucchini for relish?
Salting and draining the zucchini is a critical step in most zucchini relish recipes. Zucchini has a very high water content, and this process draws out excess moisture. This prevents the relish from becoming watery, ensures a crisp-tender texture, and helps the relish absorb the pickling brine more effectively, which is essential for flavor and safe canning.
Can I adjust the sweetness or tanginess of this zucchini relish?
Yes, you can adjust the sweetness or tanginess to some extent, but be cautious, especially if you plan to can the relish. The vinegar content (acidity) is crucial for canning safety. For a slightly less sweet relish, you can reduce the sugar by about 1/4 to 1/2 cup without significantly impacting safety. To increase tanginess, you could add a tablespoon or two more vinegar, but again, major changes can affect the overall balance and safety for canning. Always ensure a minimum 5% acidity white vinegar is used in zucchini relish recipes for canning.
How long does homemade zucchini relish last?
Properly canned and sealed zucchini relish, stored in a cool, dark place, can last for up to 1-2 years. Once opened, it should be refrigerated and consumed within 3-4 weeks for the best quality and flavor. Unsealed jars must be refrigerated immediately and used within a few weeks.
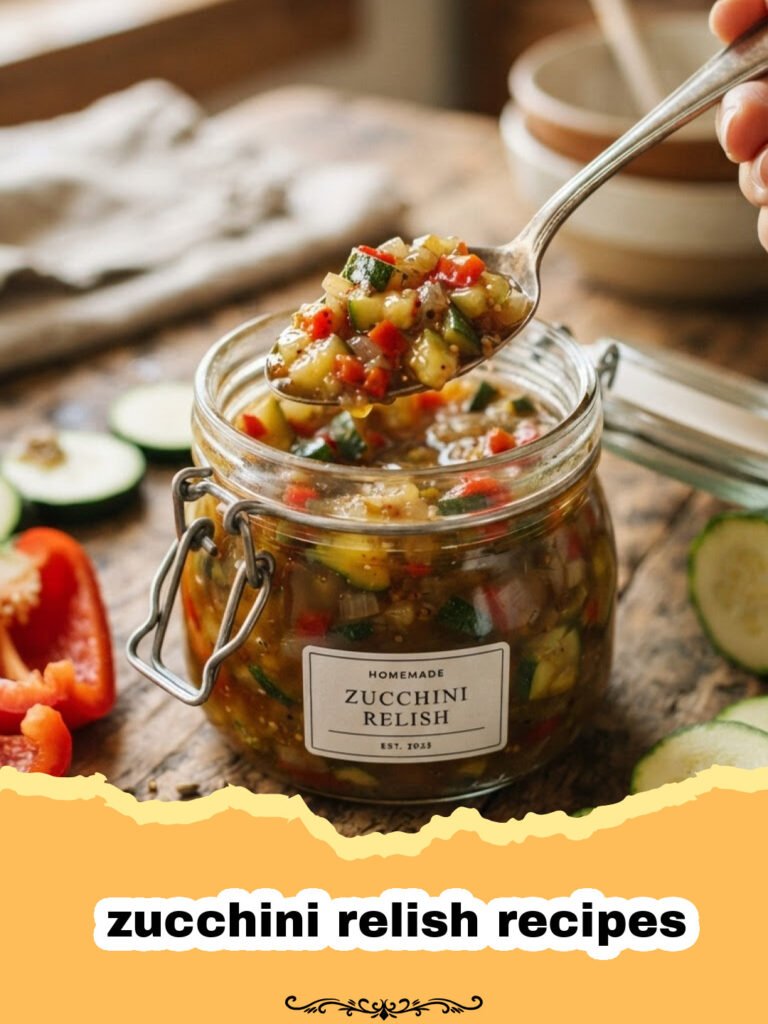
Classic Sweet and Tangy Zucchini Relish
A timeless recipe for sweet and tangy zucchini relish, perfect for preserving summer’s bounty. This versatile condiment adds a delightful crunch and vibrant flavor to hot dogs, burgers, and more.
- Total Time: 4 hours 5 minutes (includes draining time)
- Yield: About 4 pints 1x
Ingredients
8 cups grated zucchini (about 4 medium zucchini)
2 large onions, finely diced
2 large green bell peppers, finely diced
1 large red bell pepper, finely diced
1/4 cup pickling salt
3 cups white vinegar (5% acidity)
2 1/2 cups granulated sugar
1 tablespoon celery seeds
1 teaspoon turmeric
1 teaspoon mustard seeds
1/2 teaspoon black pepper
Instructions
Step 1: Prepare the Vegetables. Wash and trim the ends of the zucchini. Using a food processor with a grating attachment or a box grater, grate the zucchini. Finely dice the onions and bell peppers. Place all grated and diced vegetables in a large non-reactive bowl.
Step 2: Salt and Drain. Sprinkle the salt over the vegetables and toss to combine. Let this mixture stand for at least 3-4 hours, or preferably overnight, in the refrigerator. This step draws out excess moisture. After soaking, thoroughly drain the vegetables in a colander, pressing out as much liquid as possible.
Step 3: Prepare the Brine. In a large non-reactive pot (stainless steel is ideal), combine the white vinegar, granulated sugar, celery seeds, turmeric, mustard seeds, and black pepper. Bring the mixture to a boil over medium-high heat, stirring until the sugar is completely dissolved. Reduce heat and let it simmer for 5 minutes to allow the flavors to meld.
Step 4: Cook the Relish. Add the drained vegetable mixture to the simmering brine. Bring the entire mixture back to a gentle boil, then reduce the heat to a simmer. Cook for 20-25 minutes, stirring occasionally, until the vegetables are tender-crisp and the relish has thickened slightly.
Step 5: Prepare Jars for Canning (Optional but Recommended). While the relish is cooking, sterilize your canning jars and lids according to standard canning procedures. Keep them hot until filling.
Step 6: Fill Jars. Carefully ladle the hot relish into the hot, sterilized jars, leaving 1/2 inch of headspace. Remove any air bubbles. Wipe the jar rims clean with a damp cloth.
Step 7: Seal Jars. Center the lids on the jars and apply the bands, tightening them to fingertip-tight.
Step 8: Process in a Water Bath. Place the filled jars into a boiling water canner, ensuring they are fully submerged. Bring water to a rolling boil and process pint jars for 10 minutes. After processing, turn off heat, remove canner lid, and let jars sit for 5 minutes before carefully removing them to a wire rack to cool for 12-24 hours. Check seals; refrigerate unsealed jars. Store sealed jars in a cool, dark place.
Notes
For best results, choose firm, medium-sized zucchini. The salting and draining step is crucial for the relish’s texture and to prevent it from being watery. Ensure all canning safety guidelines are followed for long-term storage.
- Prep Time: 30 minutes
- Cook Time: 35 minutes
- Category: How To
- Cuisine: American
Nutrition
- Serving Size: 2 tbsp (approx 30g)
- Calories: 35 kcal
- Sugar: 7g
- Sodium: 150mg
- Fat: 0.1g
- Saturated Fat: 0g
- Unsaturated Fat: 0.1g
- Trans Fat: 0g
- Carbohydrates: 8g
- Fiber: 0.5g
- Protein: 0.5g
- Cholesterol: 0mg
Keywords: zucchini relish, sweet zucchini relish, tangy relish, canning zucchini, summer canning, relish recipe, preserving zucchini, homemade relish, hot dog relish, garden harvest