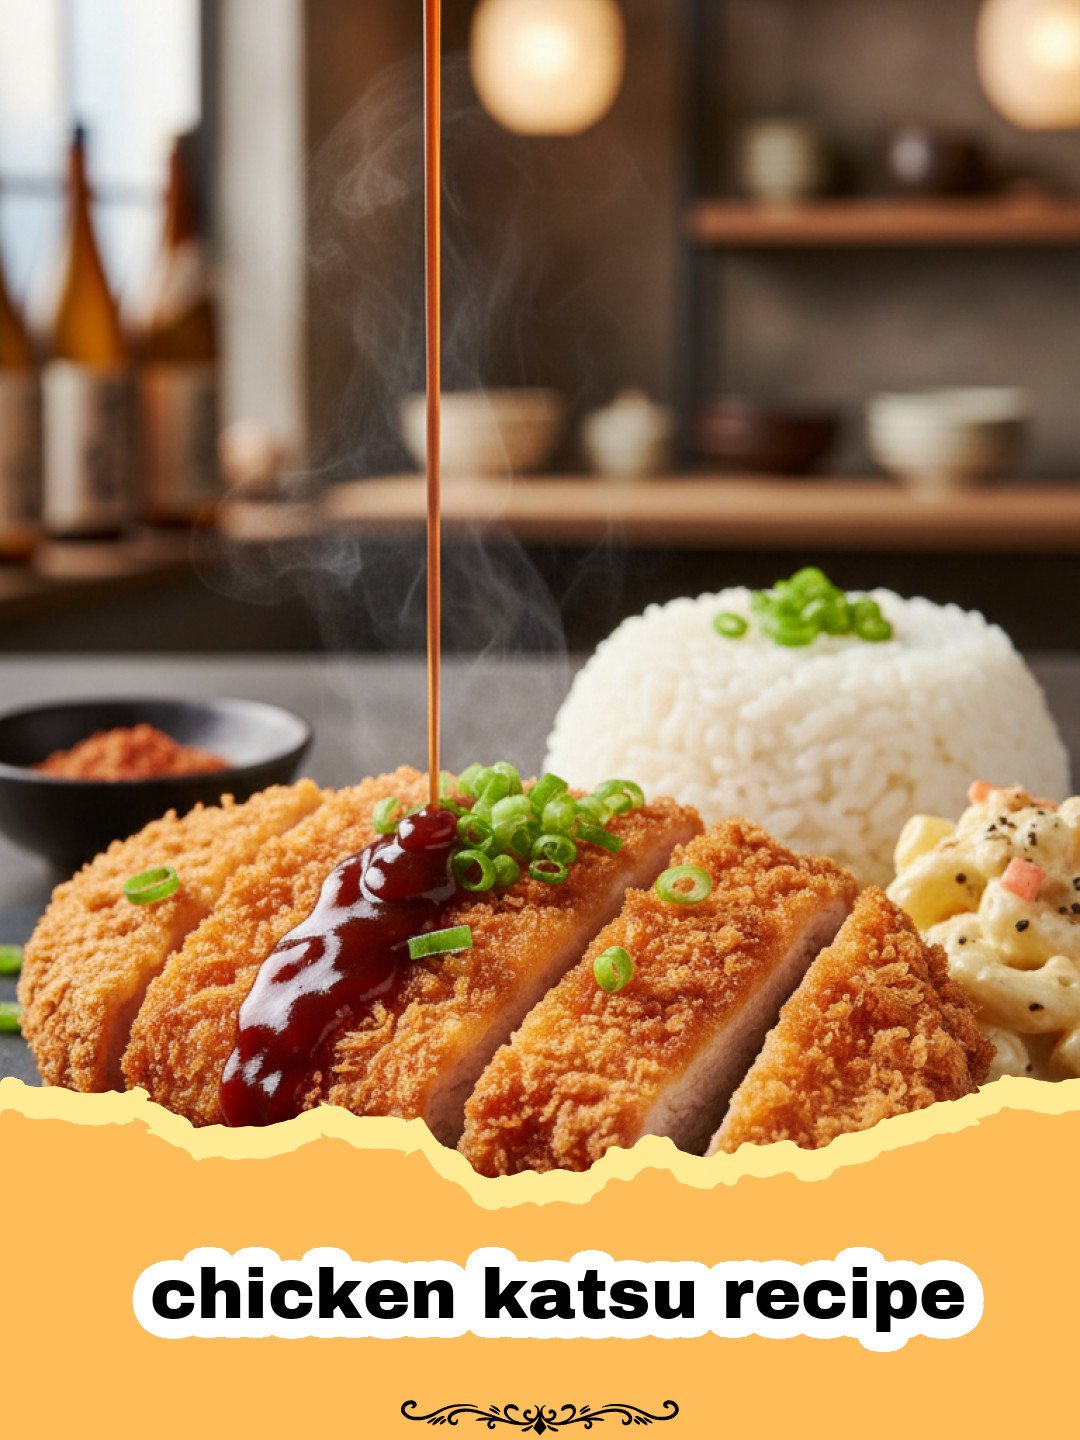
There are some dishes that just transport you, taking you back to a specific moment or feeling. For me, the classic chicken katsu recipe does exactly that. I vividly remember my first time trying chicken katsu at a small, unassuming Japanese restaurant during a college study abroad trip. The golden, impossibly crispy exterior, giving way to tender, juicy chicken, all smothered in that tangy, sweet katsu sauce – it was a revelation! I was a broke student, but I’d save up my pennies just for that weekly katsu fix. The warmth, the comfort, the sheer deliciousness of it all was unforgettable. Fast forward years later, and I found myself craving that exact experience, but with no such restaurant in sight. So, like any good food enthusiast, I embarked on a mission to recreate that magic in my own kitchen. It took a few attempts, a few burnt edges, and a lot of panko breadcrumbs scattered across my floor, but eventually, I cracked the code. This isn’t just a recipe; it’s a journey back to that feeling of pure culinary joy. And I’m so excited to share my perfected chicken katsu recipe with you today, so you can create your own delicious memories.
Why This Chicken Katsu Recipe Is a Must-Try
- Unrivaled Crispy Texture: Our meticulous breading process ensures a golden, crunchy exterior that holds up beautifully, making this the best chicken katsu recipe for ultimate crispiness.
- Tender & Juicy Chicken: Pounding the chicken breast thin helps it cook quickly and evenly, locking in moisture for exceptionally tender results every time.
- Authentic Flavors, Accessible Ingredients: We’ve captured the essence of traditional Japanese chicken katsu using ingredients readily available at most grocery stores, making this homemade chicken katsu recipe achievable for everyone.
- Versatile Meal Option: Perfect for a quick weeknight dinner, a satisfying lunch, or even an impressive dish for guests, this chicken katsu recipe is incredibly adaptable.
Key Ingredient Notes for Perfect Chicken Katsu
Chicken Breast
While chicken thigh can be used for a richer flavor, chicken breast is traditional for chicken katsu. The key is to pound it thin and evenly. This isn’t just about making it cook faster; it’s crucial for tenderness and ensuring the chicken cooks through at the same rate as the panko crisps. Aim for about a 1/4 to 1/2-inch thickness. This step prevents dry spots and ensures every bite of your chicken katsu is perfectly moist.
Panko Breadcrumbs
Do NOT substitute regular breadcrumbs! Panko, Japanese-style breadcrumbs, are the secret to that iconic light, airy, and super-crispy coating that defines a great chicken katsu recipe. They are made from crustless white bread and have a flakier, coarser texture than Western breadcrumbs, absorbing less oil and resulting in a much crispier finish. This is non-negotiable for an authentic and delicious chicken katsu.
Katsu Sauce
While you can certainly buy pre-made katsu sauce, making your own elevates this chicken katsu recipe to another level. It’s a simple blend of Worcestershire sauce, ketchup, soy sauce, and a touch of sugar. The balance of savory, sweet, and tangy flavors perfectly complements the fried chicken, cutting through the richness and adding a crucial layer of flavor. Don’t skip this homemade touch; it truly makes all the difference.
Step-by-Step Guide with Pro Tips for this Chicken Katsu Recipe
Mastering this chicken katsu recipe is all about technique and a few pro tips to ensure crispy, juicy perfection every time.
- Step 1: Prepare the Chicken. Pat chicken breasts dry with paper towels. Place each breast between two sheets of plastic wrap. Using a meat mallet or a rolling pin, pound the chicken until it’s about 1/4 to 1/2-inch thick. This ensures even cooking and tenderness. Season both sides generously with salt and black pepper.
- Step 2: Set Up the Breading Station. Prepare three shallow dishes. In the first, add the all-purpose flour. In the second, whisk the eggs until well combined. In the third, spread out the panko breadcrumbs. This organized station is key for a smooth breading process for your chicken katsu recipe.
- Step 3: Bread the Chicken. Dredge each pounded chicken cutlet thoroughly in the flour, shaking off any excess. Then, dip it into the beaten egg mixture, ensuring it’s fully coated. Finally, press the chicken firmly into the panko breadcrumbs, making sure every surface is generously covered. The panko should adhere well. For extra crispiness, you can double-coat by dipping back into the egg and then the panko for a thicker crust, a pro tip for this chicken katsu recipe!
- Step 4: Chill (Optional, but Recommended). For the crispiest result, transfer the breaded chicken to a wire rack set over a baking sheet and refrigerate for at least 20-30 minutes. This helps the panko adhere better and reduces moisture, leading to a crunchier fry. If you’re prepping ahead, you can store it covered in the fridge for up to 24 hours. Consider using Basics Glass Food Storage for easy, safe chilling.
- Step 5: Prepare Katsu Sauce. In a small bowl, whisk together the Worcestershire sauce, ketchup, soy sauce, and sugar until well combined. Taste and adjust seasonings if needed. Set aside. This simple homemade sauce is essential for the full chicken katsu experience.
- Step 6: Heat the Oil. Pour about 1-2 inches of vegetable oil (or another neutral high-smoke point oil) into a large, heavy-bottomed skillet or Dutch oven. Heat the oil over medium-high heat to 350°F (175°C). Using a thermometer is highly recommended for consistent results. If the oil isn’t hot enough, the katsu will be greasy; too hot, and it will burn before cooking through.
- Step 7: Fry the Chicken Katsu. Carefully place one or two breaded chicken cutlets into the hot oil, ensuring not to overcrowd the pan. Fry for 3-5 minutes per side, or until golden brown and cooked through (internal temperature should reach 165°F / 74°C). The timing will depend on the thickness of your chicken.
- Step 8: Drain and Rest. Once cooked, transfer the chicken katsu to a wire rack lined with paper towels to drain excess oil. Let it rest for a few minutes before slicing. This helps redistribute the juices, keeping the chicken tender.
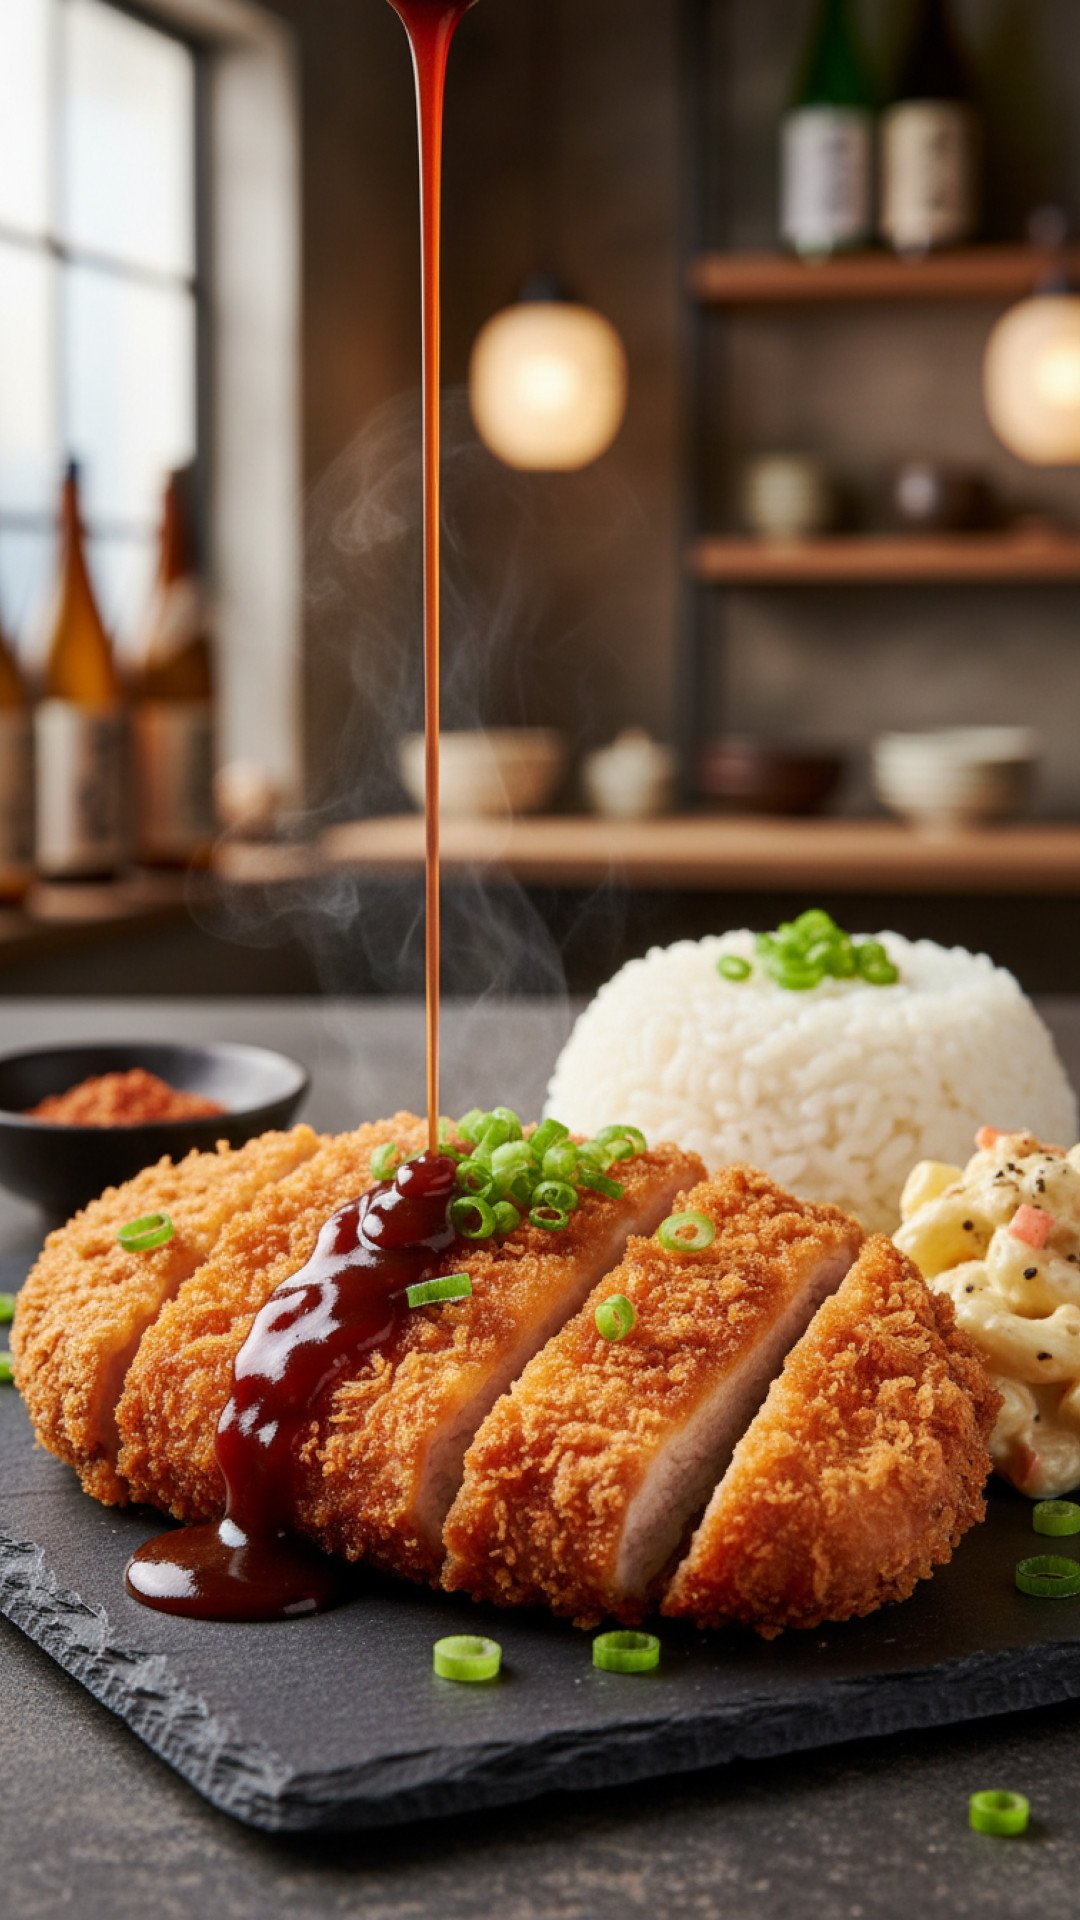
- Step 9: Slice and Serve. Slice the chicken katsu into 1-inch wide strips. Serve immediately with a generous drizzle of homemade katsu sauce, alongside steamed rice, and a side of shredded cabbage. Enjoy your perfectly made chicken katsu recipe!
Variations & Serving Suggestions for Your Chicken Katsu Recipe
This ultimate chicken katsu recipe is fantastic on its own, but there are many ways to make it your own or serve it in exciting new ways!
Flavor Variations:
- Spicy Katsu: Add a pinch of cayenne pepper or a dash of sriracha to your egg wash or katsu sauce for a fiery kick. You can also sprinkle red pepper flakes into the panko for a subtle heat.
- Cheese-Stuffed Katsu: Create a pocket in your pounded chicken breast and stuff it with a slice of mozzarella or provolone before breading. The melted cheese inside adds a delightful gooey surprise.
- Herbed Katsu: Mix finely chopped fresh parsley, chives, or even a touch of dried oregano into your panko breadcrumbs for an aromatic twist on this chicken katsu recipe.
- Curry Katsu: Transform your katsu into a classic Japanese curry rice dish. Simply prepare a batch of your favorite Japanese curry (from scratch or using a roux block) and serve it over your sliced chicken katsu and rice. It’s a truly comforting meal, enhancing this chicken katsu recipe.
Serving Suggestions:
- Classic Katsu Teishoku: Serve your chicken katsu with steamed white rice, a mound of finely shredded cabbage (often with a light dressing), and a side of miso soup. Pickled ginger or other Japanese pickles are also great additions. This is the traditional way to enjoy this chicken katsu recipe.
- Katsu Sandwich (Katsu Sando): For a popular casual option, place sliced chicken katsu between two slices of soft white bread, spread with a generous layer of katsu sauce and maybe a touch of Japanese mayonnaise. Trim the crusts for an authentic touch.
- Katsu Donburi: This is a comforting rice bowl dish where katsu is simmered briefly in a savory dashi-based sauce with onions and then covered with a beaten egg, poured over rice. It’s a wonderful way to enjoy a chicken katsu recipe.
- Salad Topper: Slice the cooled chicken katsu and serve it atop a fresh green salad with a ginger dressing. It adds a delicious crunch and protein to a light meal.
- Pair with Sides: Beyond rice and cabbage, consider serving with a refreshing cucumber salad, some edamame, or a simple stir-fried vegetable medley. For another hearty family favorite, consider making The Ultimate Comfort: Classic Sausage and Peppers Recipe for Family Dinners for another meal option.
Nutrition Information
| Nutrient | Amount Per Serving |
|---|---|
| Calories | 480 kcal |
| Carbohydrate Content | 35g |
| Cholesterol Content | 110mg |
| Fat Content | 25g |
| Fiber Content | 2g |
| Protein Content | 30g |
| Saturated Fat Content | 5g |
| Serving Size | 1 serving |
| Sodium Content | 550mg |
| Sugar Content | 8g |
| Trans Fat Content | 0g |
| Unsaturated Fat Content | 18g |
Conclusion
And there you have it – your ultimate guide to creating the most incredible, crispy, and flavorful chicken katsu recipe right in your own kitchen! From that first memorable bite years ago to perfecting this recipe, it’s been a delicious journey. I hope this detailed walkthrough, complete with pro tips and serving suggestions, empowers you to create a dish that brings as much joy to your table as it does to mine. Whether it’s for a cozy family dinner or a special treat, this chicken katsu recipe is sure to become a beloved favorite. Happy cooking, and enjoy every golden, crunchy bite!
FAQs
What is chicken katsu?
Chicken katsu is a popular Japanese dish featuring a breaded and deep-fried chicken cutlet. The chicken, usually breast or thigh, is pounded thin, seasoned, dredged in flour, egg, and panko breadcrumbs, then fried to a golden crisp. It’s typically served sliced with a tangy, savory katsu sauce, rice, and shredded cabbage.
What is the secret to super crispy chicken katsu?
The key to super crispy chicken katsu lies in using genuine panko breadcrumbs (not regular breadcrumbs), ensuring your oil is at the correct temperature (around 350u00b0F/175u00b0C), and optionally chilling the breaded chicken for 20-30 minutes before frying. Chilling helps the panko adhere better and reduces moisture, leading to a much crunchier crust.
Can I bake or air fry chicken katsu instead of deep-frying?
Yes, you can bake or air fry chicken katsu for a lighter option, though the texture won’t be exactly the same as deep-fried. To bake, preheat your oven to 400u00b0F (200u00b0C), spray the breaded cutlets lightly with oil, and bake for 20-25 minutes, flipping halfway, until golden and cooked through. For air frying, preheat to 375u00b0F (190u00b0C), spray with oil, and cook for 15-20 minutes, flipping halfway, until crispy.
What are common side dishes for chicken katsu?
The most common side dishes for chicken katsu include steamed white rice and finely shredded cabbage, often dressed lightly. Other popular accompaniments are miso soup, pickled ginger, Japanese potato salad, or a simple green salad with ginger dressing. It can also be served in a katsu sandwich (katsu sando) or over a bowl of rice as katsu don.
Ultimate Crispy Homemade Chicken Katsu Recipe
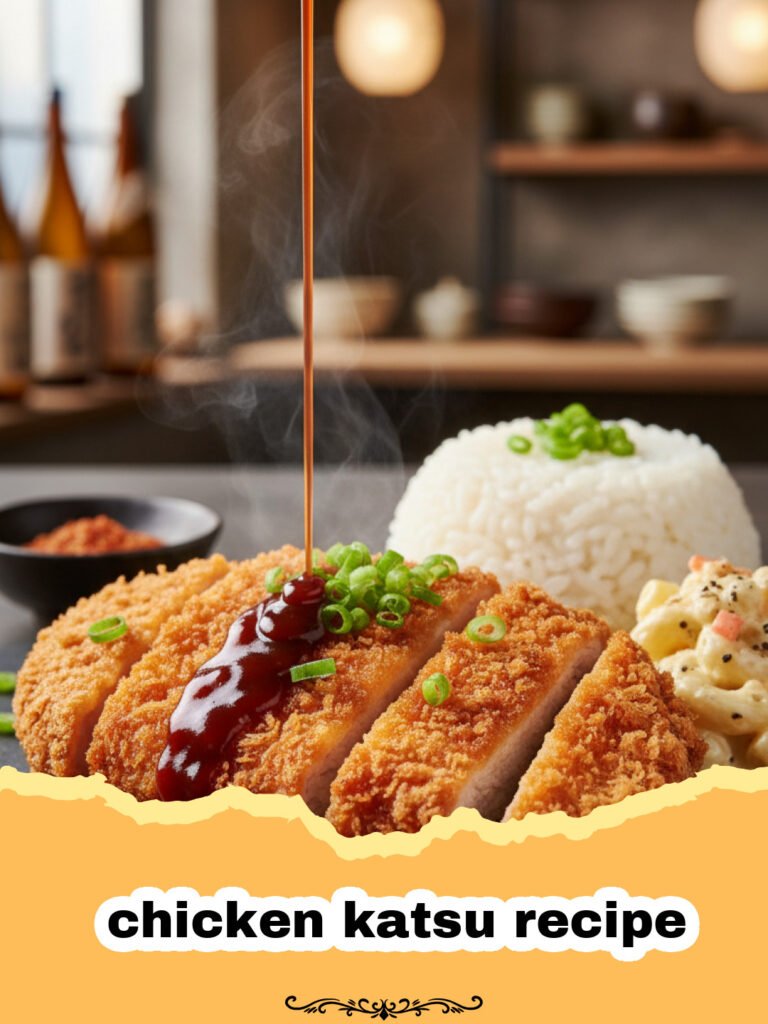
Unlock the secret to perfectly crispy and juicy Japanese chicken katsu at home with this detailed, easy-to-follow recipe. A golden-fried chicken cutlet served with a tangy homemade katsu sauce.
- Total Time: 35 minutes
- Yield: 4 servings 1x
Ingredients
2 large boneless, skinless chicken breasts (about 1.5 lbs total)
1/2 teaspoon salt
1/4 teaspoon black pepper
1/2 cup all-purpose flour
2 large eggs, whisked
2 cups panko breadcrumbs
3–4 cups vegetable oil (or other neutral oil) for frying
For the Katsu Sauce:
4 tablespoons Worcestershire sauce
3 tablespoons ketchup
1 tablespoon soy sauce
1 teaspoon sugar
Instructions
Step 1: Prepare the Chicken. Pat chicken breasts dry with paper towels. Place each breast between two sheets of plastic wrap. Using a meat mallet or a rolling pin, pound the chicken until it’s about 1/4 to 1/2-inch thick. Season both sides generously with salt and black pepper.
Step 2: Set Up the Breading Station. Prepare three shallow dishes. In the first, add the all-purpose flour. In the second, whisk the eggs until well combined. In the third, spread out the panko breadcrumbs.
Step 3: Bread the Chicken. Dredge each pounded chicken cutlet thoroughly in the flour, shaking off any excess. Then, dip it into the beaten egg mixture, ensuring it’s fully coated. Finally, press the chicken firmly into the panko breadcrumbs, making sure every surface is generously covered.
Step 4: Chill (Optional, but Recommended). For the crispiest result, transfer the breaded chicken to a wire rack set over a baking sheet and refrigerate for at least 20-30 minutes. This helps the panko adhere better and reduces moisture, leading to a crunchier fry.
Step 5: Prepare Katsu Sauce. In a small bowl, whisk together the Worcestershire sauce, ketchup, soy sauce, and sugar until well combined. Taste and adjust seasonings if needed. Set aside.
Step 6: Heat the Oil. Pour about 1-2 inches of vegetable oil (or another neutral high-smoke point oil) into a large, heavy-bottomed skillet or Dutch oven. Heat the oil over medium-high heat to 350°F (175°C). Using a thermometer is highly recommended for consistent results.
Step 7: Fry the Chicken Katsu. Carefully place one or two breaded chicken cutlets into the hot oil, ensuring not to overcrowd the pan. Fry for 3-5 minutes per side, or until golden brown and cooked through (internal temperature should reach 165°F / 74°C).
Step 8: Drain and Rest. Once cooked, transfer the chicken katsu to a wire rack lined with paper towels to drain excess oil. Let it rest for a few minutes before slicing.
Step 9: Slice and Serve. Slice the chicken katsu into 1-inch wide strips. Serve immediately with a generous drizzle of homemade katsu sauce, alongside steamed rice, and a side of shredded cabbage.
Notes
For the best results, use a meat thermometer to ensure your oil maintains a consistent temperature of 350°F (175°C) during frying. Do not overcrowd the pan, as this will drop the oil temperature and lead to greasy katsu instead of crispy. You can prepare the breaded chicken ahead of time and store it in the refrigerator for up to 24 hours before frying.
- Prep Time: 20 minutes
- Cook Time: 15 minutes
- Category: Lunch
- Cuisine: Japanese
Nutrition
- Serving Size: 1 serving
- Calories: 480 kcal
- Sugar: 8g
- Sodium: 550mg
- Fat: 25g
- Saturated Fat: 5g
- Unsaturated Fat: 18g
- Trans Fat: 0g
- Carbohydrates: 35g
- Fiber: 2g
- Protein: 30g
- Cholesterol: 110mg
Keywords: chicken katsu recipe, japanese chicken katsu, crispy chicken, katsu sauce, panko chicken, fried chicken, homemade katsu, easy chicken katsu, japanese food, dinner recipe