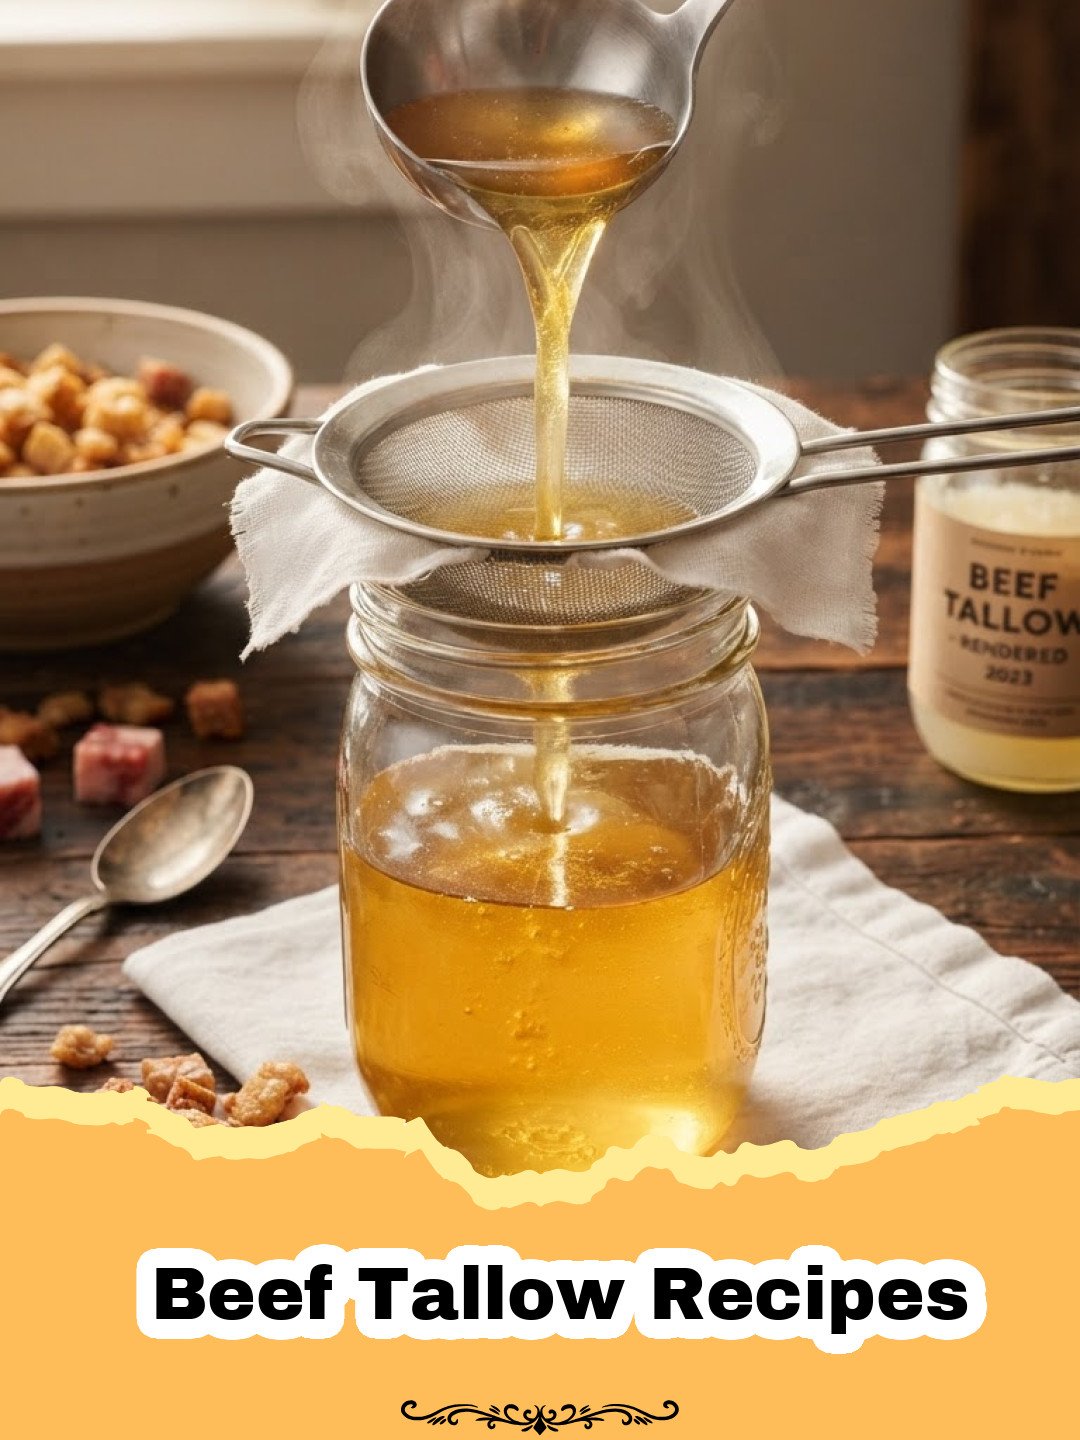
Growing up, my grandmother’s kitchen was a sanctuary of smells – warm spices, fresh bread, and sometimes, a rich, savory aroma that meant something truly delicious was being prepared. I remember watching her carefully tending to a pot on the stove, a gentle simmer transforming solid white fat into a shimmering, golden liquid. She called it ‘liquid gold,’ and it was the secret weapon behind her crispiest roast potatoes, her flakiest pie crusts, and her most flavorful fried chicken. For years, I forgot about this traditional practice, swayed by modern cooking oils. But then, as I delved deeper into sustainable cooking and nourishing ingredients, I rediscovered the magic. Now, I understand that the ‘liquid gold’ she made was none other than beef tallow, and learning how to render it is one of the most rewarding Beef Tallow Recipes you can master. It’s a journey back to basics, a celebration of nose-to-tail cooking, and a simple way to elevate nearly every dish you make. If you’ve ever wanted to connect with traditional cooking methods and unlock incredible flavor, you’re in the right place.
Why This Beef Tallow Recipe Is a Must-Try
Unparalleled Flavor and Texture
Homemade beef tallow imparts a deeply savory, rich flavor to anything it touches that no other oil can replicate. Think restaurant-quality crispy potatoes, perfectly seared steaks, and unbelievably flaky pastry. It’s truly a game-changer for enhancing the natural taste of your ingredients, making it a cornerstone for many fantastic Beef Tallow Recipes.
High Smoke Point for Versatile Cooking
With a smoke point around 400°F (205°C), beef tallow is incredibly stable at high temperatures. This makes it ideal for frying, deep-frying, searing, and roasting without breaking down or producing harmful free radicals. Unlike many seed oils, it can withstand the heat of your kitchen, expanding your repertoire of delicious Beef Tallow Recipes.
Economical and Sustainable
Rendering your own beef tallow from suet (a byproduct of beef processing) is an excellent way to practice nose-to-tail eating and reduce waste. Often, you can get suet for a very low cost, or even free from your local butcher, making this one of the most budget-friendly and sustainable Beef Tallow Recipes to incorporate into your kitchen.
Natural and Wholesome Fat
In an age where processed foods dominate, homemade beef tallow stands out as a pure, unprocessed fat. When sourced from grass-fed or pasture-raised animals, it contains beneficial nutrients like conjugated linoleic acid (CLA) and fat-soluble vitamins. It’s a natural alternative to highly refined vegetable oils, bringing wholesome goodness back to your cooking.
Key Ingredient Notes
While the process of rendering beef tallow is simple, the quality of your main ingredient makes all the difference. This essential among Beef Tallow Recipes relies on one primary component: beef suet.
Beef Suet: The Golden Ticket
Beef suet is the hard, white fat found around the kidneys and loins of cattle. This internal fat is distinct from other fat trimmings; it’s denser, purer, and yields a cleaner, more neutral-tasting tallow. When rendered, kidney suet produces the finest quality tallow with the highest smoke point and the best texture for storage.
- Where to find it: Your best bet is a local butcher shop or a farm that sells directly to consumers. Ask specifically for ‘kidney suet’ or ‘leaf suet.’ Many grocery store meat counters can also order it for you. Don’t be afraid to ask! Sometimes it’s labeled as ‘beef fat for rendering.’
- Quality matters: For the best results, seek out suet from grass-fed, pasture-raised, or organic cattle. This not only ensures a more nutrient-dense product but also results in tallow with a cleaner flavor profile.
- Preparation: Before rendering, the suet needs to be trimmed of any meat bits, blood vessels, or connective tissue. These impurities can affect the flavor and shelf life of your finished tallow. Chop it into small, uniform pieces (about 1/2 to 1 inch cubes) or run it through a meat grinder for faster rendering. Smaller pieces melt more efficiently and evenly.
Water (Optional for Wet Rendering)
While not strictly an ‘ingredient’ in the traditional sense, water plays a crucial role if you opt for the ‘wet rendering’ method (which I highly recommend for beginners and for the purest tallow). A small amount of water added to the pot with the suet helps to prevent the fat from scorching on the bottom of the pan before it has a chance to melt. It acts as a buffer, allowing the fat to gently liquefy. The water will evaporate during the cooking process, leaving behind pure tallow. For this reason, having filtered water on hand is beneficial for this particular one of the Beef Tallow Recipes.
Step-by-Step Guide with Pro Tips for Perfect Beef Tallow
Mastering this fundamental process means you’ll have a cornerstone ingredient ready for countless Beef Tallow Recipes. Let’s get started!
Equipment You’ll Need:
- Heavy-bottomed pot (Dutch oven works great)
- Sharp knife or meat grinder
- Fine-mesh sieve
- Cheesecloth or coffee filters
- Heat-safe jars or containers for storage (I love using Basics Glass Food Storage containers for this)
Now, let’s dive into one of the most rewarding Beef Tallow Recipes you’ll ever undertake.
- Step 1: Prepare the Suet. Start by thoroughly cleaning your beef suet. Using a sharp knife, carefully trim away any visible bits of meat, blood, or connective tissue. These impurities can cause your tallow to spoil faster and have an off-flavor. Once cleaned, chop the suet into small, uniform pieces, about 1/2 to 1 inch in size. The smaller the pieces, the faster and more evenly they will render. Alternatively, you can put the suet through a meat grinder, which dramatically speeds up the process.
- Step 2: Choose Your Rendering Method. There are two main methods: dry rendering and wet rendering. For beginners and for the purest, most neutral tallow, I highly recommend the wet rendering method, which uses a bit of water.
- Wet Rendering (Recommended): Place your chopped suet into a heavy-bottomed pot. Add about 1 cup of cold water for every 2-3 pounds of suet. The water helps prevent the fat from scorching at the bottom of the pot before it fully melts.
- Dry Rendering: Place your chopped suet directly into the pot without water. This method can be faster but requires more vigilant stirring to prevent burning.
- Step 3: Slow Cook for Perfection. Place the pot over low to medium-low heat. The key to excellent tallow is slow, gentle heat. You want the fat to melt slowly, not fry. If using the wet method, the water will slowly simmer and then evaporate. Stir occasionally to prevent sticking and promote even melting. As the fat melts, it will release a beautiful golden liquid, leaving behind crispy bits of solids (known as cracklings or ‘gravy bits’). Continue cooking until all the suet has melted and only small, crispy, golden-brown cracklings remain. This typically takes 3-4 hours, depending on the amount of suet and the heat level. Don’t rush this process; patience is a virtue here.
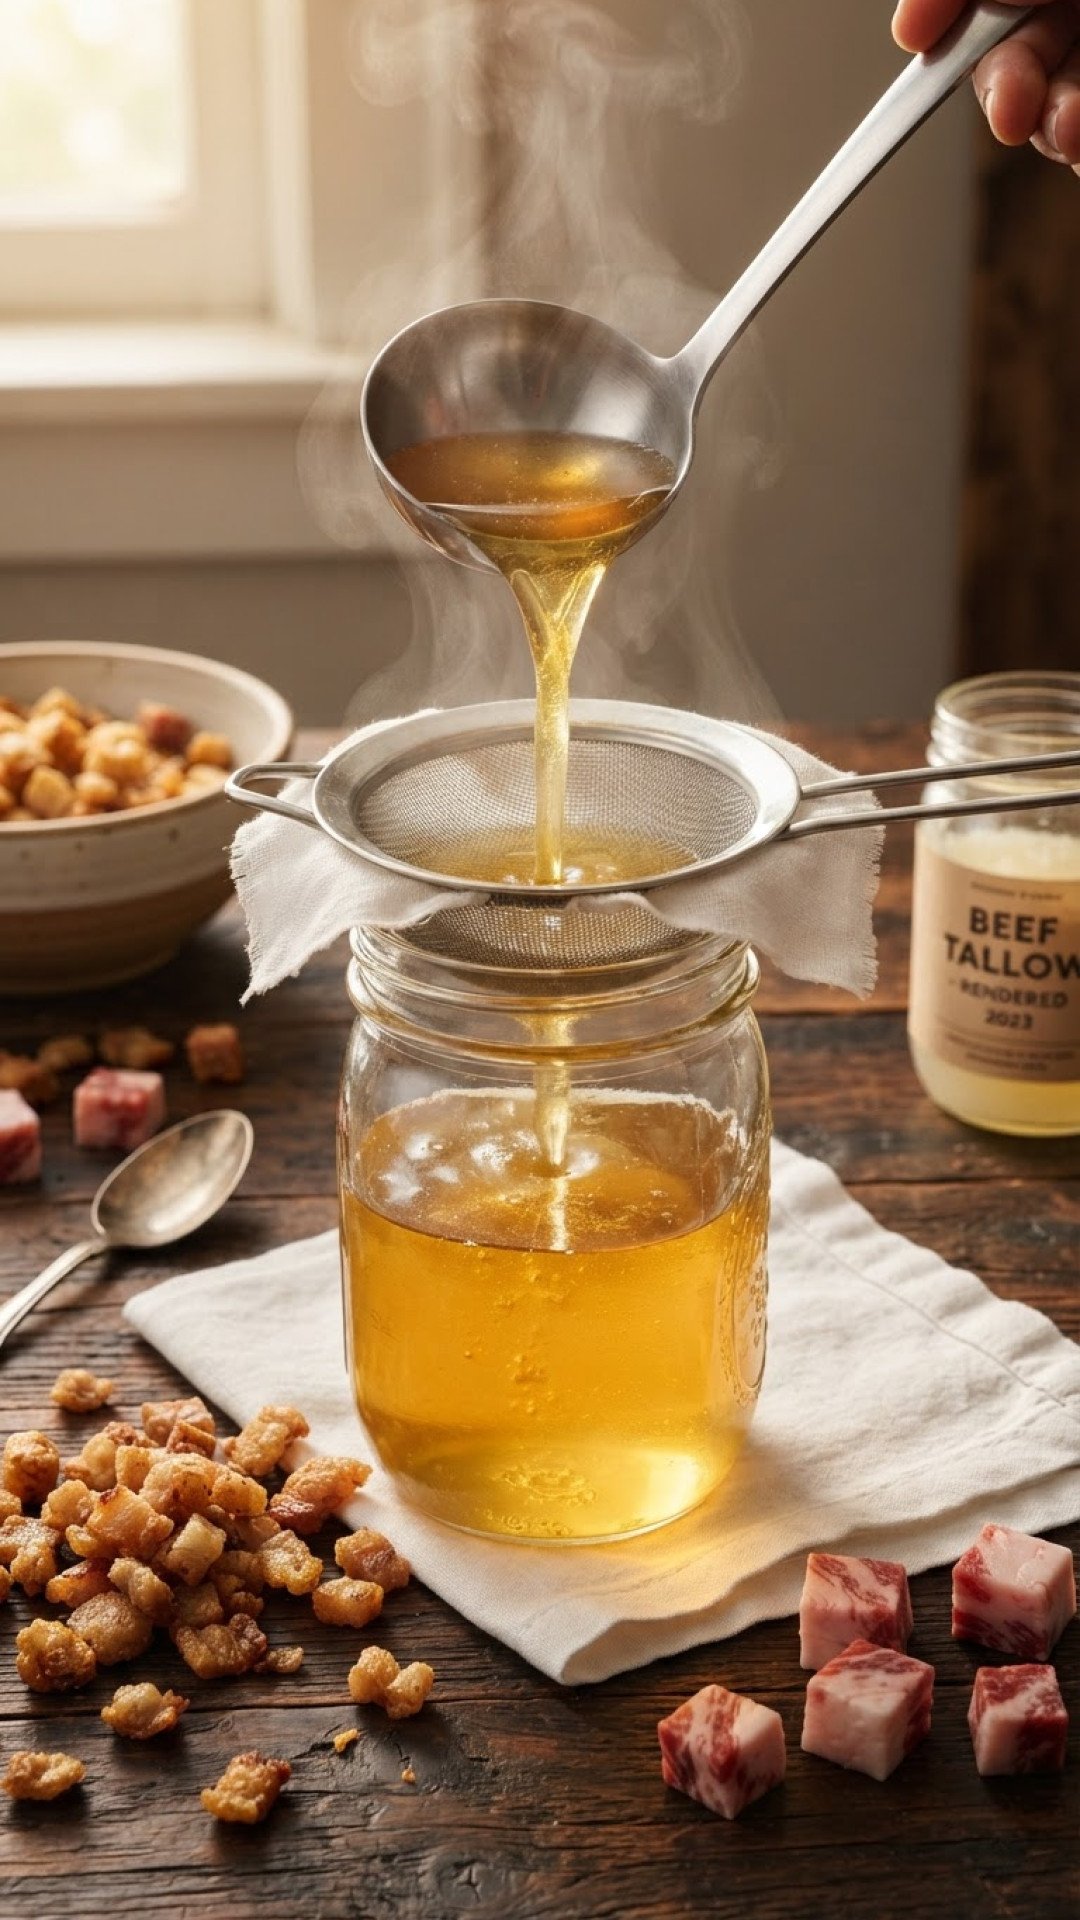
- Step 4: Strain the Liquid Gold. Once all the fat has rendered and the cracklings are golden, remove the pot from the heat. Carefully strain the hot liquid through a fine-mesh sieve lined with several layers of cheesecloth or a coffee filter. This step is crucial for separating the pure tallow from any remaining solids and impurities. For an extra clear and pure tallow, you can strain it a second time through fresh cheesecloth. Pour the strained tallow into clean, dry, heat-safe jars or containers.
- Step 5: Cool and Store. Allow the tallow to cool completely at room temperature. As it cools, it will solidify into a beautiful, opaque, creamy white or pale yellow solid. Once fully solid, cover the jars tightly. Store your homemade beef tallow in a cool, dark pantry for several months, or in the refrigerator for up to a year. It can also be frozen indefinitely. Properly rendered and stored tallow will have a long shelf life, ready for all your favorite Beef Tallow Recipes.
Pro Tips for Success:
- Don’t Rush the Heat: Low and slow is the mantra for rendering tallow. High heat can burn the fat, giving your tallow an unpleasant flavor and smell.
- Cleanliness is Key: Ensure all your equipment, especially the storage jars, are spotlessly clean and dry. Any moisture or contaminants can lead to spoilage.
- Utilize the Cracklings: Don’t throw away those crispy bits (cracklings)! Drain them well, sprinkle with a little salt, and enjoy them as a savory snack, or crumble them over salads, vegetables, or even add them to crock pot chicken recipes for an extra layer of flavor and texture.
- Re-rendering (Optional): If your tallow isn’t as pure or white as you’d like, or if it has any off-odors, you can re-render it. Melt the solidified tallow gently in a pot with an equal amount of water. Bring to a gentle simmer, then cool it completely. The tallow will solidify on top, trapping impurities beneath. Lift the solid tallow disc, scrape off any brown bits from the bottom, and repeat the straining process.
Variations & Serving Suggestions for Beef Tallow Recipes
Now that you have your beautifully rendered beef tallow, the culinary possibilities are endless! It’s one of those foundational Beef Tallow Recipes that unlocks a world of flavor.
Using Your Golden Tallow:
- Roasting Vegetables: Toss your favorite root vegetables (potatoes, carrots, parsnips, sweet potatoes) with melted tallow, salt, and pepper before roasting. The high smoke point ensures a perfectly crispy exterior and a tender, flavorful interior. My absolute favorite is using it for roasted cabbage steaks – the flavor is out of this world!
- Frying & Searing: Use tallow for searing steaks, frying eggs, or sautéing greens. Its rich flavor and high smoke point make it superior to most vegetable oils for these tasks. Imagine the crust on a pan-seared steak cooked in tallow!
- Baking: Tallow can be used in place of butter or shortening in savory baked goods. It makes incredibly flaky pie crusts, biscuits, and savory pastry. It imparts a subtle richness that is truly unique.
- Confit: Slowly cook meats like duck legs or garlic cloves submerged in melted tallow for incredibly tender and flavorful results. This traditional method is a fantastic way to preserve and flavor food.
- Popcorn: Drizzle a little melted tallow over freshly popped popcorn for a savory, rich treat.
Enhancing Your Tallow:
- Herb-Infused Tallow: As your tallow cools down after rendering, but before it fully solidifies, you can infuse it with fresh herbs like rosemary, thyme, or bay leaves. Gently warm these herbs in the liquid tallow for about 30 minutes on low heat, then strain them out before the tallow solidifies. This creates a flavored tallow perfect for specific Beef Tallow Recipes.
- Spiced Tallow: Similar to herb infusion, you can add whole spices like black peppercorns, star anise, or dried chili flakes to the liquid tallow for a warm, spiced fat.
Experiment with your homemade tallow! You’ll quickly discover how this simple rendered fat can transform your everyday cooking into something extraordinary. It’s not just a fat; it’s a flavor enhancer and a testament to traditional culinary wisdom.
Nutrition Information
Here’s a breakdown of the estimated nutritional content per serving of rendered beef tallow. Please note that these values are approximate and can vary based on the specific suet used and rendering process.
| Nutrient | Amount Per Serving (1 tbsp / 14g) |
|---|---|
| Calories | 126 kcal |
| Total Fat | 14 g |
| Saturated Fat | 7 g |
| Monounsaturated Fat | 6 g |
| Polyunsaturated Fat | 0.5 g |
| Cholesterol | 14 mg |
| Sodium | 0 mg |
| Carbohydrates | 0 g |
| Fiber | 0 g |
| Sugar | 0 g |
| Protein | 0 g |
| Trans Fat | 0.4 g |
*Nutrition facts are estimated and may vary.
Conclusion
Making your own beef tallow might seem like a daunting task at first, but as you’ve seen, it’s a straightforward and incredibly rewarding process. You’re not just rendering fat; you’re creating a versatile, flavorful, and wholesome cooking medium that connects you to generations of culinary tradition. From crispy roast vegetables to savory baked goods, the possibilities for delicious Beef Tallow Recipes are truly endless once you have a jar of this ‘liquid gold’ in your pantry. So, embrace the art of rendering, enjoy the rich flavors it brings, and savor the satisfaction of cooking with real, natural ingredients. Happy cooking!
FAQs
What is beef tallow and why should I use it?
Beef tallow is rendered beef fat, typically from suet. It’s a traditional cooking fat prized for its rich, savory flavor, high smoke point (making it excellent for frying and roasting), and stability. It’s a natural, unprocessed alternative to many modern cooking oils and enhances many Beef Tallow Recipes.
What’s the best way to render beef tallow?
The ‘wet rendering’ method is often recommended, especially for beginners, as it produces the purest, most neutral-flavored tallow. This involves slowly melting chopped beef suet with a small amount of water over low heat. The water helps prevent scorching and evaporates, leaving behind pure liquid fat. Remember, low and slow heat is the key to perfect Beef Tallow Recipes.
How do I store homemade beef tallow?
Once rendered and solidified, store your homemade beef tallow in airtight, clean jars or containers. It can be kept in a cool, dark pantry for several months, or refrigerated for up to a year. For even longer storage, it can be frozen indefinitely. Ensure the containers are completely dry before filling to prevent spoilage.
Can I use beef tallow in any recipe?
Beef tallow is incredibly versatile! It’s excellent for high-heat cooking like frying, searing, and roasting vegetables (think crispy potatoes or roasted root vegetables). It can also be used in savory baking for flaky pie crusts or biscuits, and even for making confit. While its savory flavor is distinct, it can elevate many traditional and modern Beef Tallow Recipes.
Homemade Rendered Beef Tallow
Learn the traditional method to render high-quality, pure beef tallow from suet, perfect for all your cooking and baking needs. This fundamental beef tallow recipe yields a stable, flavorful fat.
- Total Time: 3 hours 30 minutes – 4 hours 30 minutes
- Yield: Approximately 2–3 cups (from 2–3 lbs suet) 1x
Ingredients
2–3 pounds raw beef suet (kidney suet preferred)
1 cup cold water (for wet rendering, optional)
Instructions
Step 1: Prepare the Suet. Start by thoroughly cleaning your beef suet. Using a sharp knife, carefully trim away any visible bits of meat, blood, or connective tissue. Once cleaned, chop the suet into small, uniform pieces, about 1/2 to 1 inch in size. Alternatively, you can put the suet through a meat grinder for faster rendering.
Step 2: Choose Your Rendering Method. For beginners and for the purest, most neutral tallow, I recommend the wet rendering method. Place your chopped suet into a heavy-bottomed pot. Add about 1 cup of cold water for every 2-3 pounds of suet. If opting for dry rendering, place suet directly into the pot without water, requiring more vigilant stirring.
Step 3: Slow Cook for Perfection. Place the pot over low to medium-low heat. The key is slow, gentle heat. Stir occasionally to prevent sticking and promote even melting. Continue cooking until all the suet has melted and only small, crispy, golden-brown cracklings remain. This typically takes 3-4 hours.
Step 4: Strain the Liquid Gold. Once all the fat has rendered and the cracklings are golden, remove the pot from the heat. Carefully strain the hot liquid through a fine-mesh sieve lined with several layers of cheesecloth or a coffee filter. Pour the strained tallow into clean, dry, heat-safe jars or containers.
Step 5: Cool and Store. Allow the tallow to cool completely at room temperature. As it cools, it will solidify into a beautiful, opaque, creamy white or pale yellow solid. Once fully solid, cover the jars tightly. Store your homemade beef tallow in a cool, dark pantry for several months, or in the refrigerator for up to a year. It can also be frozen indefinitely.
Notes
For the purest tallow, use high-quality suet from grass-fed or pasture-raised cattle. The smell will be much cleaner and the flavor superior. Ensure all equipment is very clean to avoid spoilage. Tallow is shelf-stable for months in a cool, dark place, or refrigerated for a year, and frozen indefinitely. Always keep an eye on the heat; low and slow is key to preventing burnt flavor.
- Prep Time: 30 minutes
- Cook Time: 3-4 hours
- Category: How To
- Cuisine: American
Nutrition
- Serving Size: 1 tbsp (14g)
- Calories: 126 kcal
- Sugar: 0 g
- Sodium: 0 mg
- Fat: 14 g
- Saturated Fat: 7 g
- Unsaturated Fat: 6.5 g
- Trans Fat: 0.4 g
- Carbohydrates: 0 g
- Fiber: 0 g
- Protein: 0 g
- Cholesterol: 14 mg
Keywords: beef tallow, rendering tallow, how to make tallow, beef fat, cooking fat, healthy fats, traditional cooking, suet, pastured beef, frying oil, sautéing, baking with tallow, beef tallow recipes