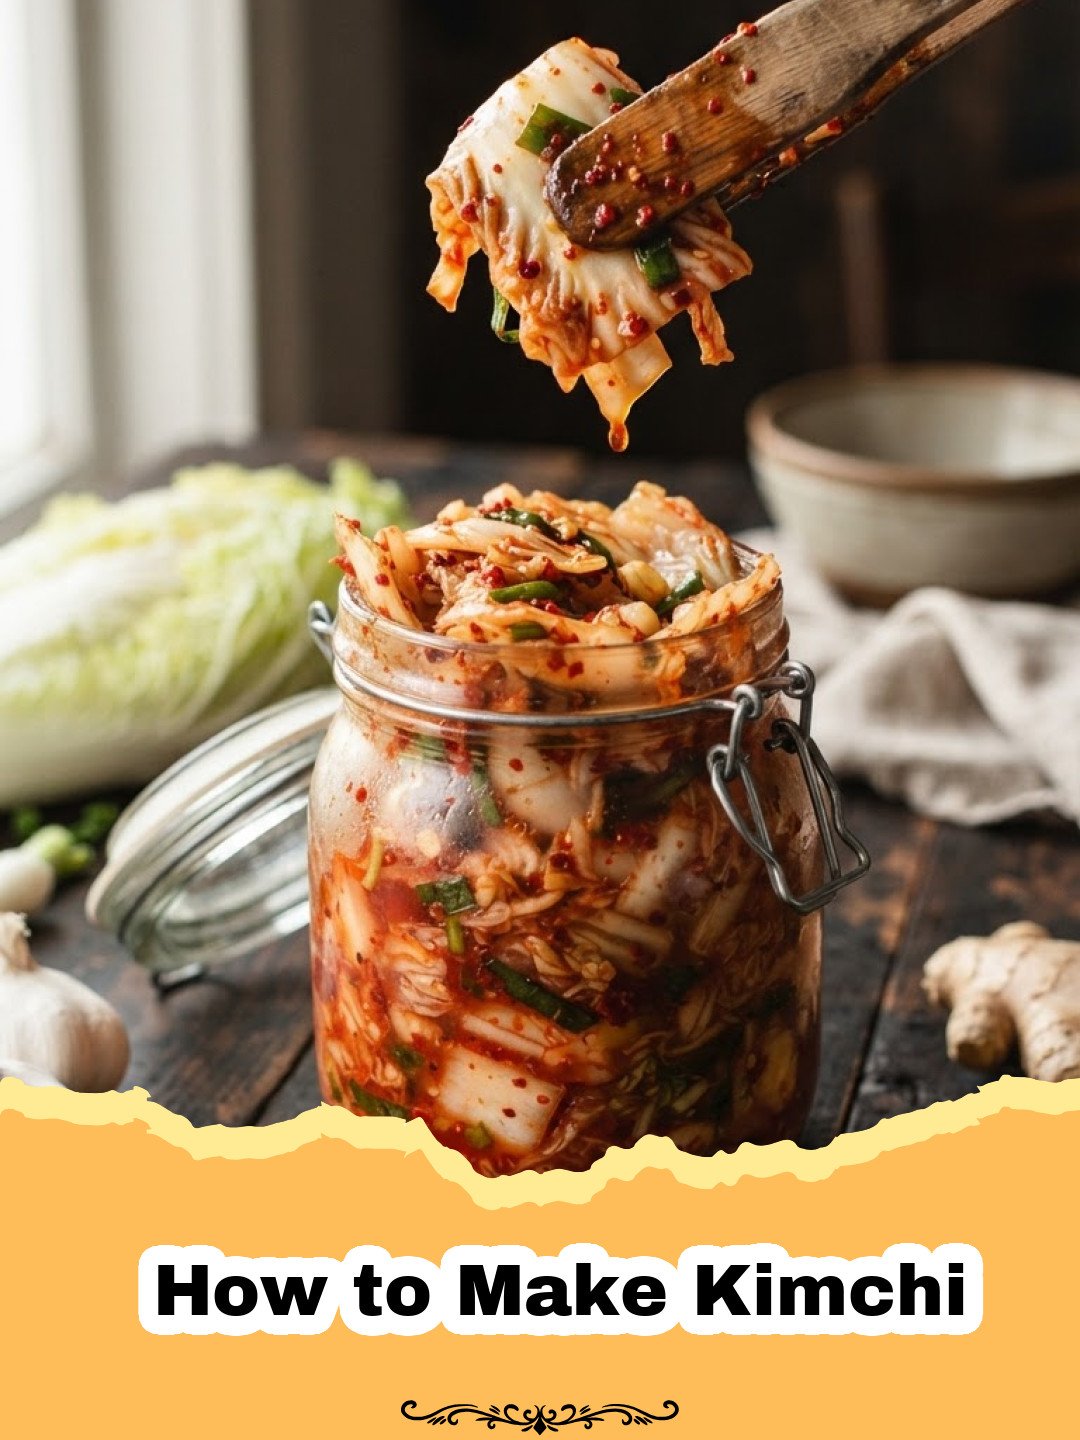
I still remember my first foray into the world of fermentation. It was a chilly autumn evening, and I, armed with a newfound culinary ambition and a questionable YouTube tutorial, decided I was going to conquer the art of making kimchi. My kitchen, usually a calm sanctuary, quickly transformed into a battlefield of scattered cabbage leaves, a cloud of chili flakes, and the distinct, pungent aroma of garlic and fish sauce. The initial result? Let’s just say it was… an experience. A little too salty, a little too spicy, and definitely not the vibrant, complex flavor I’d fallen in love with at my local Korean restaurant. But that first, somewhat disastrous attempt only fueled my determination. I spent weeks researching, reading, and experimenting, driven by the desire to truly understand How to Make Kimchi – not just follow a recipe, but to grasp its soul. What started as a messy endeavor slowly blossomed into a ritual, a deeply satisfying process that connects me to a culinary tradition steeped in history and flavor. Now, years later, I’m thrilled to share my perfected method with you, so you can avoid my early pitfalls and jump straight into creating your own incredible, probiotic-rich fermented delight right in your own kitchen.
Why This Kimchi Recipe is a Must-Try
- Unbeatable Freshness and Flavor: Store-bought kimchi simply can’t compare to the vibrant, complex flavors of homemade. You control the spice, salt, and fermentation level.
- Packed with Probiotics: Fermented foods like kimchi are fantastic for gut health, aiding digestion and boosting your immune system. Learning How to Make Kimchi gives you access to these benefits.
- Versatile Culinary Ingredient: Beyond being a delicious side dish, kimchi elevates everything from fried rice and stews to tacos and sandwiches. It’s a game-changer!
- Empowering Kitchen Project: There’s immense satisfaction in creating something so delicious and beneficial from scratch. Mastering How to Make Kimchi is a rewarding culinary achievement.
Key Ingredient Notes
When you embark on the journey of How to Make Kimchi, understanding your ingredients is paramount. They’re not just items on a list; they’re the building blocks of flavor and fermentation.
Napa Cabbage (Baechu)
This is the star of our show. Napa cabbage, with its broad, crinkly leaves and sweet, slightly peppery flavor, is ideal for kimchi. Its high water content makes it perfect for salting, a crucial step that draws out moisture, softens the leaves, and creates the ideal environment for fermentation. Don’t skip the salting process; it’s fundamental to developing the signature texture and taste of good kimchi. Ensure your cabbage is fresh and firm for the best results.
Korean Chili Flakes (Gochugaru)
Gochugaru is what gives kimchi its distinctive fiery red hue and complex, fruity heat. Unlike other chili powders, gochugaru has a unique, smoky sweetness with a medium heat level that’s incredibly appealing without being overwhelmingly spicy. The quality of your gochugaru significantly impacts the final taste and color of your kimchi. Look for bright red flakes, ideally from a Korean market, and store them in the freezer to preserve their vibrant color and flavor. This is a non-negotiable ingredient when learning How to Make Kimchi authentically.
Fish Sauce (Aekjeot)
While some recipes offer alternatives, traditional kimchi relies on fish sauce for its deep umami flavor. It adds a layer of savory richness and complexity that can’t be replicated. A good quality Korean fish sauce (often made from anchovies or sand lance) will integrate seamlessly into the paste, providing a subtle, briny depth without tasting overtly fishy. If you’re exploring How to Make Kimchi vegan-friendly, you can substitute this with a combination of soy sauce and mushroom powder or a vegan fish sauce alternative.
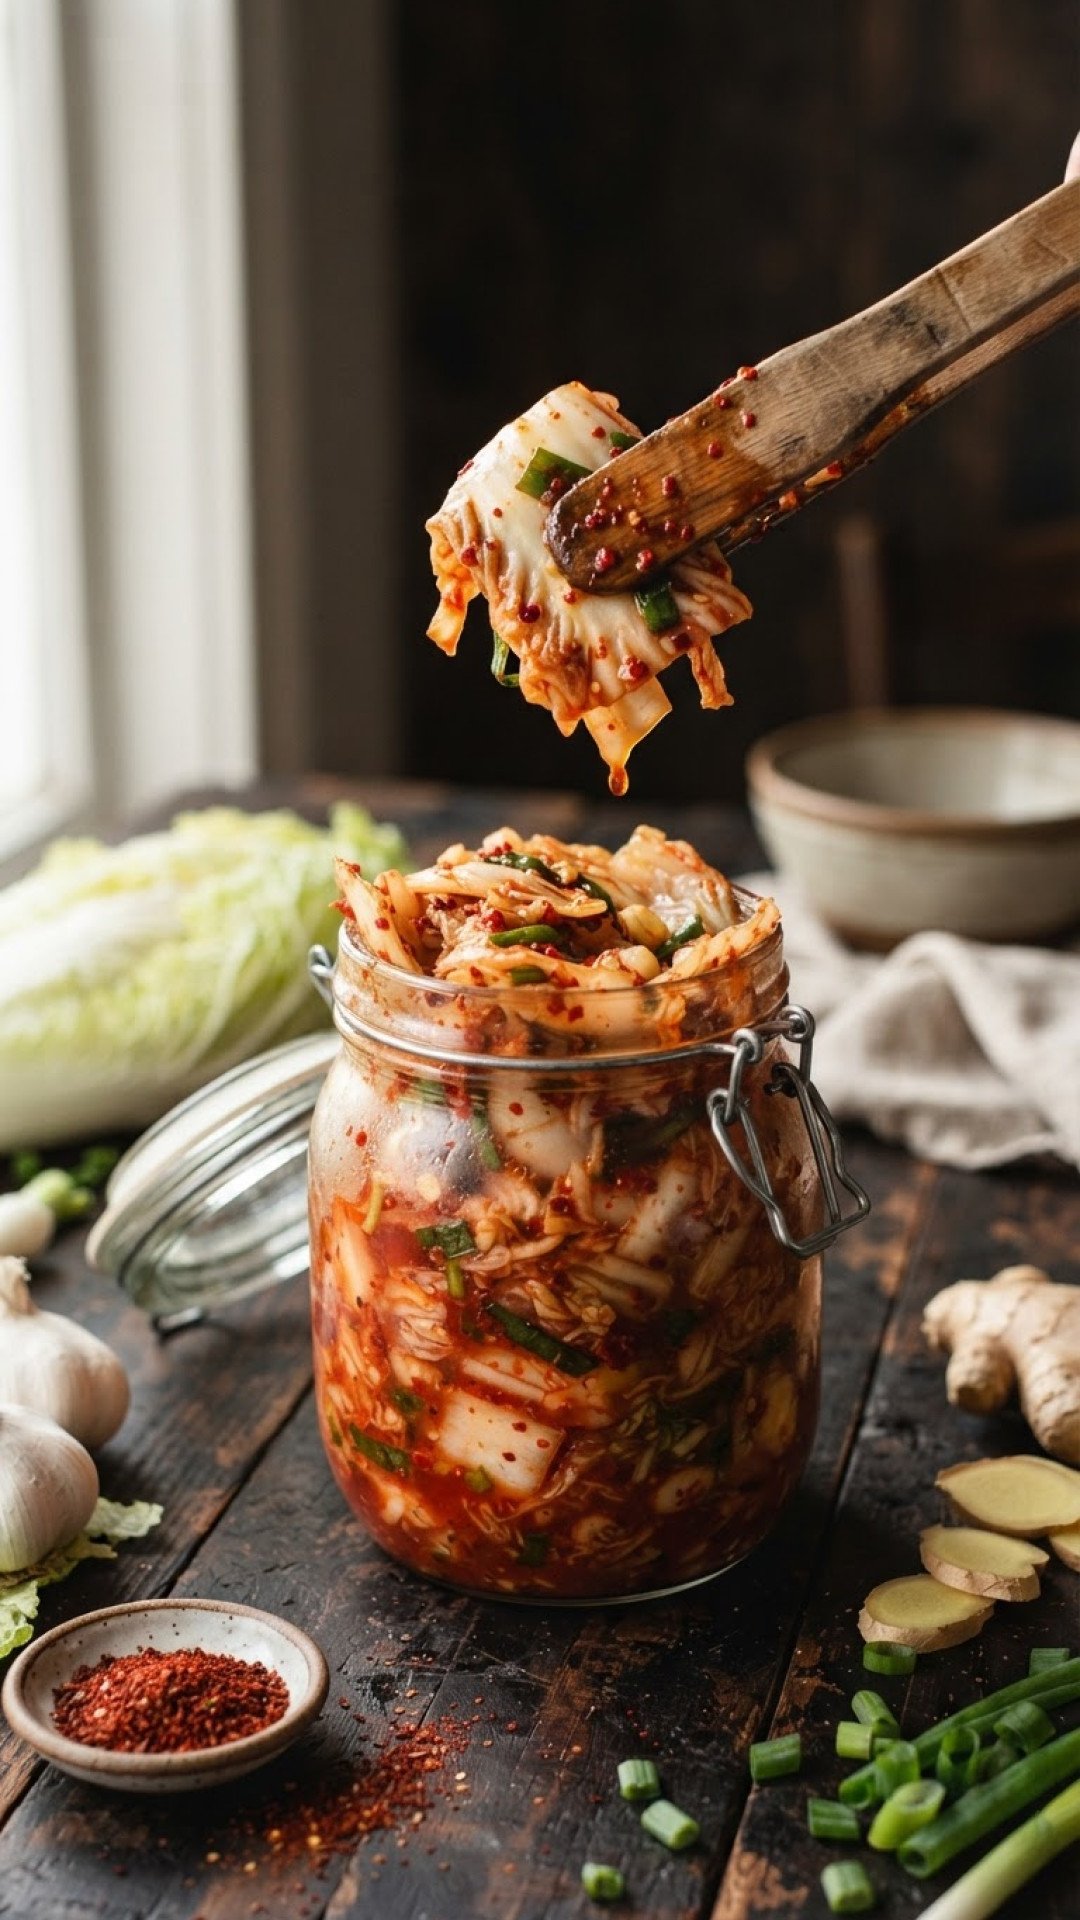
Step-by-Step Guide with Pro Tips
Learning How to Make Kimchi is a rewarding process, and breaking it down into manageable steps makes it even easier. Follow these instructions carefully, and you’ll be enjoying your homemade kimchi in no time!
Variations & Serving Suggestions
Mastering How to Make Kimchi opens up a world of culinary possibilities. Once you have your basic batch, don’t be afraid to experiment!
- Vegan Kimchi: For a plant-based version, simply omit the fish sauce and substitute with an equal amount of soy sauce, adding a teaspoon of mushroom powder or kelp powder for extra umami depth.
- Radish Kimchi (Kkakdugi): Instead of cabbage, use daikon radish cut into cubes. The salting process is similar, and the paste remains largely the same, yielding a crisp, refreshing kimchi.
- White Kimchi (Baek Kimchi): This non-spicy version omits gochugaru and relies on a clear, flavorful brine. It’s excellent for those sensitive to spice.
How to Serve Your Homemade Kimchi:
- Classic Side Dish: Enjoy it straight from the jar with any Korean meal, or alongside grilled meats.
- Kimchi Fried Rice: One of the most popular uses! Sauté chopped kimchi with rice, protein (pork, chicken, tofu), and a fried egg on top.
- Kimchi Stew (Kimchi Jjigae): A comforting, hearty stew perfect for cold days.
- Kimchi Pancakes (Kimchijeon): Add chopped kimchi to a savory pancake batter for a delightful appetizer.
- Unexpected Pairings: Try it in a grilled cheese sandwich, mixed into scrambled eggs, or even as a topping for hot dogs or roasted cabbage steaks for an extra kick. For a lighter, fresher side, it pairs wonderfully with a zesty smashed cucumber salad.
Nutrition Information
Here’s a breakdown of the estimated nutritional content per serving of this authentic homemade kimchi. Please note that these values are estimates and can vary based on specific ingredients and preparation methods.
| Nutrition Facts (per serving) | |
|---|---|
| Calories | 25 kcal |
| Carbohydrate Content | 4 g |
| Cholesterol Content | 0 mg |
| Fat Content | 0.5 g |
| Fiber Content | 2 g |
| Protein Content | 1.5 g |
| Saturated Fat Content | 0 g |
| Serving Size | 100 g |
| Sodium Content | 350 mg |
| Sugar Content | 2 g |
| Trans Fat Content | 0 g |
| Unsaturated Fat Content | 0.3 g |
Conclusion
There you have it – a comprehensive guide on How to Make Kimchi that’s both authentic and approachable. This journey from a humble head of cabbage to a jar of complex, probiotic-rich goodness is incredibly rewarding. Not only will you impress your taste buds, but you’ll also be nurturing your gut health with every delicious bite. Don’t be intimidated; embrace the process, trust your instincts, and enjoy the magical transformation that occurs. Happy fermenting, and enjoy your delicious homemade kimchi!
FAQs
How long does it take to make kimchi?
The active preparation time for making kimchi is about 1 to 1.5 hours. However, you’ll also need 2-3 hours for salting the cabbage and then 1-2 days (or more) for fermentation at room temperature. So, while the hands-on time is minimal, the overall process takes a few days to achieve optimal flavor.
What is the best way to store homemade kimchi?
Store homemade kimchi in airtight glass jars or fermentation crocks in the refrigerator. This slows down the fermentation process and keeps it fresh for several weeks to months. Ensure the kimchi is submerged in its liquid as much as possible for best preservation.
Can I make kimchi without fish sauce?
Yes, you can make vegan kimchi by omitting the fish sauce. A good substitute is an equal amount of soy sauce combined with a teaspoon of mushroom powder or kelp powder to replicate the umami depth. There are also vegan fish sauce alternatives available.
How do I know when my kimchi is ready to eat?
Your kimchi is ready when it develops a pleasantly sour, tangy flavor and releases small bubbles, indicating active fermentation. This typically happens after 1-2 days at room temperature. Taste it daily until it reaches your desired level of tanginess, then transfer it to the refrigerator to slow down further fermentation.
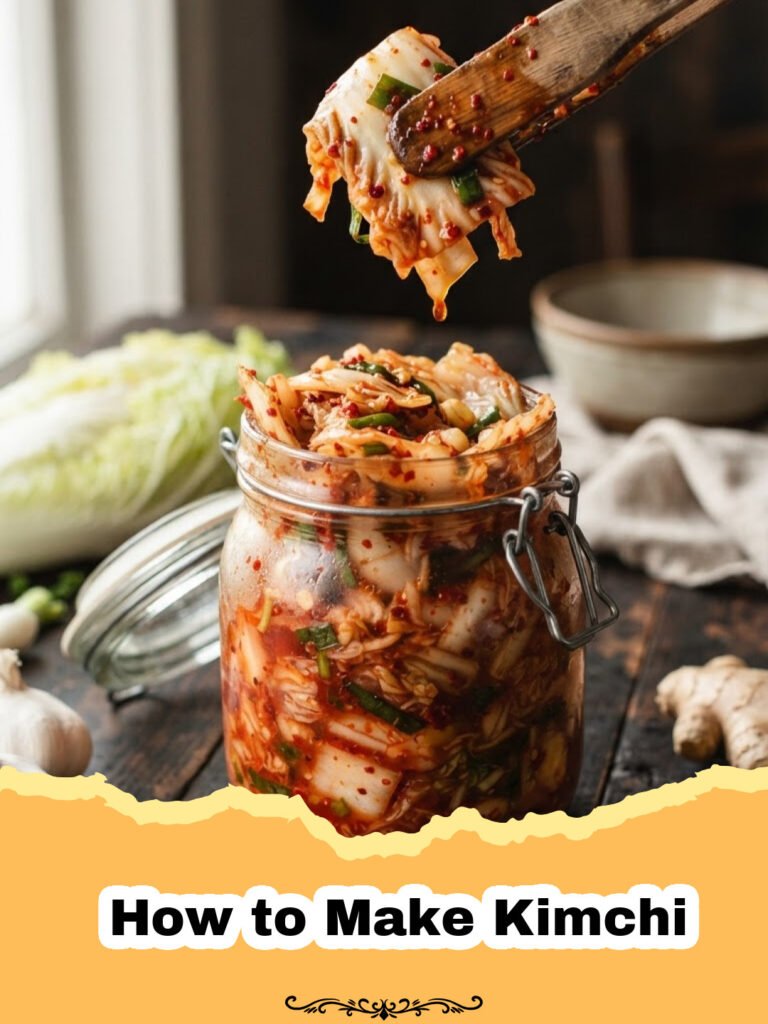
Authentic Homemade Kimchi
A comprehensive guide to making delicious, authentic Korean kimchi from scratch, packed with probiotics and rich flavors. Learn how to prepare, ferment, and enjoy this traditional staple.
- Total Time: 1 hour 30 minutes prep + 2-3 hours salting + 1-2 days fermenting
- Yield: 2 kg (approx. 4.5 lbs) 1x
Ingredients
1 large (2.5-3 kg) Napa cabbage
1/2 cup coarse sea salt (or pickling salt)
1 cup glutinous rice flour (or sweet rice flour)
1 cup water
1/2 cup Korean chili flakes (Gochugaru) – adjust to taste
1/4 cup fish sauce (Korean anchovy sauce preferred)
2 tablespoons sugar (or Korean plum extract)
1 whole head garlic, minced (about 1/4 cup)
1 piece (2-inch) fresh ginger, grated (about 2 tablespoons)
1/2 medium onion, pureed (about 1/4 cup)
1/4 cup salted shrimp (saeujeot), finely minced (optional, but highly recommended)
1 medium daikon radish, julienned
4–5 green onions, cut into 2-inch pieces
1/2 medium carrot, julienned
Instructions
Step 1: Prepare the Napa Cabbage: Quarter the cabbage lengthwise. Cut out the tough core. For each quarter, make a 2-inch incision at the core end and gently pull the leaves apart. This helps the salt penetrate better.
Step 2: Salt the Cabbage: Rinse the cabbage quarters under cold water. Sprinkle coarse salt generously between every leaf, focusing on the thicker white parts. Place the salted cabbage in a large bowl or tub, stacking them. Let it sit for 2-3 hours, flipping every hour, until the cabbage is flexible and has wilted significantly. It should bend without breaking. This is a critical step for How to Make Kimchi.
Step 3: Rinse and Drain Cabbage: Thoroughly rinse the salted cabbage under cold running water 2-3 times to remove excess salt. Squeeze gently to remove as much water as possible without tearing the leaves. Place the rinsed cabbage in a colander and let it drain for at least 30 minutes to 1 hour, or until no more water drips out.
Step 4: Make the Porridge (Full): In a small saucepan, whisk together the glutinous rice flour and water until smooth. Cook over medium-low heat, stirring constantly, until it thickens into a paste, about 5-7 minutes. Let it cool completely. This acts as a binder and helps with fermentation.
Step 5: Prepare the Kimchi Paste (Yangnyeom): In a very large bowl, combine the cooled rice porridge, gochugaru, fish sauce, sugar, minced garlic, grated ginger, pureed onion, and finely minced salted shrimp (if using). Mix well until a smooth, thick paste forms. This paste is the heart of How to Make Kimchi.
Step 6: Add Vegetables to Paste: Add the julienned daikon radish, green onions, and julienned carrot to the kimchi paste. Mix everything thoroughly with your hands (wearing gloves is highly recommended to protect your hands from chili and prevent contamination).
Step 7: Combine Cabbage and Paste: Spread the kimchi paste generously between each leaf of the drained cabbage quarters. Make sure to get into every nook and cranny, but avoid using too much paste on the thin green parts. Apply more to the thicker white parts. Once coated, fold each cabbage quarter in half and pack tightly into airtight glass containers or fermentation crocks. For best results, use quality storage like these Basics Glass Food Storage.
Step 8: Fermentation: Leave the kimchi at room temperature (around 68-72°F or 20-22°C) for 1-2 days to ferment. The exact time depends on the temperature and your preference. You’ll see bubbles forming and it will develop a tangy smell. Taste it after a day; if it’s tangy enough, transfer it to the refrigerator. If you prefer a stronger flavor, let it ferment for another day. This step is crucial for the probiotic benefits of How to Make Kimchi.
Step 9: Store and Enjoy: Once fermented to your liking, store the kimchi in the refrigerator. It will continue to ferment slowly and develop deeper flavors over several weeks, even months. Enjoy cold as a side dish or incorporate into your favorite recipes.
Notes
Always use gloves when handling the chili paste. The fermentation time can vary based on your room temperature and desired tanginess. Taste periodically! Ensure your storage containers are airtight to prevent odors and maximize freshness. Remember, learning How to Make Kimchi is a journey, so adjust flavors to your preference over time.
- Prep Time: 1 hour 30 minutes
- Cook Time: 0 minutes
- Category: How To
- Cuisine: Korean
Nutrition
- Serving Size: 100 g
- Calories: 25 kcal
- Sugar: 2 g
- Sodium: 350 mg
- Fat: 0.5 g
- Saturated Fat: 0 g
- Unsaturated Fat: 0.3 g
- Trans Fat: 0 g
- Carbohydrates: 4 g
- Fiber: 2 g
- Protein: 1.5 g
- Cholesterol: 0 mg
Keywords: kimchi recipe, how to make kimchi, homemade kimchi, korean food, fermented food, probiotic recipe, napa cabbage kimchi, kimchi from scratch, gochugaru, korean fermented vegetables