
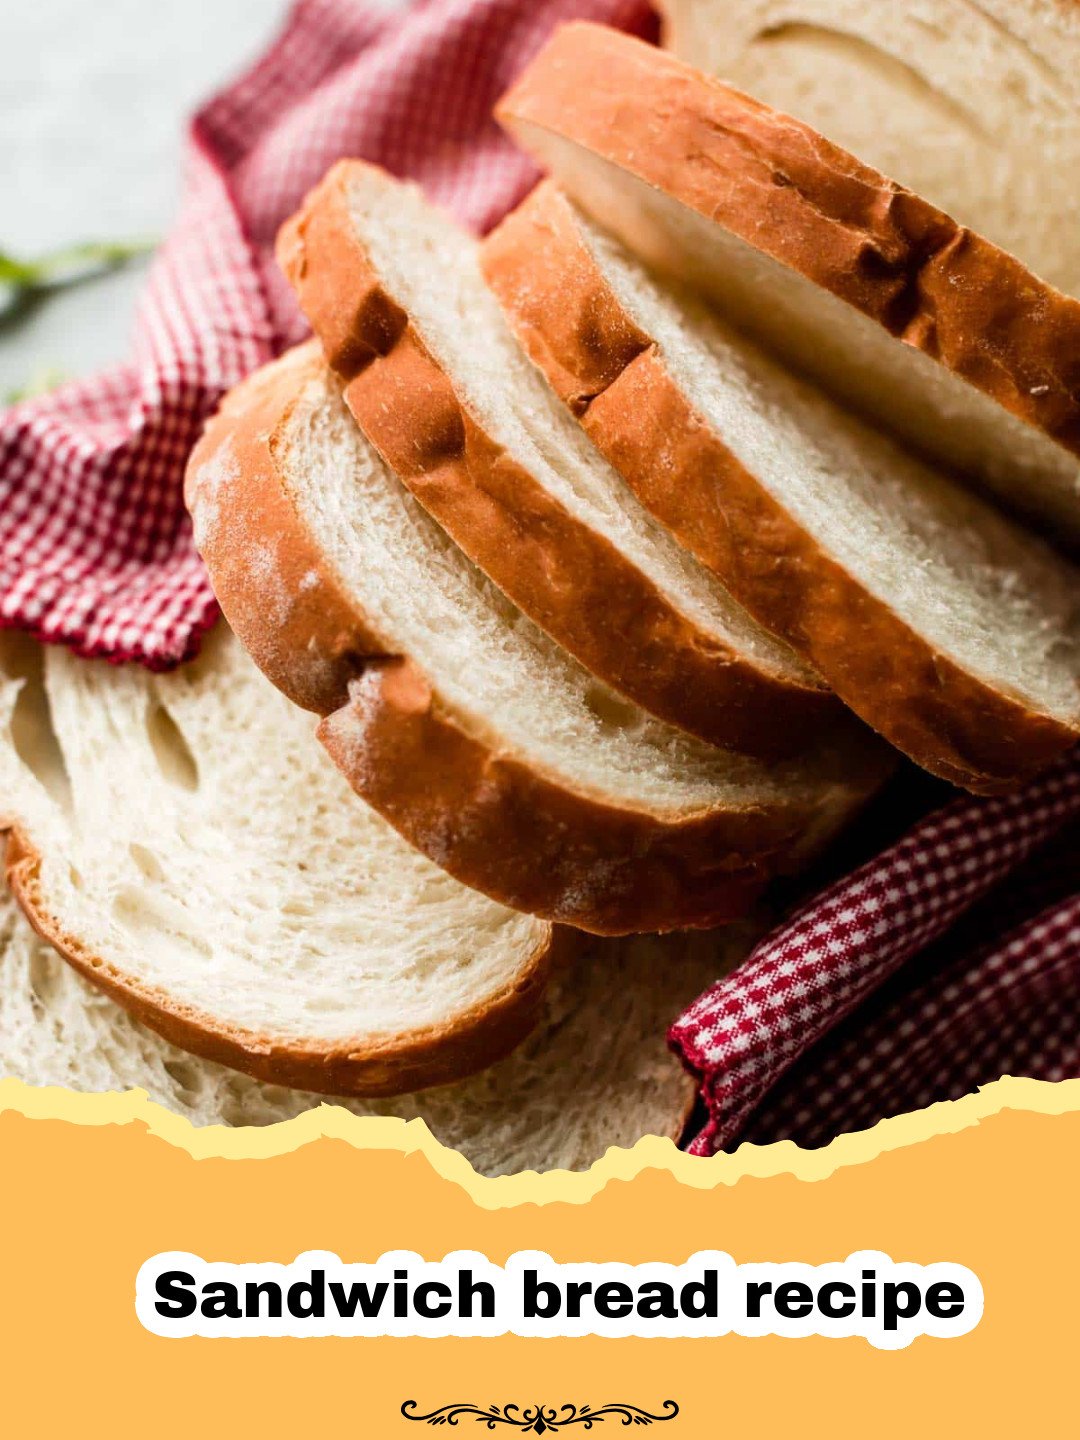
I remember Sunday mornings at my grandmother’s house, the scent of warm yeast and baking dough wafting through the air, a symphony of comfort. It was a ritual. She’d always have a fresh loaf of homemade bread cooling on the rack, its crust golden and inviting. That distinct aroma, the soft crumb, and the joy of slathering it with butter – those memories cemented my love for baking. For years, I relied on store-bought bread, but nothing truly captured that nostalgic magic. Then, I decided to conquer the art of baking my own. After many attempts and adjustments, I finally perfected this incredible sandwich bread recipe that brings all those cherished memories flooding back. It’s more than just bread; it’s a taste of home, a comforting hug, and a simple pleasure that elevates every meal. I promise, once you try this ultimate sandwich bread recipe, you’ll never look back!
Why This Sandwich Bread Recipe is a Must-Try
Unbeatable Freshness and Flavor
There’s simply no comparison to the taste and aroma of freshly baked bread. This sandwich bread recipe yields a loaf that’s far superior in flavor and texture to anything you’ll find in a grocery store aisle. The subtle sweetness and yeasty notes are truly divine.
Wholesome Ingredients, No Preservatives
When you bake your own, you control exactly what goes into it. Say goodbye to unpronounceable ingredients and unnecessary additives. This sandwich bread recipe uses basic pantry staples, giving you a wholesome loaf you can feel good about feeding your family.
Economical and Empowering
Baking bread from scratch is surprisingly cost-effective. Flour, yeast, water, and a touch of sugar and salt are all relatively inexpensive. Plus, there’s an immense sense of accomplishment and culinary pride that comes with pulling a perfect loaf of homemade bread from your oven.
Perfect Texture for Every Sandwich
This sandwich bread recipe creates a bread that is incredibly soft, fluffy, and just sturdy enough to hold up to your favorite fillings without falling apart. It’s ideal for classic PB&J, hearty deli sandwiches, or even elegant open-faced toasts.
Key Ingredient Notes for Your Sandwich Bread Recipe
Understanding your ingredients is crucial for a successful loaf. This simple sandwich bread recipe relies on a few key players to create its magic.
Yeast: The Living Leavener
Yeast is what makes your bread rise, giving it that wonderfully airy texture. This sandwich bread recipe typically calls for active dry yeast. Make sure your yeast is fresh and active! You can test it by dissolving it in warm water (around 105-115°F or 40-46°C) with a pinch of sugar. If it foams and bubbles within 5-10 minutes, it’s good to go. If not, your yeast is likely dead, and you’ll need a new packet. Instant yeast can also be used; it doesn’t require proofing and can be mixed directly with the dry ingredients. If substituting, use the same amount, but remember the hydration step with warm water is still important for the dough’s development.
Flour: The Foundation of Your Loaf
All-purpose flour works beautifully for this sandwich bread recipe, providing a soft crumb. If you want a slightly chewier bread with more structure, you can use bread flour, which has a higher protein content. Just be aware that bread flour might absorb a little more liquid, so you may need to adjust the water slightly to achieve the right dough consistency. Whichever flour you choose, ensure it’s unbleached for the best flavor and performance.
Sweetener: More Than Just Sugar
While often used to activate yeast, sugar or honey in this sandwich bread recipe also plays a vital role in the bread’s flavor, tenderness, and golden-brown crust. It feeds the yeast, helps tenderize the dough, and contributes to that desirable caramelization on the exterior. You can adjust the amount slightly to suit your preference, but don’t omit it entirely, as it’s essential for the bread’s overall quality and fermentation process.
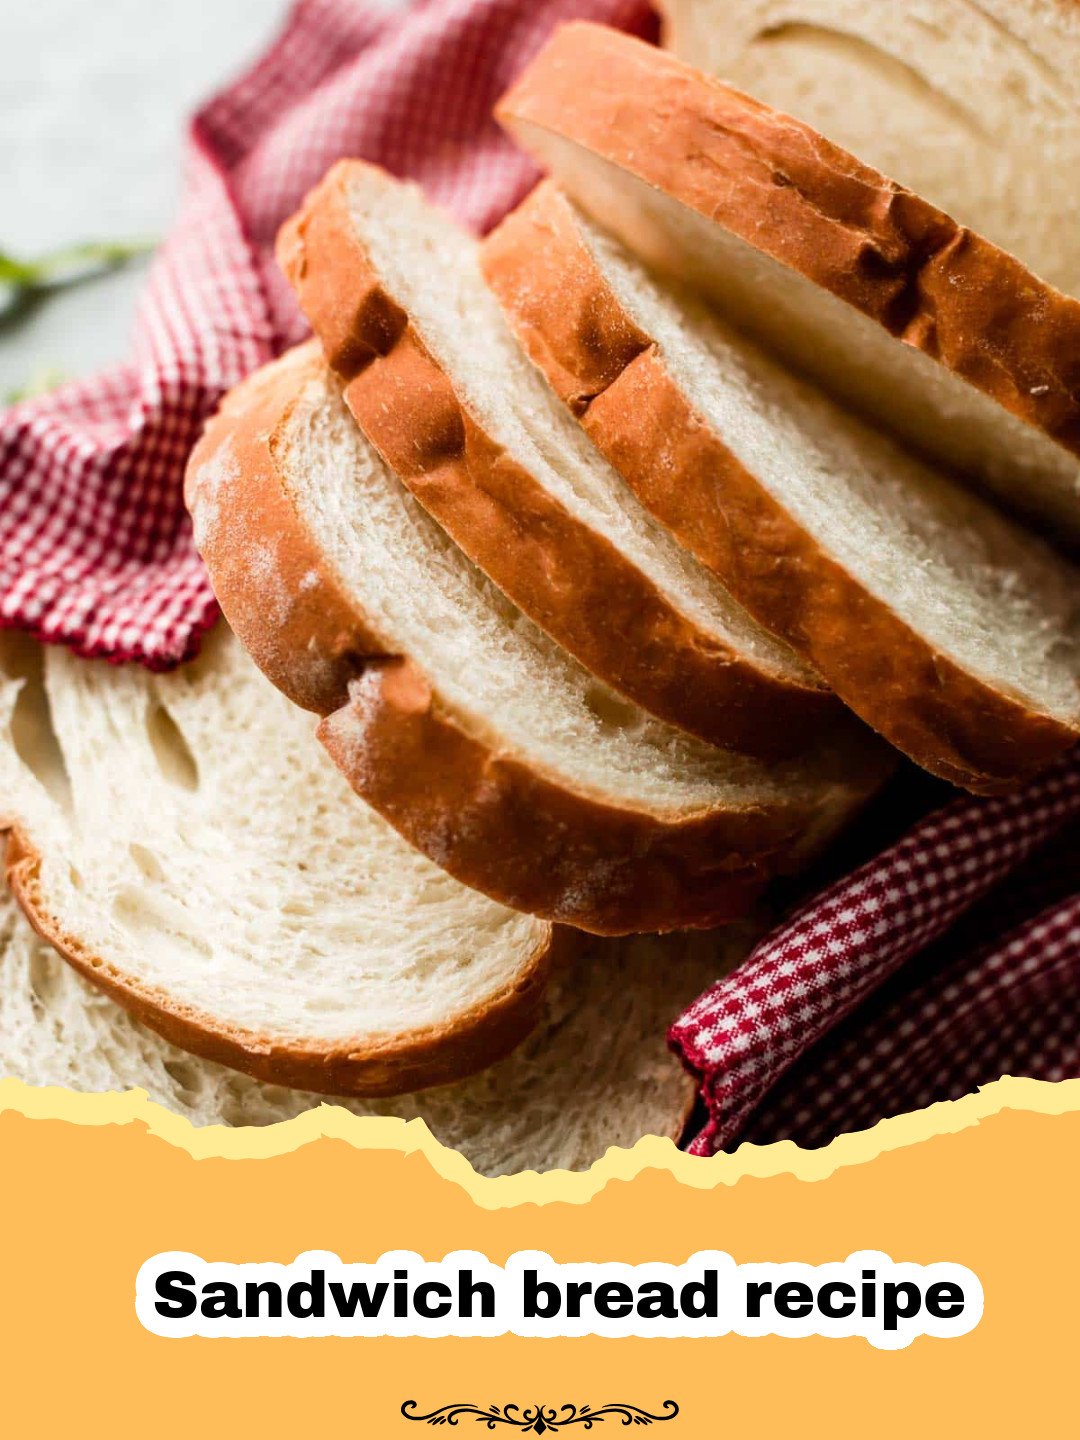
Step-by-Step Guide with Pro Tips for the Best Sandwich Bread Recipe
Get ready to bake the best sandwich bread you’ve ever tasted! Follow these steps carefully for a perfect loaf every time.
The Dough-Making Process
Making the dough for this sandwich bread recipe is straightforward, but attention to detail makes all the difference.
- Step 1: In a large mixing bowl, combine the warm water (105-115°F or 40-46°C) with the active dry yeast and sugar. Stir gently and let it sit for 5-10 minutes until it becomes foamy and bubbly. This confirms your yeast is active. If using instant yeast, you can skip proofing and add it directly with the flour.
- Step 2: Add the milk, melted butter, and salt to the yeast mixture. Stir until well combined.
- Step 3: Gradually add 3 cups of the all-purpose flour, one cup at a time, mixing with a wooden spoon or a stand mixer with a dough hook until a shaggy dough forms.
- Step 4: Continue adding the remaining 1 to 1½ cups of flour, a little at a time, until the dough comes together and starts to pull away from the sides of the bowl. The dough should be soft, slightly sticky, but manageable. You might not need all the flour, or you might need a tiny bit more – humidity and flour type affect absorption.
- Step 5: Turn the dough out onto a lightly floured surface and knead for 8-10 minutes by hand, or 6-8 minutes with a stand mixer on medium speed. The dough should become smooth, elastic, and pass the ‘windowpane test’ (you should be able to stretch a small piece thin enough to see light through it without tearing). This kneading develops the gluten, essential for the structure of this amazing sandwich bread recipe.
First Rise: The Bulk Fermentation
Patience is a virtue, especially when it comes to rising bread!
- Step 6: Lightly grease a large bowl with a little oil. Place the kneaded dough in the bowl, turning it once to coat the top. Cover the bowl tightly with plastic wrap or a clean kitchen towel.
- Step 7: Let the dough rise in a warm, draft-free place for 1 to 1½ hours, or until it has doubled in size. A warm oven (turned off, with just the light on) is an excellent spot. This is where the yeast does its work, creating those beautiful air pockets that make this sandwich bread recipe so fluffy.
Shaping and Second Rise
The shaping technique is simple but important for a uniform loaf.
- Step 8: Once doubled, gently punch down the dough to release the air. Turn it out onto a lightly floured surface.
- Step 9: Roll the dough into a roughly 9×13-inch rectangle. Starting from one of the shorter ends, tightly roll the dough into a log, pinching the seam closed as you roll. Pinch the ends to seal them as well.
- Step 10: Place the dough log seam-side down into a lightly greased 9×5-inch loaf pan.
- Step 11: Cover the loaf pan with plastic wrap or a clean kitchen towel and let it rise again in a warm, draft-free place for another 30-45 minutes, or until it has nearly doubled in size and crowned above the rim of the pan. This second rise ensures a light and airy loaf for your sandwich bread recipe.
Baking Your Perfect Loaf
The moment of truth! Get ready for that incredible aroma.
- Step 12: Preheat your oven to 375°F (190°C) during the last 15 minutes of the second rise.
- Step 13: Bake the bread for 30-35 minutes, or until the crust is golden brown and the internal temperature reaches 200-210°F (93-99°C) when measured with an instant-read thermometer. If the crust is browning too quickly, you can loosely tent it with aluminum foil.
- Step 14: Once baked, immediately remove the bread from the loaf pan and transfer it to a wire rack to cool completely before slicing. This is crucial; slicing hot bread can make it gummy. Trust me, waiting for this delicious sandwich bread recipe to cool is the hardest part! For ideal storage, once cooled, I love to use Basics Glass Food Storage containers, as they keep it fresh longer and are great for portioning.
Variations & Serving Suggestions for Your Homemade Sandwich Bread
This fantastic sandwich bread recipe is just the beginning! There are so many ways to customize and enjoy your homemade loaf.
Creative Variations
- Whole Wheat Wonder: For a healthier twist, substitute up to half of the all-purpose flour with whole wheat flour. You might need to add a touch more liquid as whole wheat flour absorbs more.
- Herb & Cheese Bread: Knead in 1/2 cup shredded cheddar or Parmesan cheese and 2 tablespoons of chopped fresh herbs (rosemary, thyme, or oregano) during the last few minutes of kneading. This makes for a flavorful savory bread!
- Honey Oat Bread: Replace sugar with honey and add 1/2 cup of rolled oats to the dough for a denser, nutty loaf.
- Sweet Cinnamon Swirl: After rolling the dough into a rectangle in Step 9, spread a mixture of 2 tablespoons melted butter, 1/4 cup brown sugar, and 1 teaspoon cinnamon over the surface before rolling it up.
Serving Suggestions
The possibilities are endless with this versatile sandwich bread recipe!
- Classic Sandwiches: From a simple grilled cheese to a towering turkey club, this bread is the perfect foundation.
- Toasts & Spreads: Enjoy it toasted with butter, jam, avocado, or a fried egg for a comforting breakfast. It pairs wonderfully with a warm bowl of The Ultimate Hearty Chicken Tortilla Soup for a complete meal.
- Bruschetta or Crostini: Slice thinly, toast, and top with your favorite savory toppings for appetizers.
- French Toast or Bread Pudding: Slightly stale bread from this sandwich bread recipe makes the absolute best French toast or a rich, comforting bread pudding.
- Breakfast Sides: Serve alongside fluffy The Ultimate Fluffy Egg Bites Recipe for Easy Breakfasts for a hearty start to your day.
Nutrition Information
Here’s a breakdown of the estimated nutrition for one slice of this delicious sandwich bread recipe:
| Nutrient | Amount per serving |
|---|---|
| Calories | 130 kcal |
| Carbohydrate Content | 23g |
| Cholesterol Content | 5mg |
| Fat Content | 3g |
| Fiber Content | 1g |
| Protein Content | 4g |
| Saturated Fat Content | 2g |
| Serving Size | 1 slice (approx. 40g) |
| Sodium Content | 180mg |
| Sugar Content | 2g |
| Trans Fat Content | 0g |
| Unsaturated Fat Content | 1g |
Conclusion
Baking your own sandwich bread is a truly rewarding experience, transforming simple ingredients into something extraordinary. This sandwich bread recipe isn’t just about making bread; it’s about creating memories, filling your home with an intoxicating aroma, and providing your family with wholesome, delicious food. Give it a try, and I guarantee you’ll be delighted by the soft crumb, golden crust, and the sheer joy of homemade goodness. Happy baking!
FAQs
Can I use instant yeast instead of active dry yeast in this sandwich bread recipe?
Yes, you can! If using instant yeast, you don’t need to proof it. You can simply mix it directly with the dry ingredients (flour, sugar, salt) before adding the wet ingredients. However, ensure your water is still warm enough (around 105-115u00b0F) when added to help activate the yeast and develop the dough.
How do I know if my yeast is active and alive for this sandwich bread recipe?
To test active dry yeast, combine it with warm water (105-115u00b0F) and a pinch of sugar. If it’s active, it will become foamy and bubbly within 5-10 minutes. If it doesn’t foam, your yeast is likely expired or dead, and you’ll need new yeast for your sandwich bread recipe to rise properly.
How long does homemade sandwich bread last and how should I store it?
Homemade sandwich bread generally lasts 3-5 days at room temperature. Store it in an airtight container or a bread bag to prevent it from drying out. Avoid refrigerating it, as this can make it stale faster. For longer storage, you can slice and freeze the bread for up to 2-3 months.
Can I make this sandwich bread recipe ahead of time?
Yes! You can prepare the dough up to the first rise, then place it in a greased bowl, cover tightly, and refrigerate overnight (up to 24 hours). The cold will slow down the rise. The next day, let it come to room temperature for about 30-60 minutes, then punch it down and proceed with shaping and the second rise as directed in the recipe.
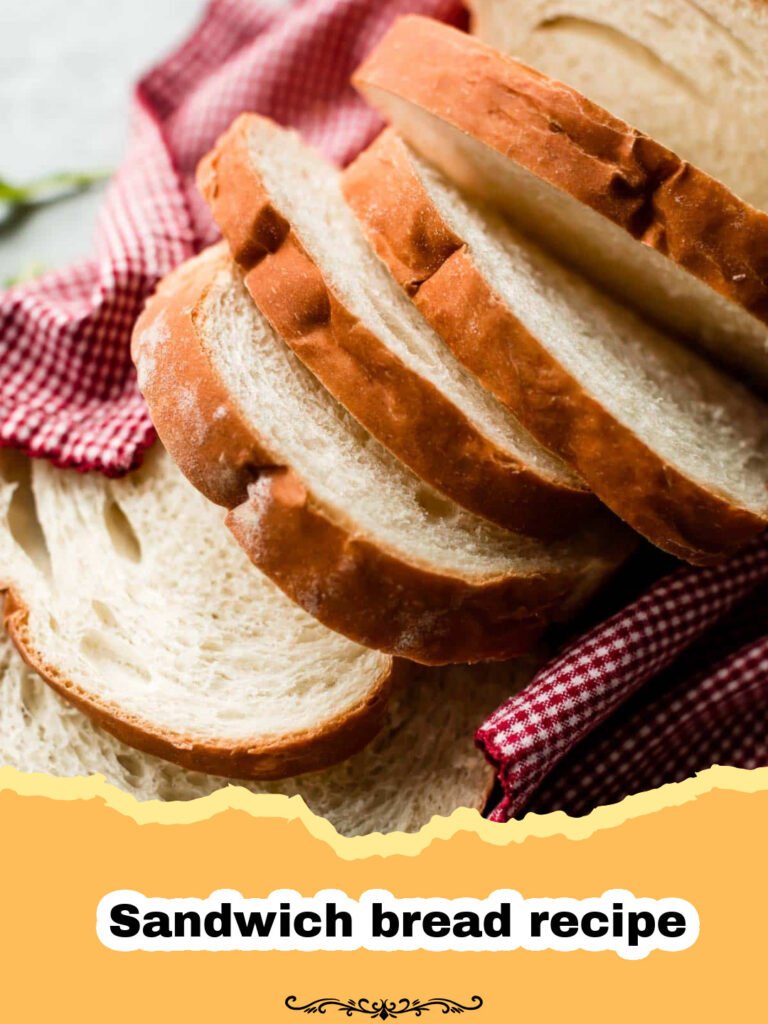
The Ultimate Fluffy Homemade Sandwich Bread
This simple and reliable homemade sandwich bread recipe yields an incredibly soft, fluffy, and flavorful loaf, perfect for everyday sandwiches, toast, or alongside your favorite meals. It’s an easy way to enjoy wholesome, preservative-free bread right from your kitchen.
- Total Time: 2 hours 30 minutes
- Yield: 1 standard 9×5 inch loaf (12–16 slices) 1x
Ingredients
1½ cups warm water (105-115°F / 40-46°C)
2¼ teaspoons active dry yeast (one standard packet)
¼ cup granulated sugar
¼ cup warm milk
3 tablespoons unsalted butter, melted and cooled slightly
1½ teaspoons salt
4½ – 5 cups all-purpose flour, plus more for dusting
Instructions
Step 1: In a large mixing bowl, combine the warm water, active dry yeast, and sugar. Stir gently and let it sit for 5-10 minutes until it becomes foamy and bubbly. This confirms your yeast is active.
Step 2: Add the warm milk, melted butter, and salt to the yeast mixture. Stir until well combined.
Step 3: Gradually add 3 cups of the all-purpose flour, one cup at a time, mixing with a wooden spoon or a stand mixer with a dough hook until a shaggy dough forms.
Step 4: Continue adding the remaining 1½ to 2 cups of flour, a little at a time, until the dough comes together and starts to pull away from the sides of the bowl. The dough should be soft, slightly sticky, but manageable.
Step 5: Turn the dough out onto a lightly floured surface and knead for 8-10 minutes by hand, or 6-8 minutes with a stand mixer on medium speed, until it is smooth and elastic.
Step 6: Lightly grease a large bowl with a little oil. Place the kneaded dough in the bowl, turning it once to coat the top. Cover the bowl tightly with plastic wrap or a clean kitchen towel.
Step 7: Let the dough rise in a warm, draft-free place for 1 to 1½ hours, or until it has doubled in size.
Step 8: Once doubled, gently punch down the dough to release the air. Turn it out onto a lightly floured surface.
Step 9: Roll the dough into a roughly 9×13-inch rectangle. Starting from one of the shorter ends, tightly roll the dough into a log, pinching the seam closed as you roll. Pinch the ends to seal them as well.
Step 10: Place the dough log seam-side down into a lightly greased 9×5-inch loaf pan.
Step 11: Cover the loaf pan with plastic wrap or a clean kitchen towel and let it rise again in a warm, draft-free place for another 30-45 minutes, or until it has nearly doubled in size and crowned above the rim of the pan.
Step 12: Preheat your oven to 375°F (190°C) during the last 15 minutes of the second rise.
Step 13: Bake the bread for 30-35 minutes, or until the crust is golden brown and the internal temperature reaches 200-210°F (93-99°C).
Step 14: Once baked, immediately remove the bread from the loaf pan and transfer it to a wire rack to cool completely before slicing.
Notes
Ensure your yeast is active for the best rise. The exact amount of flour can vary based on humidity and flour brand; add gradually until the dough is soft but not overly sticky. Cooling completely is essential for the best texture when slicing.
- Prep Time: 25 minutes
- Cook Time: 35 minutes
- Category: Bread, Baking
- Cuisine: American
Nutrition
- Serving Size: 1 slice (approx. 40g)
- Calories: 130 kcal
- Sugar: 2g
- Sodium: 180mg
- Fat: 3g
- Saturated Fat: 2g
- Unsaturated Fat: 1g
- Trans Fat: 0g
- Carbohydrates: 23g
- Fiber: 1g
- Protein: 4g
- Cholesterol: 5mg
Keywords: sandwich bread, homemade bread, easy bread recipe, yeast bread, baking, comfort food, fresh bread




