
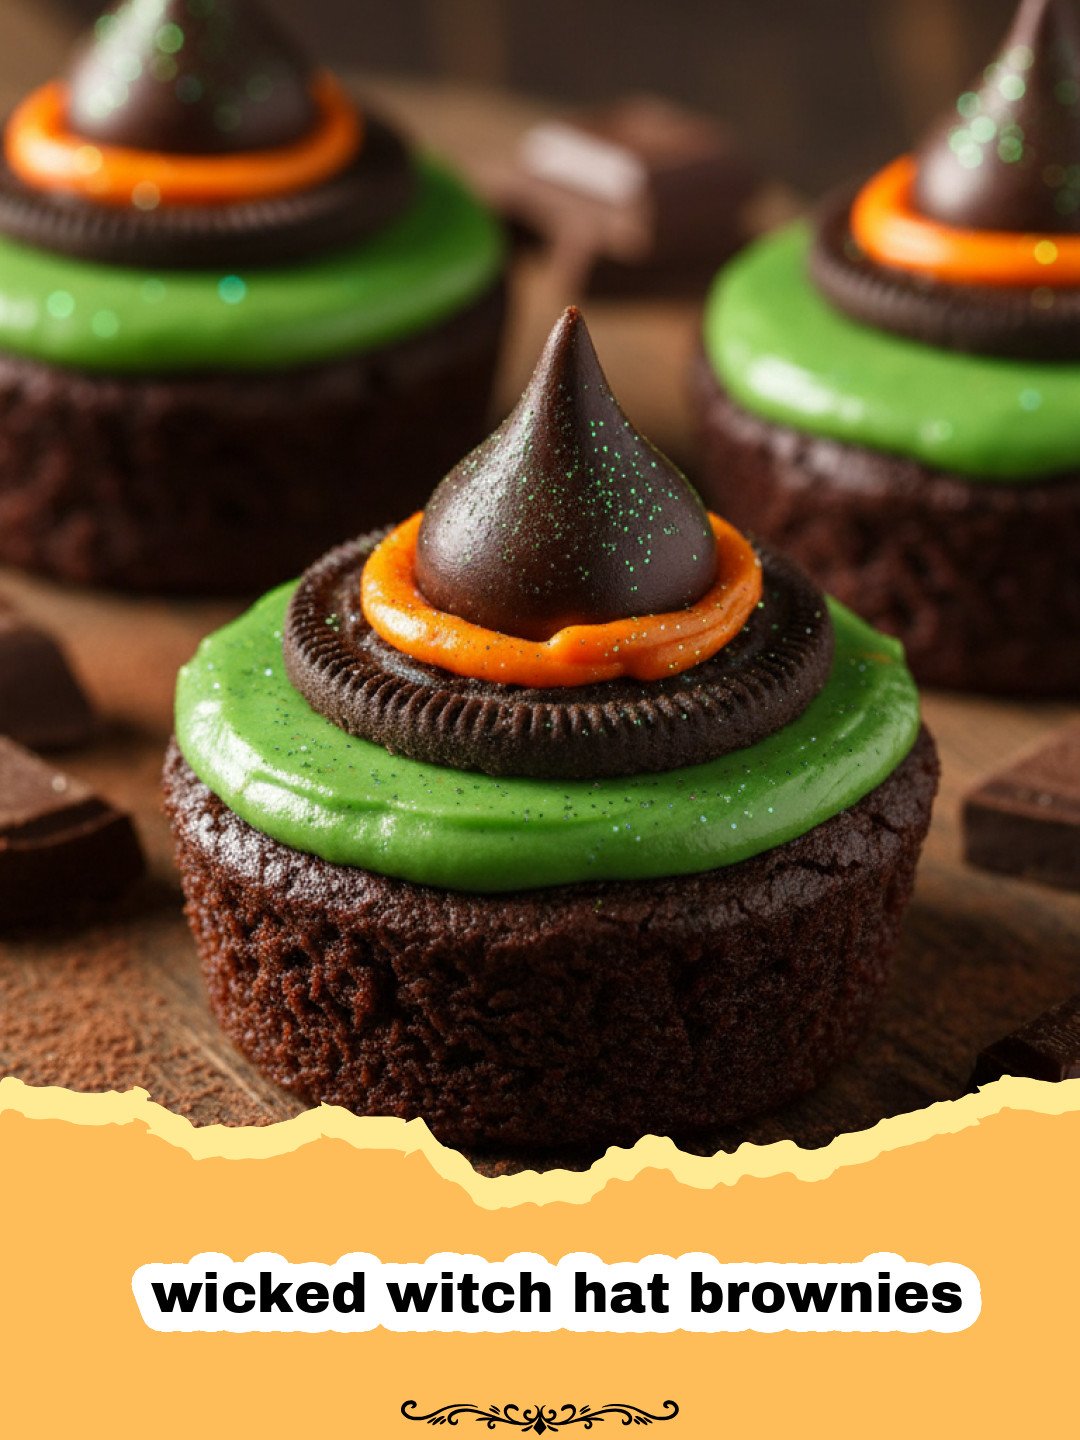
wicked witch hat brownies are the absolute highlight of my October kitchen, and I cannot wait to share this magical journey with you today. Every year, as the leaves turn that beautiful amber hue and the crisp air begins to bite, my family starts the countdown to our annual monster mash-up party. It started years ago when my youngest was obsessed with anything related to magic and sorcery. I wanted to create something that looked like it belonged on a high-end dessert table but was actually approachable enough for a home cook to master. These wicked witch hat brownies were the result of a very messy Saturday afternoon of trial and error, involving more purple frosting than I care to admit. But when we saw that final product—a perfect, fudgy base topped with a towering, chocolate-dipped hat—we knew we had found a tradition. There is just something so satisfying about the contrast between the rich, dark chocolate brownie and the crunchy, sweet waffle cone hat that makes everyone, from toddlers to grandparents, reach for seconds. These wicked witch hat brownies aren’t just a treat; they are a conversation starter and a centerpiece for your spooky festivities.
Why This Recipe is a Must-Try
- Visual Wow Factor: These wicked witch hat brownies look like they came straight from a professional bakery, yet they are made with simple techniques.
- Texture Variety: You get the fudgy chewiness of the brownie, the crunch of the chocolate-dipped cone, and the creamy sweetness of the frosting in every bite of these wicked witch hat brownies.
- Kid-Friendly Activity: Decorating the hats for your wicked witch hat brownies is a fantastic way to get the little ones involved in the kitchen safely.
- Make-Ahead Perfection: You can easily prepare the components of your wicked witch hat brownies a day in advance and assemble them when you are ready to serve.
Key Ingredient Notes
When crafting the perfect batch of wicked witch hat brownies, the quality of your chocolate is paramount. I always recommend using a high-quality Dutch-processed cocoa powder for the base. This gives the wicked witch hat brownies that deep, dark color that mimics the midnight sky. If you prefer a lighter profile, you could technically use a different base, like The Ultimate Fudgy Matcha Brownies Recipe, which would give the hats a vibrant green ‘grass’ base instead of traditional chocolate. For the hats themselves, standard sugar cones or small waffle cones work best. They provide the structural integrity needed to stand tall on top of the wicked witch hat brownies. Don’t forget the frosting! A bright, electric purple or neon green buttercream really makes the ‘ribbon’ of the hat pop. If you are looking for other spooky treats to pair with these, consider making my Spooky Fang Chocolate Dipped Strawberries to round out your dessert platter. Finally, a touch of edible glitter or star-shaped sprinkles adds that last bit of sorcery to your wicked witch hat brownies.
Step-by-Step Guide with Pro Tips
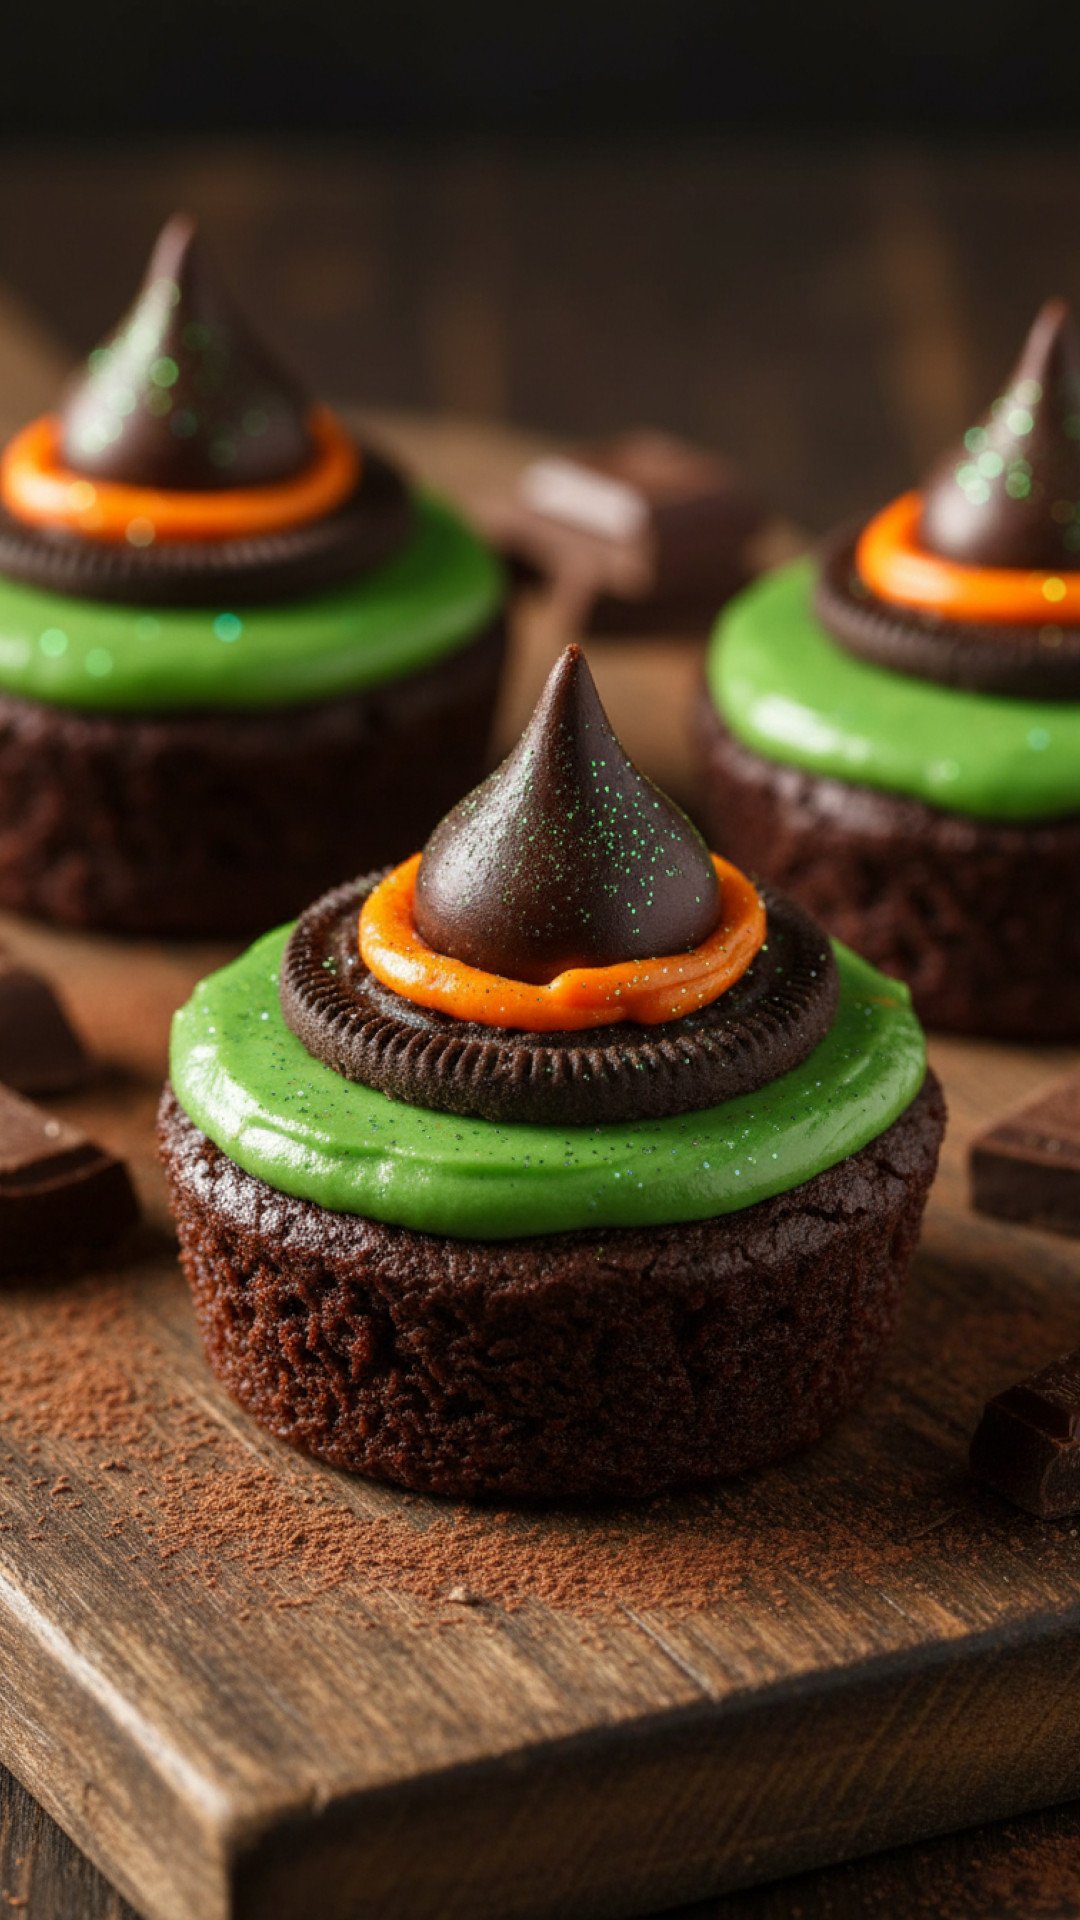
Making wicked witch hat brownies is all about the assembly. First, you need a solid brownie base. I like to bake mine in a standard 9×13 pan but lined with parchment paper so I can lift the whole block out once cooled. This makes cutting the circular bases for the wicked witch hat brownies much easier. Use a round cookie cutter to get uniform shapes. Pro Tip: If you don’t have a round cutter, a clean glass jar lid works in a pinch! Once your bases are ready, it is time to work on the cones. You will want to melt your chocolate coating slowly—either in a double boiler or in short bursts in the microwave—to ensure it stays smooth and shiny. Dipping the cones for your wicked witch hat brownies requires a steady hand; I find that holding the cone by the inside with a finger allows you to coat the outside perfectly without leaving fingerprints. Place the dipped cones on wax paper to set. Once the chocolate is firm, you can pipe a ring of frosting around the base of the cone. This acts as both the ‘hat ribbon’ and the glue that secures the hat to the brownie base. Gently press the hat onto the center of the brownie circle. Your wicked witch hat brownies are now starting to take shape! Add a tiny buckle using a yellow sprinkle or a dab of yellow frosting to complete the look of the wicked witch hat brownies.
Variations & Serving Suggestions
The beauty of wicked witch hat brownies is how adaptable they are. You can change the ‘ribbon’ color to match any theme—orange for a traditional look, or even black for a more gothic aesthetic. For a different flavor profile, try filling the hollow cone of the wicked witch hat brownies with hidden treats like M&Ms or small gummy worms for a ‘surprise inside’ effect. If you have leftovers, which is rare, I highly recommend storing them in Basics Glass Food Storage to keep the brownie base moist and the cone from getting soggy. For a plated dessert, serve your wicked witch hat brownies with a drizzle of raspberry ‘blood’ sauce or a scoop of vanilla bean ice cream. You could even make mini versions of the wicked witch hat brownies using bite-sized brownie bites and miniature cones if you are hosting a large crowd. These wicked witch hat brownies also look incredible when displayed on a tiered cake stand surrounded by dry ice for a truly haunting effect. No matter how you serve them, these wicked witch hat brownies are guaranteed to be the star of the show.
Nutrition Information
| Nutrient | Amount per Serving |
|---|---|
| Calories | 350 kcal |
| Total Fat | 18g |
| Saturated Fat | 11g |
| Trans Fat | 0g |
| Unsaturated Fat | 6g |
| Cholesterol | 45mg |
| Sodium | 150mg |
| Total Carbohydrates | 48g |
| Dietary Fiber | 3g |
| Sugars | 35g |
| Protein | 4g |
| Serving Size | 1 Brownie Hat |
Conclusion
I hope you enjoy making these wicked witch hat brownies as much as I do. They bring a touch of whimsy and a lot of flavor to the Halloween season. Whether you are a seasoned baker or just looking for a fun project to do with the kids, these wicked witch hat brownies are the perfect choice. Don’t forget to snap a photo of your creations before they vanish into thin air! Happy baking, and may your Halloween be filled with more treats than tricks!
FAQs
Can I use a boxed brownie mix for wicked witch hat brownies?
Yes, you can absolutely use a store-bought brownie mix to save time. Just follow the package instructions and proceed with the cutting and decorating steps as usual.
How do I prevent the waffle cones from getting soggy?
Coating the cones entirely in chocolate acts as a moisture barrier. Ensure the chocolate is fully set before adding the frosting and placing them on the brownie base.
How should I store these wicked witch hat brownies?
Store them in an airtight container at room temperature for up to 2 days. If it is particularly warm, keep them in the refrigerator to prevent the frosting and chocolate from melting.
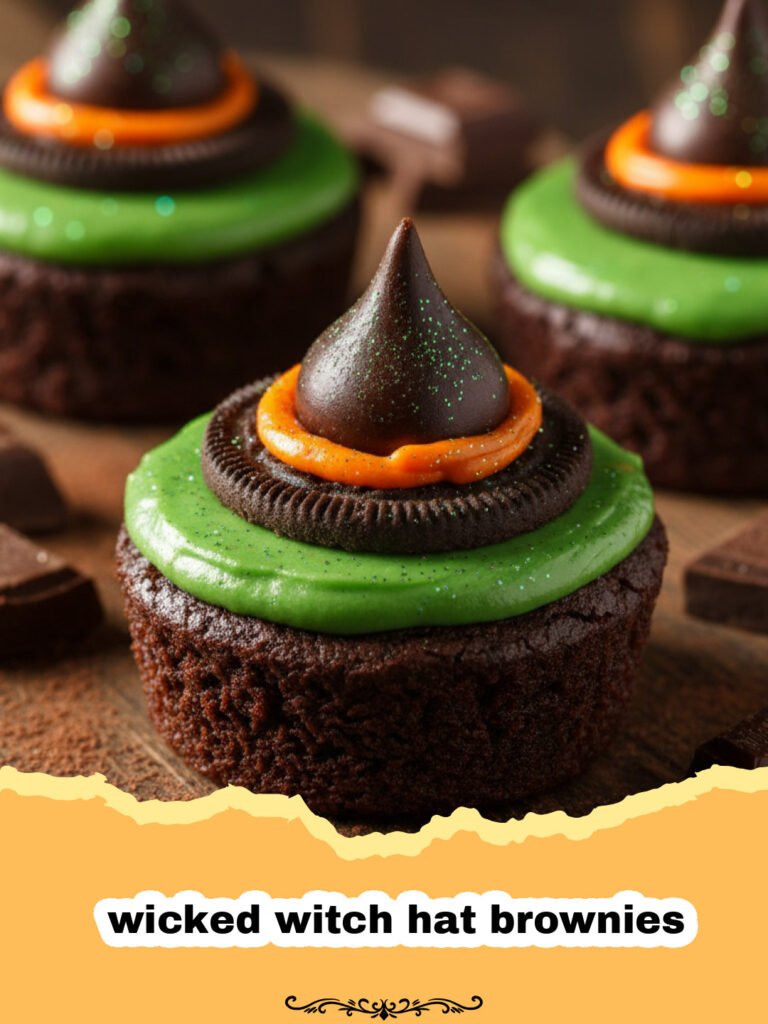
Wicked Witch Hat Brownies
Fudgy, chocolatey brownies topped with a chocolate-covered waffle cone and vibrant frosting to create a spooky witch hat effect.
- Total Time: 55 minutes
- Yield: 12 brownies 1x
Ingredients
1 cup unsalted butter, melted
2 cups granulated sugar
4 large eggs
1 teaspoon vanilla extract
3/4 cup cocoa powder
1 cup all-purpose flour
1/2 teaspoon salt
12 waffle or sugar cones
2 cups dark chocolate melting wafers
1 cup purple buttercream frosting
Yellow star sprinkles for decoration
Instructions
Step 1: Preheat your oven to 350°F (175°C) and grease a 9×13 inch baking pan or line it with parchment paper.
Step 2: In a large bowl, whisk together the melted butter and sugar. Add the eggs one at a time, followed by the vanilla extract.
Step 3: Sift in the cocoa powder, flour, and salt. Fold gently until just combined. Pour into the prepared pan and bake for 25 minutes. Let cool completely.
Step 4: Use a 3-inch round cookie cutter to cut 12 circles out of the cooled brownie slab to form the base of the wicked witch hat brownies.
Step 5: Melt the chocolate wafers in a microwave-safe bowl in 30-second increments until smooth. Dip each cone into the chocolate until fully coated. Place on wax paper to set.
Step 6: Once the cones are dry, pipe a thick ring of purple frosting around the open edge of the cone.
Step 7: Press the frosted cone onto the center of a brownie circle. Attach a yellow star sprinkle to the frosting ribbon to act as the buckle.
Notes
Ensure the brownies are completely cooled before cutting to get clean edges for your bases.
- Prep Time: 30 minutes
- Cook Time: 25 minutes
- Category: Baked Goods
- Cuisine: American
Nutrition
- Serving Size: 1 Brownie Hat
- Calories: 350 kcal
- Sugar: 35g
- Sodium: 150mg
- Fat: 18g
- Saturated Fat: 11g
- Unsaturated Fat: 6g
- Trans Fat: 0g
- Carbohydrates: 48g
- Fiber: 3g
- Protein: 4g
- Cholesterol: 45mg
Keywords: wicked witch hat brownies, Halloween dessert, spooky treats, fudgy brownies, kids halloween snacks




