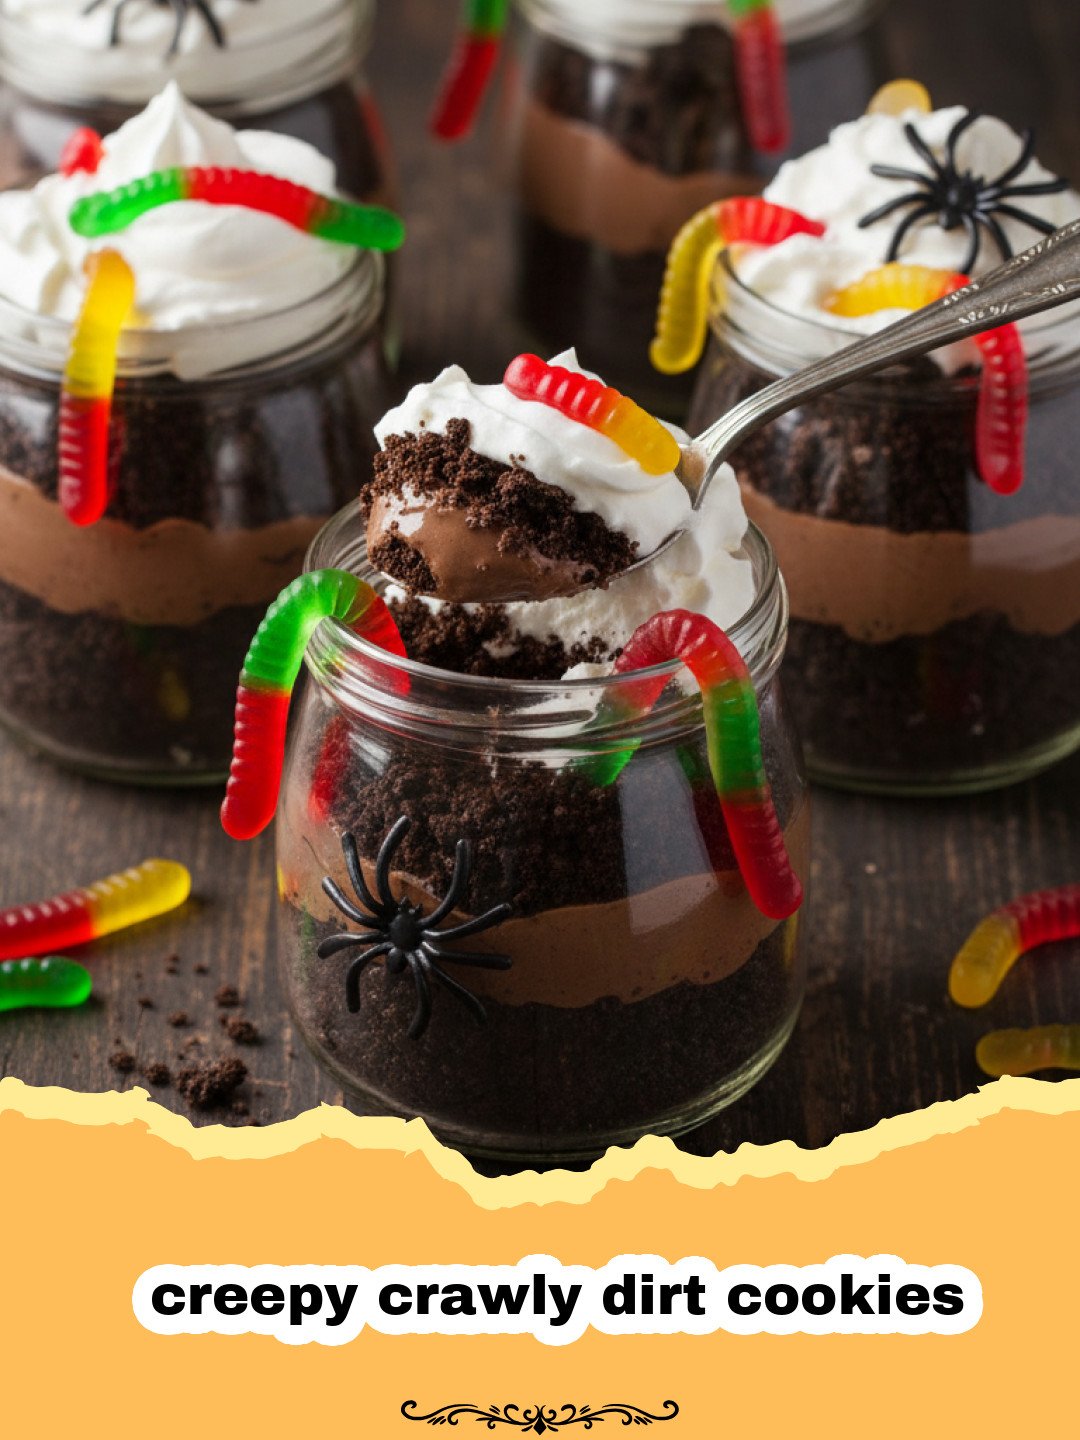
Making creepy crawly dirt cookies has become a cherished October tradition in my household, ever since the first time I saw my youngest son’s eyes light up at the sight of gummy worms emerging from a chocolatey crumb ‘earth.’ There is something uniquely nostalgic about dirt-themed desserts. They remind us of childhood afternoons spent playing in the garden, only this time, the soil is made of decadent chocolate and the bugs are delightfully chewy. These creepy crawly dirt cookies are essentially the portable, bite-sized cousin of the classic dirt cake, offering all that rich, creamy flavor in a convenient cookie form that is perfect for parties. Whether you are hosting a haunted house gathering or just want a fun weekend project with the kids, these cookies strike the perfect balance between spooky and sweet. I remember one particular year when we forgot to buy the gummy worms until the last minute, and we ended up using sour neon ones; the contrast was so vibrant that it actually made the creepy crawly dirt cookies look even more magical under the glow of our jack-o’-lanterns. It is those little moments of creative chaos that make baking so rewarding.
Why This Recipe is a Must-Try
- Texture Heaven: You get the crunch of the cookie base, the smoothness of the frosting, and the chewy pull of the gummy worms in every bite of these creepy crawly dirt cookies.
- No-Bake Options: While we provide a baked base here, this concept is incredibly versatile and can be adapted for those who want a quick assembly-only treat.
- Kid-Friendly Crafting: This is more than a recipe; it is an activity. Kids love ‘planting’ their bugs into the creepy crawly dirt cookies.
- Visual Impact: They look professional and intricate on a dessert table despite being incredibly simple to assemble.
Key Ingredient Notes
To make the best creepy crawly dirt cookies, you need to pay attention to your ‘dirt’ and your ‘worms.’ First and foremost, the chocolate sandwich cookies (like Oreos) are non-negotiable. You want to crush them until they resemble fine topsoil, but leaving a few slightly larger ‘pebbles’ adds to the realistic look of the creepy crawly dirt cookies. If you enjoy this aesthetic, you might also want to try our Graveyard Dirt Brownies for a different spin on the theme.
Secondly, the quality of your cocoa powder in the cookie base matters. A dark or Dutch-processed cocoa will give your creepy crawly dirt cookies that deep, dark earth color that makes the gummy worms pop. Speaking of worms, look for high-quality gummies that aren’t too stiff. You want them to look like they are actually wriggling out of the surface. If you are feeling extra adventurous with your bug selection, you can even find gummy spiders or centipedes to add to the creepy crawly dirt cookies for an extra layer of ick-factor.
Lastly, ensure your butter and cream cheese are at room temperature. This is the secret to a smooth frosting layer that holds the ‘dirt’ in place. Without a tacky surface, your chocolate crumbs will just slide off the creepy crawly dirt cookies, and we want our soil to stay exactly where it belongs.
Step-by-Step Guide with Pro Tips
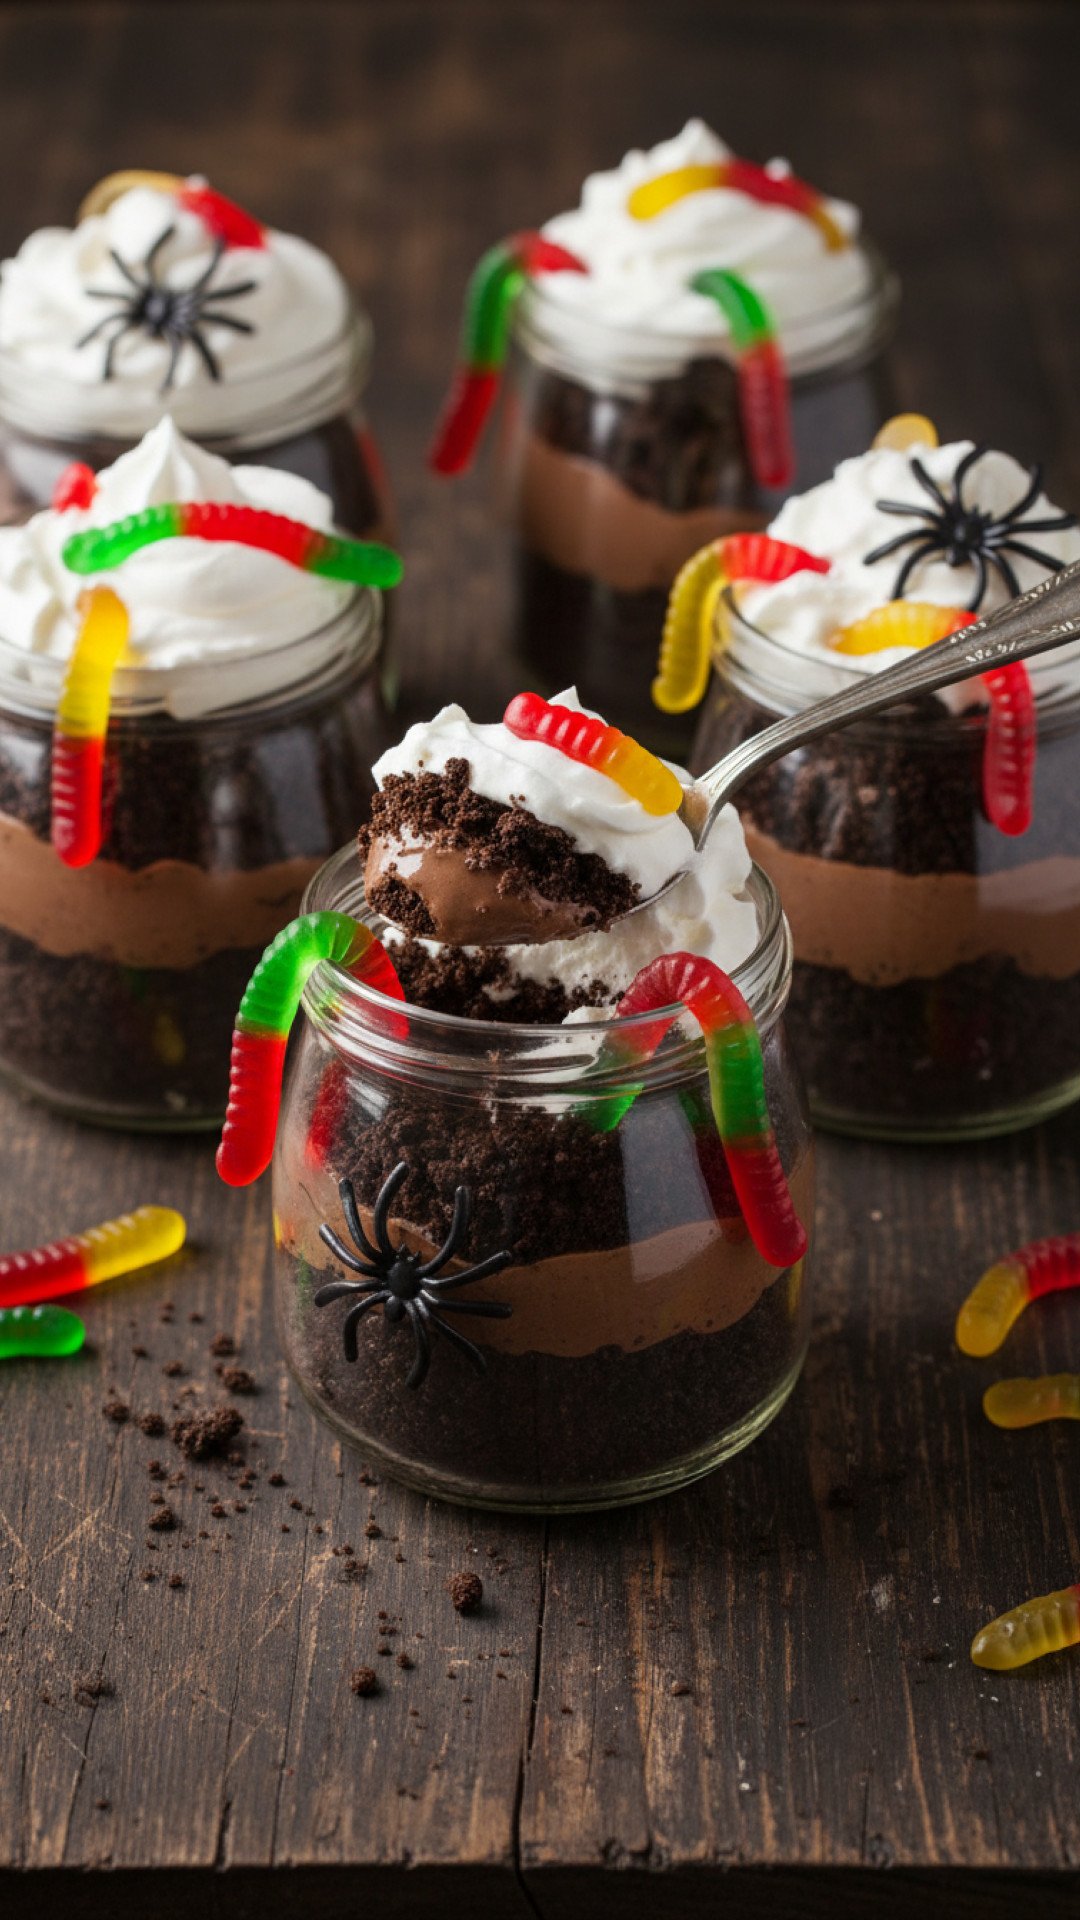
Creating creepy crawly dirt cookies is a process that rewards patience, especially during the decoration phase. You start by whipping up a rich chocolate dough that serves as the foundation. When you bake these, try not to over-bake them; a slightly soft center makes the creepy crawly dirt cookies much more pleasant to eat once the toppings are added. If you love this flavor profile but want something larger, check out How to Make the Ultimate Creepy Crawly Worm Dirt Cake Recipe for a full-sized version.
Pro Tip: Use a food processor for the cookie crumbs to get that perfectly uniform ‘dirt’ texture. If you don’t have one, a rolling pin and a sturdy plastic bag work just as well for the creepy crawly dirt cookies crumbs. Once your cookie bases are cool, the real fun begins. Applying the frosting should be done with a small spatula to ensure an even layer. Then, you simply dip the frosted side into the crumbs. Press down gently to make sure the dirt sticks to the creepy crawly dirt cookies.
When it comes to the worms, I find that cutting them in half and sticking the cut end into the cookie makes it look like they are emerging from the ground. It gives the creepy crawly dirt cookies a 3D effect that is much more impressive than just laying a worm flat on top. If you have leftovers, I highly recommend using Basics Glass Food Storage to keep them fresh, as the gummy worms can get a bit tough if left out in the air for too long.
Variations & Serving Suggestions
While the classic chocolate-on-chocolate version of creepy crawly dirt cookies is always a hit, don’t be afraid to experiment. You can use golden sandwich cookies to create ‘sand cookies’ for a desert-themed bug treat. Alternatively, adding a bit of green food coloring to shredded coconut can create ‘grass’ to go alongside the dirt on your creepy crawly dirt cookies. This adds a lovely pop of color and a different texture.
For serving, I love to arrange these creepy crawly dirt cookies on a rustic wooden platter or even inside a clean, new plastic gardening tray to lean into the theme. You could even sprinkle a few extra ‘rocks’ (chocolate-covered raisins or pebbles) around the plate to complete the scene. These creepy crawly dirt cookies are also the perfect companion for a glass of cold milk or a steaming cup of cider during a crisp October evening. If you’re planning a full dessert bar, these creepy crawly dirt cookies provide a great contrast to more elegant items like tarts or cakes.
Nutrition Information
| Nutrient | Amount |
|---|---|
| Calories | 210 kcal |
| Serving Size | 1 cookie |
| Carbohydrate Content | 28g |
| Protein Content | 2g |
| FatContent | 10g |
| SaturatedFatContent | 6g |
| SugarContent | 18g |
| FiberContent | 1g |
| SodiumContent | 150mg |
| CholesterolContent | 20mg |
| TransFatContent | 0g |
| UnsaturatedFatContent | 3g |
Conclusion
There you have it—a simple, nostalgic, and absolutely delicious way to bring some spooky fun into your kitchen with creepy crawly dirt cookies. These treats are proof that you don’t need complex techniques or expensive ingredients to create something memorable. The joy of these creepy crawly dirt cookies lies in their playfulness and the smiles they bring to everyone who takes a bite. I hope these creepy crawly dirt cookies become as much of a tradition for your family as they have for mine. Happy haunting and happy baking!
FAQs
Can I make creepy crawly dirt cookies ahead of time?
Yes, you can bake the cookie bases up to 2 days in advance. However, it is best to add the ‘dirt’ and gummy worms on the day of serving to ensure the gummy worms don’t get hard and the crumbs stay crunchy.
What is the best way to crush the cookies for the ‘dirt’?
A food processor is the most efficient way to get a uniform ‘soil’ texture. If you don’t have one, placing the cookies in a heavy-duty zip-top bag and crushing them with a rolling pin works perfectly for creepy crawly dirt cookies.
Can I use different types of gummy bugs?
Absolutely! While gummy worms are traditional for creepy crawly dirt cookies, you can use gummy spiders, beetles, or even sour gummy bugs to add variety and extra spookiness to your treats.
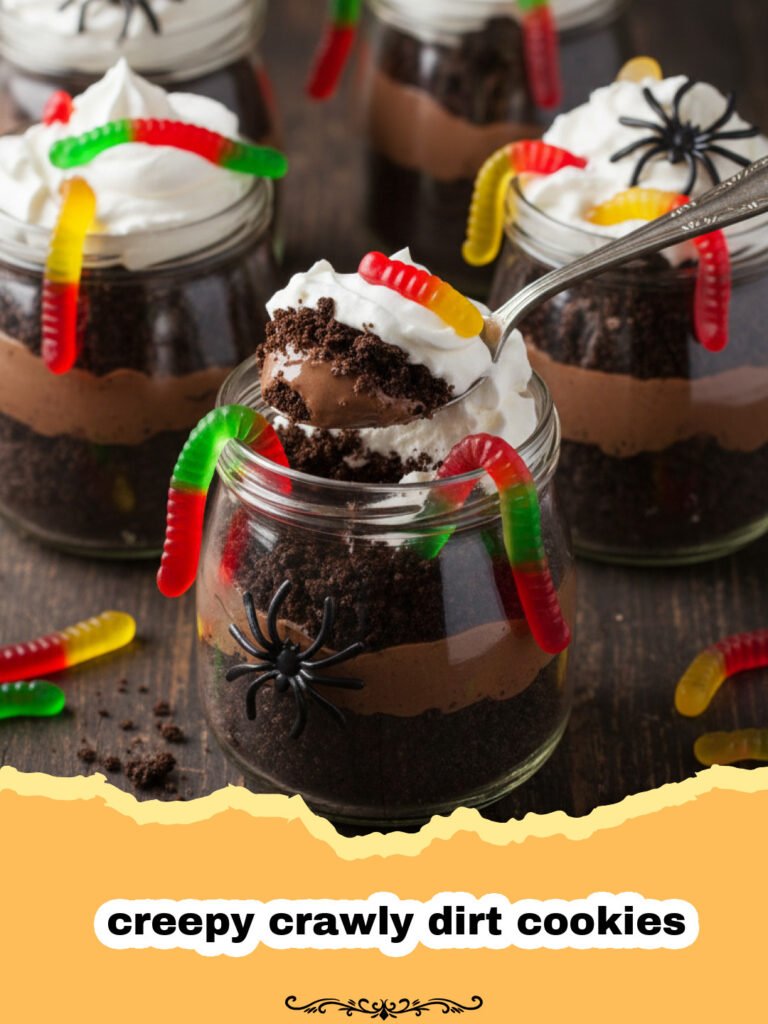
Creepy Crawly Dirt Cookies
Fun and spooky chocolate cookies topped with crushed sandwich cookies and gummy worms to look like real dirt.
- Total Time: 40 minutes
- Yield: 24 cookies 1x
Ingredients
1 cup unsalted butter, softened
1 cup granulated sugar
1 large egg
1 teaspoon vanilla extract
2 cups all-purpose flour
1/2 cup dark cocoa powder
1/2 teaspoon baking soda
1/4 teaspoon salt
1 cup chocolate frosting
15 chocolate sandwich cookies (crushed)
24 gummy worms
Instructions
Step 1: Preheat your oven to 350°F (175°C) and line two large baking sheets with parchment paper for the creepy crawly dirt cookies base.
Step 2: In a large bowl, cream together the softened butter and granulated sugar until light and fluffy. Beat in the egg and vanilla extract until well combined.
Step 3: Sift together the flour, cocoa powder, baking soda, and salt. Gradually add the dry ingredients to the wet ingredients, mixing until a stiff dough forms.
Step 4: Scoop tablespoon-sized balls of dough and place them on the prepared baking sheets, spacing them about 2 inches apart. Flatten slightly with the palm of your hand.
Step 5: Bake for 8-10 minutes. The creepy crawly dirt cookies should be set but still slightly soft in the middle. Let them cool completely on a wire rack.
Step 6: While the cookies cool, crush the chocolate sandwich cookies in a food processor or plastic bag until they resemble fine dirt.
Step 7: Once the creepy crawly dirt cookies are cool, spread a thin layer of chocolate frosting over the top of each cookie.
Step 8: Dip the frosted side of each cookie into the crushed cookie crumbs, pressing gently to ensure the ‘dirt’ adheres well.
Step 9: Cut the gummy worms in half or leave them whole. Press the worms into the frosting/crumb layer of the creepy crawly dirt cookies so they look like they are crawling out.
Notes
For a ‘muddy’ look, use a chocolate ganache instead of frosting. Store in an airtight container for up to 5 days.
- Prep Time: 30 minutes
- Cook Time: 10 minutes
- Category: Appetizers & Snacks
- Cuisine: American
Nutrition
- Serving Size: 1 cookie
- Calories: 210 kcal
- Sugar: 18g
- Sodium: 150mg
- Fat: 10g
- Saturated Fat: 6g
- Unsaturated Fat: 3g
- Trans Fat: 0g
- Carbohydrates: 28g
- Fiber: 1g
- Protein: 2g
- Cholesterol: 20mg
Keywords: creepy crawly dirt cookies, halloween cookies, dirt dessert, worm cookies, spooky treats