
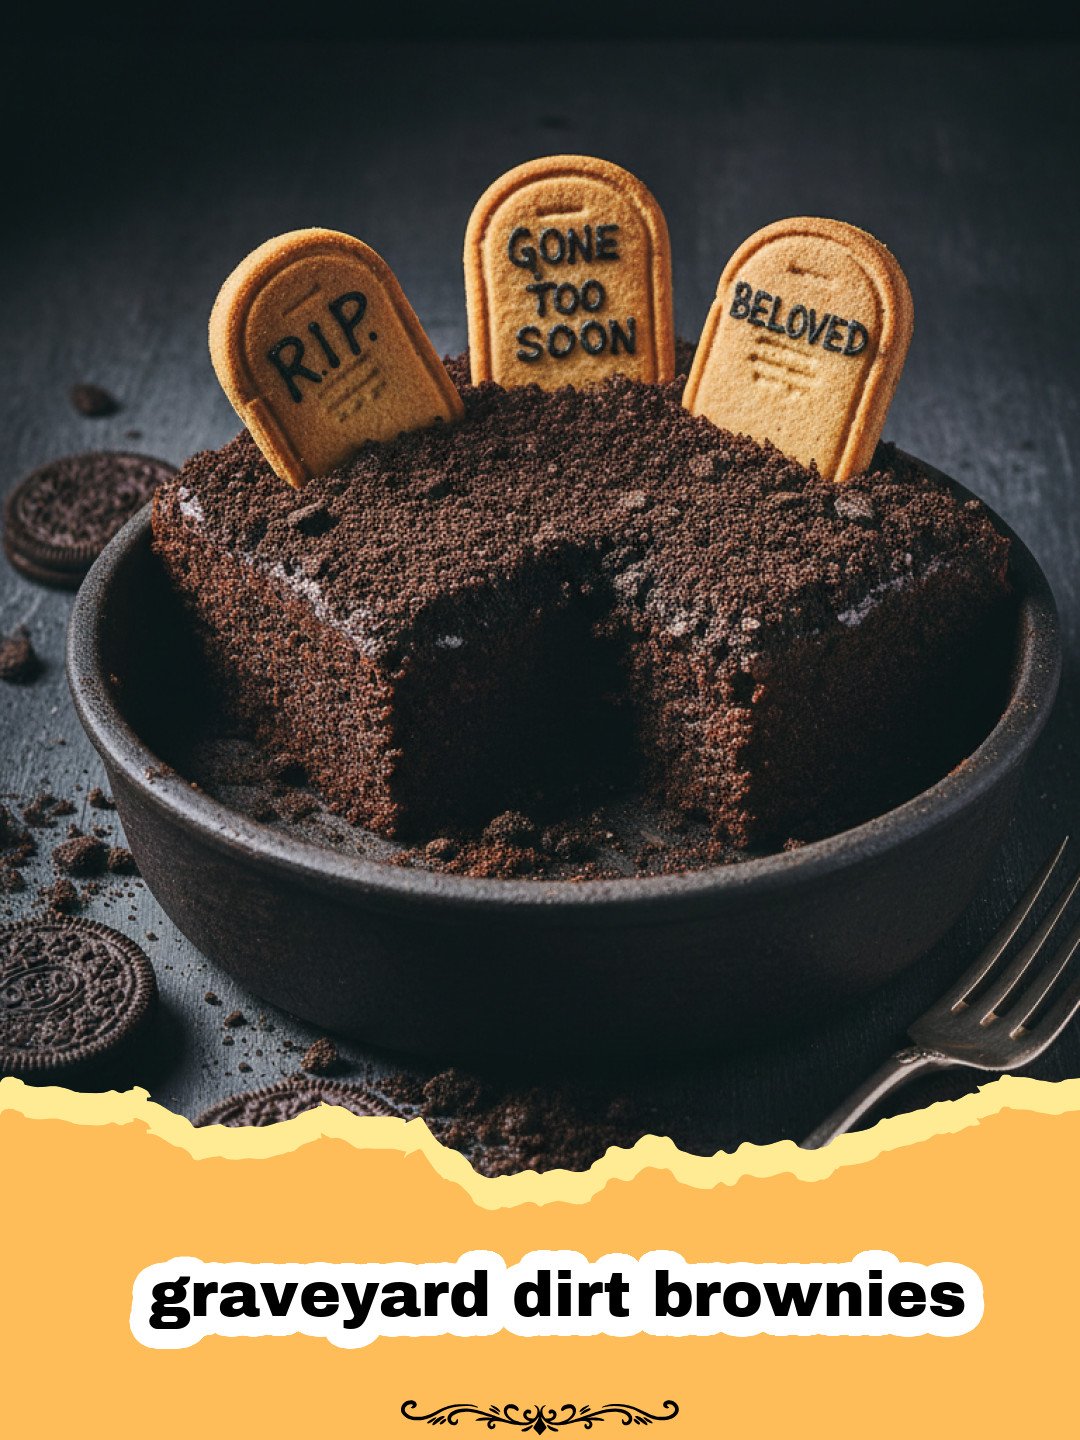
Whenever the crisp autumn air starts to roll in, I find myself craving graveyard dirt brownies. There is something truly magical about the way the wind whistles through the changing leaves and the scent of woodsmoke fills the neighborhood, signaling that Halloween is just around the corner. For as long as I can remember, my kitchen has become a laboratory for spooky creations during the month of October. I remember one particular year when my little niece was visiting; her eyes went wide when she saw a tray of what looked like fresh soil sitting on the counter. She couldn’t believe we were actually going to eat it until I showed her the fudgy brownie hidden beneath the ‘dirt.’ These graveyard dirt brownies have since become a staple of our annual monster mash, bringing a sense of whimsical macabre to the dessert table that everyone, from toddlers to grandparents, seems to adore. There is a deep, nostalgic comfort in these treats that transcends the typical sugar rush. It’s about the laughter shared while sticking gummy worms into chocolate frosting and the pride of seeing a perfectly constructed ‘tombstone’ standing tall. These brownies aren’t just a snack; they are a centerpiece for memories that last long after the costumes are put away for the year. If you are looking for a way to bring that same festive spirit into your home, you have come to the right place for the ultimate graveyard dirt brownies guide.
Why This Recipe is a Must-Try
- Unbeatable Texture: These graveyard dirt brownies offer a perfect balance of chewy edges and a dense, fudgy center that melts in your mouth.
- Creative Expression: You can customize each brownie square with different ‘tombstones,’ ‘bones,’ or ‘creatures,’ making it a fun activity for the whole family.
- Crowd-Pleasing Flavor: Combining rich cocoa with the crunch of chocolate sandwich cookies creates a multi-layered chocolate experience that everyone loves.
- Perfect for Parties: Their unique appearance makes graveyard dirt brownies an instant conversation starter at any Halloween gathering or bake sale.
Key Ingredient Notes
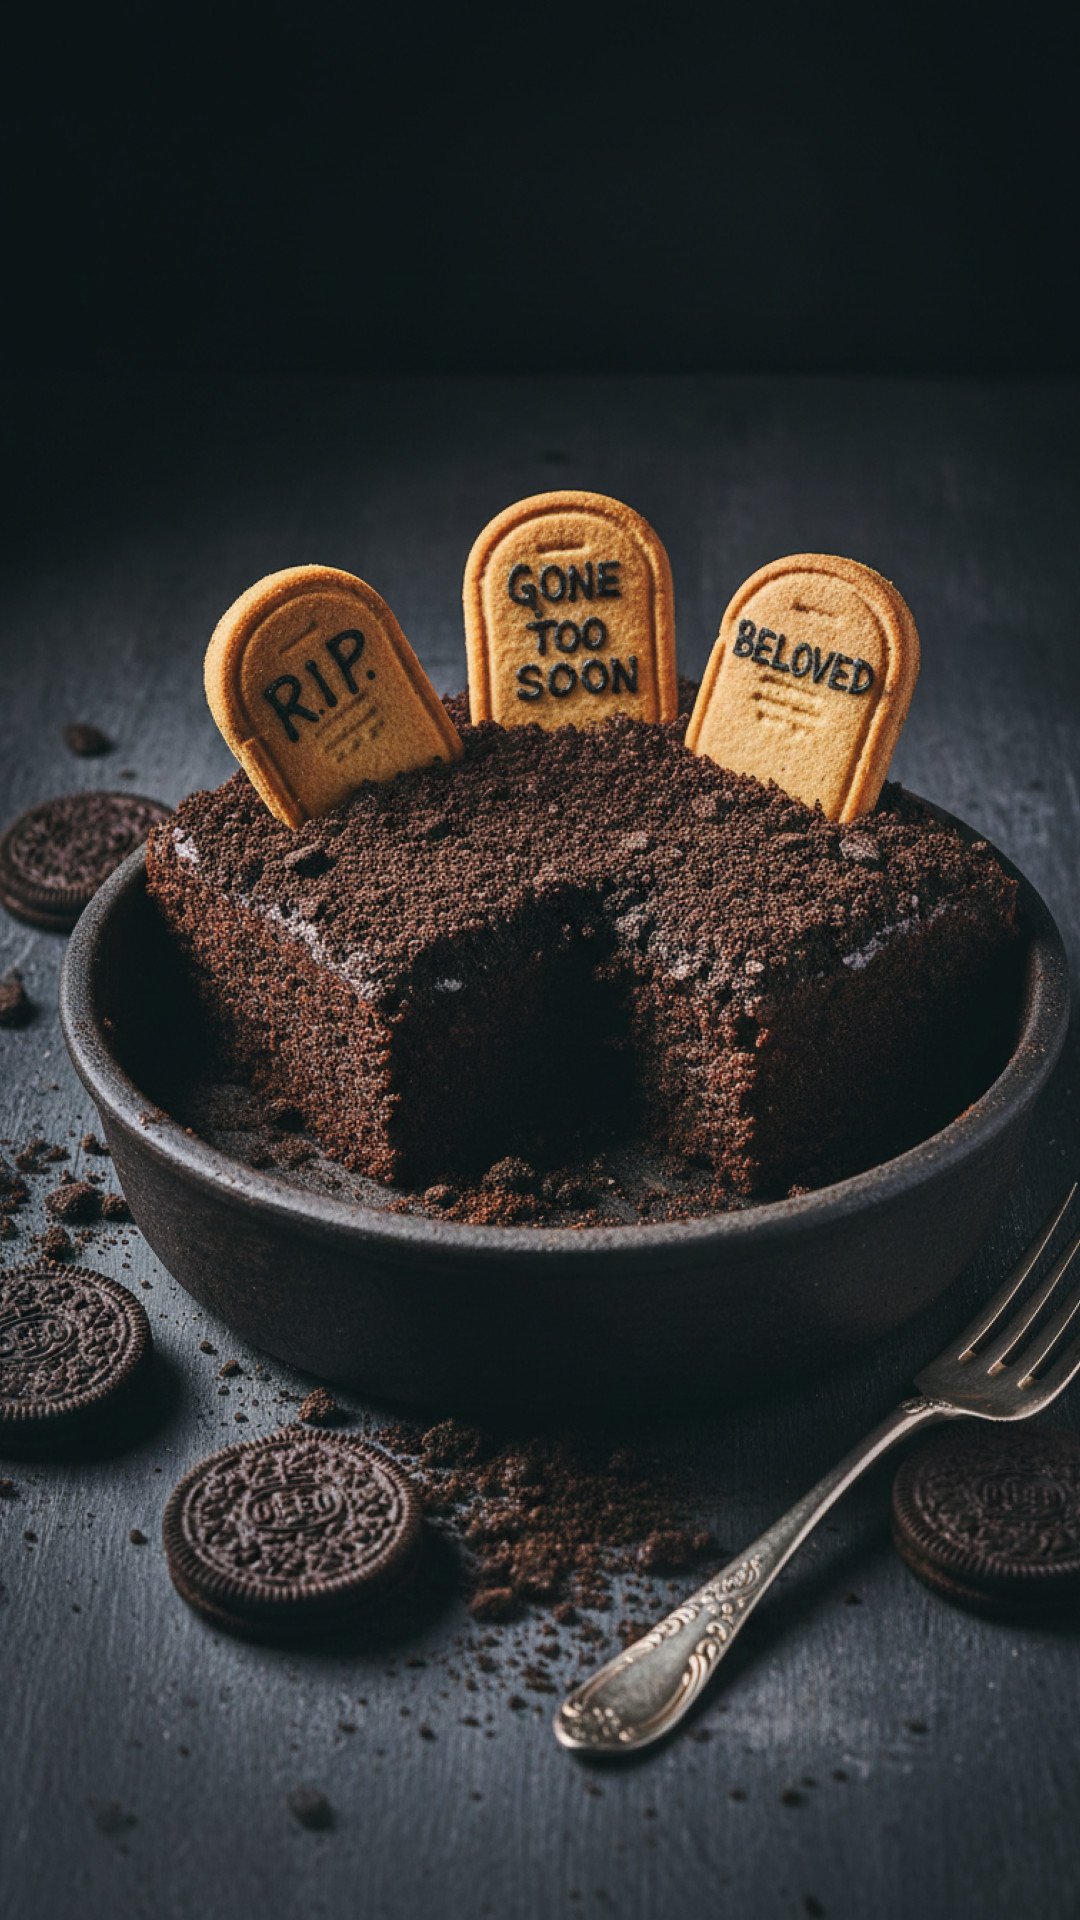
The secret to the best graveyard dirt brownies lies in the quality of your chocolate. I highly recommend using a Dutch-processed cocoa powder. This type of cocoa has been neutralized for acidity, resulting in a darker color and a smoother, more mellow chocolate flavor that provides the perfect ‘dark earth’ base for our graveyard theme. Unlike regular cocoa powder, Dutch-processed cocoa gives that deep, nearly black hue that makes the brownies look extra spooky. Another essential component is the ‘dirt’ itself. To achieve a realistic texture, you should use chocolate sandwich cookies with the cream removed before crushing. This prevents the dirt from becoming sticky or clumping together, allowing it to look like fine, loose soil. If you love this aesthetic, you might also enjoy making our Ultimate Creepy Crawly Worm Dirt Cake Recipe which uses similar crumbly chocolate elements. Finally, don’t forget the decorative elements like rectangular butter cookies or Milano-style cookies for the tombstones. Using an edible ink pen or a bit of melted dark chocolate to write ‘R.I.P.’ on them adds that final touch of eerie detail that elevates graveyard dirt brownies from simple bars to edible art.
Step-by-Step Guide with Pro Tips
Creating the perfect batch of graveyard dirt brownies requires a bit of patience, especially when it comes to the decorating phase. First, you’ll want to melt your butter and sugar together slightly; this helps create that sought-after crackly top that contrasts so well with the ‘dirt’ topping. When you add your eggs, whisk them in one at a time to ensure the batter remains emulsified and smooth. For those who prefer a more mysterious flair without the ‘dirt’ topping, check out The Secret to Making Rich and Decadent Phantom Fudge Brownies. Once your brownie base is baked and completely cooled, the real fun begins. Applying a thin layer of chocolate ganache or buttercream acts as the ‘mud’ that holds your cookie crumbs in place. I like to use a variety of crumb sizes for the dirt—some fine dust and some larger chunks—to make the graveyard dirt brownies look more natural. When placing your tombstones, cut a small slit into the brownie first to help the cookie stand upright without breaking. Pro tip: if you are transporting these to a party, wait until you arrive to place the tombstones so they don’t tip over or get soft in the container. Once these are baked and cooled, I recommend storing any leftovers in a high-quality container like the Basics Glass Food Storage set to keep them moist and fudgy for days. The airtight seal is crucial for maintaining the crunch of the cookie ‘dirt’ while keeping the brownie base from drying out. Making graveyard dirt brownies is as much about the process as it is about the final bite, so don’t be afraid to get messy!
Variations & Serving Suggestions
While the classic graveyard dirt brownies are always a hit, there are plenty of ways to switch things up. For a ‘swampy’ version, you could add a swirl of green cheesecake batter into the brownies before baking. This creates a mossy look that pairs beautifully with the dirt topping. You could also experiment with the ‘creatures’ inhabiting your graveyard. Instead of just gummy worms, try using candy pumpkins, marshmallow ghosts, or even small plastic (well-cleaned) skeletons for a more dramatic effect. If you want to go the extra mile, serve your graveyard dirt brownies on a bed of green shredded coconut to simulate grass. This makes the entire display look like a miniature cemetery. For a more sophisticated palate, consider adding a pinch of espresso powder to the brownie batter; it enhances the chocolate flavor without making the brownies taste like coffee. When serving, a dollop of whipped cream on the side can help balance the richness of the chocolate. No matter how you choose to present them, graveyard dirt brownies are guaranteed to be the star of the show. They are also fantastic when served warm with a scoop of vanilla bean ice cream, though this might cause your ‘tombstones’ to sink a little faster!
Nutrition Information
Below is the estimated nutritional breakdown for one serving of our graveyard dirt brownies. Please note that these values can vary based on the specific brands of ingredients used and the amount of candy decorations added.
| Nutrient | Amount per Serving |
|---|---|
| Serving Size | 1 brownie square |
| Calories | 320 kcal |
| Total Fat | 16g |
| Saturated Fat | 9g |
| Trans Fat | 0g |
| Unsaturated Fat | 6g |
| Cholesterol | 45mg |
| Sodium | 180mg |
| Carbohydrate Content | 42g |
| Fiber Content | 3g |
| Sugar Content | 28g |
| Protein Content | 4g |
Conclusion
In conclusion, graveyard dirt brownies are more than just a dessert; they are a festive celebration of creativity and chocolate. Whether you are hosting a large Halloween bash or just looking for a fun weekend project with the kids, these brownies are sure to provide a delicious and memorable experience. The combination of fudgy chocolate, crunchy cookie soil, and spooky decorations makes graveyard dirt brownies a timeless classic that you’ll return to year after year. So, grab your apron, preheat your oven, and get ready to dig into some spooky deliciousness. Happy Halloween and happy baking!
FAQs
Can I make graveyard dirt brownies in advance?
Yes, you can bake the brownie base up to two days in advance. However, I recommend adding the ‘dirt’ and tombstones on the day of serving to ensure the cookies stay crunchy.
How do I store leftovers?
Store your graveyard dirt brownies in an airtight container at room temperature for up to 3 days, or in the refrigerator for up to a week.
What can I use instead of Milano cookies for tombstones?
You can use any rectangular cookie, such as graham crackers, shortbread, or even thin bars of chocolate.
Can I use a boxed brownie mix for this recipe?
Absolutely! You can use your favorite boxed mix as a shortcut. Just follow the package instructions and proceed with the decorating steps as directed.
Graveyard Dirt Brownies
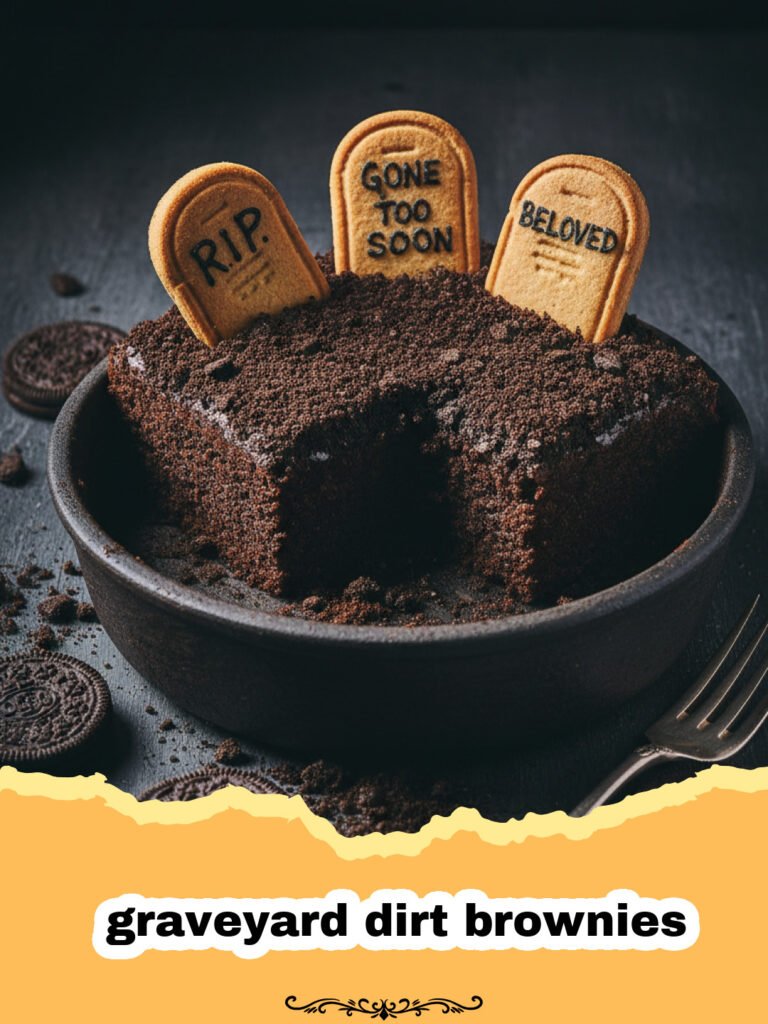
Rich, fudgy chocolate brownies topped with chocolate cookie ‘dirt,’ gummy worms, and cookie tombstones for the ultimate Halloween treat.
- Total Time: 55 minutes
- Yield: 16 brownies 1x
Ingredients
1 cup unsalted butter, melted
2 cups granulated sugar
4 large eggs
1 teaspoon vanilla extract
3/4 cup Dutch-processed cocoa powder
1 cup all-purpose flour
1/2 teaspoon salt
1/2 cup chocolate frosting
15 chocolate sandwich cookies (creme removed and crushed)
8 Milano cookies or rectangular biscuits
1/4 cup dark chocolate chips (melted for writing)
16 gummy worms
Instructions
Step 1: Preheat your oven to 350°F (175°C) and grease a 9×9 inch baking pan or line it with parchment paper for easy removal.
Step 2: In a large bowl, whisk together the melted butter and granulated sugar until well combined.
Step 3: Add the eggs one at a time, beating well after each addition, then stir in the vanilla extract.
Step 4: Sift together the cocoa powder, flour, and salt. Gradually fold the dry ingredients into the wet mixture until just combined—do not overmix.
Step 5: Pour the batter into the prepared pan and smooth the top with a spatula.
Step 6: Bake for 25-30 minutes, or until a toothpick inserted into the center comes out with a few moist crumbs.
Step 7: Allow the brownies to cool completely in the pan before lifting them out. This is crucial for a clean cut.
Step 8: While the brownies cool, use melted chocolate to write ‘R.I.P.’ on the top half of your Milano cookies to create tombstones.
Step 9: Spread a thin, even layer of chocolate frosting over the cooled brownies.
Step 10: Sprinkle the crushed chocolate cookie ‘dirt’ generously over the frosting, pressing down lightly so it adheres.
Step 11: Slice the brownies into 16 squares. Cut a small horizontal slit in the back of each square and insert a ‘tombstone’ cookie.
Step 12: Arrange gummy worms coming out of the ‘dirt’ for a spooky finishing touch.
Notes
For the best ‘dirt’ look, ensure the chocolate cookies are crushed into a variety of sizes.
- Prep Time: 25 minutes
- Cook Time: 30 minutes
- Category: Baked Goods
- Cuisine: American
Nutrition
- Serving Size: 1 brownie square
- Calories: 320 kcal
- Sugar: 28g
- Sodium: 180mg
- Fat: 16g
- Saturated Fat: 9g
- Unsaturated Fat: 6g
- Trans Fat: 0g
- Carbohydrates: 42g
- Fiber: 3g
- Protein: 4g
- Cholesterol: 45mg
Keywords: graveyard dirt brownies, Halloween brownies, dirt brownies recipe, spooky desserts, kids Halloween treats




