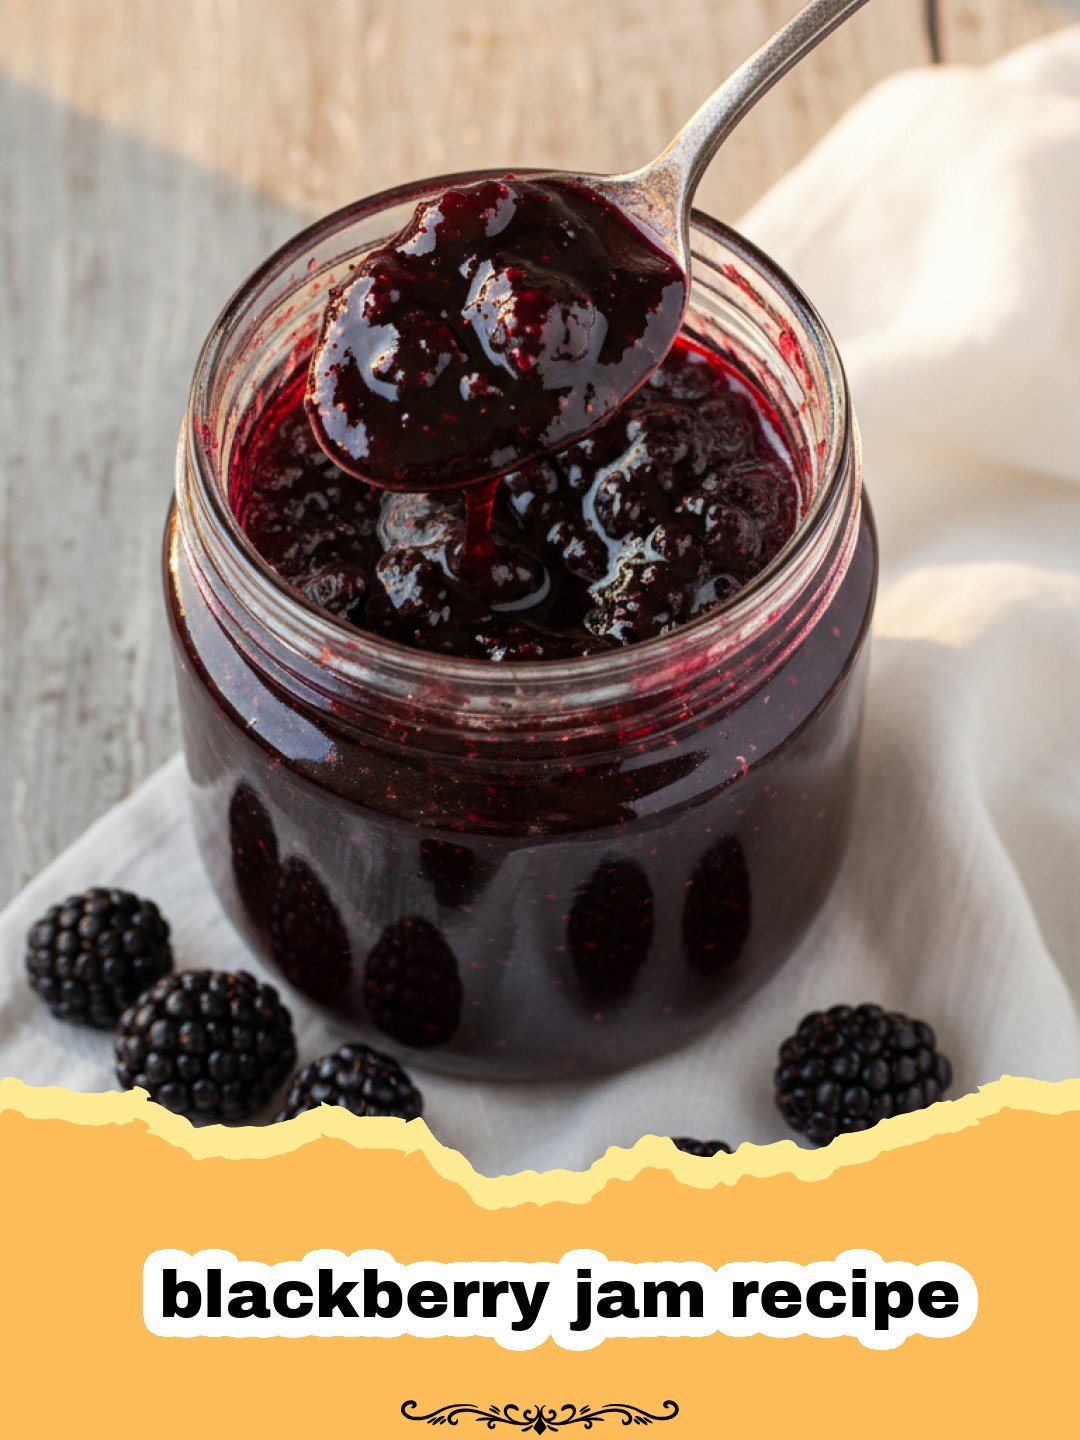
There’s something truly magical about the aroma of simmering fruit on a warm summer day. It transports me back to my grandmother’s kitchen, a place where time seemed to slow down, and the air was always thick with the sweet promise of homemade goodness. I remember trailing behind her through our overgrown backyard, my little fingers stained purple from plucking plump, sun-ripened blackberries from thorny bushes. Each berry was a tiny burst of sunshine and tartness, a perfect prelude to the delicious alchemy that would soon unfold. Grandma, with her flour-dusted apron and knowing smile, would patiently teach me the secrets of turning those wild treasures into shimmering jars of joy. This tradition, passed down through generations, taught me that a good blackberry jam recipe isn’t just about ingredients and steps; it’s about preserving memories, capturing a season, and sharing love, one spoonful at a time. It’s a simple act, yet incredibly profound, yielding a spread that’s infinitely more flavourful and soulful than anything you could buy in a store. If you’ve ever yearned to recreate that comforting, authentic taste of homemade preserves, you’ve come to the right place. Let’s embark on this delightful journey together and discover the pure bliss of making your own blackberry jam.
Why This Recipe is a Must-Try
- Captures Summer’s Vibrant Flavor: This blackberry jam recipe locks in the intense, sweet-tart essence of fresh blackberries, allowing you to enjoy the taste of summer long after the season ends.
- Surprisingly Easy & Rewarding: Don’t be intimidated by jam making! This recipe is straightforward, requiring minimal equipment and delivering incredibly satisfying results that will impress anyone who tastes it. It’s a fantastic beginner’s blackberry jam recipe.
- Versatile Kitchen Staple: Homemade blackberry jam is not just for toast. It’s a fantastic accompaniment to cheese boards, a delicious swirl in yogurt, a filling for pastries, or even a glaze for savory dishes. The possibilities for this versatile blackberry jam recipe are endless!
- Natural & Wholesome: When you make jam at home, you control the ingredients. This recipe focuses on simple, natural components, free from artificial preservatives or excessive sugars often found in store-bought options.
Key Ingredient Notes
The beauty of a great blackberry jam recipe lies in the quality and balance of its core ingredients. Here’s what you need to know to make your jam truly shine:
Blackberries: The Star of the Show
The fresher, the better! Choose ripe, plump, and firm blackberries. If picking your own, ensure they are deep purple-black and come away easily from the vine. Avoid any that are squishy, moldy, or underripe. While fresh berries yield the best flavor, you can absolutely use frozen blackberries. If using frozen, there’s no need to thaw them first; simply add them directly to the pot, knowing they might release a bit more liquid and take slightly longer to cook down. The vibrant color and distinct taste of good quality blackberries are what make this blackberry jam recipe so special.
Sugar: Sweetness and Structure
Sugar plays a crucial role beyond just sweetness in a blackberry jam recipe. It acts as a preservative, inhibits bacterial growth, and, most importantly, works with the fruit’s natural pectin and acid to create the jam’s characteristic set. We use granulated sugar here. While you might be tempted to reduce the sugar significantly for a healthier version, remember that too little sugar can prevent the jam from setting properly and shorten its shelf life. Find the balance that suits your taste while respecting the science of jam making.
Lemon Juice: The Unsung Hero
Don’t skip the lemon juice! This often-overlooked ingredient is vital for several reasons in any blackberry jam recipe. Blackberries, while delicious, can sometimes be low in natural pectin and acidity. Lemon juice boosts the acidity, which is essential for activating the pectin in the fruit (even if you’re adding commercial pectin) and achieving a good set. It also brightens the flavor, cutting through the sweetness and adding a lovely tart counterpoint. Freshly squeezed lemon juice is always best for optimal flavor.
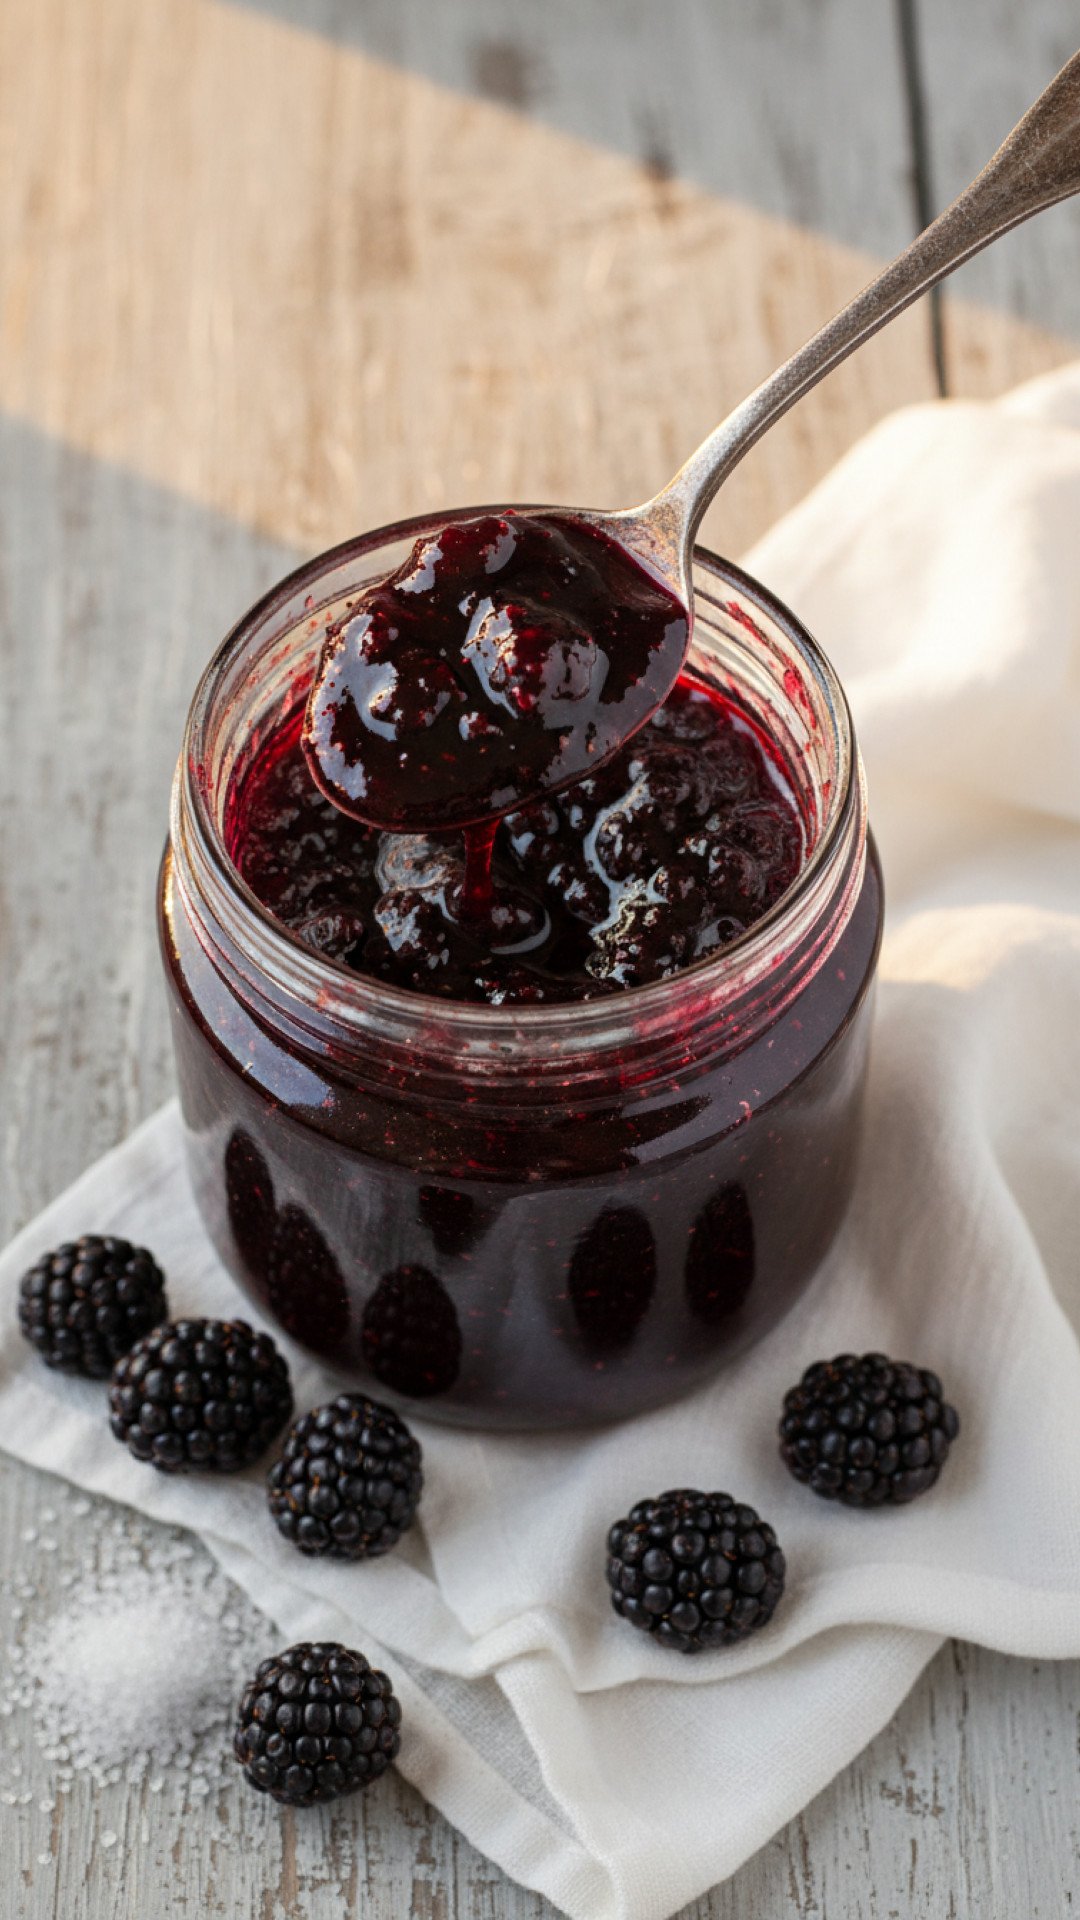
Step-by-Step Guide with Pro Tips
Creating your own blackberry jam recipe is a rewarding kitchen adventure. Follow these steps carefully for success!
- Step 1: Sterilize Your Jars and Lids. This is crucial for food safety and shelf life. Wash glass canning jars and lids in hot, soapy water, then rinse thoroughly. Place the jars (without lids) in a large pot or canning kettle, cover with water, and bring to a boil. Boil for 10 minutes. Keep jars in hot water until ready to fill. Submerge lids and rings in hot (not boiling) water for at least 5 minutes before use. This step is non-negotiable for a safe blackberry jam recipe.
- Step 2: Prepare the Blackberries. Gently wash the fresh blackberries under cold running water. Discard any bruised or moldy berries. If using frozen, no need to thaw. Measure out the required amount. If you prefer a seedless jam, you can press the berries through a fine-mesh sieve or a food mill after cooking them briefly, but for a rustic homemade blackberry jam recipe, seeds are often embraced.
- Step 3: Combine Ingredients. In a large, heavy-bottomed pot or Dutch oven, combine the prepared blackberries, granulated sugar, and fresh lemon juice. Stir gently to combine. If using pectin (especially if your berries are not super ripe or you prefer a firmer set), follow the package instructions, as pectin often has specific mixing requirements, sometimes requiring it to be mixed with a small amount of sugar before adding to the fruit. Let the mixture sit for about 10-15 minutes to allow the sugar to start dissolving and the berries to release some of their juices.
- Step 4: Cook the Jam. Place the pot over medium-high heat and bring the mixture to a rolling boil, stirring frequently to prevent scorching. Once it reaches a full, rolling boil that cannot be stirred down, continue to boil for about 10-15 minutes, or until the jam reaches its setting point. Stir constantly during this phase to prevent sticking and ensure even cooking. The intense heat is vital for activating pectin and evaporating excess water in this blackberry jam recipe.
- Step 5: Test for Set. There are a few ways to test if your blackberry jam recipe has reached the setting point. The most common is the ‘cold plate’ test: place a small plate in the freezer before you start cooking. When you think the jam is ready, spoon a small amount onto the cold plate. Return the plate to the freezer for 1-2 minutes. Push the jam with your finger; if it wrinkles, it’s ready. Another method is using a candy thermometer; the setting point for most fruit jams is between 218-220°F (103-104°C) at sea level.
- Step 6: Skim Foam and Ladle. Once the jam has reached its setting point, remove it from the heat. A thin layer of foam may have formed on top; gently skim this off with a spoon for a clearer, more attractive jam. Carefully ladle the hot jam into the hot, sterilized jars, leaving about 1/4 inch of headspace from the rim. Wipe the rims clean with a damp cloth.
- Step 7: Seal and Process (Optional, but Recommended for Shelf-Stability). Place the hot lids on the jars and screw on the bands until finger-tight. For long-term shelf stability, process the filled jars in a boiling water canner for 10 minutes (adjusting for altitude if necessary). After processing, carefully remove the jars and place them on a towel-lined counter, spaced apart, to cool completely for 12-24 hours. You’ll hear the satisfying ‘pop’ as the lids seal. If any jars don’t seal, store them in the refrigerator and use within a few weeks. Store your delightful blackberry jam recipe creations in a cool, dark place. For storing your precious homemade blackberry jam recipe creation, ensure you have quality jars. I highly recommend these <a href=
FAQs
<!– wp:rank-math/faq-block {"questions":[{"id":"faq-6a008fc9179d7","visible":true,"title":"What is the best way to ensure my blackberry jam sets properly?","content":"To ensure your blackberry jam sets properly, use ripe but firm blackberries, ensure you have sufficient acidity (lemon juice is crucial), and cook the jam to the correct temperature or until it passes the cold plate test. Using powdered fruit pectin, especially for beginners or if berries are low in natural pectin, can also guarantee a good set for your blackberry jam recipe.”},{“id”:”faq-6a008fc9179f7″,”visible”:true,”title”:”Can I make this blackberry jam recipe with frozen blackberries?”,”content”:”Yes, absolutely! You can use frozen blackberries for this blackberry jam recipe. There’s no need to thaw them beforehand; simply add them directly to the pot. Be aware that they might release a bit more liquid during the initial cooking phase, potentially requiring a slightly longer cooking time to reach the desired consistency and setting point.”},{“id”:”faq-6a008fc917a17″,”visible”:true,”title”:”How long will homemade blackberry jam last?”,”content”:”When properly processed in a boiling water bath and stored in a cool, dark place, homemade blackberry jam can last for up to one year. Once opened, or if the jars were not processed, store the jam in the refrigerator and consume within 2-3 weeks. This shelf life applies to any well-executed blackberry jam recipe.”},{“id”:”faq-6a008fc917a2e”,”visible”:true,”title”:”Do I have to sterilize the jars for my homemade blackberry jam recipe?”,”content”:”Yes, sterilizing jars is a critical step for making any homemade jam, including this blackberry jam recipe. Proper sterilization eliminates bacteria and yeasts that could cause spoilage, ensuring your jam is safe to eat and has a long shelf life. Do not skip this important food safety measure.”}]} –>What is the best way to ensure my blackberry jam sets properly?
To ensure your blackberry jam sets properly, use ripe but firm blackberries, ensure you have sufficient acidity (lemon juice is crucial), and cook the jam to the correct temperature or until it passes the cold plate test. Using powdered fruit pectin, especially for beginners or if berries are low in natural pectin, can also guarantee a good set for your blackberry jam recipe.
Can I make this blackberry jam recipe with frozen blackberries?
Yes, absolutely! You can use frozen blackberries for this blackberry jam recipe. There’s no need to thaw them beforehand; simply add them directly to the pot. Be aware that they might release a bit more liquid during the initial cooking phase, potentially requiring a slightly longer cooking time to reach the desired consistency and setting point.
How long will homemade blackberry jam last?
When properly processed in a boiling water bath and stored in a cool, dark place, homemade blackberry jam can last for up to one year. Once opened, or if the jars were not processed, store the jam in the refrigerator and consume within 2-3 weeks. This shelf life applies to any well-executed blackberry jam recipe.
Do I have to sterilize the jars for my homemade blackberry jam recipe?
Yes, sterilizing jars is a critical step for making any homemade jam, including this blackberry jam recipe. Proper sterilization eliminates bacteria and yeasts that could cause spoilage, ensuring your jam is safe to eat and has a long shelf life. Do not skip this important food safety measure.